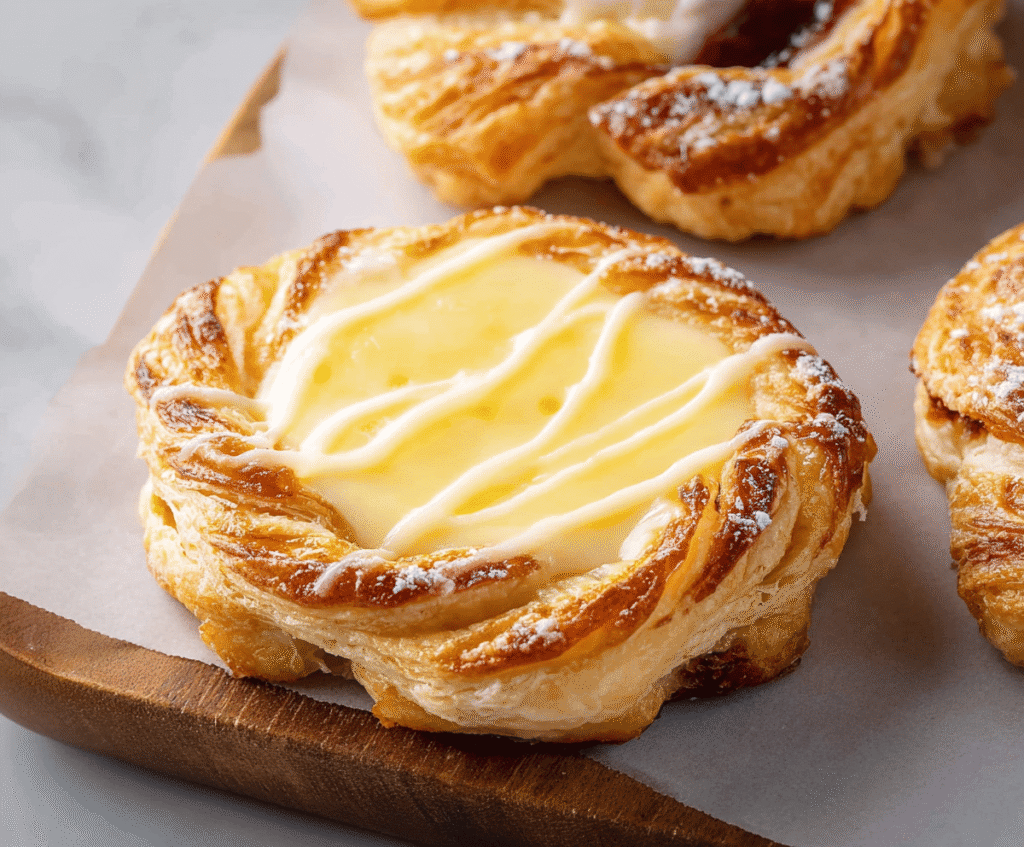
Cheesecake Danish Pastry
Cheesecake Danish Pastry is a delightful treat that combines flaky, buttery layers of pastry with a creamy, sweet cheesecake filling. The golden crust is light and crisp, making every bite…
Tip: save now, read later.
Cheesecake Danish Pastry is a delightful treat that combines flaky, buttery layers of pastry with a creamy, sweet cheesecake filling. The golden crust is light and crisp, making every bite melt perfectly alongside the smooth, tangy cheese center. It’s like a little piece of morning sunshine that’s both simple and special.
I love making these for weekend breakfasts or whenever I need a little pick-me-up. The best part is that you can easily customize the filling by adding a touch of vanilla or a sprinkle of fresh berries on top just before baking. I always find that fresh fruit adds a lovely pop of color and flavor that makes the pastry feel even more homemade and inviting.
When I serve cheesecake Danish pastries, I like to warm them just a bit so the cheese filling is soft but still holds its shape. They go great alongside a cup of coffee or tea, making for a cozy moment that feels like a small celebration. These pastries always bring a smile, whether shared with family at the breakfast table or enjoyed quietly with a good book.
Key Ingredients & Substitutions
Puff Pastry Sheets: These bring the flaky, buttery layers to your Danish. Store-bought sheets save time and still taste great. If you want, you could try making your own puff pastry, but it takes more effort.
Cream Cheese: This is the main flavor in the filling. Use full-fat cream cheese for the best texture and taste. For a lighter option, you can try Neufchâtel cheese, which has less fat but similar flavor.
Sugar: Granulated sugar balances the tanginess of the cream cheese. You can swap with coconut sugar for a deeper flavor or a sugar substitute if you want to cut down on sugar.
Vanilla Extract: Adds warmth and aroma. Pure vanilla extract is best, but vanilla bean paste or powder also works well.
Lemon Juice (optional): A little zest and brightness help cut richness. Fresh lemon juice is better, but bottled juice works in a pinch.
Glaze Ingredients: Powdered sugar mixed with milk or cream makes a simple drizzle. For variety, you could add a dash of almond extract or use citrus juice for a tangy glaze.
How Can I Shape and Bake the Pastry So It Stays Puffy and Holds the Filling?
Shaping the Danish right helps the pastry puff up and keeps the filling in place.
- Cut the puff pastry evenly into squares to ensure consistent baking.
- Add filling only in the center, avoiding the edges so it doesn’t leak.
- Gently fold or pinch the edges inward to create a shallow bowl; this keeps the filling safe and helps the layers rise.
- Use parchment paper on your baking sheet to prevent sticking and help even baking.
- Bake at a warm 375°F (190°C) so the pastry has time to puff and turn golden without burning.
- Let the baked Danish cool before adding glaze, so the icing doesn’t melt off.
Equipment You’ll Need
- Baking sheet – perfect for holding your pastries as they bake evenly and get golden.
- Parchment paper – keeps the Danish from sticking and makes cleanup easy.
- Mixing bowl – for blending the cream cheese filling smoothly.
- Electric mixer or whisk – helps you beat the cream cheese mixture until creamy and lump-free.
- Rolling pin – gently evens out the puff pastry without tearing it.
- Sharp knife or pizza cutter – to cut your pastry into even squares quickly and cleanly.
- Spoon or small ice cream scoop – perfect for portioning filling neatly.
Flavor Variations & Add-Ins
- Add fresh berries like blueberries or raspberries on top before baking for a juicy burst and pretty look.
- Mix in a little cinnamon or nutmeg to the cream cheese filling for a warm, cozy twist.
- Swap cream cheese with mascarpone for a richer, silkier filling.
- Top with chopped nuts or a drizzle of honey after baking to add crunch and sweetness.
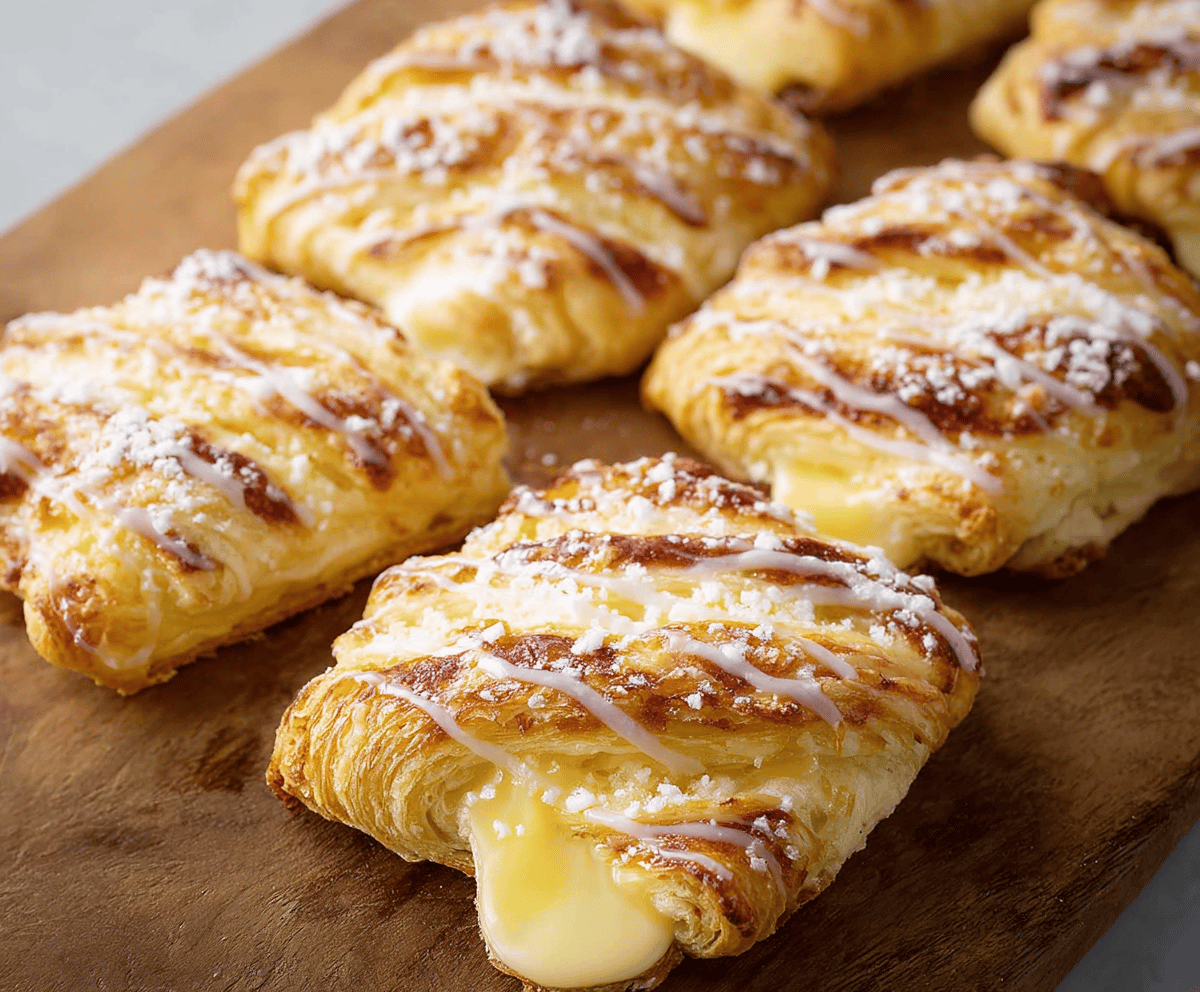
Cheesecake Danish Pastry
Ingredients You’ll Need:
For the Pastry and Filling:
- 1 package (about 1 lb) puff pastry sheets, thawed
- 8 oz (225 g) cream cheese, softened
- 1/4 cup granulated sugar
- 1 tsp vanilla extract
- 1 large egg
- 1 tbsp lemon juice (optional, for brightness)
- Additional flour for dusting
For the Glaze:
- 1/2 cup powdered sugar
- 1-2 tbsp milk or cream
- Powdered sugar for dusting (optional)
How Much Time Will You Need?
This recipe takes about 15 minutes to prepare and around 20 minutes for baking. Add about 10 minutes cooling time before you drizzle the glaze and serve. All together, plan for about 45 minutes from start to finish.
Step-by-Step Instructions:
1. Preheat Oven and Prepare the Puff Pastry:
Preheat your oven to 375°F (190°C). Line a baking sheet with parchment paper. On a lightly floured surface, gently unfold and smooth the thawed puff pastry with a rolling pin. Cut the pastry into roughly 4-inch squares.
2. Make the Cream Cheese Filling:
In a bowl, beat the softened cream cheese, granulated sugar, vanilla extract, egg, and lemon juice (if using) until you get a smooth and creamy mixture.
3. Assemble the Danish Pastries:
Place about 1 to 2 tablespoons of the cream cheese filling in the center of each pastry square. Gently fold the edges inward to create a shallow bowl shape to hold the filling, pressing the corners slightly to seal.
4. Bake Until Golden and Set:
Put the pastries on the prepared baking sheet and bake for 18 to 22 minutes, until the pastry is golden and puffed up and the cheese filling is set.
5. Prepare the Glaze and Finish:
While baking, mix powdered sugar with milk or cream until smooth but thick enough to drizzle. Once the pastries cool for about 10 minutes, drizzle the glaze over the top. You can dust with extra powdered sugar if you’d like a pretty finish.
6. Serve:
Enjoy warm or at room temperature. These deliciously flaky and creamy cheesecake Danish pastries are sure to brighten any morning or snack time!
Can I Use Frozen Puff Pastry for This Recipe?
Yes! Just be sure to thaw the puff pastry completely in the fridge overnight before using it. This helps it roll out smoothly and bake evenly.
Can I Make These Cheesecake Danishes Ahead of Time?
Absolutely! You can prepare and assemble the pastries, then refrigerate them unbaked for up to 24 hours. When ready, bake straight from the fridge and add a couple extra minutes to the baking time.
How Should I Store Leftover Danish Pastries?
Store leftovers in an airtight container at room temperature for up to 2 days, or refrigerate for up to 4 days. Reheat gently in a warm oven (about 300°F/150°C) to keep the pastry flaky.
Can I Add Fruit to the Filling?
Yes! Fresh berries or thinly sliced fruit work nicely—just add them on top of the cream cheese filling before baking. Avoid very juicy fruit to prevent soggy pastry.