
Cinnamon Maple Roasted Butternut Squash Cubes
The squash should come out of the oven with browned corners, not swimming in a puddle of syrup. I learned to hold the maple syrup back until the cubes have…
Tip: save now, read later.
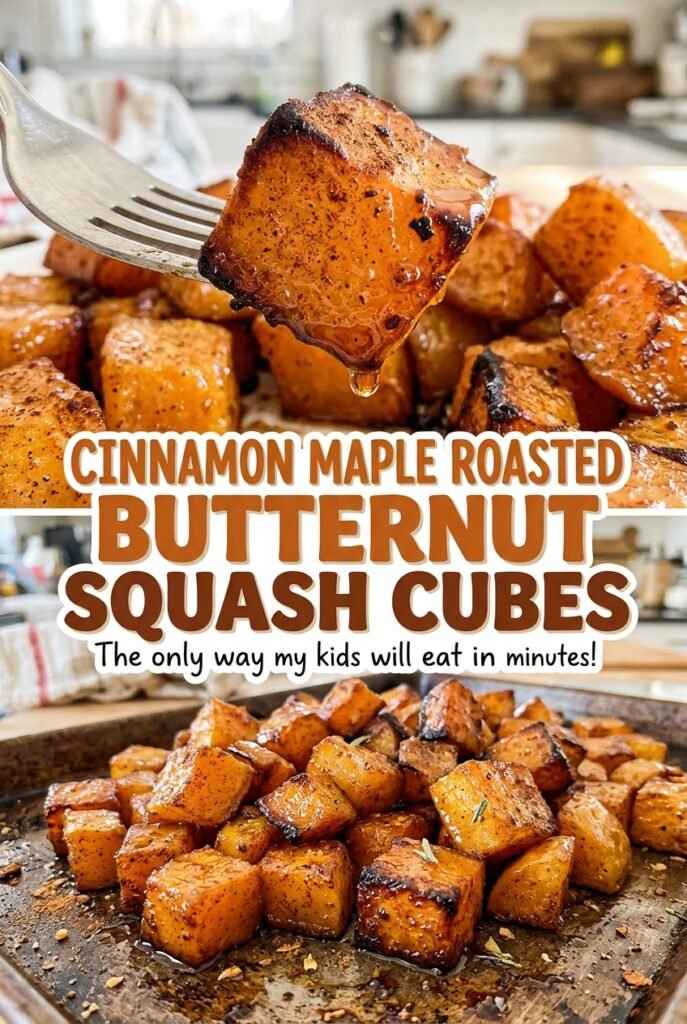
The squash should come out of the oven with browned corners, not swimming in a puddle of syrup. I learned to hold the maple syrup back until the cubes have already had time to roast; that way, the squash gets a head start on browning before the sweet coating goes on. These cinnamon maple roasted butternut squash cubes make an easy side for a weeknight dinner, and the ingredient list stays short.
Cutting the squash into even 1-inch cubes helps each piece cook at about the same pace. I toss them with olive oil and the seasonings first, then spread them out so hot air can reach the sides. Once the cubes have roasted for 20 minutes, I add the maple syrup and give everything another toss.
The finished squash is tender when pierced with a fork, with cinnamon in the background and a light maple glaze on the edges. It’s a simple balance: savory pepper, warm spice, and just enough sweetness to bring out the squash.
Kitchen Note
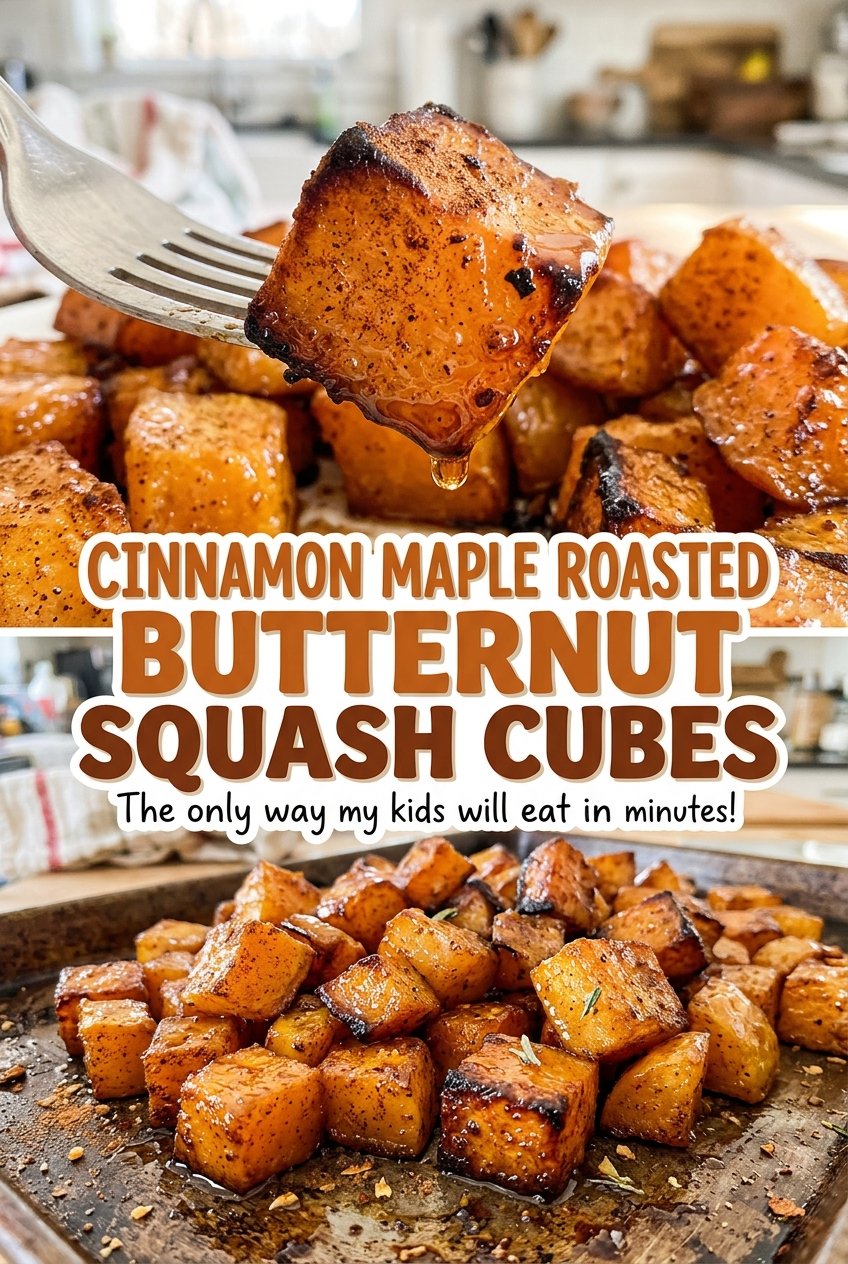
Keep the cubes close to the same 1-inch size. When they’re uneven, the smaller pieces soften before the larger ones are fork-tender.
Save these cinnamon maple roasted butternut squash cubes for a cozy side with browned edges, warm cinnamon, and a light maple glaze.
Why the Maple Syrup Goes on After the First Roast
Maple syrup has natural sugars that brown quickly in a hot oven. If it coats the squash from the start, it spends the whole roasting time exposed to the heat, which can leave the outside dark before the centers have softened. Adding it after the first 20 minutes gives the squash a chance to roast and begin browning on its own.
That timing also makes the coating easier to control. Drizzle the syrup over the partly roasted cubes, toss until the surfaces look lightly coated, then spread everything back into one layer. You want a thin glaze clinging to the squash, not a sweet pool gathered beneath it. The final 10 to 15 minutes finish the cooking and brown the edges while the maple syrup warms over the surface.
If you pull the pan while the squash is still firm in the center, the syrup won’t fix that; it only sweetens the outside. Let fork tenderness guide the finish, and look for browned edges rather than waiting for every cube to become deeply caramelized.
What the Squash, Oil, and Maple Each Bring to the Pan
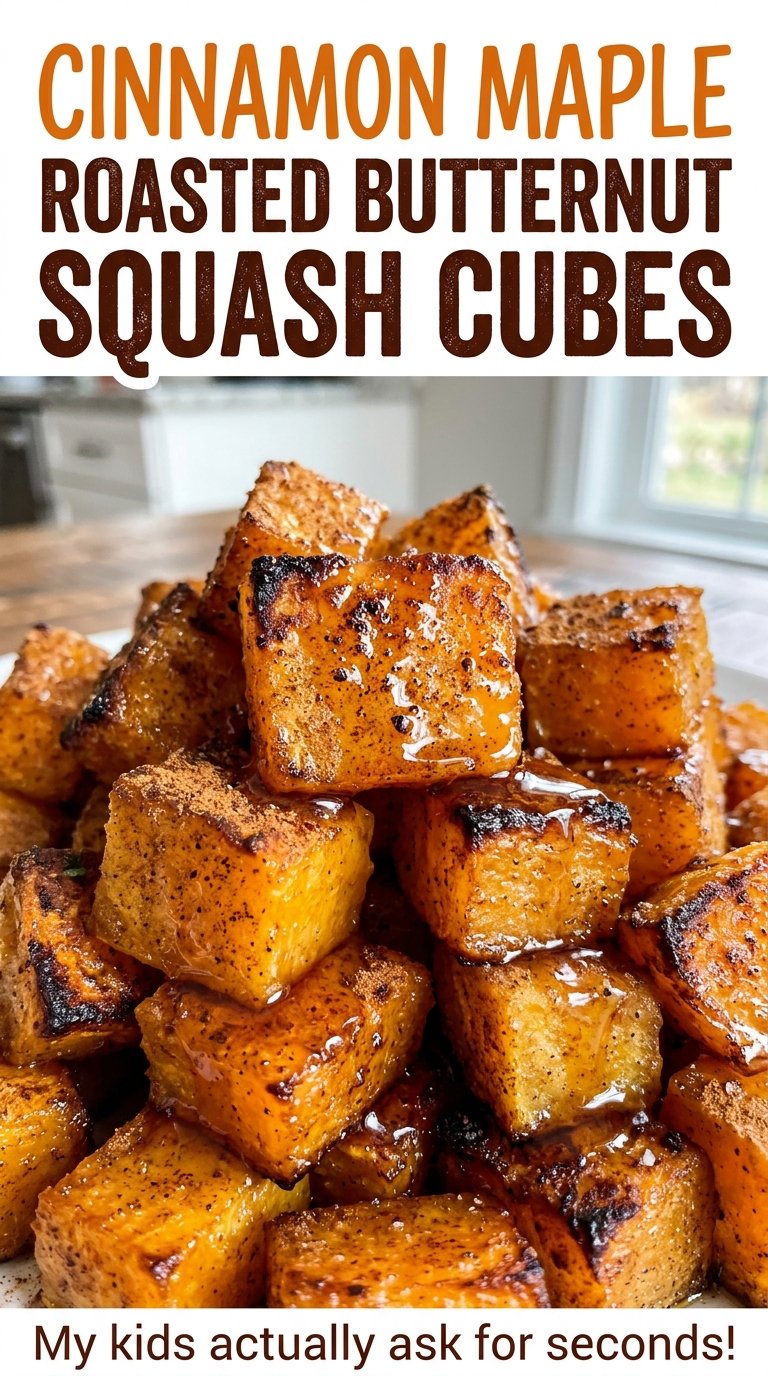
- Butternut squash — Choose a firm squash with an intact skin; it should feel heavy for its size. Peeling and removing the seeds before cutting gives you clean cubes that roast evenly. Pre-cut squash is convenient, but sort through it and cut any oversized pieces down so they’re close in size to the rest.
- Olive oil — A light coating helps the cinnamon, salt, and pepper cling and keeps the exposed surfaces from drying out as they roast. A basic olive oil is fine here; an expensive finishing oil won’t have much chance to shine in the oven. Avocado oil works as a neutral-tasting substitute if that’s what you keep on hand.
- Ground cinnamon — Use fresh, fragrant cinnamon rather than an old jar that has lost its aroma. It should warm the squash without covering its own mild sweetness. For a less pronounced cinnamon note, use less; leaving it out entirely makes a simpler maple-roasted version.
- Black pepper — Pepper keeps the sweet finish from tasting one-note. Freshly ground pepper gives a more noticeable bite, while pre-ground pepper is perfectly serviceable for a mild background warmth.
- Pure maple syrup — Pure maple syrup brings a woodsy sweetness that pancake syrup doesn’t quite match. If you need a substitute, use honey in an equal measure and add it at the same point in the roasting process; the result will taste more floral and less distinctly maple.
This ingredient combination is naturally vegetarian, dairy-free, and gluten-free. There’s no flour or dairy to replace, so the dish can stay as it is for those needs.
Roast the Cubes First, Then Glaze Them
Set Up the Oven and Pan
Heat the oven to 425°F and line a large rimmed baking sheet with parchment paper. The rim keeps the cubes contained when you toss them, and the parchment makes cleanup easier. Have the squash cut and ready before you start seasoning so it can go straight onto the pan. Spread it in a single layer rather than piling pieces on top of one another.
Coat the Squash Evenly
Toss the cubes with the olive oil, kosher salt, cinnamon, and black pepper until the seasonings cling across the surfaces. Look for a light, even coating instead of dry pockets of cinnamon or oil collecting at the bottom of the bowl. Transfer the squash to the prepared baking sheet and arrange it with a little space between pieces. Crowding traps moisture and makes browned edges harder to achieve.
Give the Cubes Their First Roast
Roast for 20 minutes before adding the maple syrup. At this point the squash has had time to soften and start browning without the syrup on its surface. If a few pieces look darker than their neighbors, that’s a good reason to check that the pan is still spread out evenly before the next stage. Keep the pieces on the pan for the maple finish.
Toss with Maple and Roast Until Tender
Drizzle the maple syrup over the squash and toss to coat, then arrange the cubes in a single layer again. Roast for another 10 to 15 minutes, until a fork slides into the centers easily and the edges are browned. Check the larger pieces rather than judging by the smallest cube. If the squash is still firm, give it more time within that final roasting window and use fork tenderness as the cue.
Small Changes for a Different Kind of Maple-Roasted Squash
A less-sweet, cinnamon-forward batch
Leave out the maple syrup and roast the seasoned squash until tender and browned. You’ll lose the glossy sweet coating, but the squash’s own sweetness and cinnamon become more prominent. This is a useful change when you want a more savory side.
A honey-glazed alternative
Swap the pure maple syrup for an equal measure of honey and add it after the first roast, just as you would the maple. Honey tastes more floral and less woodsy, and it can brown readily, so use the edges and fork tenderness to judge when the squash is done.
A gentler version without black pepper
Omit the black pepper for a softer, sweeter-tasting side, especially if you want the cinnamon and maple to lead. The squash will still roast the same way, though the finished flavor will have less savory contrast.
Storage and Reheating
- Refrigerator: Store cooled leftovers in an airtight container for up to 4 days. The cubes soften as they sit, and the browned edges won’t stay crisp.
- Freezer: Freeze in a sealed container for up to 2 months. Thawed squash will be softer, so expect less definition between the cubes.
- Reheating: Warm in the oven or microwave until steaming hot throughout; the oven brings back more of the roasted surface. Avoid prolonged microwave heating, which can leave the squash mushy.
Questions That Come Up While Roasting Butternut Squash
Cinnamon Maple Roasted Butternut Squash Cubes
Ingredients
Equipment
Method
- Heat the oven to 425°F.
- Line a large rimmed baking sheet with parchment paper.
- Toss the squash with the olive oil, salt, cinnamon, and pepper.
- Spread the squash in a single layer on the baking sheet.
- Roast for 20 minutes.
- Drizzle with maple syrup and toss to coat.
- Spread the squash back into a single layer.
- Roast for 10 to 15 minutes more, until the squash is fork-tender and browned at the edges.
