
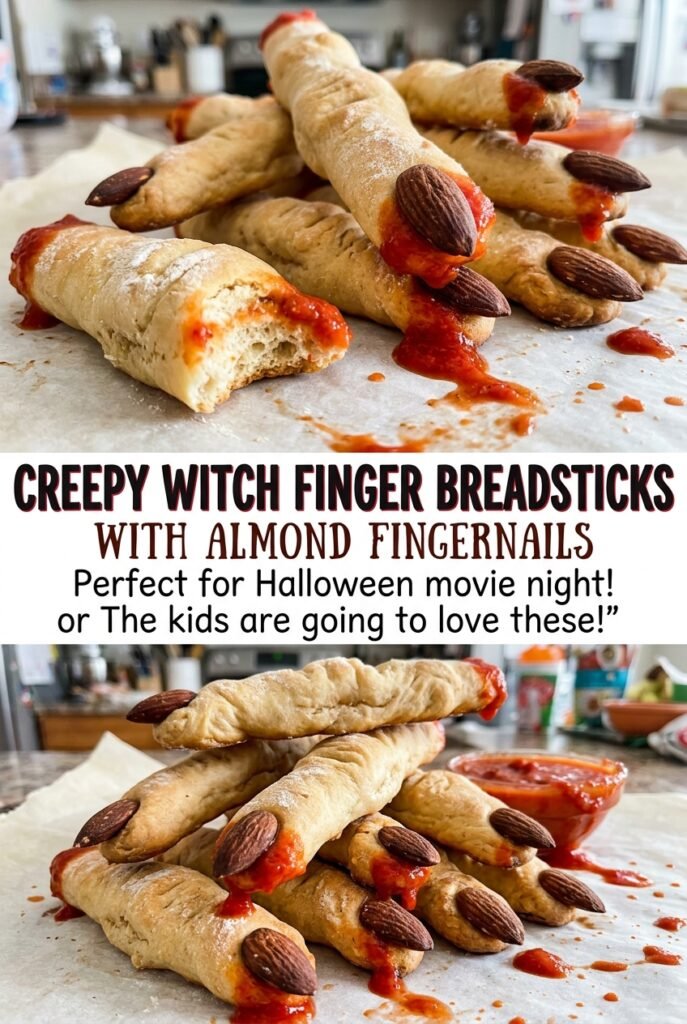
Creepy Witch Finger Breadsticks with Almond Fingernails
The moment the almonds start to toast, these breadsticks stop looking like ordinary dough and start looking like something that belongs on a witch’s hand. The knuckles give the shape…
Tip: save now, read later.
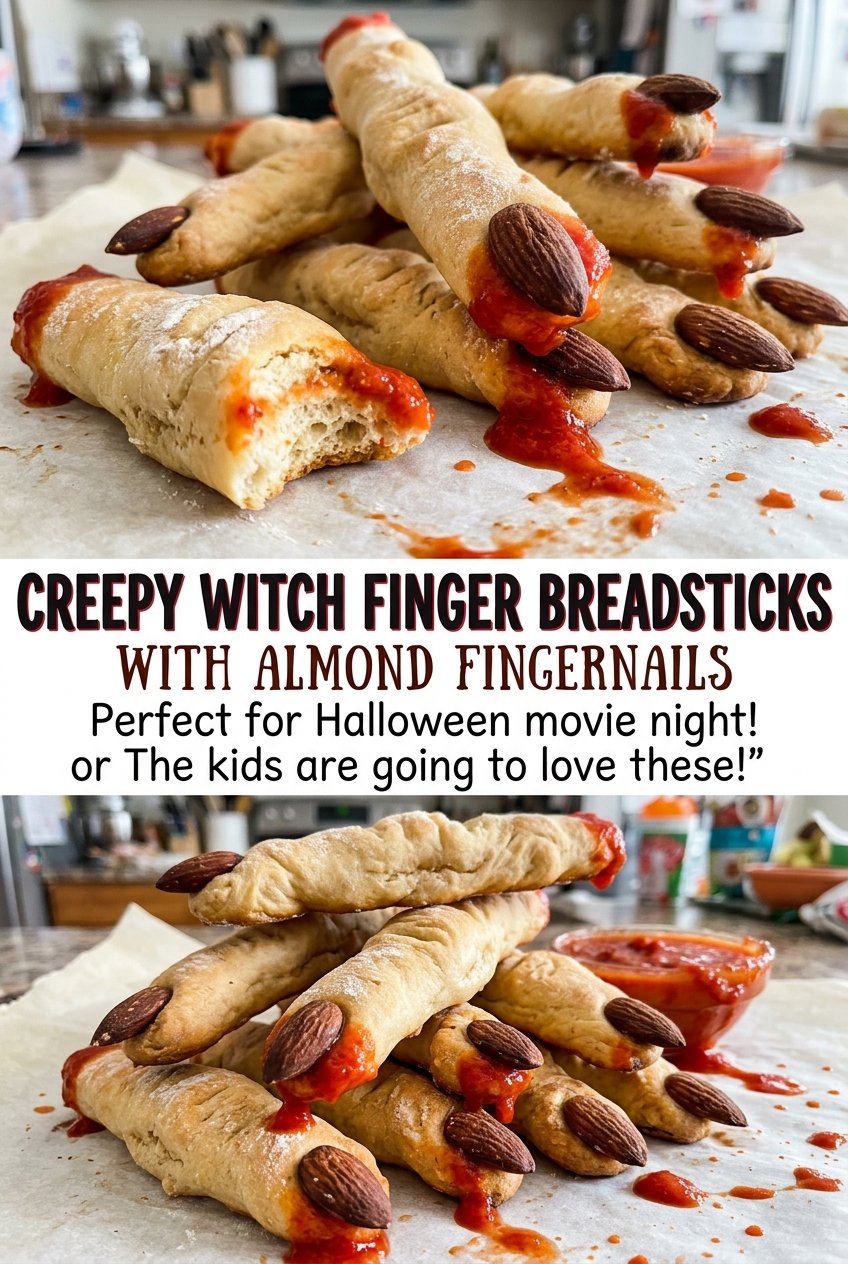
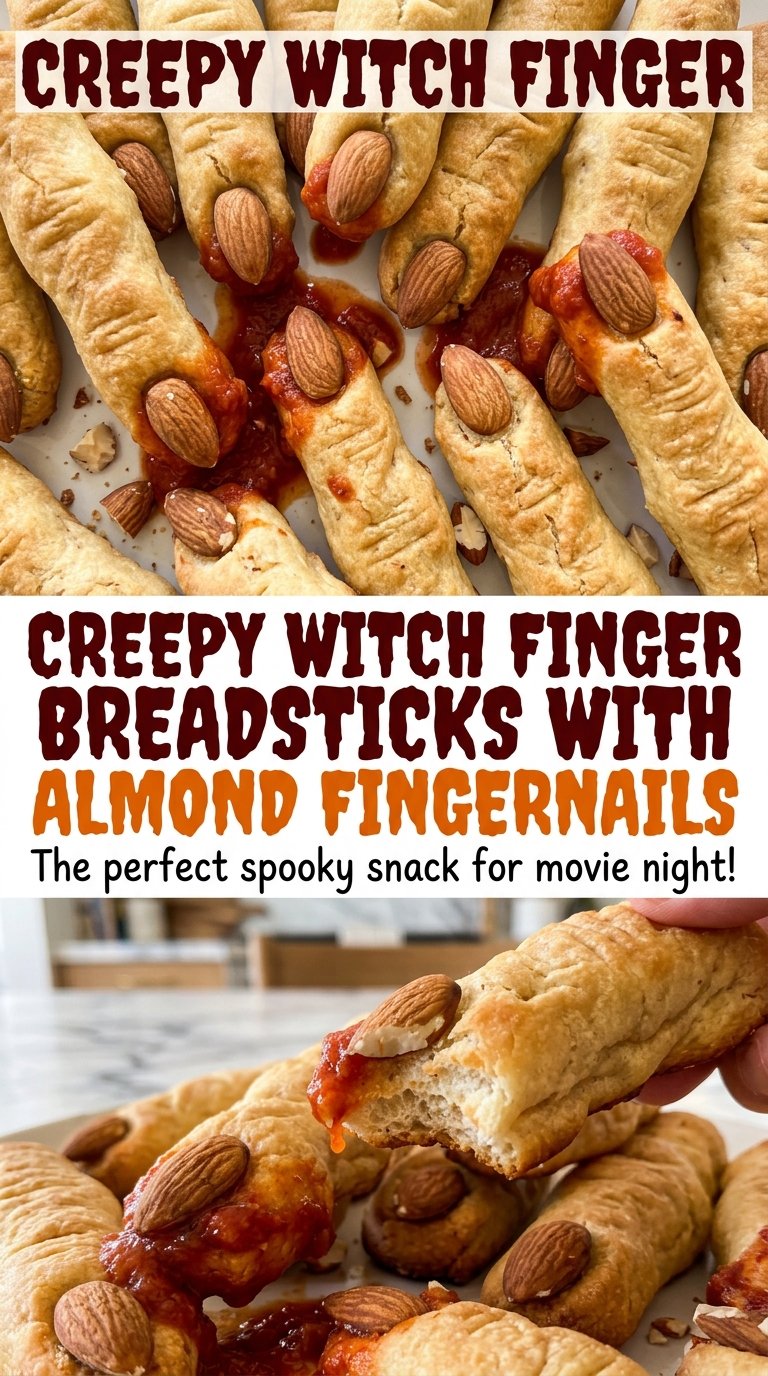
The moment the almonds start to toast, these breadsticks stop looking like ordinary dough and start looking like something that belongs on a witch’s hand. The knuckles give the shape its character, and the almond fingernails finish the eerie effect. Creepy Witch Finger Breadsticks with Almond Fingernails bake up golden outside, tender through the middle, and easy to pull apart while warm.
The dough should feel smooth and elastic after kneading, with just a little tackiness left on its surface. That texture makes it easy to roll and pinch without turning the finished breadsticks tough. I let the dough rise until doubled, then shape each piece with a tapered tip and two knuckles. Set on the baking sheet, they look a little odd in the best way: pale dough fingers topped with whole almonds, ready to turn golden in the oven.
Kitchen Note
Let the breadsticks rest on the baking sheet for the full 5 minutes before serving. They’re easier to lift once the dough has settled, and the almond tips are less likely to shift while everything is piping hot.
Save these witch finger breadsticks for a spooky snack table: golden bread, pinched knuckles, and almond nails make every piece look the part.
Why the knuckles need definition, not deep cuts
These look like fingers because of their silhouette, not because the dough is carved into shape. As the bread bakes, the dough puffs and softens the details, so deep grooves can open into ragged cuts instead of neat creases. Pinched joints give the knuckles a raised shape, while shallow diagonal marks add definition without slicing through the dough.
Keep the joints distinct rather than bunching them together, and leave enough room for a long, tapered tip at one end. A thick rope can read more like a little roll than a finger; an overly thin one is more likely to dry out. The 6-inch ropes give you space to create the shape while keeping each piece sturdy enough to move onto the baking sheet. Aim for a slightly exaggerated outline before baking. The oven will soften it, but the finished breadstick will still read as a witch’s finger.
What gives these breadsticks their soft center and golden finish
- Active dry yeast — It gives the dough its rise and light texture. Instant yeast can replace it in the same quantity; mix the instant yeast with the flour instead of blooming it in the water, and use the doubled dough as your cue since the rise may happen sooner.
- All-purpose flour — Its moderate protein level keeps the breadsticks tender while still giving the ropes enough structure to hold their shape. Bread flour works in its place but makes a chewier, firmer stick. Keep the extra flour for kneading nearby, but add it gradually so the dough doesn’t turn dry.
- Olive oil — It keeps the dough supple and adds a faint savory note. There’s no need for an expensive bottle here; a neutral vegetable oil can replace it without much change to the texture, though you’ll lose that mild olive-oil aroma.
- Egg — Beating the egg with water makes a wash that helps the surface turn golden and holds the almond tips in place. Beat it until the white and yolk are fully blended so you don’t leave streaks on the dough.
- Whole blanched almonds — Their smooth, pale surface makes a clear nail shape. Whole almonds with the skins on work too, but the reddish-brown skins give the fingers a darker, rougher look.
- Granulated sugar — The small amount helps the yeast get started without making the breadsticks taste sweet. It’s worth keeping as written rather than adding more, which would change the dough’s balance.
From foamy yeast to neatly shaped fingers
Wake up the yeast
Stir the warm water, active dry yeast, and sugar together in a large bowl. Let the mixture stand for 5–10 minutes, until a foamy layer forms on top. If it stays flat, pause before adding the flour; the dough won’t rise properly without active yeast. The water should be 105–110°F when you combine it with the yeast.
Knead until the dough is smooth and elastic
Stir in the olive oil, 2 3/4 cups of the flour, and the salt until a shaggy dough forms. Knead it on a lightly floured surface for 8–10 minutes, adding the remaining flour and up to 1/4 cup more only as needed. The dough should become smooth and elastic while staying slightly tacky. If it feels dry or stiff, stop adding flour rather than coating it until it loses that soft feel.
Let the dough double
Set the dough in a lightly oiled bowl, cover it, and leave it in a warm place for 60–90 minutes. It’s ready when it has doubled in size, not just when the timer ends. A cool room can slow the rise, so judge the dough by its volume. Keep the bowl covered so the surface doesn’t dry out.
Shape each rope into a finger
Punch down the dough and divide it into 12 pieces. Roll each piece into a 6-inch rope, taper one end, and pinch in two places to form knuckles. Make shallow diagonal slashes at the knuckles, then arrange the fingers on a large rimmed baking sheet lined with parchment paper. Keep the cuts shallow so the dough stays connected as it bakes.
Brush, top, and bake until golden
Beat the egg with the tablespoon of water, then brush the shaped dough with the wash. Press one whole blanched almond onto the tapered end of each finger. Bake at 400°F for 14–18 minutes, until the breadsticks are golden brown. Keep an eye on the almonds near the end; they’ll toast along with the dough.
Easy ways to change the look or finish
An egg-free wash
Brush the shaped fingers with the tablespoon of water instead of the egg wash, then press on the almonds. The breadsticks will be paler and less glossy, and the almonds may not grip quite as firmly, so press each one into the dough.
Pumpkin-seed fingernails
For a different nail shape, press one plain shelled pumpkin seed onto each tapered tip instead of an almond. The seeds make a flatter, green-tinted detail, so the finished fingers look more whimsical than spooky.
Straight breadstick shapes
Roll the dough into straight ropes and skip the tapered tips, pinched joints, and almond nails for a familiar breadstick shape. Keep the ropes the same length and thickness so they bake at the same rate, with the same soft center and golden crust.
Storage and Reheating
- Refrigerator: Keep in an airtight container for up to 3 days; refrigeration makes bread firmer and drier than room-temperature storage.
- Freezer: Freeze fully cooled breadsticks in an airtight container or freezer bag for up to 2 months. Thaw before reheating.
- Reheating: Warm in a low oven until heated through. Avoid the microwave, which can make the bread chewy and tough.
Questions that come up while making witch finger breadsticks
Creepy Witch Finger Breadsticks with Almond Fingernails
Ingredients
Equipment
Method
- In a large bowl, stir together the warm water, yeast, and sugar; let stand for 5–10 minutes, until foamy.
- Stir in the olive oil, 2 3/4 cups of the flour, and the salt until a shaggy dough forms.
- Knead on a lightly floured surface for 8–10 minutes, adding the remaining flour and up to 1/4 cup more as needed, until the dough is smooth, elastic, and slightly tacky.
- Put the dough in a lightly oiled bowl, cover, and let rise in a warm place for 60–90 minutes, until doubled in size.
- Heat the oven to 400°F.
- Line a large rimmed baking sheet with parchment paper.
- Punch down the dough and divide it into 12 pieces.
- Roll each piece into a 6-inch rope and taper one end.
- Pinch each rope in two places to make knuckles.
- Make shallow diagonal slashes at the knuckles.
- Arrange the dough fingers on the baking sheet.
- Beat the egg with the tablespoon of water.
- Brush the dough fingers with the egg wash.
- Press one almond onto the tapered end of each finger.
- Bake for 14–18 minutes, until golden brown.
- Cool on the baking sheet for 5 minutes before serving.
