
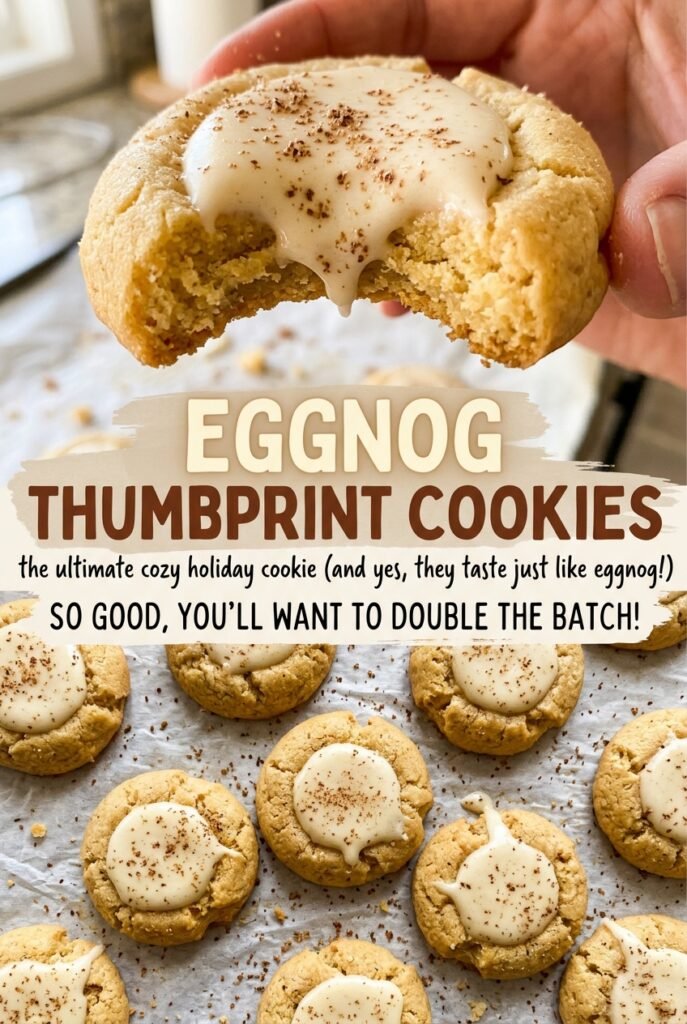
Eggnog Thumbprint Cookies
The first time I made these thumbprints, I pressed the centers deep enough before baking and still ended up with shallow little wells afterward. The dough rises and settles as…
Tip: save now, read later.
The first time I made these thumbprints, I pressed the centers deep enough before baking and still ended up with shallow little wells afterward. The dough rises and settles as it bakes, so a second gentle press while the cookies are hot gives the eggnog filling a proper place to sit. That small detail makes these eggnog thumbprint cookies look tidy without turning the dough into a project.
The dough itself is a simple butter cookie scented with nutmeg, and it needs a short chill before shaping. Thirty minutes firms it up enough to roll into neat balls and hold an indentation in the oven. The filling is just powdered sugar, eggnog, and a pinch of nutmeg stirred until thick; it brings a clear eggnog note without covering up the buttery cookie underneath.
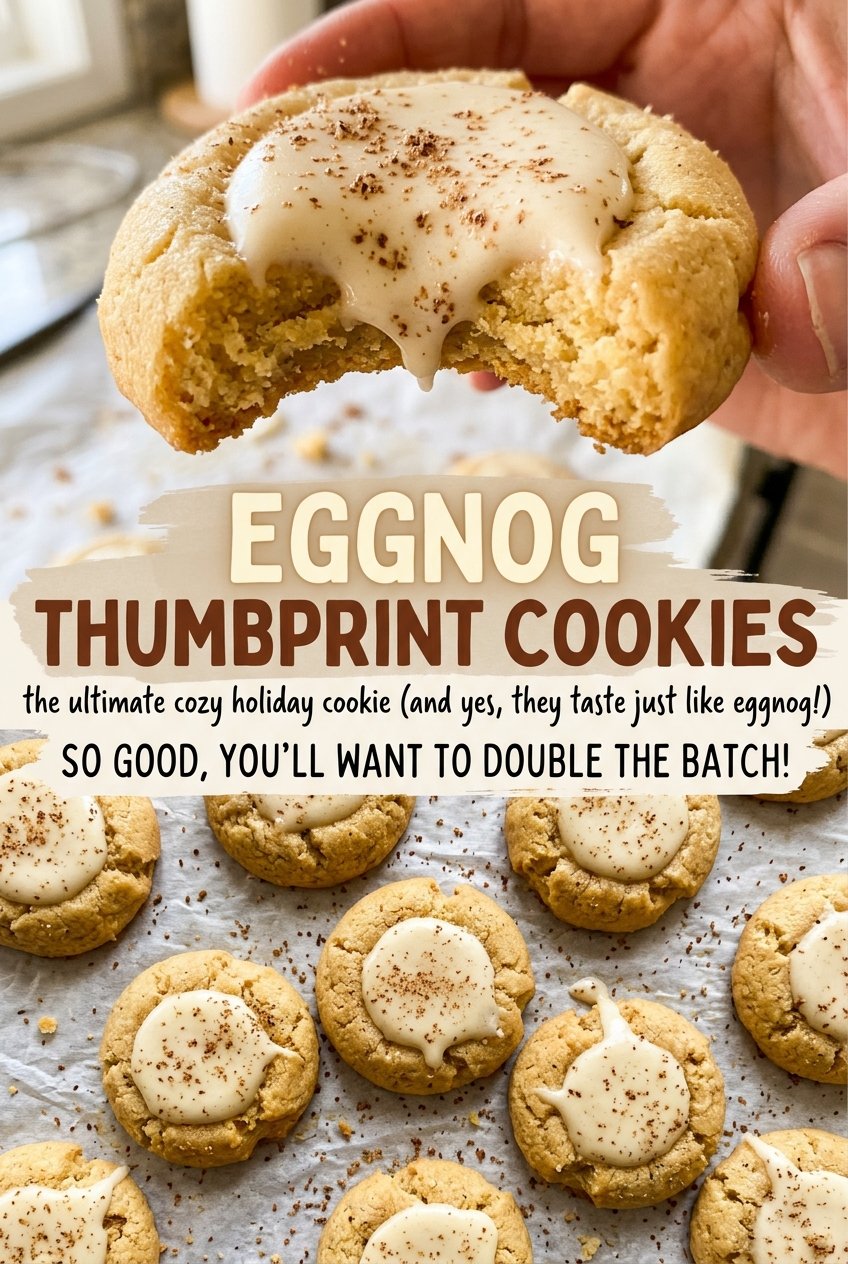
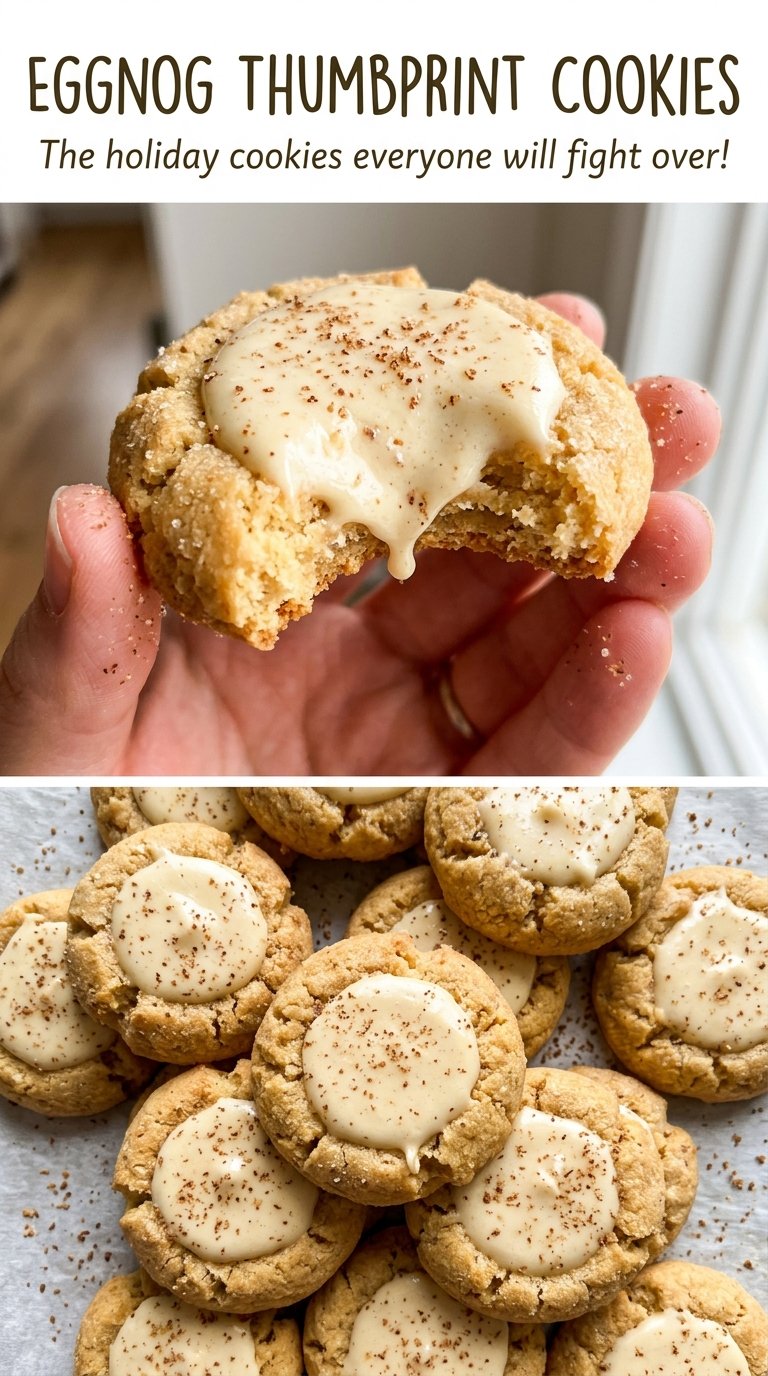
They’re a nice choice when you want a cookie that looks special but doesn’t need decorating skills. The finished centers set with a soft sheen, while the edges stay lightly golden and tender. Each bite has a little nutmeg warmth and a sweet, creamy middle.
Kitchen Note
Press the indentations again as soon as the cookies come out of the oven. The dough is still soft then, so a light touch restores the wells without cracking the edges.
Save these eggnog thumbprint cookies for a buttery, nutmeg-scented bake with a smooth eggnog center.
Why These Thumbprints Need a Chill Before Shaping
Butter cookie dough can feel pleasantly soft in the mixing bowl, but that softness makes thumbprints harder to shape. Warm dough sticks to your hands, and the balls can lose their round shape before they reach the oven. Chilling the covered dough for 30 minutes firms the butter back up, which makes it easier to roll even portions and press clean wells.
That rest also gives the flour time to hydrate after mixing. The finished dough should feel soft, not crumbly, and it should come together without needing extra flour on the counter. If it seems a little firm straight from the refrigerator, give it a brief moment to become workable rather than kneading it; too much handling warms the butter and makes the dough sticky again.
Keep the portions consistent, too. Rolling each piece into a 1-tablespoon ball helps the cookies bake at a similar pace, so you’re less likely to have a tray with pale centers and overly browned edges. Leave about 2 inches between them on the baking sheets so they have room to bake without crowding.
How Butter, Eggnog, and Nutmeg Shape Each Bite
- Unsalted butter — Butter gives the cookie its rich, tender crumb and carries the nutmeg aroma. Use butter softened enough to cream smoothly with the sugar; if it’s partly melted, the dough can turn greasy and lose structure. A good-quality everyday butter is plenty here.
- Egg yolk — The yolk binds the dough and adds richness without bringing in the extra moisture of a whole egg. Separate it carefully so no white slips into the bowl; the added white would change the dough’s balance and make it less tender.
- All-purpose flour — This gives the dough enough structure to hold the thumbprint shape while keeping the cookie delicate. Measure it without packing it into the cup, since excess flour can leave the dough dry and make the baked cookies dense.
- Ground nutmeg — Nutmeg scents both the cookie and the filling, so freshness matters more here than using an expensive brand. If your jar has been open for years and smells faint, the cookies will taste muted; freshly grated nutmeg also works in place of ground nutmeg.
- Eggnog — Eggnog supplies the filling’s defining flavor and loosens the powdered sugar into a smooth, spoonable icing. Use a familiar, good-tasting eggnog, since its flavor comes through directly. Stir it in until the filling is thick rather than runny.
- Powdered sugar — This dissolves into the eggnog more smoothly than granulated sugar, giving the center its fine texture. Break up any hard lumps before stirring so the finished filling doesn’t have dry pockets.
From Creamed Butter to Set Eggnog Centers
Cream the butter without warming it
Beat the softened butter and granulated sugar for about 2 minutes, until creamy and smooth. Scrape down the bowl if the mixture is clinging to the sides, then beat in the egg yolk and vanilla until combined. The butter should be soft enough to blend but not shiny or melted. Starting with melted butter makes it harder for the cookies to hold their shape.
Mix and chill the soft dough
Add the flour, fine salt, and nutmeg, then mix on low just until a soft dough forms. Stop as soon as the flour disappears; prolonged mixing can make the cookies tougher. Cover the bowl and chill the dough for 30 minutes. That rest gives you dough that rolls cleanly instead of sticking to your fingers.
Shape, fill the sheets, and bake evenly
Heat the oven to 350°F and line two large baking sheets with parchment paper. Roll the dough into 1-tablespoon balls, set them about 2 inches apart, and press a deep indentation into each with your thumb or the rounded end of a measuring spoon. Bake both sheets for 12 to 14 minutes, switching their positions and rotating them front to back halfway through. Look for set cookies with lightly golden bottoms rather than waiting for the tops to brown.
Make the wells and add the filling
While the cookies are hot, gently press their indentations again if the centers have puffed. Let them cool on the sheets for 5 minutes, then move them to a wire rack and wait until they’re completely cool before filling. Stir the powdered sugar, eggnog, and nutmeg in a small bowl until smooth and thick, then spoon about 1/2 teaspoon into each cookie. Let the filled cookies stand for about 20 minutes so the centers set.
Two Easy Ways to Change the Eggnog Thumbprints
A gluten-free batch with a cup-for-cup flour blend
Replace the all-purpose flour with a measure-for-measure gluten-free baking blend that includes xanthan gum, using the same volume. The cookies will keep the buttery thumbprint format, though the dough may feel a little more delicate while you roll it. Chill it as usual and handle the balls gently.
A cinnamon version for a softer spice note
Use ground cinnamon in place of the nutmeg in both the dough and filling, keeping each spice amount the same. Cinnamon gives the cookies a familiar, mellow warmth, while the eggnog still keeps the centers tied to the original flavor. The texture and shaping method stay the same.
A dairy-free adaptation
Use a firm dairy-free butter stick in place of the butter and dairy-free eggnog in the filling, keeping the listed amounts. Tub-style spreads tend to contain more water and can make the dough too soft. The result will have a slightly different buttery flavor, but the cookie-and-icing structure still works.
Keeping the Cookies Fresh
- Room temperature: Keep the cookies in an airtight container for up to 3 days. Separate layers with parchment to protect the centers.
- Freezer: Freeze the unfilled cookie bases in an airtight container for up to 2 months. Thaw them, then prepare and add the filling before serving.
- Reheating: These cookies don’t need reheating. Warming filled cookies can soften the eggnog centers, so let refrigerated cookies return to room temperature instead.
Questions That Come Up While Baking These Cookies
Eggnog Thumbprint Cookies
Ingredients
Equipment
Method
- Heat the oven to 350°F.
- Line two large baking sheets with parchment paper.
- In a large bowl, beat the softened butter and granulated sugar until creamy and smooth, about 2 minutes.
- Beat in the egg yolk and vanilla extract until combined.
- Add the flour, salt, and nutmeg; mix on low just until a soft dough forms.
- Cover and chill the dough for 30 minutes.
- Roll the dough into 1-tablespoon balls and arrange them about 2 inches apart on the prepared sheets.
- Press a deep indentation into each ball with your thumb or the rounded end of a measuring spoon.
- Bake both sheets for 12 to 14 minutes, switching their positions and rotating them front to back halfway through, until the cookies are set and their bottoms are lightly golden.
- Gently press the indentations again while the cookies are hot.
- Cool the cookies on the sheets for 5 minutes.
- Transfer the cookies to a wire rack and cool completely.
- Stir the powdered sugar, eggnog, and nutmeg in a small bowl until smooth and thick.
- Spoon about 1/2 teaspoon of filling into each cooled cookie and let stand until the filling sets, about 20 minutes.
