How to Create a Wooden Panel Wall with Shelves
Modern interiors thrive on simplicity, functionality, and natural beauty. A wooden panel wall with shelves embodies all these elements. It transforms a plain wall into a statement piece while offering…
Tip: save now, read later.Modern interiors thrive on simplicity, functionality, and natural beauty. A wooden panel wall with shelves embodies all these elements. It transforms a plain wall into a statement piece while offering practical storage and display space. Whether you want to enhance your living room, bedroom, or office, this project is a perfect blend of design and utility.
In this article, we will guide you through everything you need to know about wooden panel walls with shelves. We’ll explore design options, materials, step-by-step instructions, styling ideas, and maintenance tips. By the end, you’ll be ready to create your own stunning feature wall.
Why Choose a Wooden Panel Wall with Shelves?
Before diving into construction, it’s important to understand why this design has become so popular.
1. Adds Warmth and Texture
Wooden panels bring natural warmth to any interior. They soften modern spaces dominated by concrete, glass, or metal.
2. Maximizes Space
Floating shelves built into panels offer smart storage and display areas without cluttering the floor.
3. Increases Aesthetic Appeal
The combination of vertical lines and horizontal shelving creates visual balance. It becomes an instant focal point in any room.
4. Versatility
You can install it in living rooms, offices, dining spaces, or bedrooms. It works with both modern and traditional styles.
5. Adds Value
A custom wooden wall feature increases property appeal by giving interiors a designer finish.
Choosing the Right Wood for Panels
Wood selection plays a crucial role in durability, cost, and aesthetics.
Solid Wood
- Pros: Natural look, long-lasting, can be sanded and refinished.
- Cons: Expensive, heavy, may warp in humidity.
Plywood
- Pros: Affordable, versatile, available in many finishes.
- Cons: Less durable than solid wood, edges need sealing.
MDF (Medium Density Fiberboard)
- Pros: Smooth surface for painting, budget-friendly, consistent quality.
- Cons: Susceptible to water damage, not as strong as hardwood.
Veneered Panels
- Pros: Combines MDF or plywood core with natural wood veneer.
- Cons: More delicate, limited refinishing options.
👉 For most DIY projects, plywood or veneered panels are ideal due to affordability and ease of handling.
Planning the Wall Design
Step 1: Measure Your Wall
Accurate measurements are crucial. Determine wall height, width, and any obstacles like outlets or switches.
Step 2: Choose Panel Style
- Vertical Slats: Adds height and elegance.
- Horizontal Panels: Creates width and openness.
- Geometric Patterns: Modern and eye-catching.
Step 3: Decide Shelf Placement
Balance is key. Place shelves at varying heights, leaving enough space for books, plants, or décor.
Step 4: Sketch a Layout
Draw a simple diagram showing panels and shelves. This blueprint will guide your installation.
Tools and Materials You’ll Need
Here is a list of common tools and materials for creating a wooden panel wall with shelves:
| Tools | Materials |
|---|---|
| Tape measure | Wooden panels (plywood, MDF, or veneer) |
| Level | Floating shelf brackets |
| Stud finder | Shelves (matching wood type) |
| Drill and bits | Screws and wall anchors |
| Circular or table saw | Wood glue |
| Sandpaper | Wood stain or paint |
| Paintbrush or roller | Protective finish (varnish or sealant) |
Step-by-Step Guide to Building a Wooden Panel Wall with Shelves
Follow these steps carefully to create a professional finish.
Step 1: Prepare the Wall
- Clear furniture from the work area.
- Remove any nails, hooks, or fixtures.
- Clean the wall to ensure adhesion.
Step 2: Mark Stud Locations
- Use a stud finder to locate studs.
- Mark them with a pencil.
- This ensures strong support for shelves.
Step 3: Cut Panels to Size
- Measure and mark panel dimensions.
- Use a circular saw for precise cuts.
- Sand edges to smooth rough surfaces.
Step 4: Install Wooden Panels
- Apply construction adhesive at the back of each panel.
- Press against the wall, aligning with marked studs.
- Secure with nails or screws.
Step 5: Stain or Paint Panels
- Apply wood stain for a natural finish.
- For a modern look, paint the panels in matte black, white, or grey.
- Seal with varnish for durability.
Step 6: Install Floating Shelf Brackets
- Mark shelf positions on the wall.
- Drill holes into studs for maximum support.
- Attach brackets securely.
Step 7: Mount the Shelves
- Slide wooden shelves onto brackets.
- Check with a level to ensure alignment.
- Tighten screws to secure shelves.
Step 8: Final Touches
- Fill nail holes with wood filler.
- Touch up with stain or paint.
- Add decorative items to complete the look.
Styling Your Wooden Panel Wall
Once installed, the real fun begins: decorating!
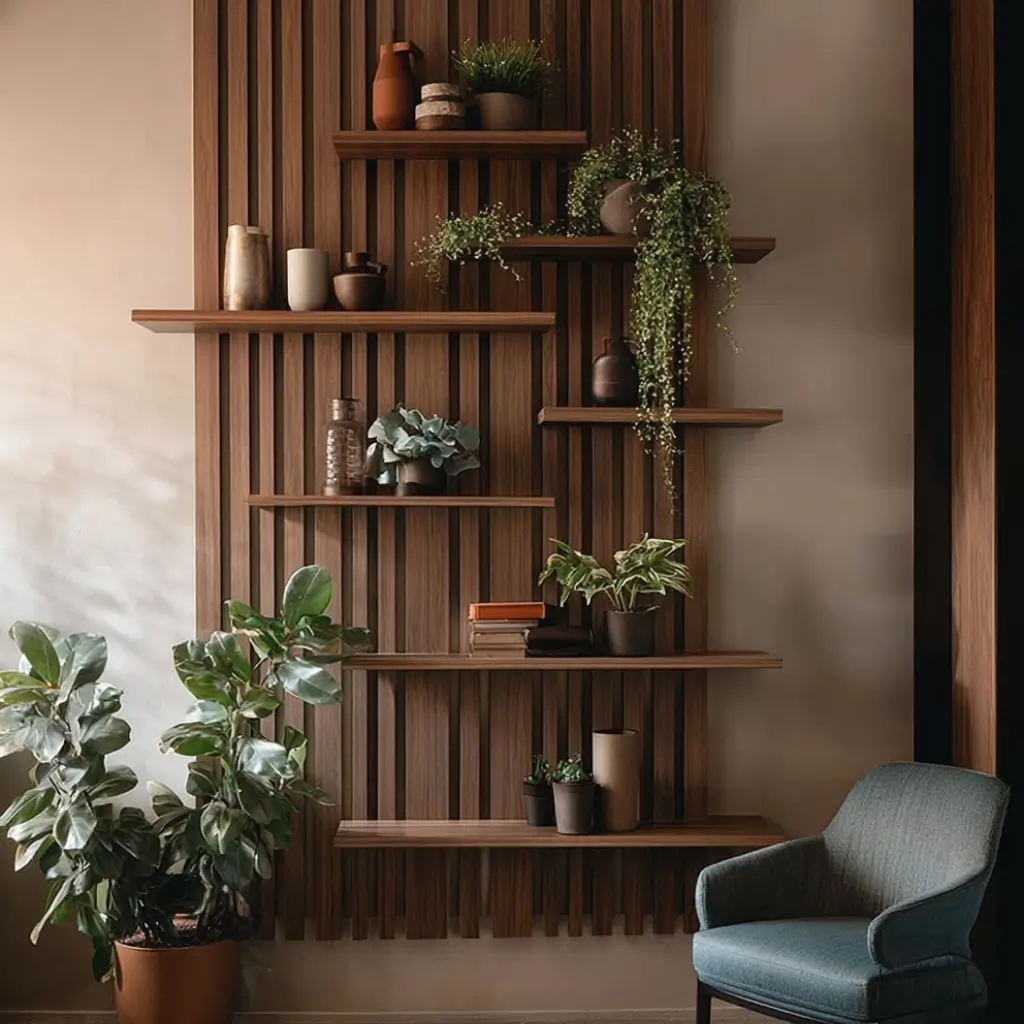
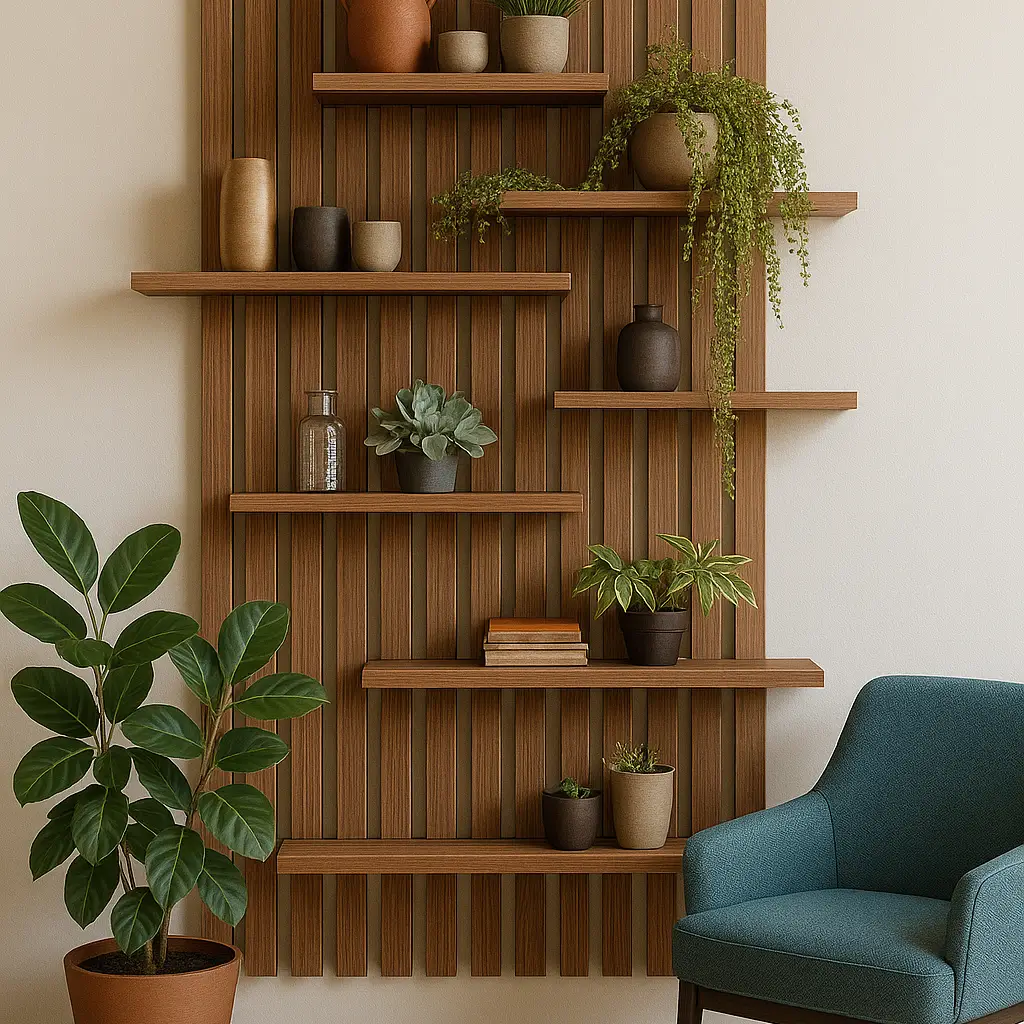
1. Greenery and Plants
Plants add life and contrast against the warm tones of wood. Hanging plants look especially beautiful on upper shelves.
2. Minimalist Décor
Keep the arrangement uncluttered. Use a mix of books, pottery, and framed photos.
3. Lighting
Install LED strip lights behind panels or under shelves. It creates depth and ambiance.
4. Seasonal Themes
Refresh décor items with the seasons—autumn pumpkins, winter candles, or spring flowers.
5. Mixed Textures
Combine ceramics, glass, and fabrics to create a layered visual effect.
Common Mistakes to Avoid
- Skipping wall prep: Dust or uneven walls reduce adhesion.
- Poor measurements: Leads to uneven shelves.
- Overloading shelves: Always check weight limits.
- Using the wrong wood finish: Avoid finishes that don’t protect against moisture.
- Ignoring electrical outlets: Plan around them before paneling.
Maintenance Tips
A wooden panel wall with shelves will last for years with proper care.
- Dust regularly with a microfiber cloth.
- Avoid excess moisture when cleaning.
- Check shelf brackets every few months for stability.
- Reapply finish every 2–3 years to maintain appearance.
Cost Estimate
Creating a wooden panel wall with shelves is budget-friendly compared to custom cabinetry.
| Item | Approx. Cost |
|---|---|
| Wooden panels (plywood) | $100 – $300 |
| Shelves (5–6 pieces) | $100 – $200 |
| Brackets and hardware | $50 – $100 |
| Stain, paint, sealant | $40 – $100 |
| Tools (if not owned) | $100 – $200 |
👉 Total Estimated Cost: $300 – $900, depending on materials and size.
Final Thoughts
A wooden panel wall with shelves is more than just a home improvement project. It’s a functional design feature that transforms ordinary walls into artistic statements. With the right materials, planning, and care, you can create a stunning wall that showcases your personality while adding value to your home.
Whether you’re displaying books, plants, or collectibles, this project offers the perfect balance of elegance and practicality. Start small with one feature wall, and you’ll be surprised how much it elevates your living space.