

Juicy Roast Turkey
The skin can turn deep golden while the center of the turkey is still catching up, which is why color alone never tells me when to pull a roast from…
Tip: save now, read later.
The skin can turn deep golden while the center of the turkey is still catching up, which is why color alone never tells me when to pull a roast from the oven. For this Juicy Roast Turkey, I start with an unbrined bird and give the salt time to work before roasting. That simple bit of planning helps season the meat beyond the surface, while the butter tucked under the skin adds richness where the breast needs it most.
A 12- to 14-pound turkey serves 10, and the oven stays at a steady 325°F. The cavity gets a loose handful of onion, lemon, thyme, and rosemary—not bread stuffing—so the aromatics can scent the meat without packing it tight. Once the thermometer reaches 165°F in both the breast and thigh, a 30-minute rest gives me time to set out the carving board while the turkey settles into juicy slices.
Kitchen Note
Read the turkey label before you buy it: this method is for an unbrined bird, not one that’s been injected, seasoned, or labeled self-basting. Those birds already contain salt, and adding the full dry brine can leave the meat too salty.
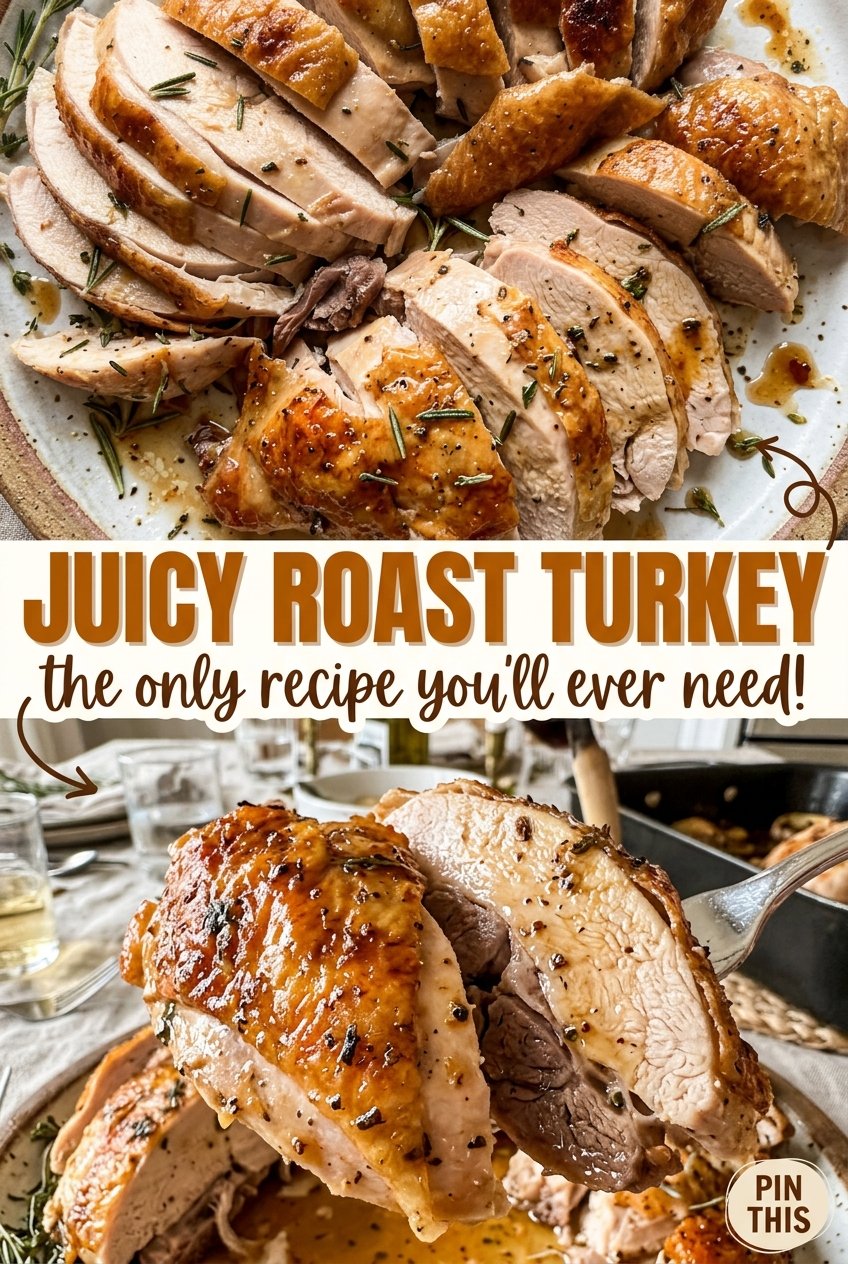
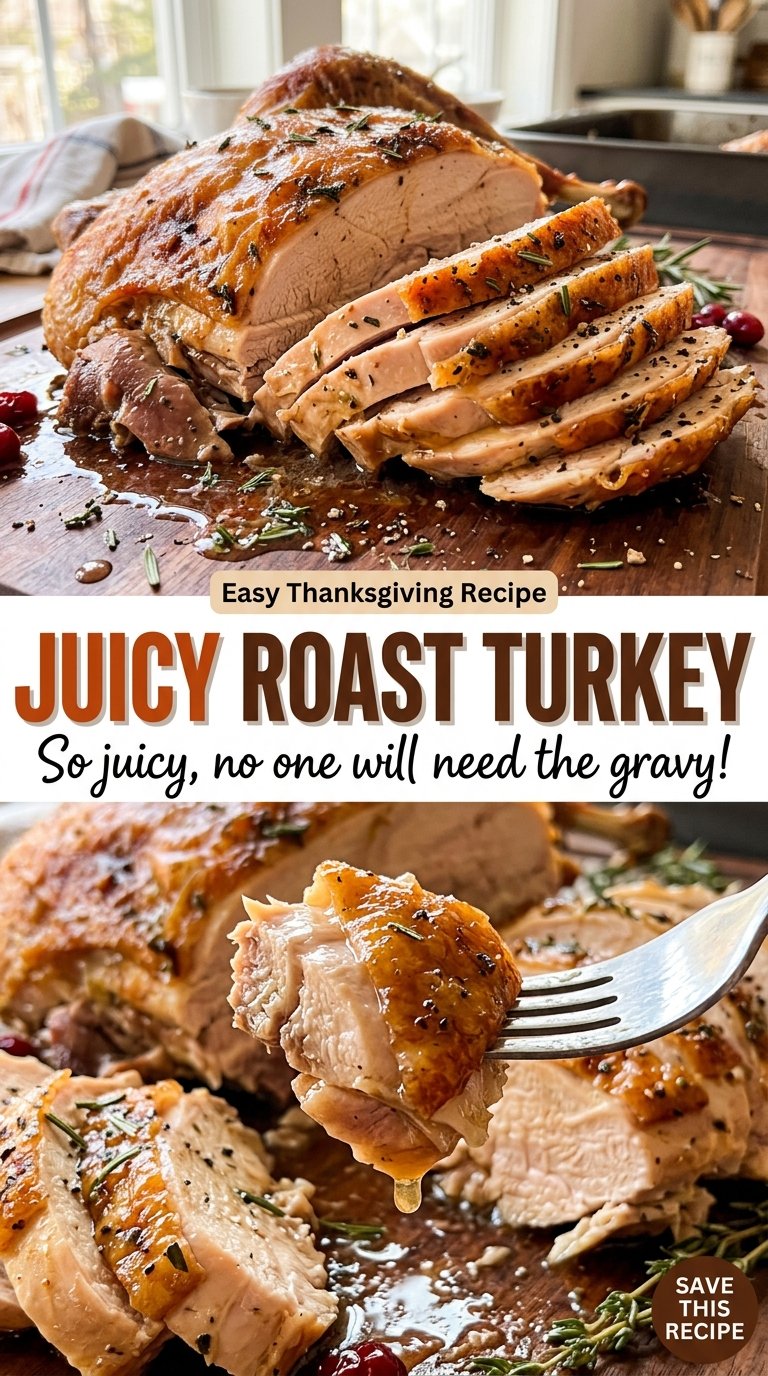
Save this Juicy Roast Turkey for its golden buttered skin and tender slices, with the overnight dry brine doing the seasoning work ahead of time.
Why This Turkey Needs an Uncovered Salt Rest
Salt needs time to move from the surface into the meat, and a quick sprinkle right before roasting can’t do the same job. Giving an unbrined turkey at least 12 hours—and up to 24 hours—in the refrigerator lets the seasoning reach farther into the breast and thighs. I spread it over the outside and inside the cavity, rather than concentrating it in one spot.
Leaving the turkey uncovered on a rack also matters. The refrigerator’s dry air helps the surface lose excess moisture, which gives the skin a better chance to brown instead of staying damp. Set the bird breast-side up in the 16×13-inch roasting pan, then leave it undisturbed while it rests in the refrigerator. The rack keeps it elevated in the pan, and that open space around the bird is part of the method—not an invitation to cover it with plastic wrap.
That advance rest is useful because the roasting itself is a long, steady stretch, not a last-minute fix. A well-dried surface and evenly distributed salt give the butter and aromatics a better starting point when the turkey goes into the oven.
What the Butter, Salt, and Aromatics Each Bring
- Unbrined whole turkey — A fresh or fully thawed bird in the 12- to 14-pound range fits the timing here. There isn’t a reliable shortcut for a much larger bird: it needs its own timing, so choose the size this method is built around.
- Diamond Crystal kosher salt — The large, light crystals are easy to scatter evenly over the skin and inside the cavity. Different salt brands have different crystal sizes, so I wouldn’t swap in table salt by the same volume and expect the seasoning to land the same way.
- Unsalted butter — Softened butter is easy to blend with the pepper and garlic, and it spreads beneath the skin without needing to melt first. Unsalted butter keeps the dry-brined turkey’s seasoning more controlled; salted butter isn’t a direct swap here.
- Garlic and black pepper — Minced garlic mixes into the softened butter, so its flavor follows the fat under the skin instead of sitting in one patch. Freshly ground pepper gives a more pronounced aroma, but ordinary ground black pepper works in the same mixture.
- Onion, lemon, thyme, and rosemary — These go in the cavity to lend fragrance as the turkey roasts. Fresh herbs suit the loose aromatic filling; if you’re missing one, leave it out rather than packing the cavity with extra ingredients or measuring dried herbs as though they were fresh.
From Dry Brine to Rested, Carvable Turkey
Salt the Bird and Give It Refrigerator Time
Pat the fresh or fully thawed turkey dry, then sprinkle the kosher salt evenly over the outside and inside the cavity. Set it breast-side up on a rack in a 16×13-inch roasting pan and refrigerate it uncovered for at least 12 hours and up to 24 hours. Keep the turkey on the rack for this rest rather than laying it directly in the pan. Take it out 45 minutes before roasting, and preheat the oven to 325°F.
Work the Garlic Butter Under the Skin
Stir the softened butter together with the black pepper and minced garlic until the mixture looks evenly speckled. Gently loosen the skin over the breast and thighs with your fingers, taking care not to tear it. Rub the butter mixture under the loosened skin, then spread it over the outside of the turkey. If a little butter gathers in one area, use your fingers to distribute it rather than pressing hard on the skin.
Fill the Cavity Loosely and Roast
Place the quartered onion and lemon, thyme, and rosemary loosely inside the cavity; don’t compress them into a tight bundle. Tuck the wing tips under the turkey, then roast at 325°F for 3 to 3¾ hours. Begin checking the temperature after 2½ hours, since ovens and individual birds vary. If the skin browns deeply before the meat is ready, tent the turkey loosely with foil. Check the thickest part of the breast and the innermost part of the thigh with a thermometer, avoiding bone; both spots need to read 165°F.
Rest Before You Carve
Transfer the turkey to a cutting board when it reaches temperature and tent it loosely with foil. Leave it to rest for 30 minutes before carving. Cutting into it right away lets the juices run onto the board, while the rest gives the meat time to settle before you slice.
Three Simple Ways to Change the Aromatics
A gentler herb aroma
Leave out the rosemary and keep the thyme with the onion and lemon in the cavity. The result is a quieter, more delicate herbal note without changing the butter rub or roasting method.
Garlic-free butter rub
Skip the minced garlic and mix the softened butter with the pepper alone. You’ll keep the rich coating under the skin, but the turkey’s flavor will be less savory and pungent.
Onion-and-lemon cavity
Use the onion and lemon in the cavity and leave out both herbs. This keeps the aromatic filling bright and simple, with no change to the turkey’s seasoning or oven time.
Storage and Reheating
- Refrigerator: Carve the turkey after its rest and refrigerate leftovers within 2 hours. Keep them for 3 to 4 days; the skin softens once chilled.
- Freezer: Freeze carved turkey in airtight portions for best quality within 2 to 6 months. Thaw frozen portions in the refrigerator.
- Reheating: Reheat only the amount you plan to serve, covered, until it reaches 165°F. Repeated heating dries out the breast, so avoid warming the whole batch more than once.
Questions That Come Up Before the Turkey Goes in the Oven
Juicy Roast Turkey
Ingredients
Equipment
Method
- At least 12 hours and up to 24 hours before roasting, pat the turkey dry and sprinkle the Diamond Crystal kosher salt evenly over the outside and inside the cavity. Place it breast-side up on a rack in a 16x13-inch roasting pan and refrigerate uncovered.
- Take the turkey out of the refrigerator 45 minutes before roasting and preheat the oven to 325°F.
- Mix the softened unsalted butter, black pepper, and minced garlic.
- Gently loosen the skin over the breast and thighs, then rub the butter mixture under the skin and over the turkey’s exterior.
- Loosely fill the cavity with the quartered yellow onion, quartered lemon, fresh thyme, and fresh rosemary.
- Tuck the wing tips under the turkey.
- Roast at 325°F for 3 to 3 3/4 hours, starting to check the temperature after 2 1/2 hours; if the skin browns deeply before the turkey is done, tent it loosely with foil. The turkey is done when a thermometer inserted into the thickest part of the breast and the innermost part of the thigh, without touching bone, reads 165°F.
- Transfer the turkey to a cutting board, tent loosely with foil, and rest for 30 minutes before carving.
