

Make-Ahead Turkey Gravy
The turkey wings come out of the oven dark at the edges, and the vegetables have little browned spots that smell like the start of a proper holiday gravy. I…
Tip: save now, read later.
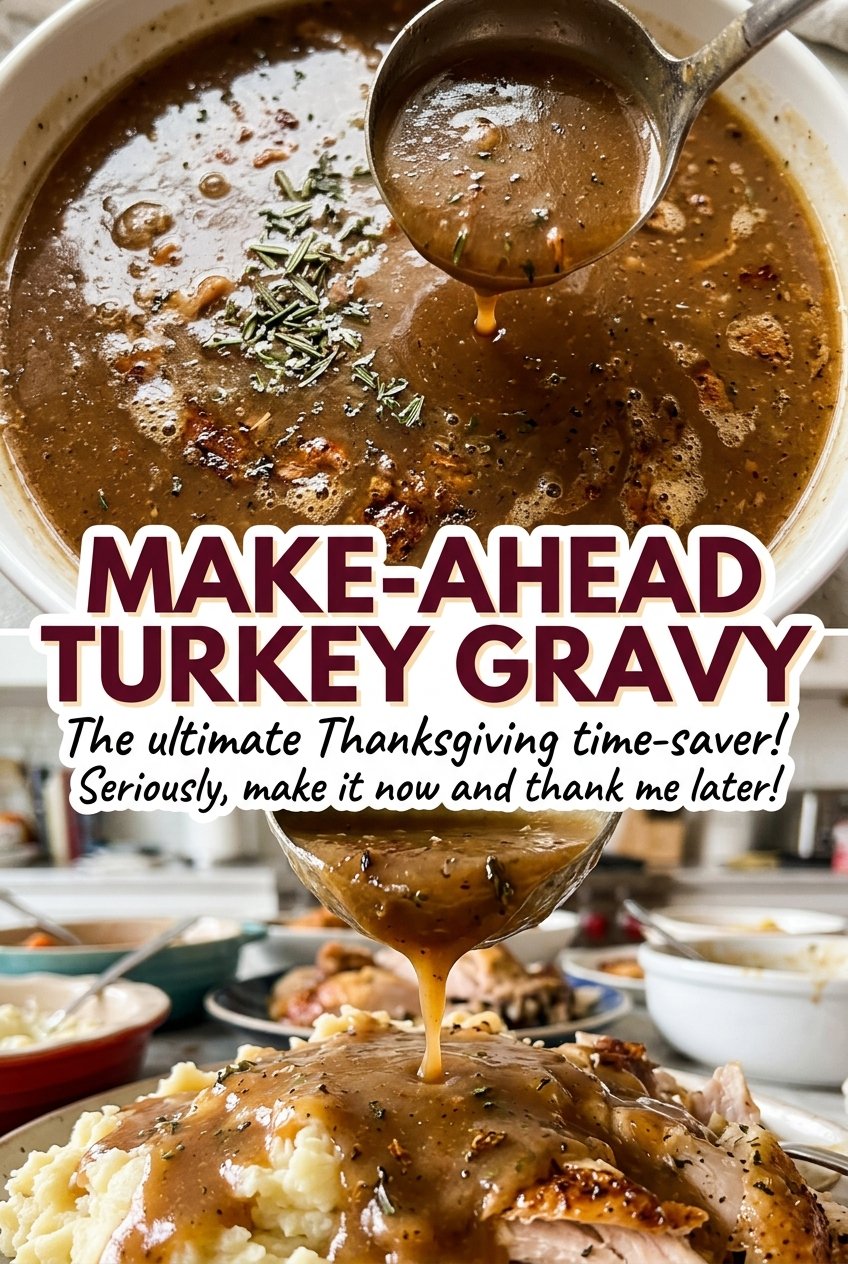
The turkey wings come out of the oven dark at the edges, and the vegetables have little browned spots that smell like the start of a proper holiday gravy. I make the stock before I need the gravy, which means the sauce can be finished without waiting for a roast turkey to come out of the oven. This make-ahead turkey gravy has a full, savory base from roasted wings, onion, celery, and carrot, then gets its smooth texture from a butter-and-flour roux.
Roasting the wings and vegetables first gives the stock a deeper flavor than simmering everything raw. I also keep the stock at a gentle simmer rather than letting it boil hard; that steady, quiet heat is easier to manage during the long cook. Once the stock is strained, the gravy comes together in one saucepan, and it’s ready to chill or freeze until the meal.
Kitchen Note
Keep the stock at a gentle simmer for the full two hours, with the pot only partially covered. A rolling boil isn’t needed here; steady, low bubbling is easier to hold while the wings and vegetables give up their flavor.
Save this make-ahead turkey gravy for a smoother holiday meal: roasted-wing stock, a classic roux, and a sauce you can prepare before serving day.
Why Roasting the Wings First Changes the Stock
Turkey stock can taste a little flat when the ingredients go straight into the pot. Here, the wings roast before they simmer, so their browned surfaces lend the stock a deeper, more savory base. The onion, celery, and carrot roast on the same sheet, picking up color at the edges rather than softening immediately in water.
The timing gives each ingredient room to brown: the wings start on their own, then the vegetables join for the final stretch. That order matters because the vegetables need less oven time than the wings. Look for deep color on the wings and browned edges on the vegetables, not pale, steamed-looking surfaces. Those roasted flavors carry through the strained stock and make a simple butter-and-flour gravy taste more rounded, even though the gravy itself has only salt and pepper for seasoning.
This also makes the make-ahead part practical. The stock gets its flavor from ingredients you can roast and simmer before you need to finish the sauce. You aren’t depending on pan drippings from a whole turkey, so the gravy can be ready on its own schedule.
Why Turkey Wings and a Pale Roux Make This Gravy Work

- Turkey wings — Wings give the stock a more substantial base than lean turkey meat alone. Roasting them first adds browned flavor, so they’re doing more than simply lending the pot a turkey taste.
- Onion, celery, and carrot — This familiar trio builds the stock’s aromatic backbone. Cut them into the listed pieces so they roast alongside the wings and transfer easily to the stockpot; the onion is quartered, while the celery and carrot are cut into larger pieces.
- Unsalted butter and all-purpose flour — Together, these make the roux that thickens the gravy. Unsalted butter leaves the seasoning in your hands, while all-purpose flour gives the sauce its classic roux-thickened body. A different flour or thickener would change the method, so I keep this version with all-purpose flour.
- Kosher salt and black pepper — They season the finished gravy without crowding the roasted flavor. Since the stock is reduced and the gravy thickens as it simmers, taste the finished sauce before deciding whether it needs any adjustment beyond the listed seasoning.
Roast, Simmer, Then Whisk the Gravy Smooth
Brown the Wings Before Adding the Vegetables
Heat the oven to 425°F. Toss the turkey wings with the vegetable oil on an 18×13-inch rimmed baking sheet and roast them for 45 minutes. Add the quartered onion, celery pieces, and carrot chunks, then roast for another 30–45 minutes. The wings should be deeply browned and the vegetables browned at the edges; if they still look pale, give them the full time in that range.
Turn the Roasted Pan into Six Cups of Stock
Move the roasted wings and vegetables to an 8-quart stockpot. Pour 2 cups of the water onto the baking sheet and scrape up the browned bits, then add that liquid to the pot with the remaining 8 cups water. Bring it to a boil, lower the heat to a gentle simmer, and cook partially covered for 2 hours. Strain the stock and measure out 6 cups for the gravy.
Whisk in the Stock Gradually
Melt the butter in a 3-quart saucepan over medium heat, whisk in the flour, and keep whisking for 3–4 minutes. The roux is ready when it turns pale golden; don’t let it get deeply brown, since this gravy is built around a light roux. Gradually whisk in the measured turkey stock, salt, and pepper so the liquid incorporates smoothly instead of forming floury lumps. Simmer for 5–10 minutes, whisking often, until the gravy coats the back of a spoon.
Two Small Adjustments for the Finish
Choose a deeper roasted note
For a more pronounced roasted flavor, let the wings and vegetables stay in the oven toward the longer end of their roasting window, watching for the deeply browned wings and browned vegetable edges. The stock will taste fuller and darker, while the ingredient list stays exactly the same.
Make the finished gravy a little more substantial
Let the sauce simmer toward the longer end of its stated range, whisking often, and stop when it coats the back of a spoon. The result is a thicker, more substantial pour than gravy that comes off the heat as soon as it reaches that coating texture. Keep the roux and stock proportions unchanged.
Storage and Reheating
- Refrigerator: Transfer the gravy to shallow containers and refrigerate within 2 hours. It keeps for up to 3 days; it may thicken as it chills.
- Freezer: Freeze for up to 3 months. Thaw it overnight in the refrigerator before reheating.
- Reheating: Warm it in a saucepan over medium-low heat for 10–15 minutes, stirring often, until it reaches 165°F. Don’t turn the heat up high to rush it; frequent stirring helps the gravy warm evenly.
Questions About Making Turkey Gravy Ahead
Make-Ahead Turkey Gravy
Ingredients
Equipment
Method
- Heat the oven to 425°F.
- Toss the turkey wings with the vegetable oil on an 18x13-inch rimmed baking sheet and roast for 45 minutes.
- Add the onion, celery, and carrot to the baking sheet and roast for 30–45 minutes, until the wings are deeply browned and the vegetables are browned at the edges.
- Transfer the wings and vegetables to an 8-quart stockpot.
- Pour 2 cups of the water onto the baking sheet and scrape up the browned bits.
- Pour this liquid into the pot with the remaining 8 cups water.
- Bring the stock to a boil.
- Reduce the heat to a gentle simmer and cook partially covered for 2 hours.
- Strain the stock and measure out 6 cups.
- Melt the butter in a 3-quart saucepan over medium heat.
- Whisk in the flour and cook, whisking constantly, for 3–4 minutes, until the roux is pale golden.
- Gradually whisk in the 6 cups turkey stock, salt, and pepper.
- Simmer for 5–10 minutes, whisking often, until the gravy coats the back of a spoon.
- Transfer the gravy to shallow containers and refrigerate within 2 hours for up to 3 days, or freeze for up to 3 months.
- If frozen, thaw the gravy overnight in the refrigerator.
- Reheat it in a saucepan over medium-low heat for 10–15 minutes, stirring often, until it reaches 165°F.
