
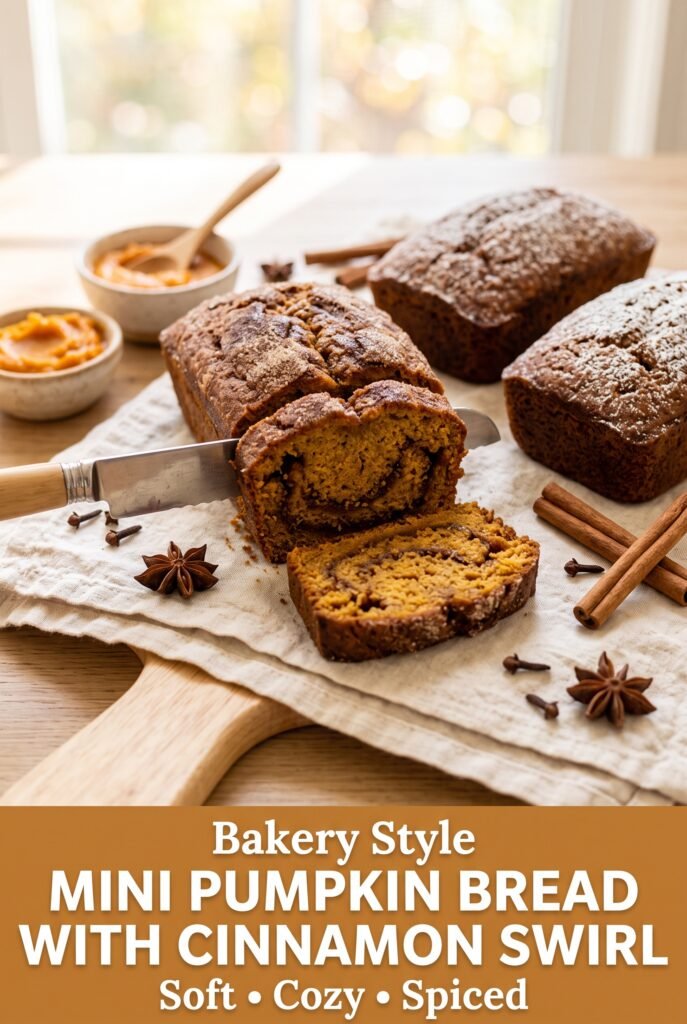
Mini Pumpkin Bread with Cinnamon Swirl
Pumpkin bread gets even better when you shrink it into mini loaves and run a cinnamon swirl through the middle. The smaller size gives you tender edges, a soft crumb,…
Tip: save now, read later.
Pumpkin bread gets even better when you shrink it into mini loaves and run a cinnamon swirl through the middle. The smaller size gives you tender edges, a soft crumb, and those ribbons of brown sugar cinnamon in every slice without waiting an hour for a full-sized loaf to bake. It’s the kind of bake that disappears fast because the crust-to-crumb ratio is just right.
What makes this version work is the balance of moisture and structure. Pumpkin purée keeps the crumb soft, while oil gives it a plush texture that stays tender for days. The swirl isn’t just decorative, either — the melted butter helps the cinnamon sugar melt into a gooey layer instead of staying dry and sandy. A light hand with the mixing matters here. Overmixing turns quick bread dense, and rough swirling can drag the filling to the bottom.
Below, I’ll show you how to layer the batter so the swirl stays visible, how to tell when the mini loaves are done, and a few smart swaps if you need to work with what’s already in your pantry.
The loaves came out super moist and the cinnamon swirl stayed in neat ribbons instead of sinking. I baked mine for 31 minutes and they sliced cleanly once cooled.
Save these mini pumpkin bread loaves for a soft crumb and cinnamon swirl that bakes into every slice.
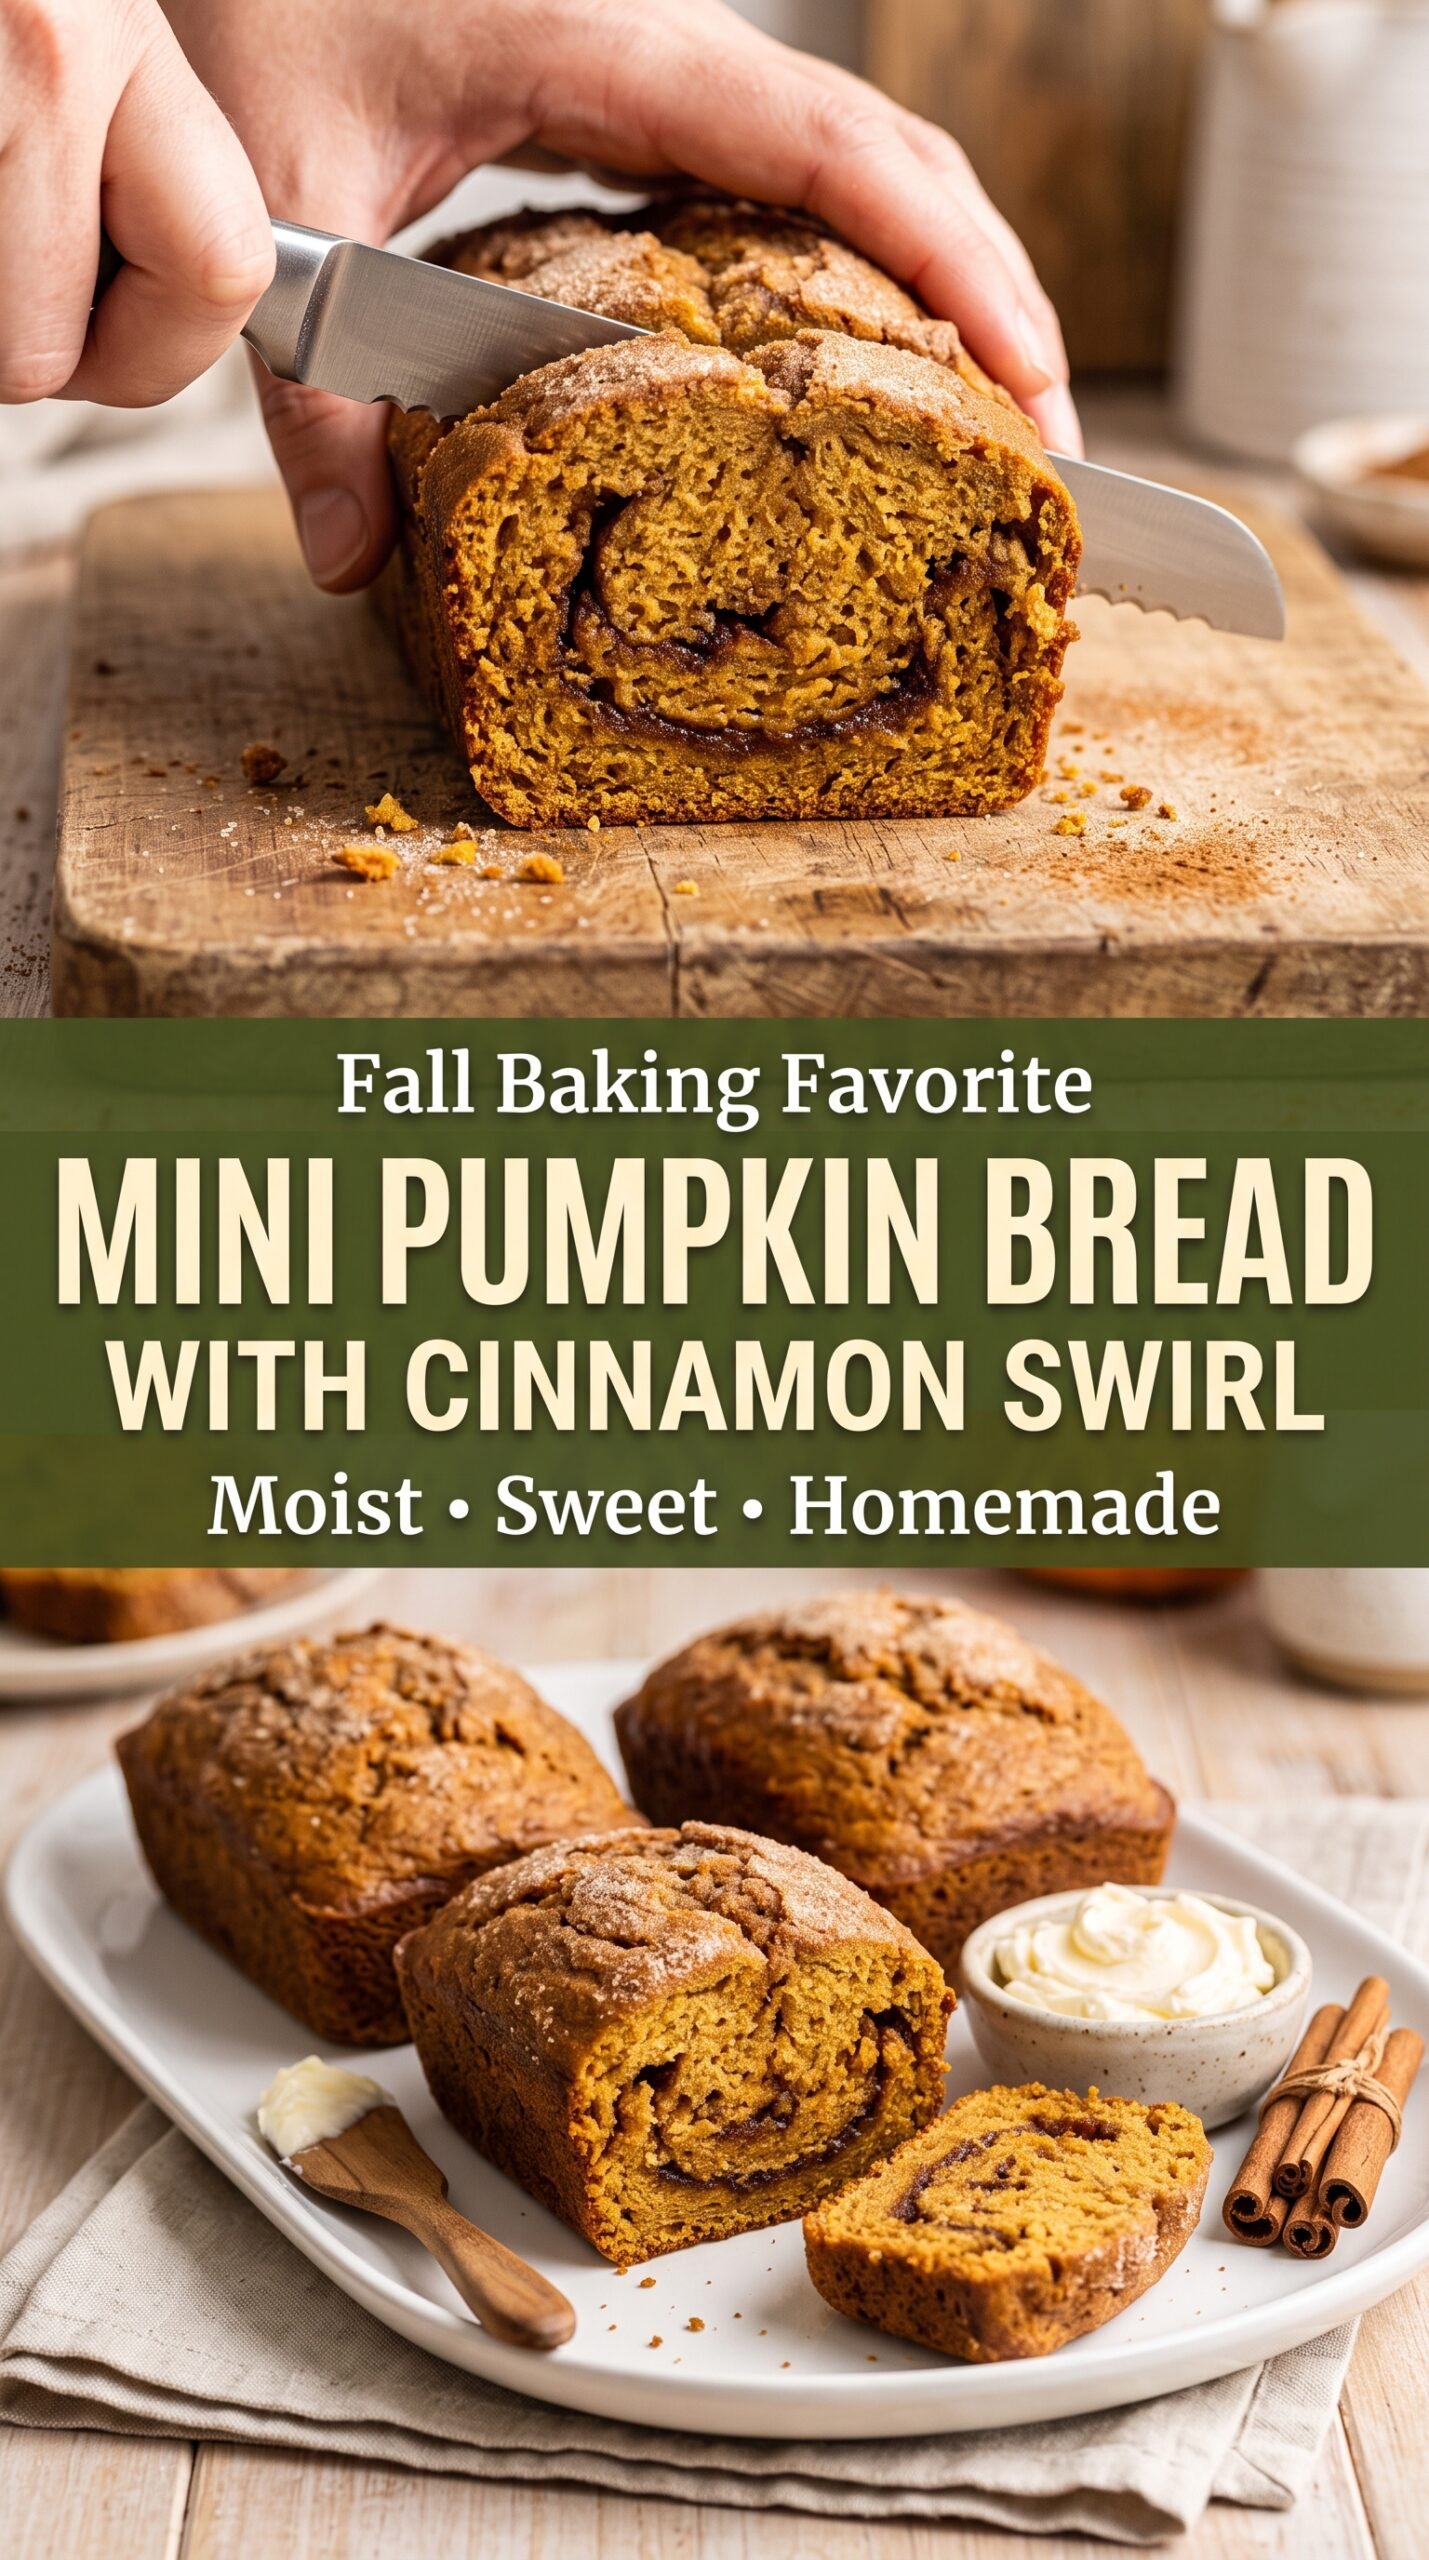
The Trick to Keeping the Cinnamon Swirl from Sinking
The swirl layer wants to slide if the batter is too thin or the filling is too wet. That’s why the brown sugar, cinnamon, and melted butter should look like damp sand, not a pourable paste. If the mixture runs, it disappears into the batter instead of sitting between the layers where you want it.
Mini loaf pans help here because the shorter bake time sets the structure before the swirl has a chance to settle. You also get more control over the layering. A thin first layer of batter, a generous middle layer of cinnamon sugar, then the rest of the batter gives you a clear ribbon without overworking the knife.
- Pumpkin purée — Use plain pumpkin purée, not pumpkin pie filling. Pie filling already contains sugar and spices, which throws off both the texture and the balance of the loaf.
- Vegetable oil — Oil keeps the bread moist longer than butter does. Melted butter can work in a pinch, but the crumb will be a little firmer once cooled.
- Brown sugar — The light brown sugar in both the batter and the swirl adds moisture and a deeper caramel note. Dark brown sugar works too, but it will make the flavor a touch stronger.
- Mini loaf pans — These matter for baking time and texture. If you use one standard loaf pan instead, the center needs much longer and the swirl can sink before the batter sets.
Building the Batter and Layering the Swirl
Mix the Dry Ingredients First
Whisk the flour, baking soda, baking powder, salt, pumpkin pie spice, and cinnamon until the spices are evenly dispersed. That keeps you from biting into a pocket of baking soda or a streak of spice. If the dry mix looks clumpy, break it up now; once it hits the wet ingredients, overmixing becomes the bigger risk.
Bring the Wet Ingredients Together
Whisk the oil and sugars until the mixture looks smooth and a little glossy, then add the eggs one at a time. The pumpkin purée goes in next, followed by vanilla. The batter will look thick and slightly grainy at first, but it should come together into a cohesive mixture before the flour goes in.
Stop Mixing as Soon as the Flour Disappears
Fold the dry ingredients into the wet just until no streaks of flour remain. A few tiny lumps are fine. What ruins quick bread is aggressive stirring after the flour is hydrated, which tightens the crumb and makes the loaf tough instead of tender.
Layer the Cinnamon Filling, Don’t Stir It In
Spoon batter into each mini pan halfway, add a generous layer of cinnamon sugar, then top with the rest of the batter. Drag a butter knife through once or twice in a loose zigzag. If you swirl too much, the layers blend into the batter and you lose the ribbon effect that makes these loaves worth baking.
Three Ways to Make These Mini Loaves Fit What You Need
Dairy-Free Without Losing the Tender Crumb
This recipe is already close to dairy-free if you use vegetable oil in the batter. For the swirl, swap the melted butter for melted coconut oil or a neutral dairy-free butter. Coconut oil firms up a little as it cools, so the swirl sets nicely, while dairy-free butter gives you the closest flavor to the original.
Gluten-Free With the Right Flour Blend
A 1:1 gluten-free baking blend works best here if it includes xanthan gum. The batter will look a little thicker than the wheat version, and that’s fine. Don’t use almond flour alone; it won’t hold the mini loaves together the same way and the centers can sink.
Turning Them Into One Standard Loaf
The batter can be baked in one 8×4-inch or 9×5-inch loaf pan, but the bake time will stretch well beyond the mini loaves. Start checking around 50 minutes and expect it to take closer to 60 to 70 minutes depending on the pan. The center should spring back lightly and a tester should come out with a few moist crumbs, not wet batter.
Storage and Reheating
- Refrigerator: Store in an airtight container for up to 5 days. The swirl stays soft, but the crumb will firm slightly by day two.
- Freezer: These loaves freeze well. Wrap each cooled loaf tightly, then place in a freezer bag for up to 3 months.
- Reheating: Thaw at room temperature, then warm slices in a 300°F oven for 5 to 8 minutes. Microwaving too long can make the swirl greasy and the crumb rubbery.
Questions I Get Asked About This Recipe
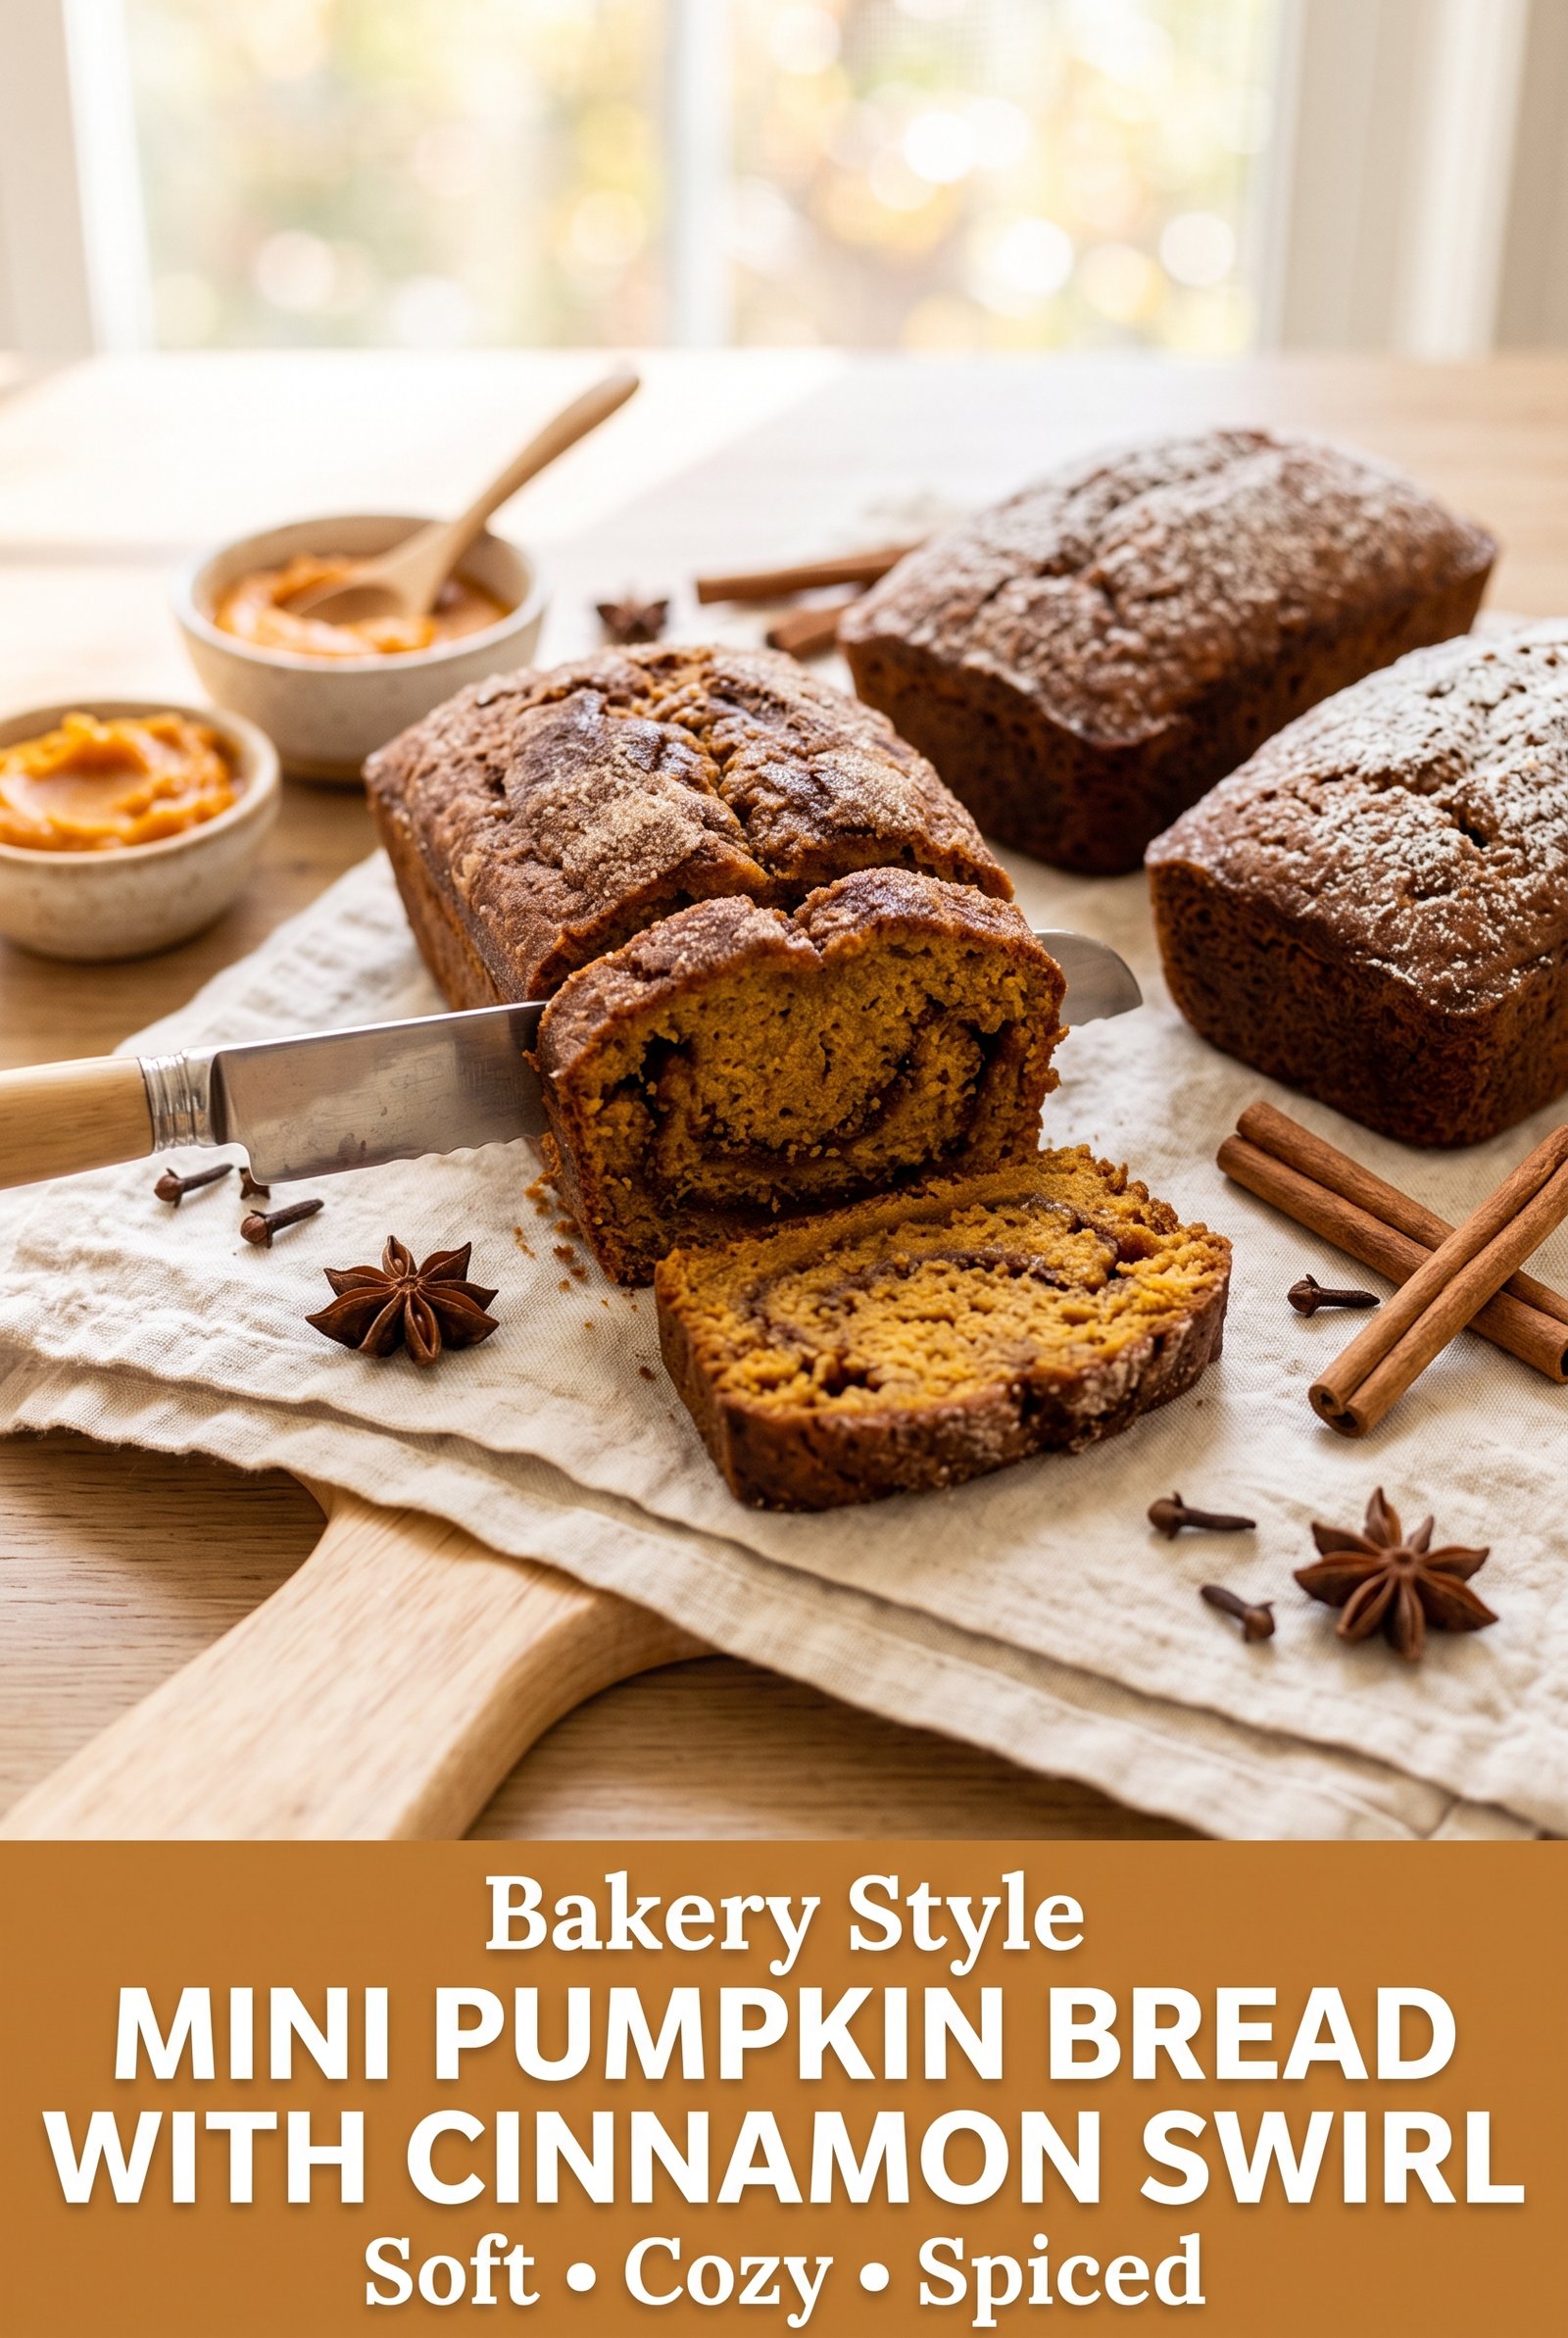
Mini Pumpkin Bread with Cinnamon Swirl
Ingredients
Equipment
Method
- Preheat the oven to 350°F. Grease and lightly flour 4 mini loaf pans or line them with parchment paper.
- Whisk together the flour, baking soda, baking powder, salt, pumpkin pie spice, and ground cinnamon in a medium bowl until evenly combined and no spice clumps remain.
- Combine the vegetable oil, granulated sugar, and brown sugar in a large bowl. Whisk until smooth and glossy.
- Add the eggs one at a time, whisking after each until the mixture looks uniform.
- Mix in the pumpkin purée and vanilla extract until fully combined, with no streaks of pumpkin visible.
- Fold the dry ingredients into the wet ingredients just until no dry flour remains. Stop mixing as soon as the batter is cohesive to avoid toughness.
- Stir together the brown sugar, cinnamon, and melted butter until the swirl mixture resembles damp sand with a crumbly texture.
- Fill each mini loaf pan halfway with batter. Aim for an even layer so the swirl distributes consistently.
- Sprinkle a generous layer of the cinnamon mixture over the batter. Keep the layer thick enough to form ribbons.
- Add the remaining batter to each pan and finish with the remaining cinnamon mixture on top. Distribute the topping so it covers most of the surface.
- Swirl gently with a butter knife in small figure-eight motions. Use light pressure so the layers stay distinct.
- Bake for 28–35 minutes at 350°F, until a toothpick inserted into the center comes out with only a few moist crumbs attached and the tops look set.
- Cool in the pans for 10 minutes. Transfer to a wire rack and cool completely so the crumb firms up.
- Slice and serve warm or at room temperature. Serve when the center is no longer wet-glossy.
