
No-Bake Graveyard Pudding Cups with Cookie Tombstones
A bowl of chocolate pudding looks familiar until the cookie crumbs go on and a Milano cookie turns into a tiny tombstone. These no-bake graveyard pudding cups are a fun…
Tip: save now, read later.
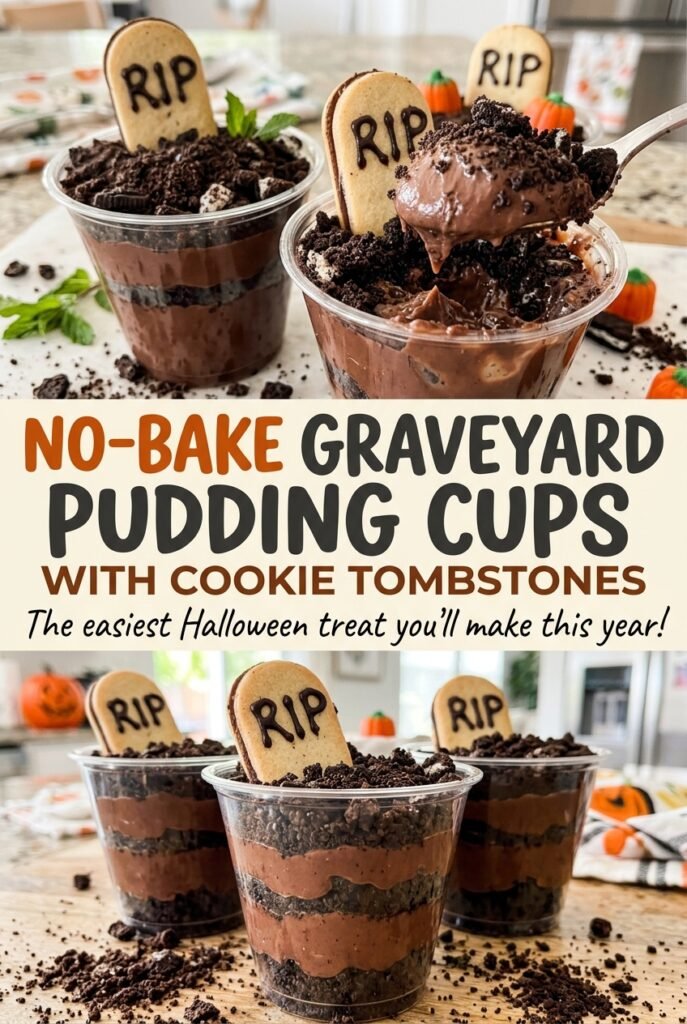
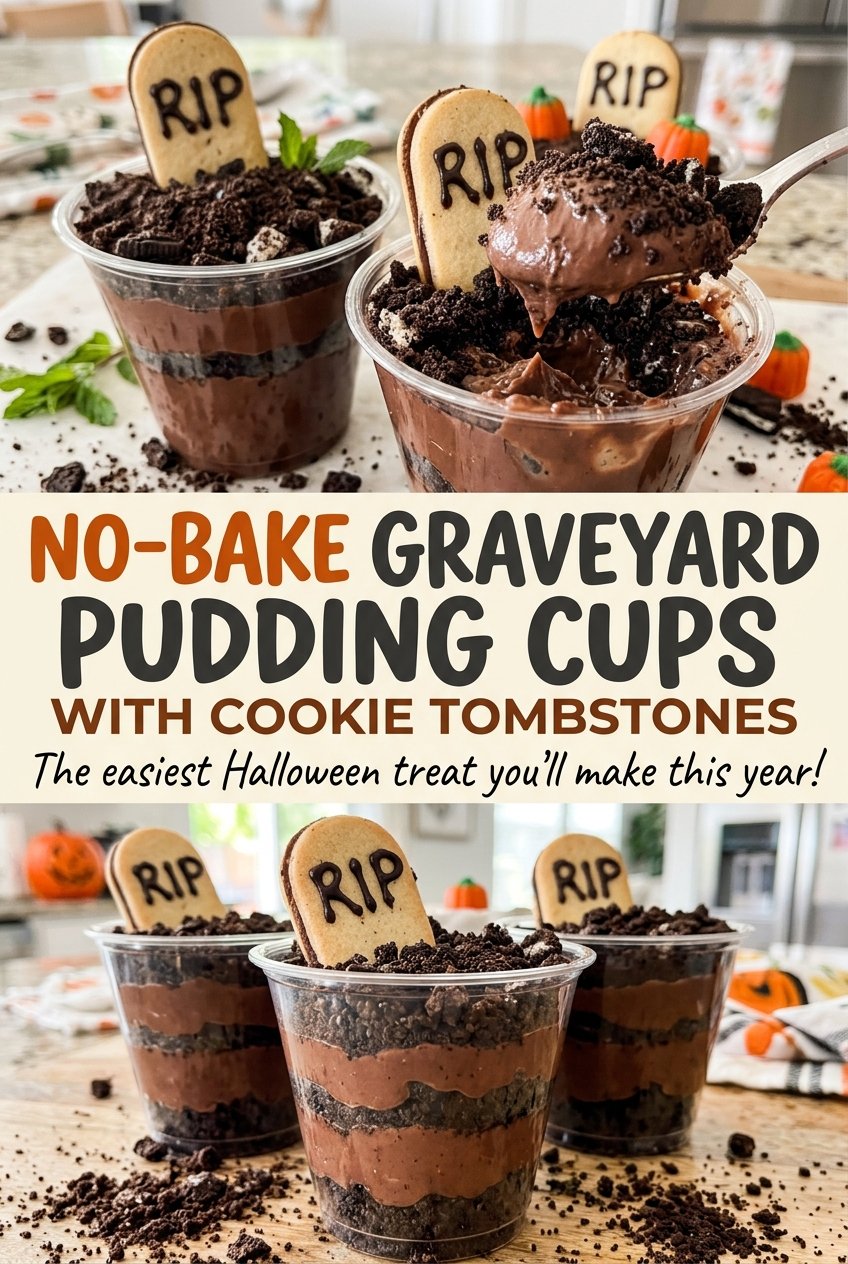
A bowl of chocolate pudding looks familiar until the cookie crumbs go on and a Milano cookie turns into a tiny tombstone. These no-bake graveyard pudding cups are a fun way to give a simple chocolate dessert a Halloween-ready finish, without turning on the oven or building a complicated project. Each cup gets its own cookie “dirt,” tombstone, and gummy worm, so the decorations stay easy to portion and serve.
I like that the pudding does the quiet work while it chills. Whisk the instant mix with cold milk until it starts to thicken, divide it into cups, and let the refrigerator set the base before you decorate. That order gives the crumbs a firm surface to sit on and keeps the tombstones from disappearing into soft pudding. The finished cups have a smooth chocolate layer under fine cookie crumbs, with a little black RIP lettering and one gummy worm peeking out.
Kitchen Note
Divide the pudding soon after the two-minute whisk. It starts thickening in the bowl, and waiting makes it harder to portion evenly into the cups.
Save these No-Bake Graveyard Pudding Cups with Cookie Tombstones for a no-oven Halloween treat with chocolate cookie dirt and gummy worms.
Why Individual Cups Make the Graveyard Easier to Serve
These are more than a cute way to portion pudding. An individual cup keeps the cookie topping, tombstone, and gummy worm together as one serving, so nobody has to scoop through a decorated dish and disturb the rest of the scene. The eight cups also give you a simple way to divide the pudding evenly before chilling, rather than guessing how much to spoon out at serving time.
There’s a useful balance in each one: the pudding gives the cookie crumbs a dark base, while the crumbs create the “ground” that makes the white Milano cookie stand out. Keeping the decorations to one tombstone and one worm per cup makes the look clear instead of crowded. It also means the toppings are easy to adjust if you’re decorating with kids or setting the cups out for a group. Each portion is ready to pick up and serve, with no slicing or last-minute assembly at the table.
What the Pudding Mix, Cookie Crumbs, and Milano Cookies Each Do
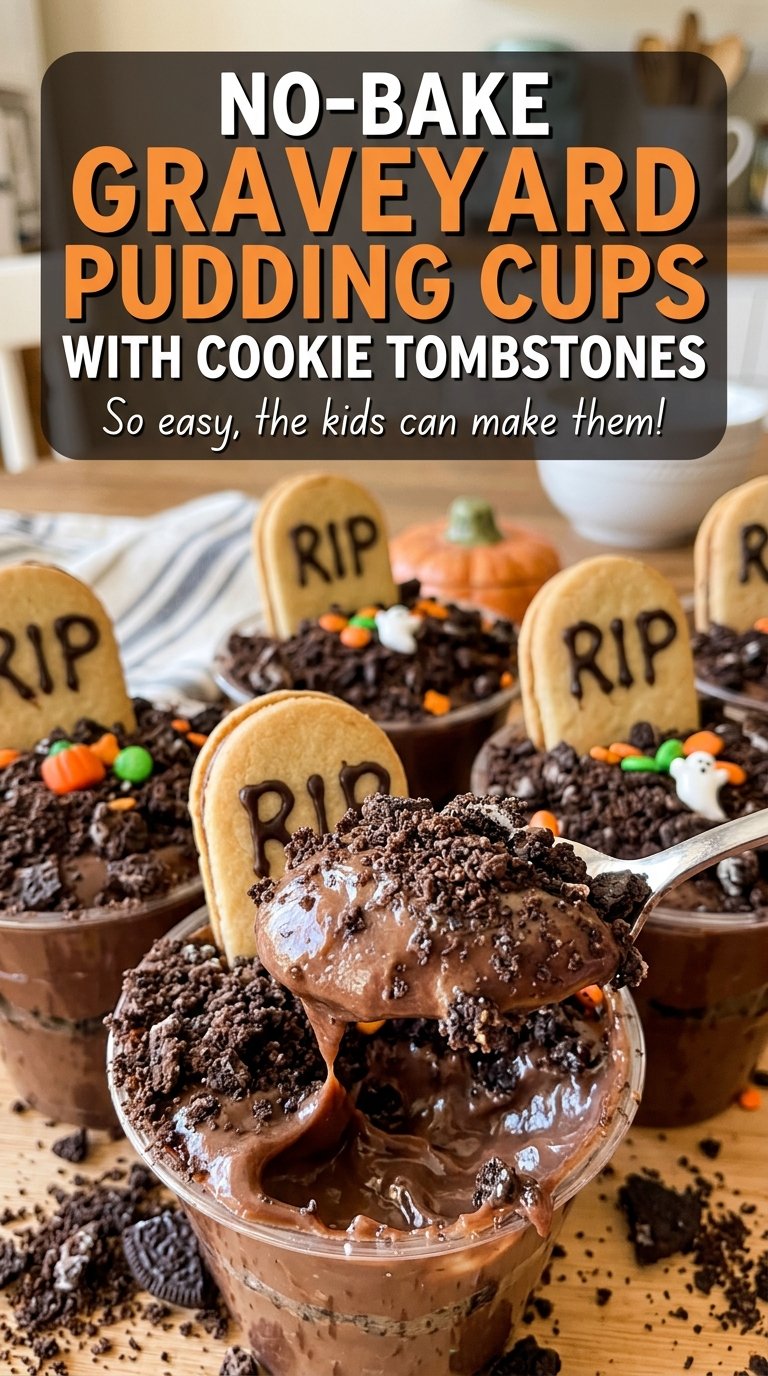
- Chocolate instant pudding mix — Instant mix is what lets the pudding thicken without cooking. Use instant pudding rather than cook-and-serve; the latter needs a different preparation and won’t work with this no-cook method.
- Cold milk — Cold milk helps the instant mix thicken as you whisk. Use milk straight from the refrigerator, and keep the same milk-to-mix ratio so the pudding sets to a spoonable texture rather than turning loose.
- Chocolate sandwich cookies — Their chocolate wafers make the dark crumb topping, and crushing them finely gives the cups an even “dirt” layer. There’s no need to separate the sandwich cookies before crushing; the filling stays with the crumbs.
- Milano cookies — Their long, flat shape gives you a ready-made tombstone with room to write RIP. Choose cookies that are intact rather than cracked, since a broken edge is harder to insert neatly into the pudding.
- Black decorating icing — The tube gives you control for writing small letters on each cookie. Black stands out against the pale cookie, so the RIP lettering is easy to see above the chocolate crumbs.
- Gummy worms — One worm adds the bright, recognizable finishing detail. Keep them whole for the graveyard look; cutting them into pieces makes the decoration less distinct.
Set the Pudding Before You Build the Graveyard
Whisk Until the Mix Starts to Thicken
Add the instant pudding mix and cold milk to a large bowl, then whisk for 2 minutes. The mixture should look smooth and begin to thicken, with no dry pockets of powder clinging to the bowl. Divide it among eight 8-ounce cups while it’s still easy to pour and spoon. If you wait until it has become very thick in the bowl, getting equal portions takes more scraping and fussing.
Give Each Cup Time to Set
Refrigerate the cups for at least 1 hour, until the pudding is set. The surface should hold its shape rather than ripple like a liquid when the cup is moved gently. Don’t add the cookie crumbs while the pudding is still loose; they’ll sink into the chocolate instead of sitting as a distinct layer. If the centers still look fluid after the first hour, leave the cups in the refrigerator longer.
Make a Fine Cookie Layer
Crush the chocolate sandwich cookies into fine crumbs, about 2 cups in all. Aim for small, even pieces rather than a mix of dust and large chunks, which can leave the topping patchy. Divide the crumbs over the set pudding cups so each serving gets its own layer. Keep the crumbs on top rather than stirring them into the pudding, which preserves the dirt-over-chocolate look.
Add the RIP Tombstones and Worms
Write “RIP” on each Milano cookie with the black decorating icing before placing it in a cup. Insert one decorated cookie into each serving, then add one gummy worm. Set the lettering where it can be seen above the crumbs; pushing the cookie too far down hides the detail you just added. The cups are ready once all eight have their tombstone and worm.
Two Simple Ways to Adapt the Graveyard Cups
Make a Gluten-Free Version
Replace the chocolate sandwich cookies with gluten-free chocolate sandwich cookies and use a firm gluten-free rectangular cookie in place of the Milanos. Choose gluten-free black decorating icing and gummy worms, too. The crumb texture may vary a little by cookie, but you’ll still get the chocolate “dirt” and upright tombstone effect.
Leave Off the Worms for a Cleaner Look
Skip the gummy worm in each cup and keep the cookie crumbs and RIP tombstone. The result looks simpler and keeps the chocolate-and-cookie contrast as the main decoration, while the pudding and the rest of the assembly stay the same.
Storage and Reheating
- Refrigerator: Cover the cups and refrigerate for up to 3 days. The cookie crumbs and Milano tombstones soften as they sit.
- Freezer: Freezing isn’t a good fit; thawed pudding can turn watery, and the cookies lose their texture.
- Reheating: These cups are served cold, so reheating isn’t needed. Keep them refrigerated until serving rather than leaving the dairy pudding out.
Questions That Come Up While Making These Pudding Cups
No-Bake Graveyard Pudding Cups with Cookie Tombstones
Ingredients
Equipment
Method
- Whisk the pudding mix and cold milk in a large bowl for 2 minutes, until the mixture is smooth and begins to thicken.
- Divide the pudding among 8 (8-ounce) cups.
- Refrigerate for at least 1 hour, until set.
- Crush the chocolate sandwich cookies into fine crumbs.
- Divide the crumbs over the set pudding cups.
- Write “RIP” on each Milano cookie with decorating icing.
- Insert one cookie into each cup.
- Add one gummy worm to each cup.
