
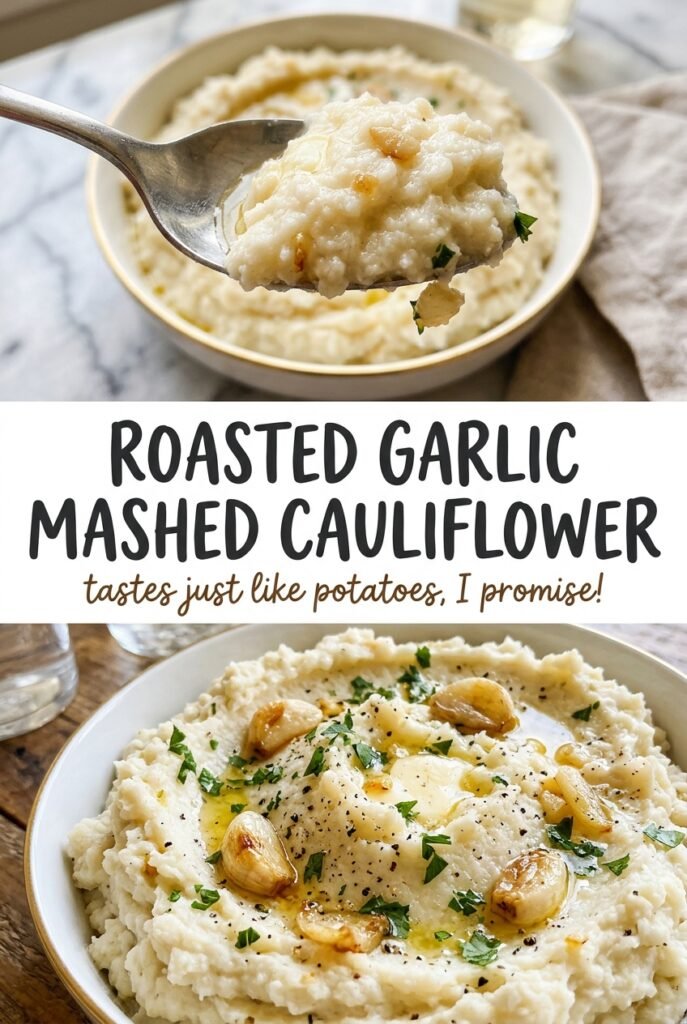
Roasted Garlic Mashed Cauliflower
When the cauliflower comes off the pan, the browned edges smell nutty and the florets are tender all the way through. That’s the point where roasted garlic mashed cauliflower starts…
Tip: save now, read later.
When the cauliflower comes off the pan, the browned edges smell nutty and the florets are tender all the way through. That’s the point where roasted garlic mashed cauliflower starts to taste like more than a stand-in for mashed potatoes. Roasting gives the cauliflower color before it goes into the food processor, and the garlic turns soft enough to squeeze straight from its papery skin.
I roast the garlic and cauliflower together on one sheet pan, but give the garlic a head start so it has time to soften while the florets brown. Then butter and warm cream round out the mash without hiding the roasted flavor. The result is smooth and creamy, with a mellow garlic taste and little browned notes from the oven in every bite.
Kitchen Note
Warm the cream before it goes into the food processor. Cold cream cools the hot cauliflower and butter, while warm cream blends in smoothly and keeps the finished mash plush.
Save this roasted garlic mashed cauliflower for a cozy side with golden roasted edges and a smooth, buttery finish.
Why Roasting Keeps Cauliflower Mash From Turning Watery
Cauliflower holds a lot of moisture, and that matters once you puree it. Roasting gives water a chance to evaporate from the florets while their edges brown. The cauliflower goes into the food processor tender but not waterlogged, so the butter and cream can make it rich without the mash tasting thin.
That browned surface adds another layer: a little sweetness and savory depth that steaming or boiling won’t create. Spread the florets around the garlic in one layer so hot air can reach them. If the pieces are piled up, they’ll soften in their own steam instead of picking up those golden spots. Turn them once halfway through, then let the oven do the rest. You’re looking for fork-tender centers and visible browning, not dark, dried-out edges. Those roasted bits are part of the flavor, so don’t scrape them off before processing.
What the Cauliflower, Garlic, and Cream Each Bring
- Cauliflower — Choose a firm head with compact florets and no soft spots. Cutting it into evenly sized pieces helps everything roast at the same pace. Fresh cauliflower gives the best chance of browned edges and a mash that isn’t watery.
- Whole garlic — Roasting the head keeps the cloves protected as they soften, taking away the sharp bite of raw garlic. Pick a firm head rather than using minced or jarred garlic; those won’t roast the same way or give you the soft cloves this method blends into the mash.
- Olive oil — It helps the cauliflower brown and keeps the garlic from drying as it roasts. A basic olive oil is fine here; there’s no need for an especially peppery or expensive bottle. A neutral cooking oil works in its place, though it won’t add quite the same olive-oil note.
- Unsalted butter — Butter gives the puree a rounded, savory richness. Unsalted butter lets the salt stay under your control, which matters because salt goes on the cauliflower before roasting and into the processor at the end. For a dairy-free version, use the replacement in the variation below.
- Heavy cream — Its fat makes the cauliflower feel creamy rather than simply pureed. Lower-fat milk adds liquid without the same richness and can leave the mash thinner. Unsweetened oat cream is the closest easy dairy-free stand-in; use it in the same amount and warm it before blending.
Roast the Garlic and Cauliflower Until Their Cues Are Clear
Give the Garlic a Foil-Wrapped Head Start
Heat the oven to 425°F. Cut 1/4 inch from the top of the garlic head to expose the cloves, set it on foil, and drizzle it with 1 teaspoon olive oil. Wrap the garlic in the foil and set it on an 18×13-inch rimmed baking sheet to roast for 10 minutes while you prepare the cauliflower. Keep the foil closed around the head so the cloves soften instead of drying out.
Spread the Florets Out for Browning
Toss the 1 1/2-inch cauliflower florets with the remaining 2 teaspoons olive oil and 3/4 teaspoon kosher salt. Spread them around the garlic in a single layer on the baking sheet; crowded florets won’t brown as well. Roast for 30 to 35 minutes, turning the cauliflower once halfway through. The florets should be fork-tender with browned edges, and the garlic cloves should feel soft inside their skins.
Squeeze the Garlic Into the Processor
Open the foil carefully, then squeeze the softened cloves out of their skins and into a 10-cup food processor. Add the roasted cauliflower and butter. Warm the heavy cream in a microwave-safe cup for 20 to 30 seconds. Warming it now means it’s ready to blend as soon as the cauliflower and butter are in place.
Process to a Creamy Finish
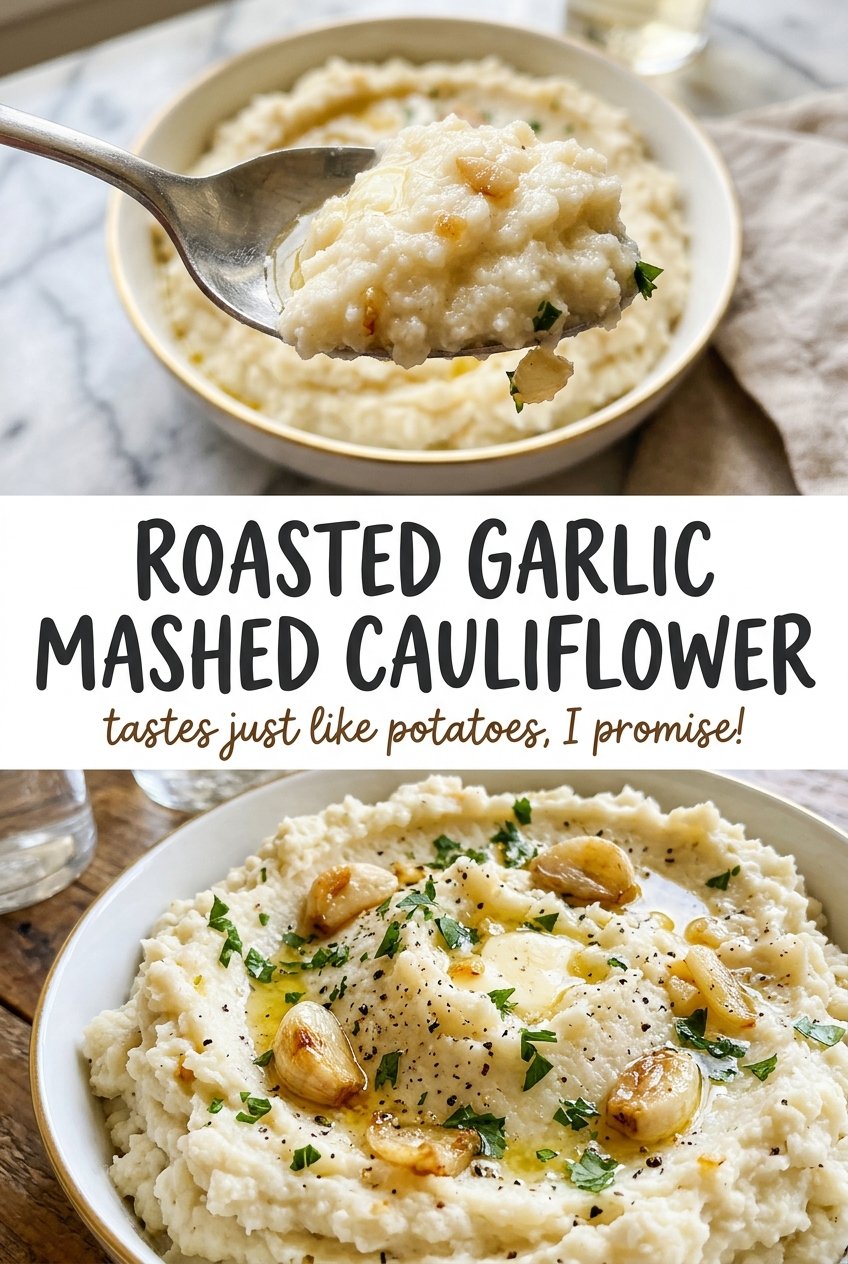
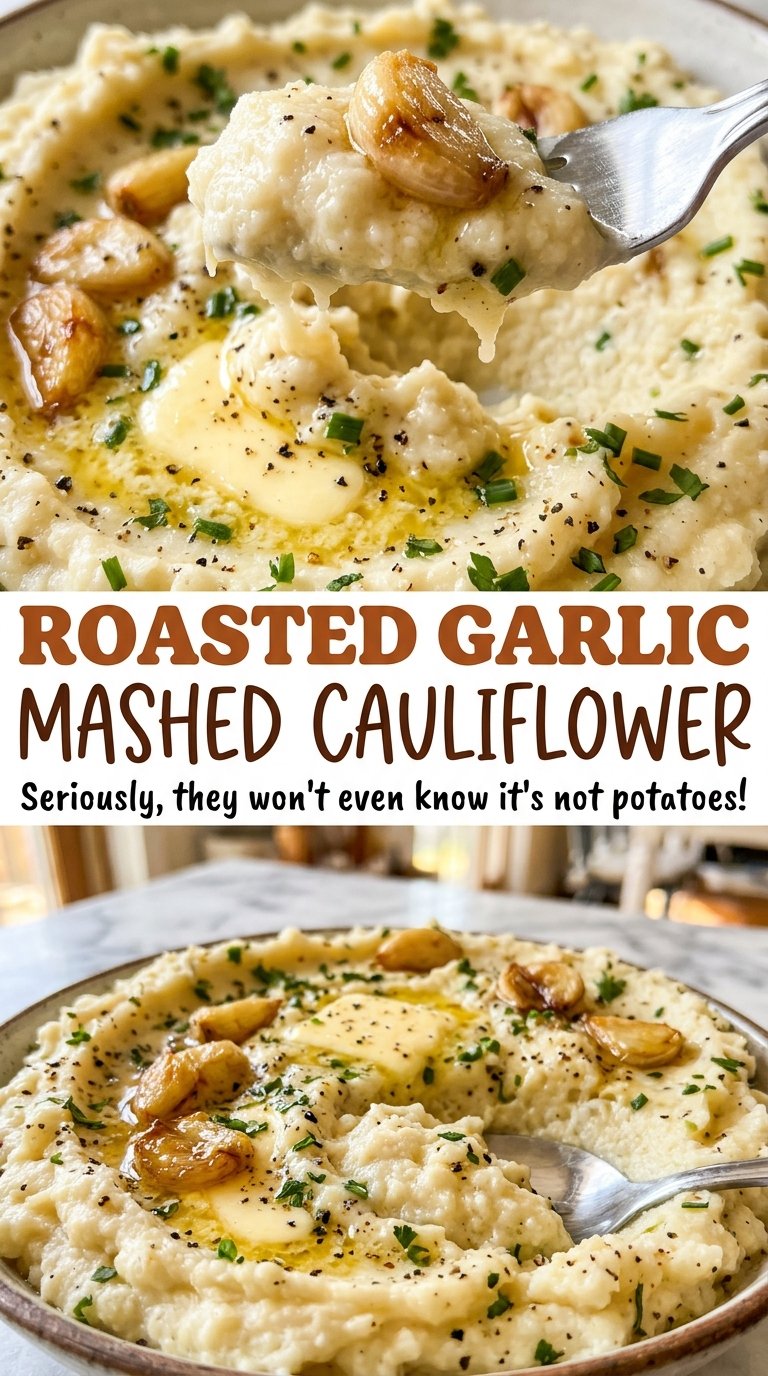
Add the warm cream, remaining 1/4 teaspoon kosher salt, and black pepper to the food processor. Process until creamy, scraping down the sides as needed so the garlic and butter don’t cling above the blade. Stop when the puree looks smooth and evenly blended. The finished mash should hold together on a spoon, with the roasted garlic distributed throughout.
Three Ways to Change the Texture or Flavor
Make It Dairy-Free
Replace the butter with the same amount of dairy-free butter and the heavy cream with the same amount of unsweetened oat cream. Warm the oat cream before processing, just as you would the dairy cream. The mash stays creamy, though the flavor will be a little less buttery.
Leave It Rustic Instead of Silky
Use a potato masher in a large bowl instead of the food processor, working the roasted garlic, butter, and cream into the cauliflower. The result will be less uniform, with tender little pieces throughout, but it’s a good fit if you prefer a more textured side.
Keep the Garlic Flavor Milder
Squeeze in only half of the roasted cloves before processing, then add more if you want a stronger garlic note. With fewer cloves, the cauliflower comes through more clearly and the mash tastes gentler. Save any extra roasted cloves for another use.
Storage and Reheating
- Refrigerator: Store leftovers in a covered container for 3 to 4 days. The mash firms up as it chills, then softens as it warms.
- Freezer: Freeze in an airtight container for up to 2 months. The texture may be a little softer or less smooth after thawing.
- Reheating: Warm gently in a saucepan over low heat, stirring often, or microwave in short intervals and stir between them. If it has thickened, stir in a small splash of cream; heat leftovers to 165°F. Avoid high heat, which can make the edges hot before the center is warm.
Questions That Come Up While Making This Cauliflower Mash
Roasted Garlic Mashed Cauliflower
Ingredients
Equipment
Method
- Preheat the oven to 425°F.
- Cut 1/4 inch off the top of the garlic head to expose the cloves.
- Set the garlic on a piece of foil and drizzle with 1 teaspoon olive oil.
- Wrap the garlic in foil and place it on an 18x13-inch rimmed baking sheet.
- Roast the garlic for 10 minutes while you prepare the cauliflower.
- Toss the cauliflower with the remaining 2 teaspoons olive oil and 3/4 teaspoon salt.
- Spread the cauliflower around the garlic in a single layer.
- Roast for 30 to 35 minutes, turning the cauliflower once halfway through, until it is fork-tender and browned and the garlic cloves are soft.
- Squeeze the garlic cloves out of their skins into a 10-cup food processor.
- Add the cauliflower and butter to the food processor.
- Warm the heavy cream in a microwave-safe cup for 20 to 30 seconds.
- Add the warm cream, remaining 1/4 teaspoon salt, and black pepper to the food processor.
- Process until creamy, scraping down the sides as needed.
