

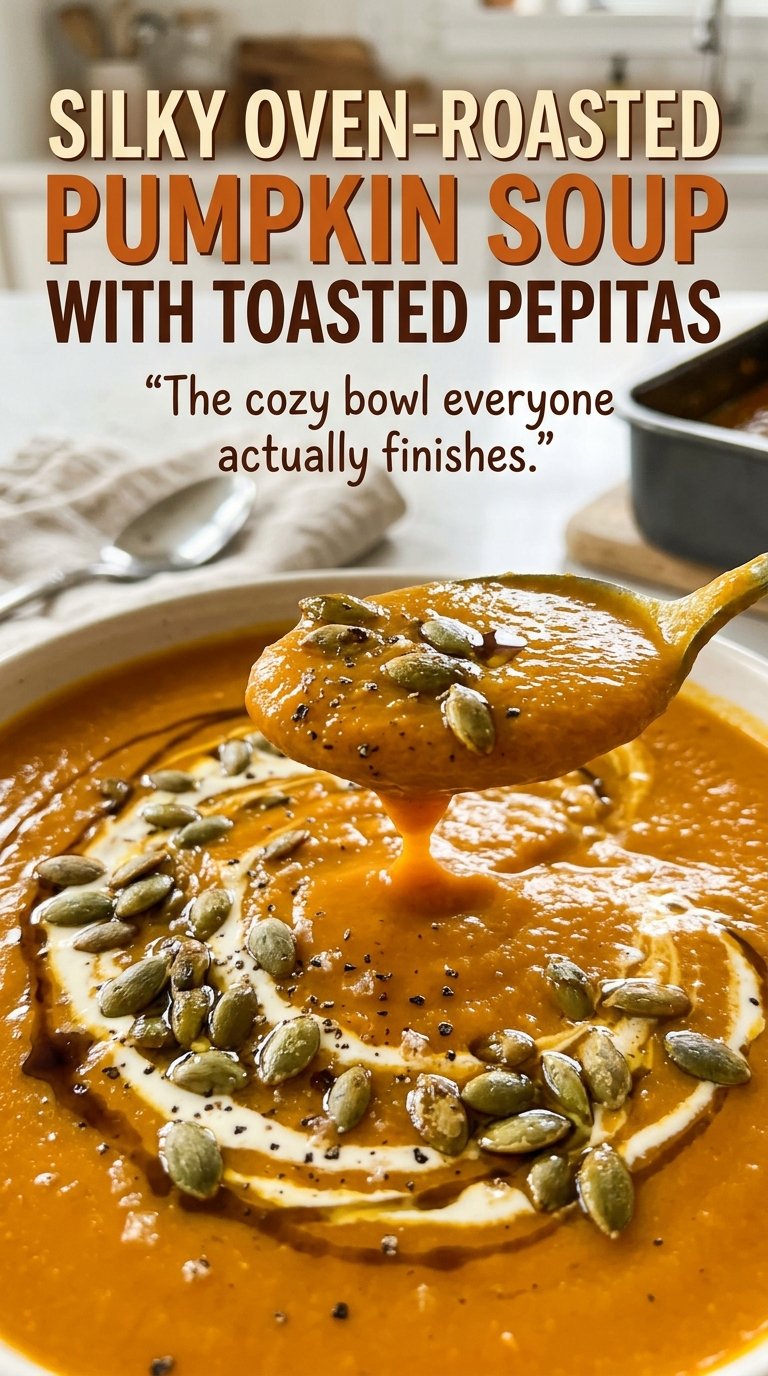
Silky Oven-Roasted Pumpkin Soup with Toasted Pepitas
When a knife slips easily into the thickest part of a roasted pumpkin, the flesh is ready to turn into soup. The onion usually browns before the pumpkin softens, and…
Tip: save now, read later.
When a knife slips easily into the thickest part of a roasted pumpkin, the flesh is ready to turn into soup. The onion usually browns before the pumpkin softens, and the garlic gets tender earlier still, so I take each piece off the pan when it reaches its own cue. That staggered timing gives this silky oven-roasted pumpkin soup a deeper, sweeter taste than simmering everything from raw.
I use a sugar pumpkin because its roasted flesh blends into a naturally smooth, substantial base. A short simmer with broth and nutmeg brings the roasted vegetables together, and the cream goes in only after the soup is blended. Finish each bowl with pepitas toasted until fragrant, and you get a little crispness against that warm, velvety spoonful.

Kitchen Note
The garlic finishes well before the pumpkin. I check it around the 30-minute mark and remove the cloves as soon as they’re soft; leaving them in their skins protects them while they roast.
Save this silky roasted pumpkin soup for a cozy meal with tender roasted vegetables and a crisp pepita finish.
Why Roasting the Pumpkin First Builds a Deeper Soup
A pot of pumpkin soup can taste flat when the pumpkin, onion, and garlic go straight into broth. Roasting gives the vegetables time in dry heat before they meet the liquid: the onion develops browned edges, the garlic turns mellow, and the pumpkin becomes tender enough to scoop and blend. Those flavors are already in place before the soup reaches the stovetop.
The vegetables don’t all need the same amount of time, and waiting for every piece to finish together can push the quickest ones too far. Use their own cues instead of treating the roasting window like a single finish line: browned and tender onion, soft garlic, and pumpkin flesh a knife can pierce easily. The broth then serves as a base for the roasted vegetables, rather than the only place their flavor can develop. That small change in order is what gives the finished bowl its rounded, roasted taste.
Why Sugar Pumpkin, Roasted Garlic, and Cream Each Matter
- Sugar pumpkin — A medium sugar pumpkin gives this soup the roasted pumpkin flesh it needs for its body and flavor. Choose one that feels firm and heavy for its size. A carving pumpkin isn’t an equivalent swap; its flesh can be stringier and less suited to a smooth soup.
- Yellow onion and garlic — The onion brings sweetness as its edges brown, while the garlic softens inside its skins and blends into the base without a sharp raw bite. The onion gets tossed with olive oil before roasting; keep the garlic unpeeled for its time on the pan.
- Chicken or vegetable broth — Either broth works as the soup’s savory liquid. Choose vegetable broth for a vegetarian pot, or chicken broth for a deeper, more savory note. Low-sodium broth leaves the seasoning easier to control.
- Heavy cream — Heavy cream gives the blended soup its silky finish and richness. Half-and-half isn’t a like-for-like replacement; it makes a thinner, less plush soup. For a dairy-free bowl, see the broth variation below.
- Raw hulled pepitas — Hulled seeds toast quickly and give each serving a crisp contrast to the smooth soup. Buy them raw so they can toast in the dry skillet; pre-roasted seeds won’t develop the same fresh, warm aroma in that brief time.
- Ground nutmeg — A small amount brings a warm background note without turning the soup into a strongly spiced dish. Use ground nutmeg rather than adding a larger amount of another spice; its aroma is distinctive and easy to overdo.
The Roast-to-Pot Sequence That Keeps the Soup Silky
Set Up the Pumpkin Cut-Side Down
Heat the oven to 425°F. Halve the sugar pumpkin lengthwise, scoop out the seeds and stringy pulp, and set both halves cut-side down on a rimmed baking sheet. Toss the quartered onion with olive oil and arrange it on the same pan with the unpeeled garlic cloves. Keep the pumpkin halves flat against the pan so they roast evenly.
Let Each Vegetable Finish at Its Own Pace
Roast the pumpkin for 45 to 60 minutes, checking that a knife easily pierces the flesh before taking it out. The garlic usually softens in about 30 to 40 minutes, and the onion becomes tender and browned in about 35 to 45 minutes. Remove each as it reaches that point while the pumpkin continues roasting. If the pumpkin still feels firm at the thickest part, give it more oven time rather than trying to blend it undercooked.
Simmer the Roasted Vegetables in Broth
Scoop the pumpkin flesh into a 5-quart pot, then squeeze the garlic out of its skins. Add the roasted onion, broth, kosher salt, black pepper, and nutmeg, and bring the mixture to a simmer over medium heat. Let it cook for 10 minutes so the roasted vegetables and broth come together. Keep it at a simmer rather than a hard boil.
Blend Smooth, Then Warm in the Cream
Use an immersion blender to blend the soup until completely smooth. If you still see bits of onion or pumpkin, keep blending rather than relying on the cream to smooth them out. Stir in the heavy cream after blending, then warm the soup over low heat for 2 to 3 minutes. Don’t let it boil once the cream is in.
Three Adjustments That Change the Bowl Without Losing Its Roasted Base
Make the pot vegetarian with vegetable broth
Use vegetable broth in place of chicken broth, keeping the same amount. The roasted pumpkin, onion, and garlic still make a full-flavored base, with a slightly lighter savory note.
Make it dairy-free with more broth
Leave out the heavy cream and use an additional 1/2 cup of broth instead. The soup will be less rich and not quite as velvety, but the roasted pumpkin still blends into a smooth bowl.
Leave the pepitas off for a smooth finish
Skip the toasted pepitas if you want the soup without a crunchy topping. The bowl stays creamy and pumpkin-forward, though you lose the contrast of the crisp seeds.
Storage and Reheating
- Refrigerator: Cool and refrigerate within 2 hours. Store in a covered container for 3 to 4 days; the soup may thicken as it chills.
- Freezer: Freeze in airtight containers for up to 2 to 3 months, leaving room for expansion. Cream-based soup can separate slightly after thawing, but gentle reheating and stirring bring it back together.
- Reheating: Warm gently in a saucepan over low heat, stirring often, until it reaches 165°F. Avoid a rolling boil, which can make the creamy texture less smooth.
Questions That Come Up While Making Pumpkin Soup
Silky Oven-Roasted Pumpkin Soup with Toasted Pepitas
Ingredients
Equipment
Method
- Preheat the oven to 425°F.
- Halve the pumpkin lengthwise and scoop out the seeds and stringy pulp.
- Place the pumpkin halves cut-side down on a rimmed baking sheet.
- Toss the onion with the olive oil.
- Arrange the onion and unpeeled garlic cloves on the baking sheet.
- Roast for 45–60 minutes.
- Remove the garlic when soft, about 30–40 minutes.
- Remove the onion when tender and browned, about 35–45 minutes.
- Roast the pumpkin until a knife easily pierces the flesh.
- Scoop the pumpkin flesh into a 5-quart pot.
- Squeeze the roasted garlic from its skins into the pot.
- Add the onion, broth, salt, pepper, and nutmeg.
- Bring to a simmer over medium heat and cook for 10 minutes.
- Blend the soup until completely smooth with an immersion blender.
- Stir in the cream.
- Warm over low heat for 2–3 minutes without boiling.
- Toast the pepitas in a dry skillet over medium heat for 3–5 minutes, stirring often, until fragrant and lightly browned.
- Scatter the toasted pepitas over the soup to serve.
