
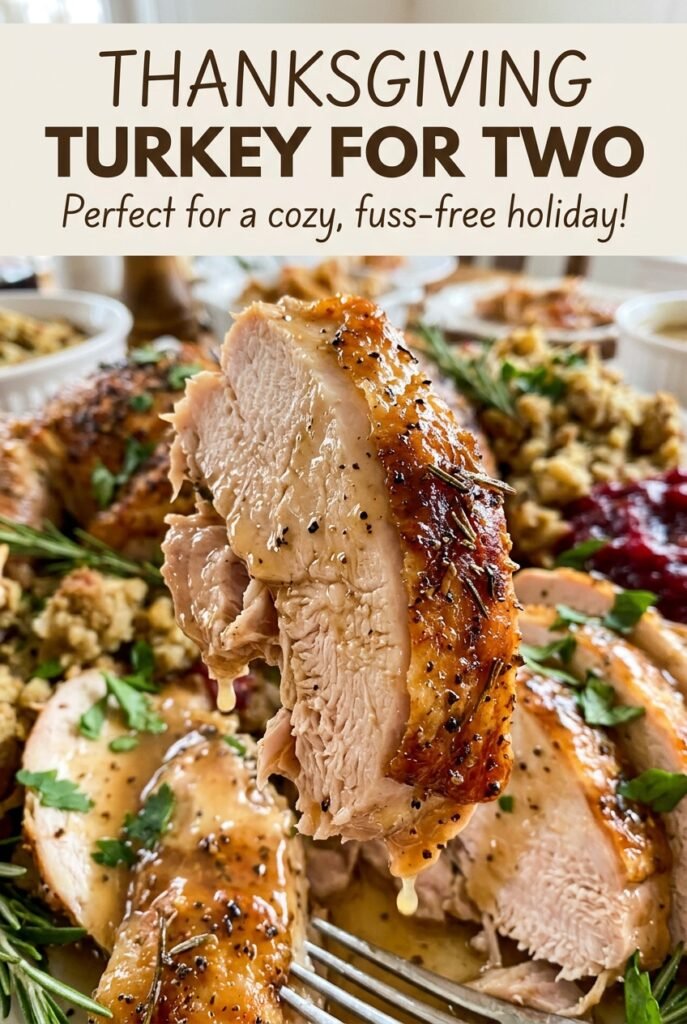
Thanksgiving Turkey for Two
The thermometer is the part I trust more than the clock with a small turkey breast. A 3-pound roast can be ready anywhere in a 1½-to-2-hour window, and a few…
Tip: save now, read later.
The thermometer is the part I trust more than the clock with a small turkey breast. A 3-pound roast can be ready anywhere in a 1½-to-2-hour window, and a few minutes make a difference between juicy slices and breast meat that feels dry. For Thanksgiving turkey for two, I keep the setup simple: a bone-in, skin-on breast, a little thyme, onion in the pan, and broth underneath to catch the drippings.
I like this approach because it gives you the centerpiece and the makings of gravy without roasting a whole bird. The rack lifts the turkey above the liquid, while the onion sits below and the pan drippings are strained for the gravy. I check the thickest part of the breast, let the roast rest before carving, and use that time to finish the sauce. The result is tender turkey with a savory gravy made right from the roasting pan.
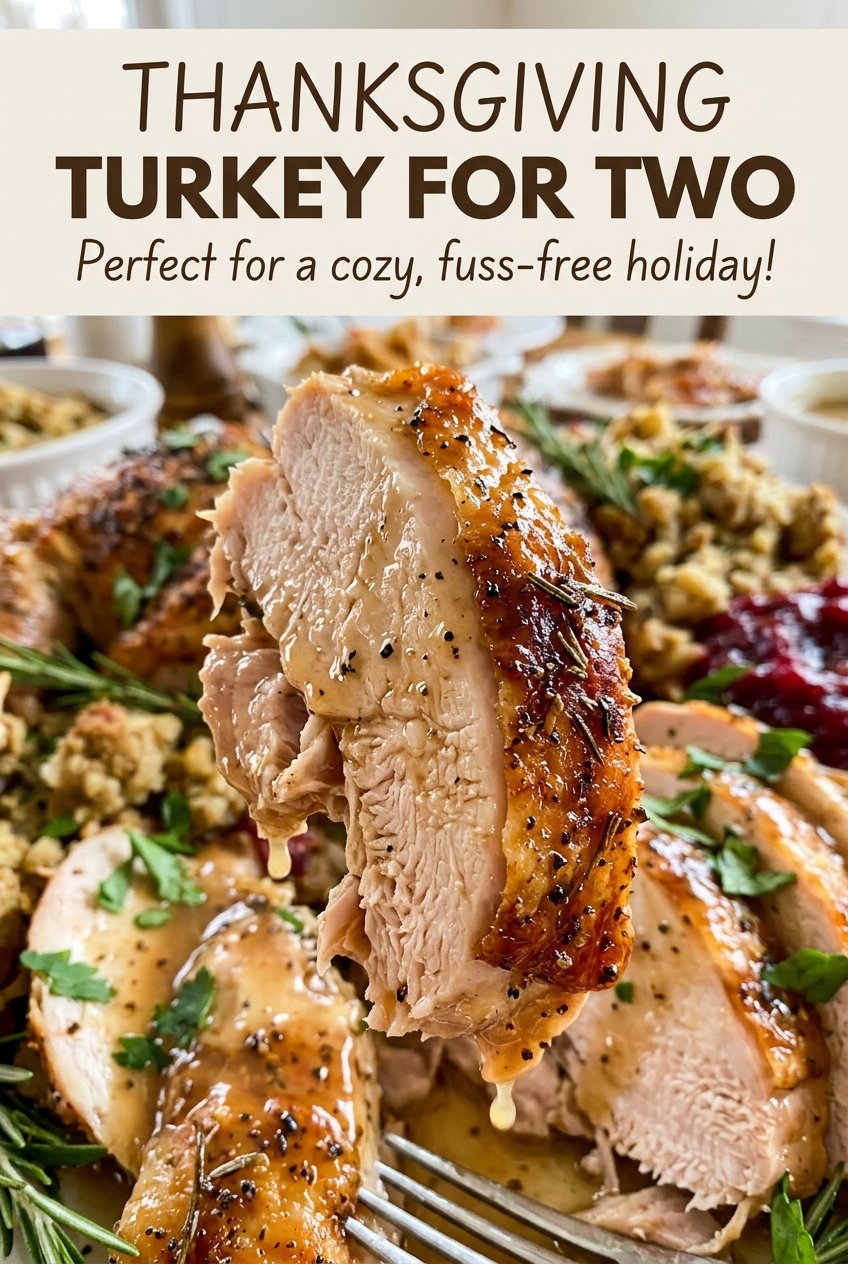
Kitchen Note
Give the turkey its full 20-minute rest before carving. That pause lets the juices settle, and it gives you time to make the gravy without the meat getting cold.
Save this Thanksgiving turkey for two for a smaller holiday table, with a roasted bone-in breast and pan-dripping gravy.
Why This Small Roast Still Needs a Rack
A turkey breast is smaller than a whole bird, but the same basic roasting problem remains: the bottom needs space from the pan so the meat roasts rather than sitting in the liquid. The rack creates that separation. It also leaves the broth, onion, and drippings underneath where they can be collected for gravy.
The cup of broth in the pan has a second job after roasting. It becomes part of the savory liquid for the gravy, along with the strained drippings and the remaining broth. That means the gravy starts with what the turkey leaves behind instead of relying on drippings alone. Straining the pan liquid is useful here because the soft onion and any browned solids can be removed before the sauce goes into the saucepan.
For a smaller holiday meal, that pan-to-sauce connection is what makes this feel complete without adding extra dishes or cooking a whole turkey. Keep the rack in the roasting pan, and don’t discard the drippings before you’ve strained them. They carry the roasted flavor into the gravy.
The Ingredients That Give the Turkey and Gravy Their Character
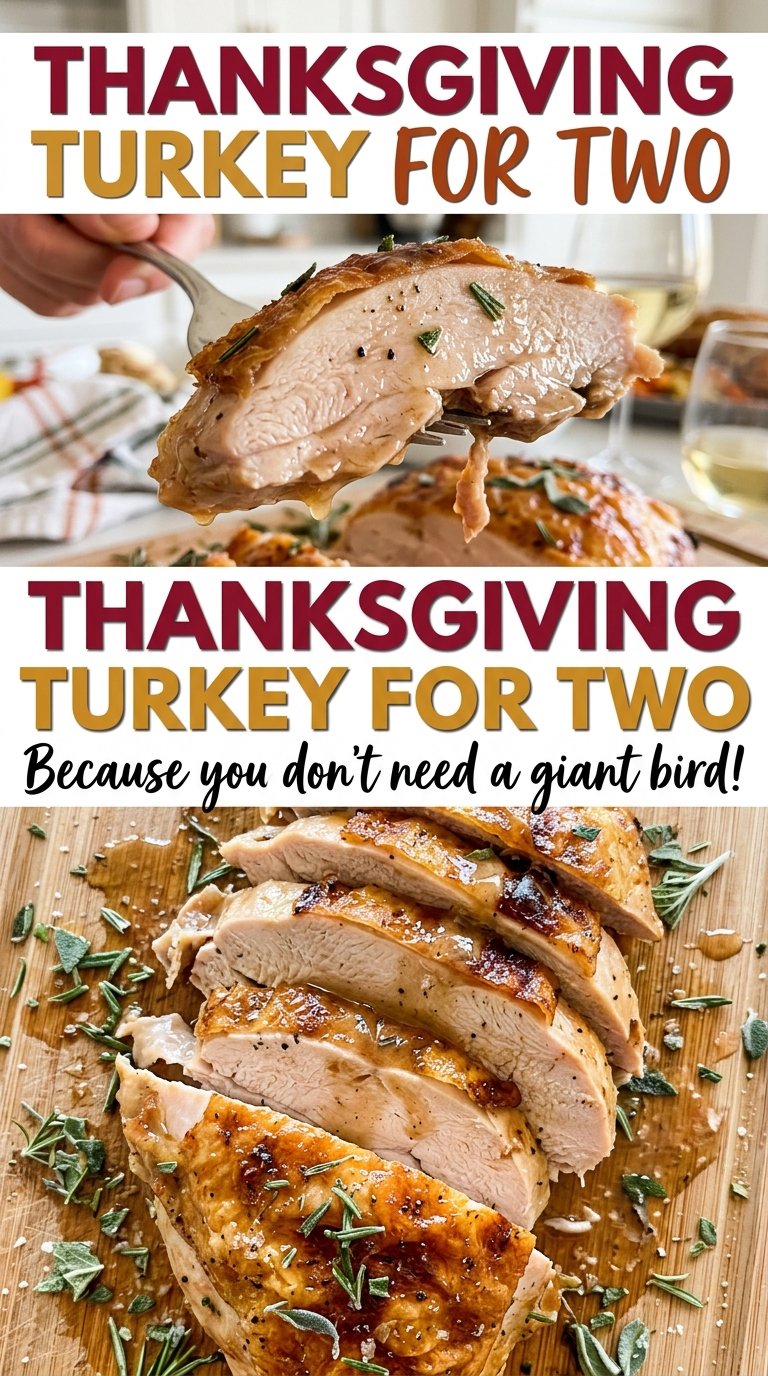
- Bone-in, skin-on turkey breast — The bone and skin are part of what makes this roast suited to the stated time range; a boneless cut won’t cook on the same schedule. Choose a fully thawed breast, and pat the skin dry so the oil and seasoning coat it rather than sliding over moisture.
- Low-sodium chicken broth — It supplies liquid in the roasting pan and forms the base of the gravy. Regular chicken broth can stand in at the same quantity, but it may make the finished gravy saltier, so taste before adding the finishing salt.
- Yellow onion — The quartered onion sits beneath the rack and adds savory aroma to the pan liquid. A medium onion is easy to strain out after roasting; there’s no need to chop it finely.
- Dried thyme — Thyme seasons the turkey with an earthy, savory note without adding moisture to the skin. Use dried thyme here rather than fresh in the same measure; fresh herbs have a different intensity and don’t match the stated amount.
- Unsalted butter and all-purpose flour — Together they make the roux that thickens the broth and drippings into gravy. Unsalted butter gives you more control over seasoning, while all-purpose flour provides the gravy’s familiar smooth, lightly thick texture.
- Olive oil — A thin coating helps the salt, pepper, and thyme cling to the skin. Use it all over the breast, including the sides, so the seasoning is spread evenly.
Roasting the Breast and Turning the Drippings into Gravy
Set Up the Pan and Season the Turkey
Heat the oven to 350°F and place a rack in a 9×13-inch roasting pan. Pat the thawed turkey breast dry, then rub it all over with olive oil. Season it with 1 teaspoon of the kosher salt, ½ teaspoon of the black pepper, and the dried thyme. If the surface is damp, take another moment to pat it dry; a wet surface makes it harder for the oil and seasoning to coat the skin evenly.
Roast Over the Onion and Broth
Arrange the quartered onion in the pan and set the turkey on the rack. Pour 1 cup of chicken broth into the pan, taking care to keep the breast on the rack above the liquid. Roast for 1½ to 2 hours, checking the thickest part of the breast rather than relying on the clock alone. It is ready when that spot reaches 165°F.
Rest Before You Carve
Move the turkey to a cutting board and tent it loosely with foil. Let it rest for 20 minutes before carving, rather than slicing as soon as it leaves the oven. A loose tent keeps the roast warm without trapping quite as much steam against the skin. Use this resting window to strain the pan drippings and start the gravy.
Whisk the Pan Drippings into Gravy
Pour the drippings through a fine-mesh strainer into a measuring cup, then discard the solids. Melt the butter in a medium saucepan over medium heat, whisk in the flour, and cook for 1 minute; keep whisking so the roux doesn’t catch on the bottom. Gradually whisk in the remaining 2 cups of broth and the strained drippings, then bring the mixture to a simmer. Cook for 3 to 5 minutes, whisking, until thickened, and season with the remaining salt and pepper.
Two Smart Ways to Adapt Thanksgiving Turkey for Two
A gluten-free plate without flour gravy
The roast turkey itself doesn’t use flour, so leave out the butter-and-flour gravy if you need a gluten-free version. Use chicken broth labeled gluten-free, since broth ingredients vary by brand. The meal will be less saucy, but the turkey still gets its thyme-and-onion seasoning.
Use regular broth if that’s what you have
Regular chicken broth works in place of low-sodium broth, using the same amount in the pan and gravy. Since it carries more salt, taste the gravy before adding its final seasoning; the sauce may need less salt than it would with low-sodium broth.
Storage and Reheating
- Refrigerator: Store carved turkey and gravy in separate airtight containers for 3 to 4 days. The turkey may lose some of its just-roasted texture as it chills.
- Freezer: Freeze carved turkey and gravy separately in airtight freezer-safe containers for up to 2 to 6 months for best quality. Thaw in the refrigerator before reheating.
- Reheating: Warm sliced turkey covered in a 325°F oven with a little reserved gravy or broth until it reaches 165°F; reheat gravy gently in a saucepan, whisking as it warms. Avoid uncovered, high-heat reheating, which dries the slices before the center is hot.
Questions I Get Asked About This Small Turkey Roast
Thanksgiving Turkey for Two
Ingredients
Equipment
Method
- Heat the oven to 350°F.
- Set a rack in a 9x13-inch roasting pan.
- Pat the turkey dry.
- Rub the turkey all over with the olive oil.
- Season the turkey with 1 teaspoon salt, 1/2 teaspoon pepper, and the thyme.
- Arrange the onion in the pan.
- Set the turkey on the rack.
- Pour 1 cup broth into the pan.
- Roast for 1 1/2 to 2 hours, until the thickest part of the breast reaches 165°F.
- Transfer the turkey to a cutting board.
- Tent it loosely with foil.
- Rest it for 20 minutes before carving.
- Pour the pan drippings through a fine-mesh strainer into a measuring cup.
- Discard the solids.
- Melt the butter in a medium saucepan over medium heat.
- Whisk in the flour and cook for 1 minute.
- Gradually whisk in the remaining 2 cups broth and the strained drippings.
- Bring to a simmer.
- Cook for 3 to 5 minutes, whisking, until thickened.
- Season the gravy with the remaining 1/2 teaspoon salt and 1/4 teaspoon pepper.
