
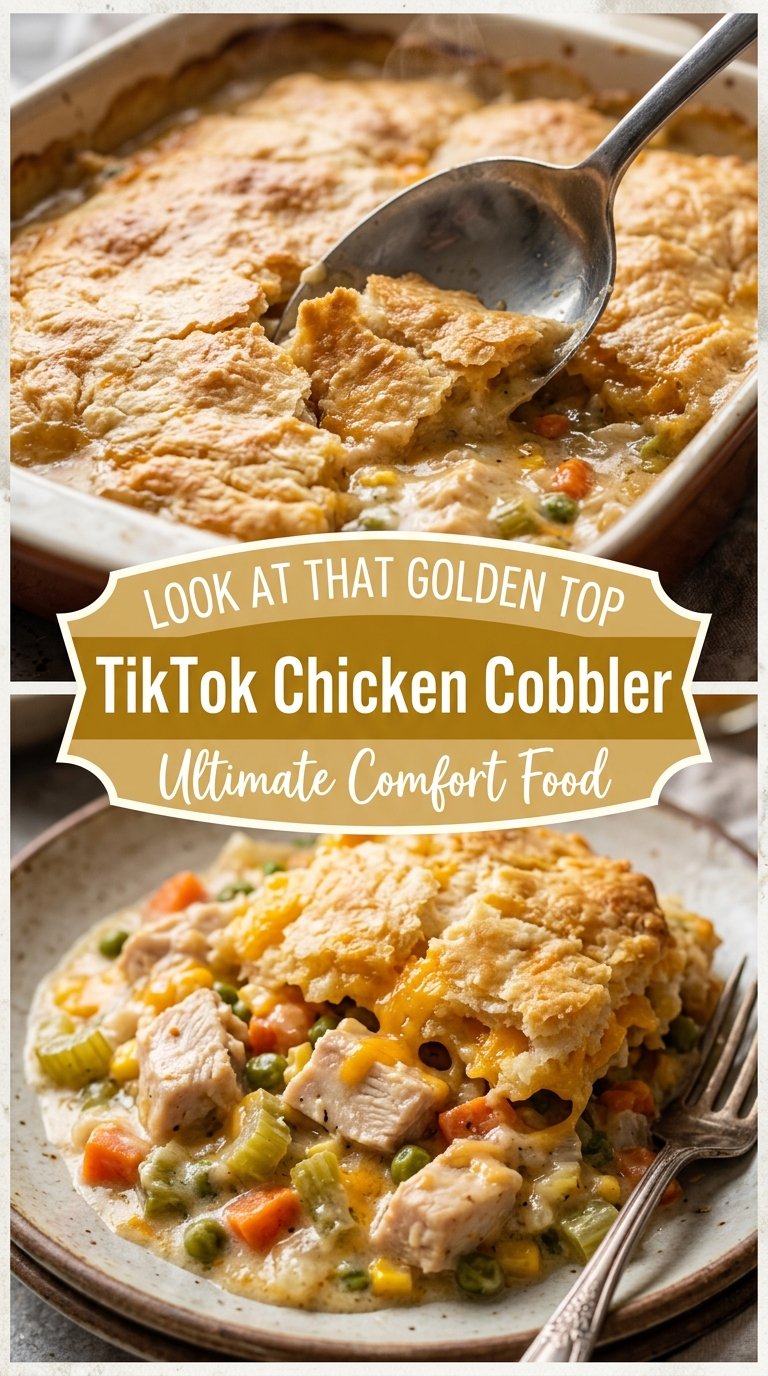
TikTok Chicken Cobbler
Buttery biscuit topping, creamy chicken filling, and those edges that turn deeply golden around the pan are what make TikTok Chicken Cobbler earn its place on repeat. It bakes up…
Tip: save now, read later.
Buttery biscuit topping, creamy chicken filling, and those edges that turn deeply golden around the pan are what make TikTok Chicken Cobbler earn its place on repeat. It bakes up like comfort food with a little drama: soft, savory filling underneath and a tender, almost dumpling-like crust on top that soaks up just enough sauce without turning soggy.
The trick is in the layering. The butter goes in first, the chicken and vegetables sit on top of it, and the batter gets poured over without stirring. That separation is what lets the biscuit layer rise and set instead of disappearing into the filling. A little cheddar in the middle adds richness, and the soup-broth mixture gives you the creamy base this casserole needs without a long stovetop sauce.
Below, I’ve broken down why the layers stay distinct, how to keep the top from baking up gummy, and the swaps that still give you a solid, scoopable cobbler on a busy night.
The biscuit layer came out fluffy and the bottom wasn’t greasy at all. I was skeptical about not stirring, but the sauce settled in perfectly and it tasted like a from-scratch casserole.
Save this TikTok Chicken Cobbler for the nights when you want a creamy, biscuit-topped casserole with almost no extra cleanup.
The Layer Order That Keeps TikTok Chicken Cobbler From Turning Dense
The biggest mistake with cobbler-style casseroles is stirring everything together and expecting the topping to rise on its own. It won’t. The biscuit batter needs to sit above the hot butter and filling so it can bake into its own layer while the liquid below turns creamy and bubbling. That’s why the casserole looks a little messy going into the oven and comes out looking like dinner did something clever.
Another common problem is a heavy middle. That usually happens when the filling is too thick before baking or the pan is overcrowded. Frozen vegetables help because they release a little moisture as they cook, which keeps the sauce loose enough to bubble around the topping without drowning it.
- Shredded chicken — Rotisserie chicken works well here because it’s already tender and seasoned. If you cook chicken just for this recipe, pull it while it’s still juicy, then shred it rather than dicing it so the casserole feels soft and scoopable.
- Bisquick baking mix — This is the shortcut that gives the topping its cobbler texture without extra measuring. A homemade baking mix substitute can work, but the result is usually a little less airy and a little more biscuit-like.
- Cream of chicken soup — This is what gives the sauce body. Low-sodium versions are fine, but if you use a very thick or concentrated soup, thin it enough with broth so it pours easily.
- Cheddar cheese — Sharp cheddar gives the casserole a stronger savory edge and stands up to the creamy filling. Pre-shredded cheese is convenient, but freshly grated melts a little smoother.
- Frozen mixed vegetables — No need to thaw them first. Using them frozen keeps them from turning mushy before the cobbler is done, and they help balance the richness of the sauce.
What Happens in the Oven, and Why the Pan Should Look Wrong at First
Starting With the Butter
Pour the melted butter into the baking dish and let it spread across the bottom. That layer helps keep the casserole rich and gives the edges a fried, almost browned-butter feel as it bakes. If the butter is hot enough to sizzle, that’s fine, but don’t let it brown before the rest goes in or the flavor can turn too dark.
Building the Filling Without Stirring
Layer the chicken, vegetables, and cheddar over the butter. Then whisk the Bisquick with milk and pour it over the top without mixing the layers together. The batter will look thin and uneven in places. That’s exactly right; it needs room to settle and bake into a soft topping rather than blending into the sauce.
Pouring the Sauce Around the Batter
Whisk the soup, broth, garlic powder, onion powder, pepper, and thyme until smooth, then pour it evenly over the batter. Don’t stir once it hits the pan. The liquid works its way down during baking, and that slow movement is what gives you the creamy casserole layer underneath and the biscuit-like top above.
Baking Until the Center Sets
Bake uncovered until the top is deeply golden and the center bubbles actively around the edges and just in the middle. If the top looks done but the center still seems loose, give it more time; pulling it too early leaves you with runny sauce under raw batter. Let it rest before serving so the filling thickens and scoops cleanly.
Three Ways to Adjust This Casserole Without Losing the Comfort-Food Appeal
Dairy-Free Version That Still Tastes Rich
Use a dairy-free butter and swap in an unsweetened plant milk that bakes well, like oat milk. The topping won’t brown quite the same way, but the casserole still comes out creamy if you keep the broth-to-soup balance the same.
Gluten-Free Shortcut
Use a certified gluten-free baking mix in place of Bisquick and check that your soup is gluten-free as well. The texture stays close to the original, though the top may bake a little more delicate and need the full rest time before serving.
Make It a Little Lighter
Cut the cheddar back to 1 cup and use reduced-sodium broth. You’ll still get a creamy casserole, but the flavor leans a little more toward chicken-and-biscuit comfort than full-on cheesy richness.
Storage and Reheating
- Refrigerator: Store covered for up to 4 days. The biscuit topping softens as it sits, but the flavor holds up well.
- Freezer: It freezes better in portions than as a whole casserole. Wrap tightly and freeze for up to 2 months, then thaw in the fridge before reheating.
- Reheating: Reheat covered in a 350°F oven until hot in the center. Microwaving works for single servings, but the topping gets softer; the oven keeps the texture closer to fresh.
Answers to the Questions Worth Asking

TikTok Chicken Cobbler
Ingredients
Equipment
Method
- Preheat the oven to 375°F (190°C).
- Pour the melted butter into a 9×13-inch baking dish.
- Spread the cooked shredded chicken evenly over the butter.
- Add the frozen mixed vegetables over the chicken in an even layer.
- Sprinkle the shredded cheddar cheese evenly across the top.
- In a bowl, whisk the Bisquick baking mix and whole milk until combined.
- Pour the batter evenly over the cheese layer; do not stir.
- In another bowl, whisk the cream of chicken soup, chicken broth, garlic powder, onion powder, black pepper, and dried thyme.
- Slowly pour the soup mixture over the batter; do not stir.
- Bake uncovered at 375°F (190°C) for 55–65 minutes, until golden brown and bubbly.
- Let the casserole rest for 10 minutes.
- Scoop and serve warm.