
Valentine’s Heart Red Velvet Cake
The Valentine's Heart Red Velvet Cake is a delightful treat that steals the show with its rich red color and soft, velvety texture. It’s a classic red velvet flavor wrapped…
Tip: save now, read later.
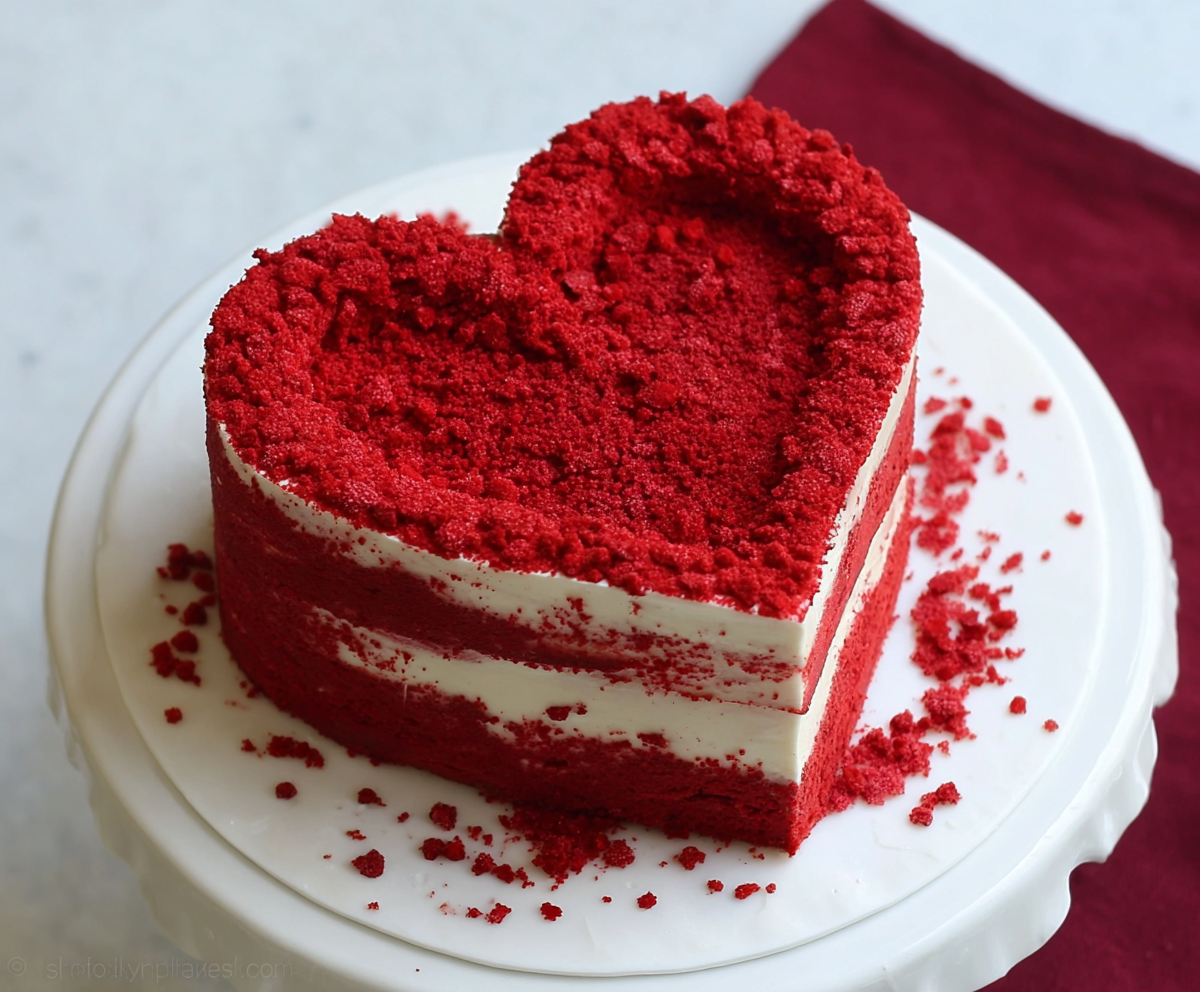
The Valentine’s Heart Red Velvet Cake is a delightful treat that steals the show with its rich red color and soft, velvety texture. It’s a classic red velvet flavor wrapped in a beautiful heart shape, making it perfect for sharing love through dessert. The cream cheese frosting adds just the right amount of sweetness and tang to balance everything out.
I love making this cake for special moments because it feels like a hug in dessert form. Baking it brings a sense of anticipation, especially when I see that bright red crumb contrasting against the creamy frosting. A little tip I have is to use buttermilk in the batter—it really makes the cake moist and tender, which is what I want in every bite.
Serving this cake always lights up the table. I usually slice it up and enjoy it with a cup of coffee or a glass of milk. It’s a great way to celebrate Valentine’s Day or any day you want to feel a little extra love. Honestly, making this cake has become my favorite way to show someone I care without needing a big fancy gesture.
Key Ingredients & Substitutions
Buttermilk: This helps make the cake moist and tender. If you don’t have buttermilk, mix 1 cup milk with 1 tablespoon lemon juice or vinegar, let sit for 5 minutes, and use.
Red Food Coloring: The classic red velvet color comes from this. You can use gel or liquid food coloring. For a natural option, try beet juice but expect a softer red shade.
Cream Cheese: The star of the frosting! Use full-fat cream cheese for best texture and flavor. If dairy-free is needed, try dairy-free cream cheese, but flavor may vary.
Vegetable Oil: Keeps the cake soft and moist. If you prefer, you can substitute with melted coconut oil or light olive oil for a slight twist in flavor.
How Can I Shape My Cake Into a Perfect Heart?
Cutting a round cake into a heart shape can seem tricky, but here’s an easy way:
- Start with two round cakes of the same size.
- Place the two cakes side by side so they slightly touch each other—this forms the top curves of the heart.
- Use a sharp knife to trim the outer sides into a gentle point at the bottom for the heart’s tip.
- If you like, use a paper heart template to guide your cutting for cleaner edges.
- Take your time and cut slowly to keep the shape neat.
This method gives you a charming heart shape with minimal waste and a homemade feel.
Equipment You’ll Need
- Two 8-inch round cake pans – perfect for baking cake layers evenly and easy to shape into a heart.
- Mixing bowls – you’ll need at least two: one for dry ingredients and one for wet.
- Hand mixer or stand mixer – makes cream cheese frosting smooth and helps blend batter with ease.
- Wire cooling rack – cool your cakes evenly and avoid sogginess.
- Sharp knife or heart-shaped template – for cutting your round cakes into a perfect heart shape.
- Spatula – to spread frosting smoothly between layers and on the outside.
Flavor Variations & Add-Ins
- Swap cream cheese frosting for whipped white chocolate ganache for a richer, silkier topping.
- Add a teaspoon of espresso powder to the batter for a subtle coffee note that boosts red velvet’s flavor.
- Mix in fresh raspberries between layers for a fruity contrast and a pop of color inside.
- Use almond extract instead of vanilla extract for a nutty twist that pairs well with cream cheese frosting.
Equipment You’ll Need
- Two 8-inch round cake pans – for baking the cake layers evenly.
- Mixing bowls – at least two, one for dry ingredients, one for wet ingredients.
- Electric hand mixer or stand mixer – to blend batter smoothly and to beat the frosting until fluffy.
- Wire cooling racks – to cool the cakes evenly after baking.
- Sharp knife or heart-shaped template – for cutting the round cakes into heart shapes.
- Rubber or offset spatula – for spreading the cream cheese frosting evenly.
Flavor Variations & Add-Ins
- Whipped White Chocolate Frosting: Swap the cream cheese frosting for a whipped white chocolate ganache for a silky, rich topping.
- Espresso Boost: Add 1 teaspoon of instant espresso powder to the batter to enhance the red velvet’s cocoa flavor with a subtle coffee note.
- Fruit Surprise: Add a layer of fresh raspberries or strawberry jam between the cake layers for a fruity contrast and pop of color.
- Almond Twist: Replace the vanilla extract with almond extract in the batter and frosting to give a nutty flavor that pairs beautifully with the cake.
Can I Use Frozen Red Velvet Cake Layers?
Yes! Just make sure to thaw the cake layers completely in the fridge overnight before frosting. This helps prevent the frosting from melting and keeps your cake looking beautiful.
How Should I Store Leftover Cake?
Store leftovers in an airtight container in the refrigerator for up to 3-4 days. Let the cake come to room temperature before serving for the best texture and flavor.
Can I Make This Cake Ahead of Time?
Absolutely! You can bake the cake layers and prepare the frosting a day ahead. Keep the unfrosted cake layers wrapped tightly in plastic wrap, and keep the frosting refrigerated. Assemble and frost the cake when ready to serve.
What If I Don’t Have Two 8-Inch Pans?
No worries! You can bake the batter in one pan and then slice the cake horizontally into two layers once cooled. Just be sure to adjust your baking time accordingly.