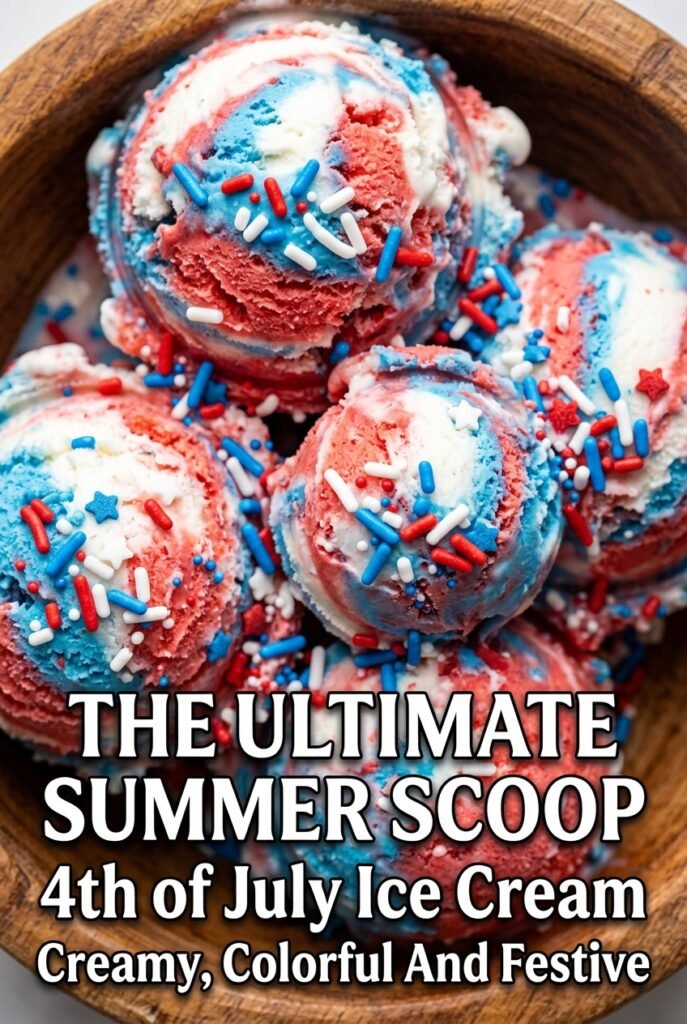
4th of July Ice Cream
Red, white, and blue ice cream gets the party started the second you slice into it. The base stays creamy and smooth instead of icy, and the swirls of color…
Tip: save now, read later.
Red, white, and blue ice cream gets the party started the second you slice into it. The base stays creamy and smooth instead of icy, and the swirls of color make each scoop look like it came from a celebration, not a grocery store freezer. It tastes like classic no-churn vanilla ice cream with a playful finish, which is exactly why people keep coming back for another bowl.
The trick here is keeping the base light before it goes into the freezer. Whipping the cream to stiff peaks gives the ice cream its body, while the sweetened condensed milk brings sweetness and keeps the texture soft enough to scoop. The colors work best when you add gel coloring a little at a time — liquid coloring can thin the mixture and blur the swirls. A gentle hand with the knife matters too. You want ribbons of color, not a muddy bowl.
Below you’ll find the exact way I layer it for the best patriotic look, plus the one freezing tip that keeps the texture creamy instead of hard and brittle. The sprinkles and white chocolate chips are optional, but they add a nice little crunch if you want more texture in each scoop.
The colors swirled out beautifully and the ice cream stayed scoopable after freezing overnight. I used gel food coloring like suggested and it didn’t water down at all.
Keep this no-churn 4th of July Ice Cream handy for the fireworks table when you want a creamy dessert with bold patriotic swirls and zero churn time.
The One Thing That Keeps No-Churn Ice Cream Creamy Instead of Icy
No-churn ice cream lives or dies by how much air you trap in the cream and how gently you fold in the condensed milk. Beat the cream just to stiff peaks. If you go too far, it turns grainy and loses the smooth base that makes this style work. Then fold everything together with a light hand so the mixture stays fluffy instead of collapsing.
The other common failure is overmixing the colors. A few swirls are enough. Stir it too much and the red and blue turn into a dull purple-gray mess instead of those clean patriotic ribbons everyone wants when they scoop into the loaf pan.
What Each Ingredient Is Doing in This Patriotic Ice Cream
- Heavy whipping cream — This is the structure. It traps air when whipped and gives the ice cream its creamy body without a machine. Lower-fat cream won’t whip the same way, so stick with heavy cream here.
- Sweetened condensed milk — This adds sweetness and keeps the ice cream soft enough to scoop straight from the freezer. There isn’t a true substitute that behaves the same way, so if you swap it, expect a different texture.
- Vanilla extract — The vanilla rounds out the dairy flavor and keeps the dessert from tasting flat. A good pure vanilla matters more here because there are only a few ingredients.
- Gel food coloring — Gel gives bold color without thinning the base. Liquid coloring can water it down and make the swirls less defined, so this is one place where gel is worth using.
- Red, white, and blue sprinkles — These add crunch and visual pop through the layers. Use them sparingly if you want cleaner scoops; heavy sprinkle layers can make the texture a little busy.
- White chocolate chips — Optional, but they add tiny sweet bites and a bit of texture. Fold them in at the end so they stay distributed instead of sinking to the bottom.
How to Layer the Colors So the Swirls Stay Clean
Whipping the Cream to the Right Point
Start with very cold cream and a chilled bowl if you have one. Beat until you get stiff peaks that hold their shape when you lift the whisk, but stop before the cream looks dry or clumpy. That line is narrow, and it matters. Underwhipped cream leaves the base loose; overwhipped cream turns the finished ice cream dense and slightly buttery.
Folding Without Deflating the Base
Stir a spoonful of the condensed milk mixture into the whipped cream first to loosen it, then fold in the rest in broad strokes. Scrape from the bottom and lift up through the center. If you beat it hard here, the air you whipped in is gone before the freezer even gets a chance to do its job.
Creating the Red, White, and Blue Layers
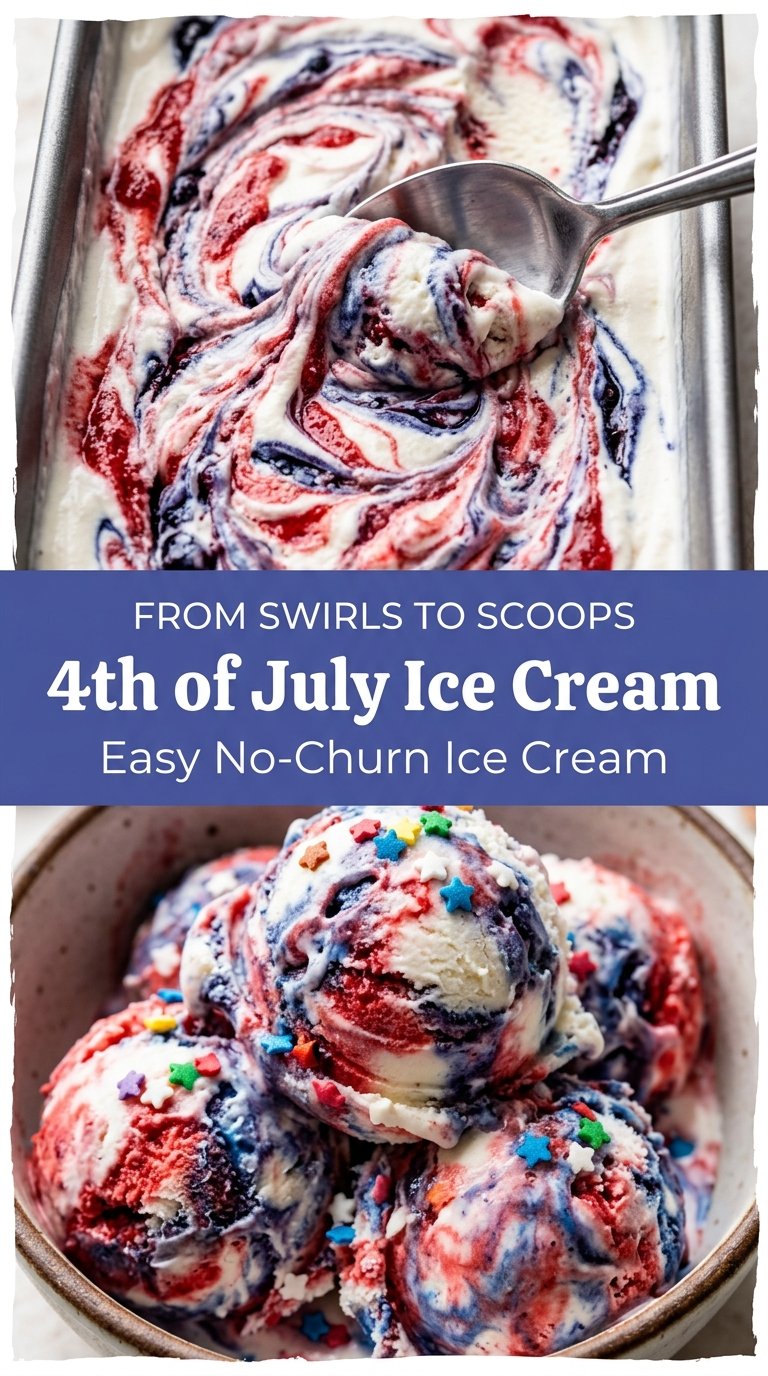
Divide the base into three bowls and tint two of them with gel coloring. Drop spoonfuls into the loaf pan in alternating patches instead of neat stripes, then drag a knife through just a few times. The goal is variation across the scoop, not a fully blended pan. Leave a little white showing so the colors stand out against one another.
Freezing It Until It Slices Cleanly
Cover the pan tightly and freeze it at least 6 hours, though overnight gives the cleanest scoop. If the surface gets icy, the cover wasn’t tight enough or the mixture was overmixed. Let the pan sit at room temperature for a few minutes before scooping so the spoon cuts through instead of chipping the top.
Three Ways to Adapt This 4th of July Ice Cream
Dairy-Free Version With Coconut Cream
Swap the heavy cream for chilled coconut cream and use a dairy-free sweetened condensed milk. The texture will still be creamy, but you’ll taste a light coconut note, which works well with the vanilla and sprinkles. Whip the coconut cream only if it separates well after chilling overnight.
No-Color, Still Festive
Skip the food coloring and turn this into a vanilla sprinkle ice cream with a patriotic topping instead. You lose the bold red and blue swirls, but you keep the same creamy base and get a cleaner, more classic vanilla flavor.
Gluten-Free and Crowd-Friendly
The base is naturally gluten-free as written, so the main thing to check is the sprinkles and white chocolate chips. Use certified gluten-free versions if you’re serving a crowd with dietary needs. This version keeps the same texture and still looks festive in the pan.
Storage and Reheating
- Refrigerator: Don’t store this in the fridge; it melts fast and won’t reset with the right texture.
- Freezer: Keeps well for about 2 weeks wrapped tightly. After that, the colors stay bright but the texture can get a little icy around the edges.
- Reheating: Not applicable. Let it sit at room temperature for 5 to 10 minutes before scooping so it softens enough to serve cleanly.
Questions I Get Asked About This Recipe

4th of July Ice Cream
Ingredients
Equipment
Method
- Whip the heavy whipping cream until stiff peaks form, about 3 to 5 minutes on medium-high, then stop when the cream holds a peak upright with no droop (visual cue: stiff peaks).
- In another bowl, combine the sweetened condensed milk and vanilla extract until smooth, about 30 to 60 seconds (visual cue: thick, glossy mixture).
- Fold the whipped cream into the condensed milk mixture until no streaks remain, using gentle motion to keep it airy (visual cue: uniform pale base).
- Divide the mixture into three bowls so you can keep one plain and color the other two (visual cue: three separate bowls of mix).
- Leave one bowl white, then color one bowl red gel and another bowl blue gel, stirring until the color is even (visual cue: solid red and solid blue).
- Spoon alternating layers of the white, red, and blue mixtures into a loaf pan (visual cue: visible color bands).
- Swirl gently using a knife, making a few passes through the layers without fully mixing (visual cue: marbled red-blue streaks).
- Add red white and blue sprinkles throughout the layers, scattering them as you go (visual cue: dotted sprinkle specks in the layers).
- Add optional white chocolate chips during layering if using, distributing them evenly (visual cue: small white chip pockets).
- Cover and freeze for at least 6 hours, until firm enough to scoop (visual cue: solid, sliceable texture).
- Scoop and serve with extra sprinkles on top (visual cue: clean scoop with distinct swirls).