
Baked Ranch Chicken
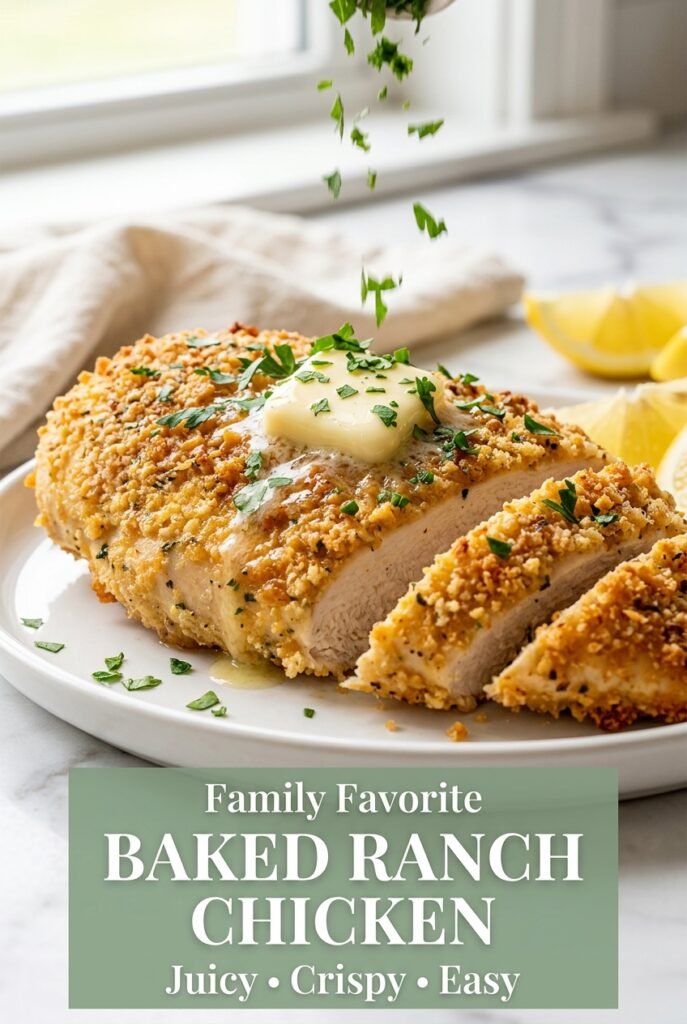
Baked ranch chicken comes out with a crisp, savory crust and juicy meat underneath, which is exactly why it earns a spot in the weeknight rotation. The seasoning is bold…
Tip: save now, read later.
Baked ranch chicken comes out with a crisp, savory crust and juicy meat underneath, which is exactly why it earns a spot in the weeknight rotation. The seasoning is bold without being fussy, and the Parmesan-panko coating gives you that golden edge that holds up even after the chicken rests. It tastes like you worked harder than you did, which is always a win on a busy night.
The trick is drying the chicken first and using just enough oil to help the coating cling. Parmesan brings salt and sharpness, while panko keeps the crust lighter and crunchier than straight breadcrumbs. A little melted butter on top helps the crust brown evenly in the oven instead of looking dusty or dry.
Below, I’ll walk through the one part that matters most for keeping the coating on the chicken, plus a few smart swaps if you need to work with what’s already in your pantry.
The coating stayed on beautifully and the chicken was still juicy after baking. I broiled it for the last 2 minutes and got a perfect golden crust without drying anything out.
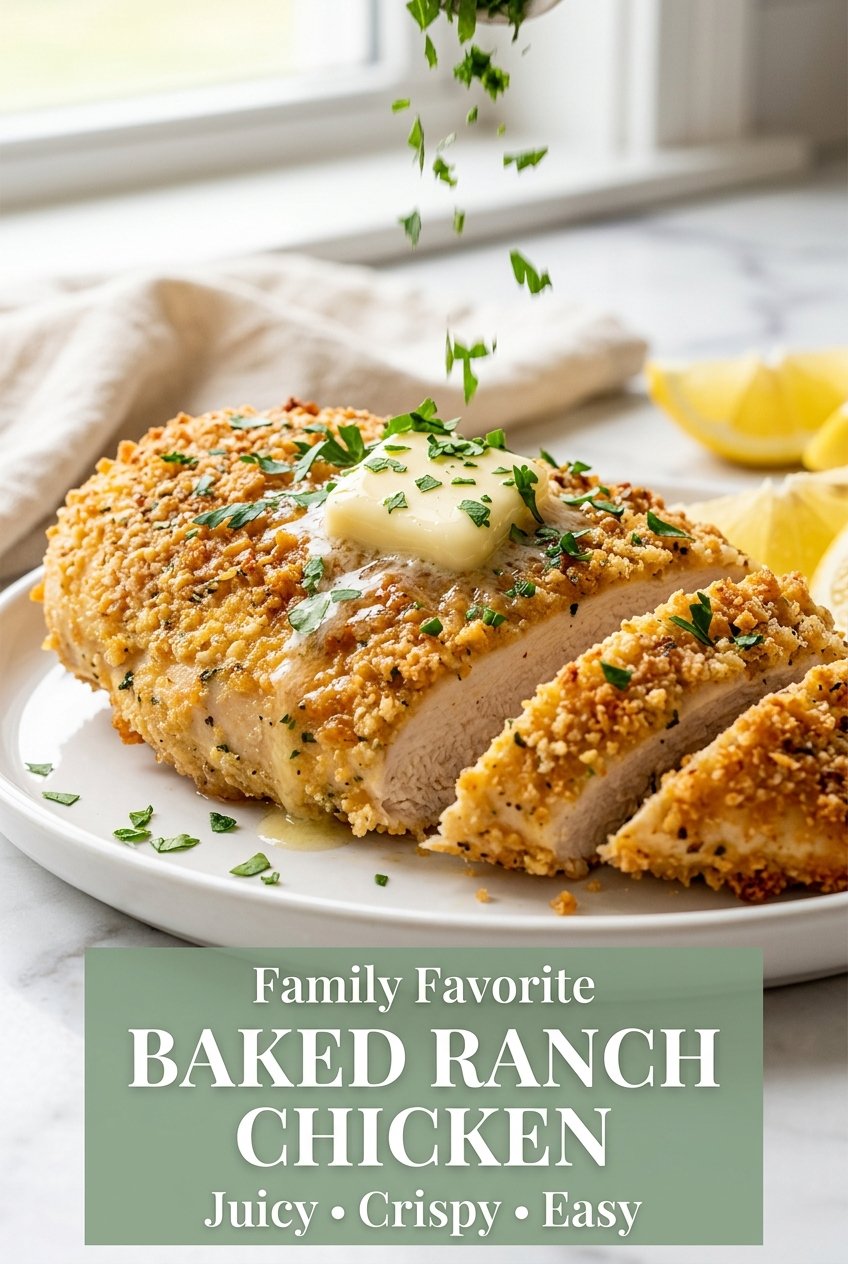
Pin these golden baked ranch chicken breasts for an easy dinner with a crisp Parmesan crust and barely any cleanup.
The Coating Falls Off When the Chicken Is Wet
Most baked breaded chicken goes wrong before it ever hits the oven. If the surface is damp, the ranch mixture turns pasty instead of clinging in a dry layer, and that means you lose half the crust to the pan. Patting the chicken dry and brushing it with oil gives the coating something to grab without turning soggy.
The other mistake is crowding the pan. When the pieces sit too close together, steam gets trapped around the edges and the coating softens before it has a chance to brown. Give each breast a little space so hot air can move around it.
What Each Ingredient Is Actually Doing in This Dish

The ranch packet carries most of the seasoning, so this is one place where the convenience ingredient makes sense. It brings salt, herbs, and a little tang in one shot. If you swap it for plain dried herbs, the chicken tastes flatter unless you season much more aggressively.
Parmesan matters here because it browns and adds a salty, nutty edge that breadcrumbs alone can’t match. Freshly grated Parmesan melts into the coating a little better than the shelf-stable kind, but pre-grated works in a pinch if that’s what you have. Panko is worth keeping because it stays crisp; regular breadcrumbs will work, but the crust will be denser.
Butter does the finishing work. It helps the topping turn evenly golden and gives the crust a richer, toasty flavor. If you skip it, the chicken still bakes fine, but the topping will look drier and less bronzed.
Getting the Crust Golden Without Drying Out the Chicken
Drying and Coating the Chicken
Start by patting the chicken breasts dry so the oil can coat the surface instead of sliding around on moisture. Brush both sides with olive oil, then press the chicken firmly into the Parmesan mixture until every bit is covered. Don’t just sprinkle the coating on top; pressing is what helps it stay put once the chicken goes into the oven.
Baking Until the Center Is Juicy
Arrange the coated chicken with space between each piece and bake at 400°F until the crust is deep golden and the thickest part reaches 165°F. If the breasts are especially large or uneven, pound them to an even thickness first so one end doesn’t dry out while the other catches up. The chicken should feel firm but still springy when pressed in the center.
Broiling for the Final Color
Broil for 2 to 3 minutes only if you want a darker crust. Stay close, because Parmesan goes from browned to burnt fast under the broiler. Pull the pan the moment the top looks deeply toasted and aromatic, not when it turns dark brown.
How to Adapt This for Different Nights and Different Pantries
Gluten-Free Ranch Chicken
Use certified gluten-free panko or crushed gluten-free crackers in place of standard panko. You still get a crisp crust, though crackers tend to brown a little faster, so keep an eye on the edges during the last few minutes.
Dairy-Free Version
Swap the Parmesan for a dairy-free Parmesan-style topping or finely ground almond flour mixed with extra ranch seasoning. You won’t get the same sharp, salty finish, but the crust still turns crisp and well seasoned.
Chicken Thighs Instead of Breasts
Boneless, skinless thighs work well if you want a richer, more forgiving cut. They usually need a few extra minutes in the oven, and the texture stays juicier even if you slightly overbake them.
Storage and Reheating
- Refrigerator: Store leftovers in an airtight container for up to 4 days. The crust softens a bit, but the flavor stays strong.
- Freezer: It freezes, though the coating won’t stay crisp. Wrap each piece tightly and freeze for up to 2 months for the best texture.
- Reheating: Reheat in a 350°F oven or air fryer until hot, not in the microwave, which turns the coating soft and can overcook the chicken edges before the center is warm.
The Things That Trip People Up With This Dish
Baked Ranch Chicken
Ingredients
Equipment
Method
- Preheat the oven to 400°F and lightly grease a 9×13-inch baking dish or line a baking sheet with parchment paper for easy release.
- Pat the chicken breasts dry with paper towels, then brush both sides with the olive oil so the coating sticks.
- In a shallow bowl, combine the ranch seasoning mix, garlic powder, onion powder, smoked paprika, black pepper, Parmesan cheese, and panko breadcrumbs.
- Press each chicken breast firmly into the Parmesan mixture until evenly coated on all sides for a crunchy crust.
- Arrange the coated chicken breasts in the prepared baking dish or on the lined baking sheet, leaving a little space between pieces for even browning.
- Drizzle the melted butter evenly over the coated chicken to help it turn golden as it bakes.
- Bake at 400°F for 25–30 minutes, or until the coating is golden brown and the chicken reaches an internal temperature of 165°F.
- For extra browning, broil for 2–3 minutes, watching carefully to prevent burning.
- Let the chicken rest for 5 minutes before serving so the juices settle.
- Garnish with chopped parsley and serve with lemon wedges if desired for brightness.
