
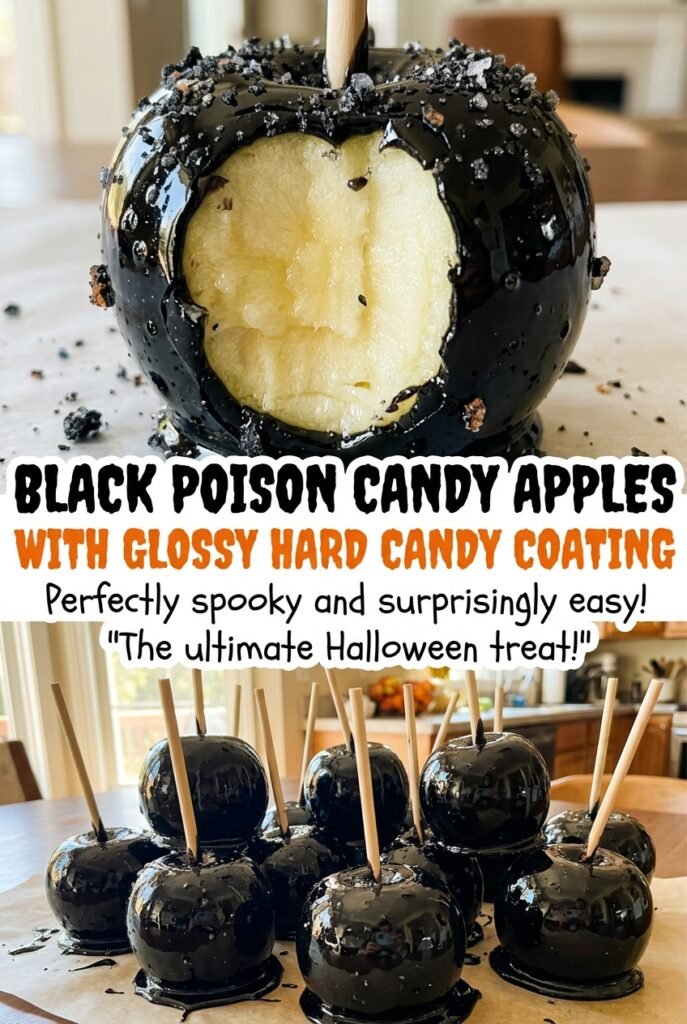
Black Poison Candy Apples with Glossy Hard Candy Coating
When the syrup hits the apple, it should wrap the curves in a smooth black gloss, not hang there in a thick collar. These black poison candy apples have that…
Tip: save now, read later.
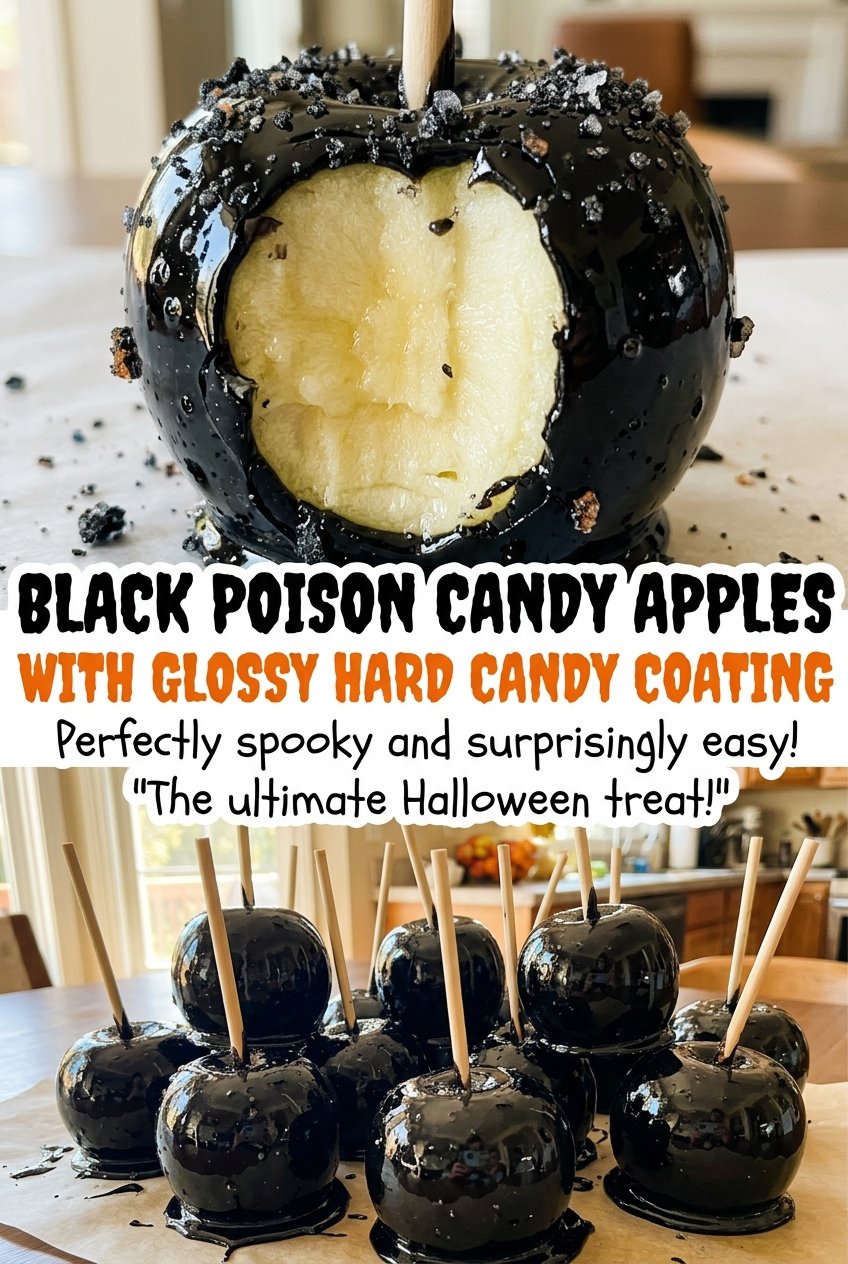
When the syrup hits the apple, it should wrap the curves in a smooth black gloss, not hang there in a thick collar. These black poison candy apples have that contrast I want from a hard-candy apple: a shell that snaps, then a tart, crisp bite underneath. The first few seconds after dipping matter because the candy starts setting as soon as it leaves the pan.
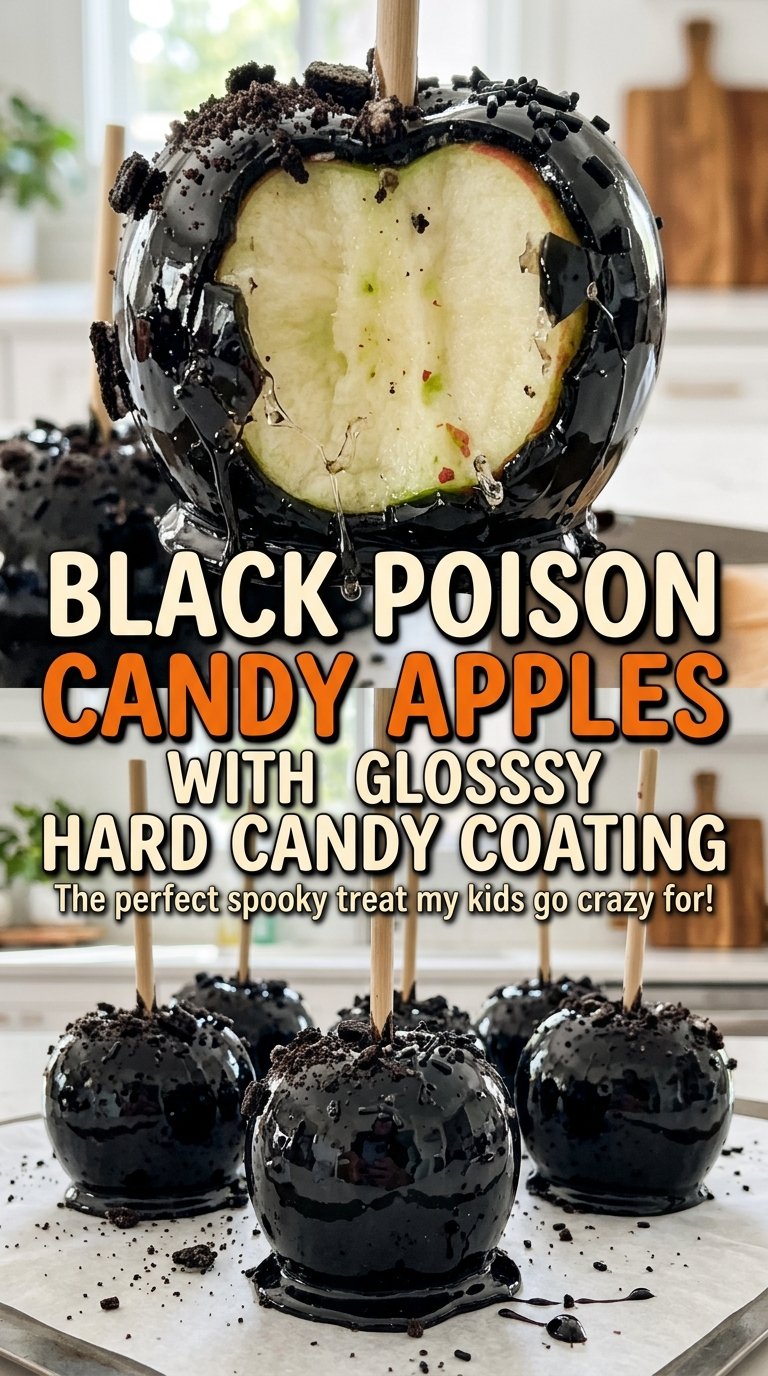
I like how the Granny Smiths cut through the sweetness, while the black coating makes each apple look almost like polished glass. Keep the syrup at the hard-crack stage and work steadily, turning each apple through the candy rather than letting it sit in one place. The finished apples look dramatic, but the payoff is that clean crack of candy against bright green fruit.
Kitchen Note
Room-temperature apples give you a little more time to turn each one through the candy before the coating sets. Cold apples can make the syrup tighten too quickly, leaving a thicker, uneven shell.
Save these black poison candy apples for a party table—the glossy black shell makes a striking contrast with the tart green apple inside.
300°F Is the Difference Between a Glossy Shell and a Sticky One
Hard candy has a narrow window between syrup that stays tacky and syrup that sets into a clean, brittle shell. The thermometer gives you a reliable cue through that change: the coating needs to reach 300°F, the hard-crack stage. Pull it short of that point and the apples can end up with a chewy or sticky layer instead of a crisp snap.
Pay attention to where the thermometer sits, too. Its sensing tip needs to be in the syrup without touching the bottom of the saucepan; the pan itself is hotter than the liquid and can give you a misleading reading. Once the thermometer reaches the target, take the pan off the heat and move straight to dipping. Candy syrup keeps cooking from its own heat, and a few extra degrees can darken the sugar and push the flavor toward burnt.
The sugar is stirred only at the beginning, just enough to moisten it evenly. After that, leave it alone as it cooks. That small change in handling helps the syrup stay smooth, so the finished coating looks glossy rather than gritty.
Why Granny Smith Apples and Black Gel Give These Their Bite and Color
- Granny Smith apples — Their firm flesh holds up well under a hard candy coating, and their tartness balances the sweet shell. Scrub them under hot water to remove wax, then dry them completely; wax or moisture can keep the candy from gripping evenly.
- Granulated sugar — This is the structure of the hard shell. Keep it plain and dry; coarse or specialty sugars can cook differently and make it harder to judge the syrup.
- Light corn syrup — It helps the cooked sugar stay smooth instead of turning grainy. Use light corn syrup rather than dark, which would bring a stronger color and flavor to a candy coating meant to look black.
- Black gel food coloring — Gel has concentrated color, so it gives the syrup a deep black appearance without adding much liquid. Liquid coloring won’t give the same inky result as easily.
- Wooden candy apple sticks — A sturdy stick gives you leverage to rotate the apple through the syrup. Push each one firmly into the stem end so it stays secure as you dip.
- Neutral oil and parchment — A light coating of oil on the parchment helps the set candy apples release from the baking sheet. Use a neutral oil so it doesn’t add a noticeable flavor.
From Wax-Free Apples to a Shell That Snaps Cleanly
Prep the Apples and Landing Spot
Scrub the apples under hot water to remove the wax, then dry them completely; even a wet patch can make the coating slide instead of cling. Remove the stems and push a wooden stick firmly into the stem end of each apple. Line a rimmed baking sheet with parchment and brush the parchment lightly with neutral oil. Have that sheet ready before the syrup goes on the stove, because the dipping stage moves quickly.
Moisten the Sugar and Set the Thermometer
Combine the sugar, light corn syrup, water, and black gel coloring in a 3-quart heavy saucepan. Stir only until the sugar is evenly moistened, not after it begins cooking. Attach a candy thermometer to the side of the pan, positioning it so it doesn’t touch the bottom. A stable thermometer reading makes it much easier to catch the hard-crack stage accurately.
Cook the Syrup to Hard Crack
Set the pan over medium-high heat and cook without stirring until the thermometer reaches 300°F. This usually takes 15–25 minutes, but use the temperature rather than the clock as your cue. The syrup will bubble as it cooks, and the color should look uniformly dark. Molten candy causes serious burns, so keep your hands and face clear of the pan.
Dip While the Candy Is Fluid
Remove the pan from the heat, then tilt it to gather the syrup on one side. Dip an apple and turn it until the surface is coated, then let the excess drip back into the pan before setting the apple on the prepared sheet. Repeat with the remaining apples, keeping a steady pace as the candy begins to thicken. If you leave a heavy pool at the bottom, give the apple another moment over the pan to drip.
Let the Coating Set Firm
Leave the apples on the parchment at room temperature until the candy coating is completely hard, about 20 minutes. The shell should look glossy and feel firm rather than tacky when it has set. Don’t try to move the apples while the candy is still soft, or you can smear the smooth surface. Once firm, they’re ready to serve.
Color Changes and Small-Batch Adjustments That Work
Red Poison Apples
Replace the black gel food coloring with red gel coloring for a vivid red shell. The candy cooks the same way, but the finished apples lose the dark, dramatic look and have a more classic candy-apple color.
Amber Hard-Candy Apples
Leave out the black gel coloring for a golden, amber-toned shell. The cooked sugar will look lighter and less dramatic, while the crisp candy texture stays the same.
Vegan Candy Apples
For a vegan batch, use vegan-certified granulated sugar and vegan light corn syrup. With products that cook like their standard counterparts, the candy shell keeps its familiar brittle texture and doesn’t need a change to the dipping method.
Storage and Reheating
- Refrigerator: Store fully set apples in a covered container in the refrigerator and eat within 3 days. Condensation may make the candy shell tacky.
- Freezer: Freezing isn’t recommended; the apple softens as it thaws and the hard coating can crack.
- Reheating: Reheating isn’t applicable, and the apples shouldn’t be warmed. Serve them chilled or let them stand out only briefly, since moisture can soften the coating.
Questions That Come Up Before the First Dip
Black Poison Candy Apples with Glossy Hard Candy Coating
Ingredients
Equipment
Method
- Wash and scrub the apples under hot water to remove any wax.
- Dry the apples completely.
- Remove the stems and push a stick firmly into the stem end of each apple.
- Line a rimmed baking sheet with parchment paper.
- Lightly brush the parchment with the oil.
- Combine the sugar, corn syrup, water, and black gel food coloring in a 3-quart heavy saucepan, stirring just until the sugar is evenly moistened.
- Attach a candy thermometer to the side of the pan without letting it touch the bottom.
- Cook over medium-high heat without stirring until the syrup reaches 300°F, the hard-crack stage, about 15–25 minutes.
- Remove the pan from the heat.
- Working quickly, tilt the pan and dip each apple, turning it to coat.
- Let excess candy drip back into the pan.
- Place the apples on the prepared baking sheet.
- Let the apples stand at room temperature until the coating is completely hard, about 20 minutes.
