

Pumpkin Spice Halloween Candy Bark with Sprinkles
The melted chocolate looks smooth, then the candy corn starts rolling toward the edges as soon as it hits the pan. I press each topping gently into the surface while…
Tip: save now, read later.
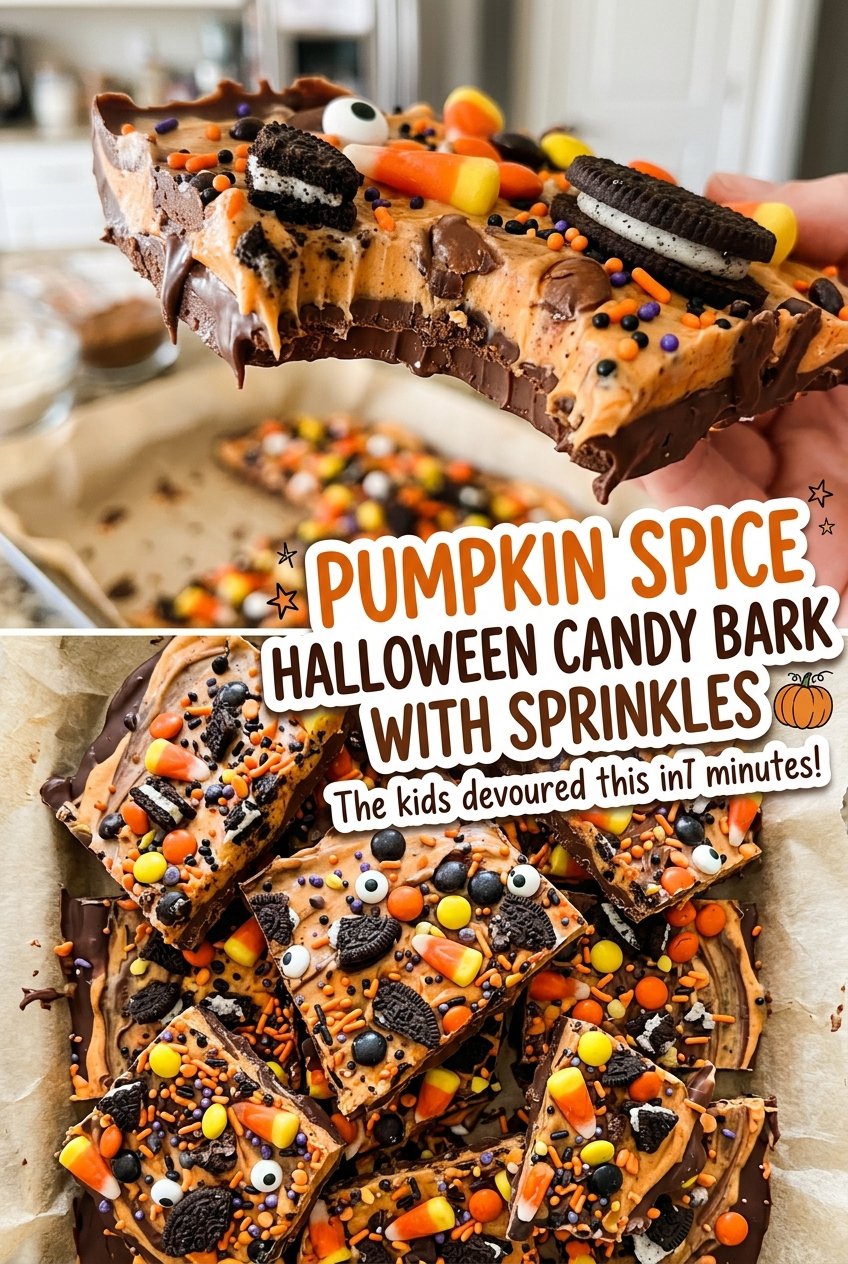
The melted chocolate looks smooth, then the candy corn starts rolling toward the edges as soon as it hits the pan. I press each topping gently into the surface while the chocolate is still soft, and that small bit of timing keeps the pieces attached when the bark breaks. This pumpkin spice Halloween candy bark with sprinkles gives you the familiar sweet crunch of candy corn and candy-coated chocolates, with pumpkin pie spice stirred right into the white chocolate.
White chocolate needs gentler heat than a lot of people expect. I use half power and short microwave bursts, stopping when the chips are mostly melted and letting a final stir smooth them out. Spreading the chocolate into a roughly 9-by-12-inch rectangle gives the toppings plenty of room without making the bark too thin to pick up. The finished pieces are creamy, crunchy, and scattered with Halloween color.
Kitchen Note
Don’t wait for every chip to melt in the microwave. When most are soft, stirring brings the remaining bits into a smooth chocolate without giving them extra heat.
Save this pumpkin spice Halloween candy bark for a no-bake treat with candy corn, colorful chocolates, and a crisp sprinkle finish.
Why This Bark Needs a Wide, Thin Spread Before the Candy Goes On
The chocolate rectangle matters for more than looks. White chocolate sets into a firm sheet, so an overly thick spread takes longer to chill and makes it harder to break into easy-to-handle pieces. Spread it to about 9 by 12 inches on the larger lined pan; that leaves a border of parchment around it and gives the toppings a broad surface to cling to.
There’s also a balance between a thin layer and one that’s too skimpy. If you spread the chocolate much wider, the bark becomes more delicate and the toppings can crowd the surface. Keep the chocolate in a compact rectangle, then scatter the candy over it while it’s still soft. Pressing the larger pieces in lightly helps them stay put without burying them. You want the candies visible on top, with enough chocolate around them to hold each piece together.
This approach makes the bark easy to break by hand after chilling. The pieces won’t be perfectly uniform, and that’s part of the appeal: some have more candy corn, others have a cluster of candy-coated chocolates, and the sprinkles fill in the gaps.
How White Chocolate, Spice, and Halloween Candy Work Together
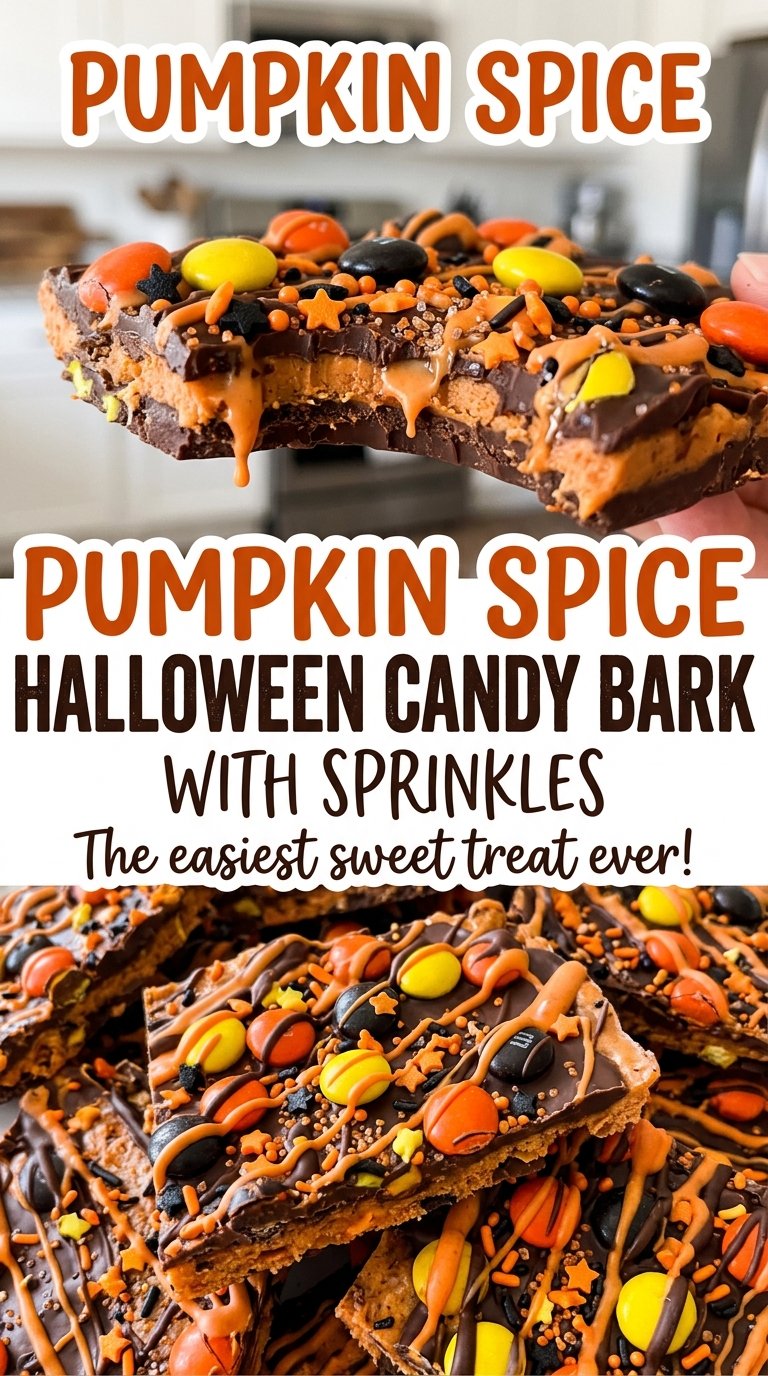
- White chocolate chips — These give the bark its creamy base and are convenient to melt in short bursts. Use chips that taste good on their own; the white chocolate is the main flavor, not just a binder. Keep to chips for this version, since swapping in a different type of chocolate changes both the flavor and the look.
- Pumpkin pie spice — Stirring the spice into the melted chocolate spreads its warm flavor through the whole base, rather than leaving it in a few concentrated spots. A fresh, fragrant spice blend makes a noticeable difference here. Leaving it out is possible, but the bark will no longer have its pumpkin-spice character.
- Candy corn — Candy corn adds a chewy bite and a recognizable Halloween color. Its shape also makes it one of the toppings that benefits most from a gentle press into the soft chocolate. Keep the pieces spread across the rectangle so they don’t all land in a single section.
- Halloween-colored candy-coated chocolates — Their crisp shells bring a contrasting crunch and bright color against the pale base. The Halloween colors make the bark look seasonal, while the same kind of candy in another color changes only the appearance.
- Halloween sprinkles — The sprinkles add small pops of color in the spaces between the larger candies. Scatter them across the chocolate rather than piling them in one place, so each broken piece gets a little decoration.
From Smooth Melt to Snappable Bark
Line the Pan Before You Melt
Fit parchment into a 13-by-18-inch rimmed baking sheet before starting the chocolate. The rim helps contain any stray pieces, and the parchment keeps the set bark from sticking to the pan. Have the candy corn, candy-coated chocolates, and sprinkles ready to scatter once the chocolate is spread. The chocolate firms quickly enough that you don’t want to pause and measure toppings midway through.
Melt the Chips Gently
Place the white chocolate chips in a microwave-safe bowl and heat them at 50% power in 30-second bursts, stirring between each burst. The total microwave time is 1 1/2 to 2 1/2 minutes, depending on how the chips are melting in your microwave. Stop when they’re mostly melted, then stir until smooth. If you keep heating until every chip has visibly melted, the chocolate can overheat before you get the chance to stir it smooth.
Stir in the Spice and Spread
Stir the pumpkin pie spice into the smooth melted chocolate until it’s distributed throughout. Transfer the chocolate to the lined pan and spread it into a roughly 9-by-12-inch rectangle. Aim for an even layer, especially at the edges, so one side doesn’t set much thinner than the other. It doesn’t need to be a perfect square-cornered shape.
Scatter and Press the Toppings
Scatter the candy corn, candy-coated chocolates, and Halloween sprinkles over the chocolate. Work across the rectangle so the toppings are spread over the surface instead of concentrated in one patch. Gently press the candies into the chocolate; a light touch is enough to help them adhere. Pressing too hard can hide the toppings under the surface.
Chill Until Firm, Then Break
Refrigerate the pan for 20 to 30 minutes, until the chocolate is firm. The center should feel set rather than soft when you touch it lightly. Once firm, break the sheet into pieces by hand. The edges will be irregular, but the mixture of sizes makes it easy to choose smaller or larger bites.
Two Ways to Change the Look Without Changing the Halloween Mix
Make a candy-corn-forward section
Keep the listed toppings and scatter the candy corn over one portion of the chocolate rectangle, with the candy-coated chocolates across the rest. The same bark gets a clear color-blocked look, and it’s easy to spot the pieces with more chewy candy corn.
Arrange the candies in loose rows
Instead of mixing all three toppings across the rectangle, scatter the candy corn and candy-coated chocolates in loose rows, then distribute the sprinkles over the spaces between them. You’ll get a more patterned look while keeping the same ingredients and amounts. Leave enough space between candies for the chocolate to hold the pieces together.
Storage and Reheating
- Refrigerator: Store the pieces in an airtight container for up to 2 weeks. Keeping them chilled helps the white chocolate stay firm.
- Freezer: Freezing isn’t my first choice for this bark; moisture during thawing can leave the chocolate dull or sticky.
- Reheating: Don’t reheat the bark. Heat softens the chocolate and can melt the candy coatings.
Questions That Come Up When Making Halloween Bark
Pumpkin Spice Halloween Candy Bark with Sprinkles
Ingredients
Equipment
Method
- Line a 13x18-inch rimmed baking sheet with parchment paper.
- Put the white chocolate chips in a microwave-safe bowl and microwave at 50% power in 30-second bursts, stirring between bursts, for 1 1/2 to 2 1/2 minutes total, until mostly melted; stir until smooth.
- Stir the pumpkin pie spice into the melted chocolate.
- Spread the chocolate into a roughly 9x12-inch rectangle on the parchment.
- Scatter the candy corn, candy-coated chocolates, and sprinkles over the chocolate.
- Gently press the toppings in so they adhere.
- Refrigerate for 20 to 30 minutes, until firm.
- Break the bark into pieces.
