
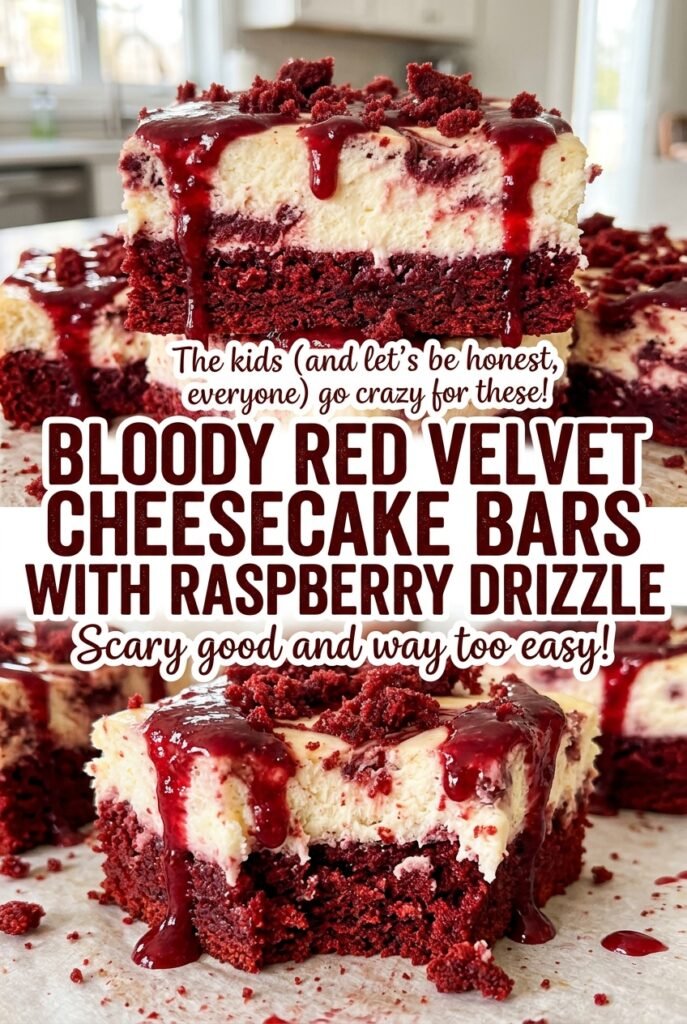
Bloody Red Velvet Cheesecake Bars with Raspberry Drizzle
The red velvet base is ready to come out when its edges just start to pull away from the pan. Leave it in longer and it can turn firm before…
Tip: save now, read later.
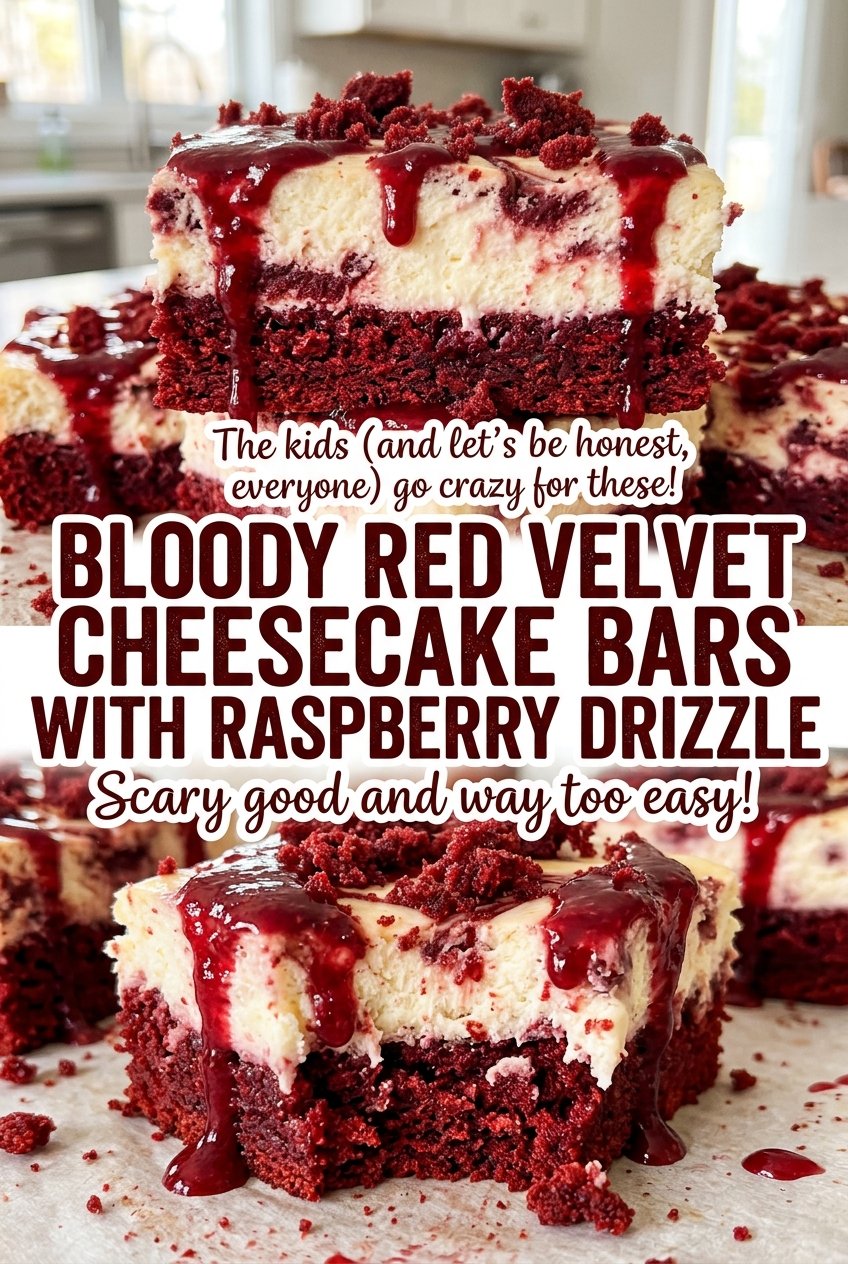
The red velvet base is ready to come out when its edges just start to pull away from the pan. Leave it in longer and it can turn firm before the cheesecake layer even goes on. I watch that first bake closely because these Bloody Red Velvet Cheesecake Bars with Raspberry Drizzle depend on a soft, cocoa-rich base under a smooth layer of cheesecake.
The layers bake at different temperatures, and the cheesecake goes onto the base while it’s still warm. That gives the red velvet layer a head start without asking it to sit in the oven through the full cheesecake bake. Once the bars are chilled, the raspberry sauce adds a tart, bright finish against the creamy filling. Each square has a clean contrast of color and texture, with a little berry drizzle on top.
Kitchen Note
Leave parchment hanging over two sides of the pan, not just tucked against the edges. Once the bars are cold and firm, those overhangs let you lift the whole slab without digging a spatula under the delicate base.
Save these Bloody Red Velvet Cheesecake Bars with Raspberry Drizzle for a dessert with a cocoa-red base, creamy cheesecake, and a bright berry finish.
Why the Red Velvet Base Gets Its Own Bake Before the Cheesecake
These bars aren’t a brownie layer with cheesecake poured over raw batter. The red velvet base needs a short bake first, then the cheesecake gets its own gentler bake. The two layers set on different schedules, so putting them in together would make it harder to get a tender base and a creamy top at the same time.
The temperature shift matters, too. The base bakes at 350°F until its top looks set and the edges begin to pull from the pan. Then the oven drops to 325°F for the cheesecake layer. That lower temperature gives the filling time to set without pushing the already-baked base through another hot bake. Spreading the filling over the warm base keeps the layers together in the pan, but it doesn’t mean the bars are ready to cut when they come out. They need their full chill to firm up into neat squares.
There’s also a useful balance in the red velvet flavor: cocoa adds a gentle chocolate note, while vinegar gives the batter its characteristic tang. Neither one should take over. The result is a mellow cocoa layer that supports the tangy cheesecake instead of competing with it.
Why Cocoa, Vinegar, and Raspberries Belong in These Bars
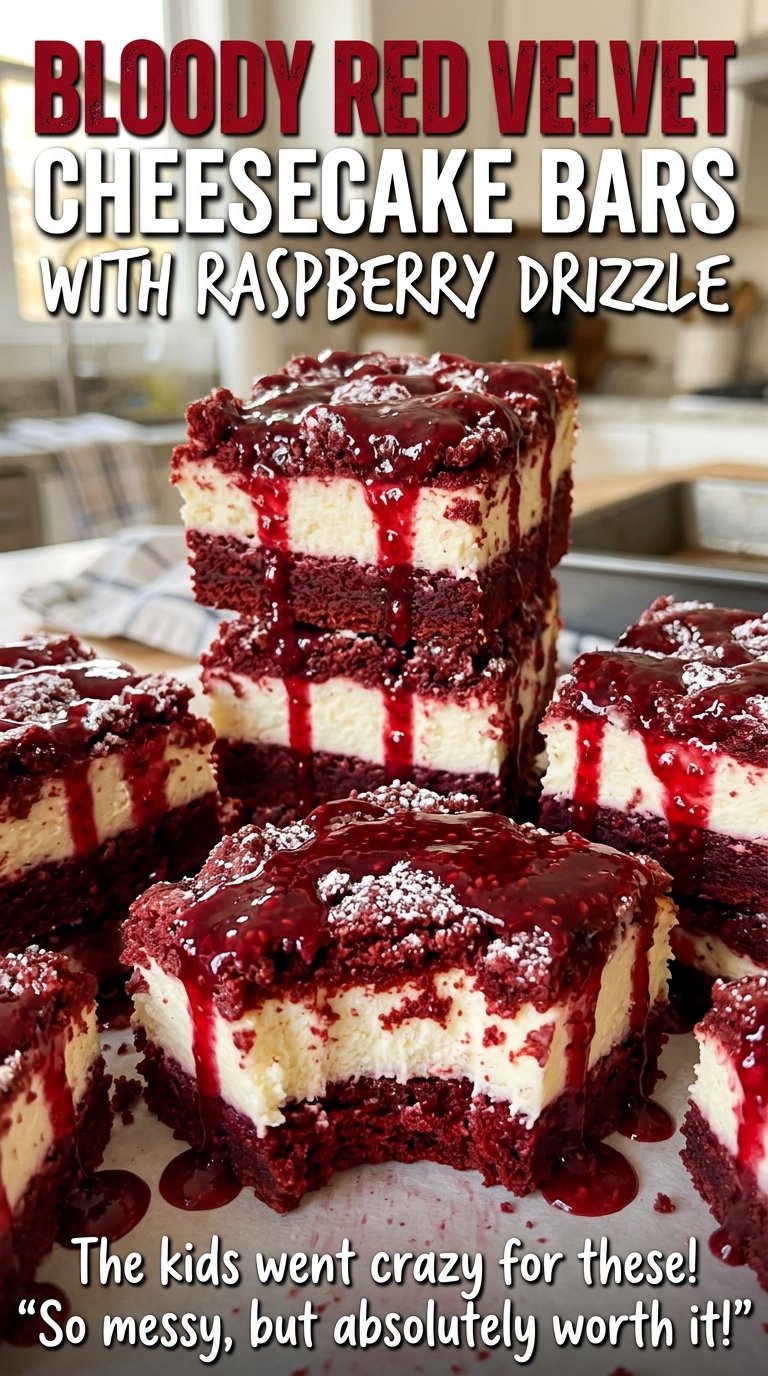
- Unsweetened cocoa powder and white vinegar — Together, they give the base its restrained cocoa flavor and familiar red velvet tang. Keep the cocoa unsweetened so the sugar level stays balanced. The vinegar is a small amount, but leaving it out removes a bright note that helps the base stand apart from a plain chocolate bar.
- Liquid red food coloring — Liquid coloring is what gives this layer its vivid red appearance. Gel coloring is more concentrated, so it isn’t a direct spoon-for-spoon substitute. If you leave the coloring out, the flavor remains similar, but the baked layer will look cocoa-brown rather than red.
- Cream cheese and sour cream — Softened cream cheese beats smooth more easily, which helps keep the filling free of lumps. Sour cream adds tang and a softer texture; plain Greek yogurt can stand in for it in the same amount, though the filling may taste a little less rich. Let the cream cheese soften before mixing rather than trying to beat it cold.
- Raspberries — Fresh or frozen berries both work for the drizzle. Their tartness cuts through the rich filling, and pressing the cooked sauce through a fine-mesh sieve removes the seeds for a smooth finish. Frozen berries are a convenient choice when fresh ones aren’t at their best.
- Unsalted butter and eggs — Melted butter gives the red velvet layer its rich, brownie-like base, while the eggs help it set. The filling uses its own egg to bind the cheesecake mixture, so keep the eggs divided between the two layers as you prep.
How to Bake Two Layers Without Drying Out the Base
Cook the Raspberry Sauce Until It Thickens Slightly
Combine the raspberries with their sugar and lemon juice in a small saucepan over medium heat. Stir and mash as the berries soften, and cook until the sauce thickens slightly, about 5–7 minutes. Press it through a fine-mesh sieve into a bowl and discard the seeds. Let the sauce cool; it will be ready to drizzle after the bars are chilled.
Set the Red Velvet Layer Before Adding the Filling
Heat the oven to 350°F and line a 9×13-inch pan with parchment, leaving overhang on two sides. Brush the parchment with the reserved butter, then whisk the remaining melted butter with the sugar before adding the eggs one at a time. Stir in the vanilla, red food coloring, and vinegar, then fold in the flour, cocoa, and salt just until no dry streaks remain. Spread the batter evenly and bake for 12–15 minutes, stopping when the top looks set and the edges are just beginning to pull away.
Mix the Cheesecake Filling Until Just Combined
Beat the softened cream cheese until smooth before adding the sugar, egg, vanilla, and sour cream. Once those ingredients are in, mix only until combined; beating longer than needed adds air and can leave the filling less even. Spread the filling over the warm red velvet layer in a steady, even layer. Keep the oven temperature at 325°F for this part of the bake.
Wait for the Center to Set, Then Chill Fully
Bake the topped bars for 25–30 minutes, until the edges are set, the center has a slight wobble, and the center reaches 160°F. Don’t wait for the middle to look completely firm in the oven; it continues to set as the bars cool. Cool the pan on a wire rack for 1 hour, then refrigerate for at least 4 hours, until firm. Lift the slab using the parchment, cut it into 16 pieces, and finish with the cooled raspberry sauce.
Easy Ways to Adjust the Bars Without Losing Their Character
Make a Gluten-Free Batch
Replace the all-purpose flour with an equal measure of a cup-for-cup gluten-free baking blend designed to replace wheat flour. The base may be a little more delicate, so let the bars chill until fully firm before lifting and cutting them.
Leave the Coloring Out
Skip the liquid red food coloring for a cocoa-brown base with the same tangy red velvet flavor. The contrast with the pale cheesecake and raspberry sauce will be subtler, but the bars still have the same two-layer texture.
Use Frozen Raspberries for the Drizzle
Frozen raspberries make a practical swap when fresh berries aren’t available. Cook them with the sugar and lemon juice until the sauce thickens slightly, then strain and cool it just as you would with fresh berries.
Storage and Reheating
- Refrigerator: Keep the bars covered in an airtight container for up to 4 days. The red velvet base softens slightly as it sits beneath the cheesecake.
- Freezer: Freeze the cut bars without the drizzle in an airtight container, with parchment between layers, for up to 2 months. Thaw them in the refrigerator before serving.
- Reheating: These bars are best served cold, so don’t reheat them; warming the cheesecake can make the filling soft and messy.
Questions That Come Up When Making These Cheesecake Bars
Bloody Red Velvet Cheesecake Bars with Raspberry Drizzle
Ingredients
Equipment
Method
- Combine the raspberries, 1 tablespoon of the sugar, and lemon juice in a small saucepan and cook over medium heat, stirring and mashing the berries, until the sauce thickens slightly, 5-7 minutes.
- Press the sauce through a fine-mesh sieve into a bowl and discard the seeds.
- Let the sauce cool.
- Heat the oven to 350°F.
- Line a 9x13-inch baking pan with parchment paper, leaving overhang on two sides.
- Melt the butter.
- Brush 1 teaspoon butter over the parchment.
- Whisk the remaining butter with 1 cup of the sugar in a large bowl.
- Whisk in 2 eggs, one at a time.
- Mix in 1 teaspoon vanilla, the red food coloring, and vinegar.
- Whisk the flour, cocoa powder, and salt in a separate bowl.
- Fold the dry mixture into the wet mixture until no dry streaks remain.
- Spread the batter evenly in the pan.
- Bake at 350°F until the top looks set and the edges are just beginning to pull away from the pan, 12-15 minutes.
- Beat the cream cheese in a large bowl until smooth.
- Beat in the remaining 1/2 cup sugar, remaining egg, remaining 1 teaspoon vanilla, and sour cream just until combined.
- Spread the filling over the warm red velvet layer.
- Bake at 325°F until the edges are set, the center has a slight wobble, and the center reaches 160°F, 25-30 minutes.
- Cool the bars in the pan on a wire rack for 1 hour.
- Refrigerate for at least 4 hours, until firm.
- Use the parchment overhang to lift the bars from the pan.
- Cut into 16 pieces.
- Drizzle with the cooled raspberry sauce.
