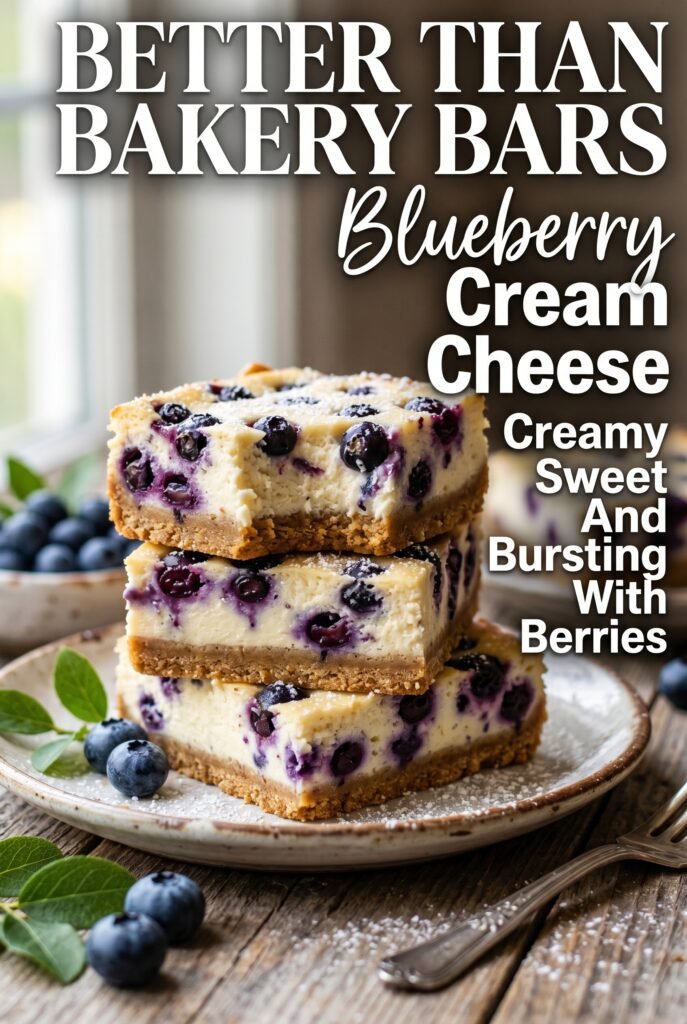
Blueberry Cream Cheese Bars
Buttery crust, tangy cream cheese filling, and a layer of juicy blueberries make these bars disappear fast. The contrast is what keeps people coming back: the bottom bakes up firm…
Tip: save now, read later.
Buttery crust, tangy cream cheese filling, and a layer of juicy blueberries make these bars disappear fast. The contrast is what keeps people coming back: the bottom bakes up firm enough to slice cleanly, the center stays creamy, and the berries break down just enough in the oven to turn jammy without soaking the crust.
The trick is in the timing and the layering. A short pre-bake gives the crust enough structure to hold the filling, and the cream cheese layer goes on while it’s still warm so it settles into a smooth base. Tossing the blueberries with a little cornstarch keeps the juices in place instead of letting them run through the bars.
Below you’ll find the small details that matter most, from how to get the filling silky to the best way to chill and slice the bars without smearing the layers.
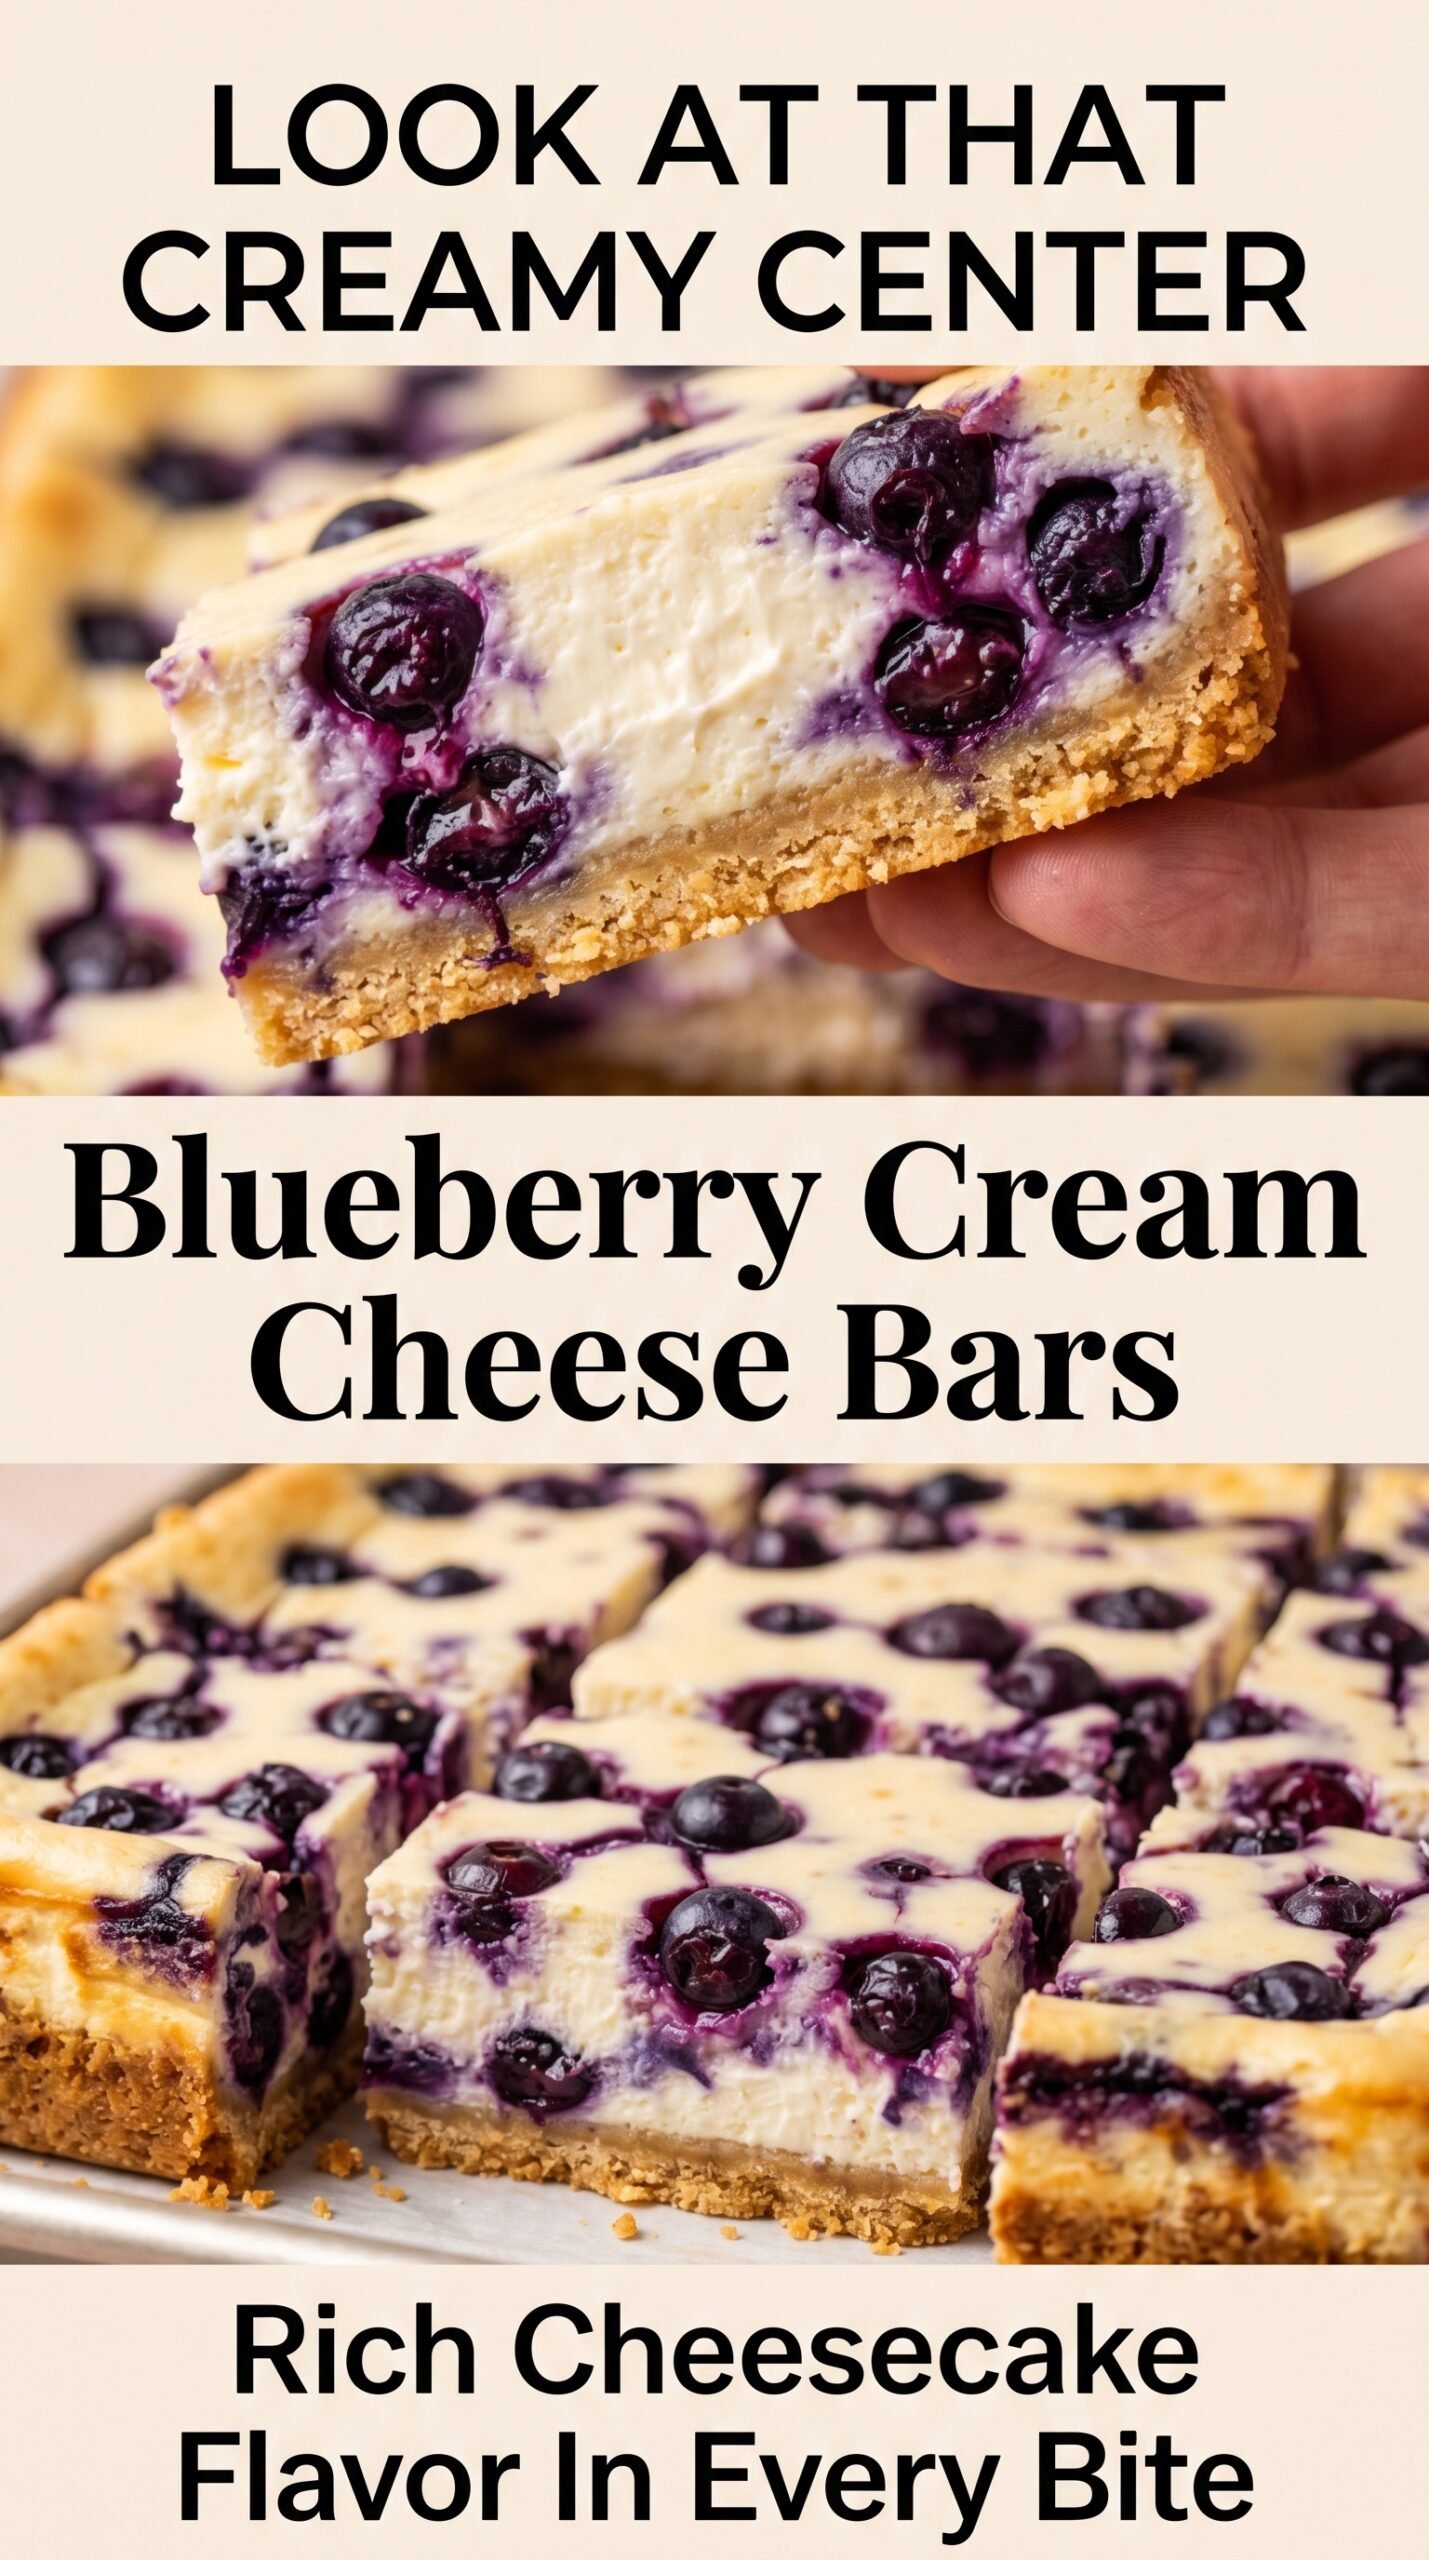
The crust held together perfectly and the blueberry layer set up with just the right amount of juiciness. I liked that the bars sliced clean after chilling, and the cream cheese filling stayed smooth instead of running everywhere.
Blueberry Cream Cheese Bars with that jammy berry topping and clean cream cheese layers are worth saving for the next dessert tray.
The Trick to Bars That Slice Clean Instead of Smearing
These bars need that short crust pre-bake. Without it, the butter-rich base stays too soft under the cream cheese and blueberry layers, and the whole thing turns muddy when you cut into it. A brief bake sets the crust just enough that it holds the filling instead of soaking it up.
The second place people lose the structure is cooling. The center should look set at the edges and only slightly soft in the middle when it comes out of the oven. Letting the bars cool completely, then chilling them before slicing, is what gives you neat squares instead of a soft pile on the knife.
What Each Layer Is Actually Doing Here
- All-purpose flour — This gives the crust enough structure to bake into a bar you can pick up. Cake flour makes it too tender, and bread flour makes it tougher than it needs to be.
- Unsalted butter — Melted butter helps the crust press into the pan fast and bake into a dense, short base. If you only have salted butter, use it and reduce the added salt a bit.
- Cream cheese — Full-fat cream cheese gives the filling that thick, smooth body that low-fat versions never quite match. Soften it fully before mixing or you’ll end up with tiny lumps that won’t disappear later.
- Blueberries — Fresh berries hold their shape better and keep the top from turning soupy. Frozen berries can work, but don’t thaw them first or they’ll bleed too much juice into the filling.
- Cornstarch — This catches the berry juices as the bars bake. It’s the difference between a glossy fruit layer and one that slides around when you cut it.
- Lemon juice — A small amount brightens the berries and keeps the filling from tasting flat. Fresh is best here because bottled lemon juice can taste sharp in a baked dessert.
Building the Layers Without Softening the Base
Pressing and Pre-Baking the Crust
Mix the crust until the flour is evenly moistened and it looks like damp sand. Press it firmly into the pan so there aren’t weak spots, then bake until the top is just set and lightly matte at the edges. If it puffs in spots, tap it down lightly with the back of a spoon right after it comes out of the oven.
Mixing the Cream Cheese Layer
Beat the cream cheese until it’s completely smooth before adding anything else. Once the sugar, egg, and vanilla go in, mix only until the filling turns creamy and even; overbeating adds too much air, and that can lead to tiny cracks. Spread it over the warm crust in an even layer so the fruit has a level base.
Coating the Blueberries
Toss the berries with sugar, cornstarch, and lemon juice until the cornstarch disappears and the fruit looks lightly glossy. You’re not trying to bury the berries in a thick paste. You just want a thin coating that thickens the juices in the oven and keeps them from flooding the bars.
Baking Until the Center Settles
Bake until the edges are set and the center gives only a slight wobble when you move the pan. If the middle still looks wet and sloshy, it needs more time; if you bake it until the whole surface looks firm, the filling dries out as it cools. Cool the pan completely, then chill it for at least 2 hours before slicing.
Three Ways to Adapt These Bars Without Losing the Texture
Use frozen blueberries when fresh aren’t available
Frozen blueberries work, but add them straight from the freezer and don’t thaw them first. Thawed berries leak extra liquid, which can make the topping runny and stain the cream cheese layer underneath.
Make them gluten-free with a one-to-one flour blend
A good gluten-free all-purpose blend can replace the flour in the crust at a 1:1 ratio. The bars will still hold together, though the base may be a touch more delicate, so chill them well before slicing.
Swap in raspberries for a sharper fruit layer
Raspberries bring a brighter, tarter bite, but they break down faster than blueberries. Keep the same cornstarch amount, and expect a softer, more jam-like top that still tastes great once the bars are chilled.
Reduce the sugar a little for a less sweet dessert
You can cut the berry sugar back slightly if your blueberries are very ripe. Don’t remove it completely, though, because the sugar helps draw out the juices that thicken into that glossy fruit layer.
Storage and Reheating
- Refrigerator: Store covered for up to 5 days. The crust stays best for the first 2–3 days, then softens a little from the berry juices.
- Freezer: These freeze well. Cut into bars first, wrap tightly, and freeze for up to 2 months. Thaw in the refrigerator so the filling doesn’t sweat.
- Reheating: These are best served cold or at cool room temperature, not warmed. If you want to take the chill off, leave them on the counter for 15 to 20 minutes; heat will soften the filling and blur the layers.
Answers to the Questions Worth Asking

Blueberry Cream Cheese Bars
Ingredients
Equipment
Method
- Preheat oven to 350°F (175°C). Set out a 9×9-inch baking pan lined with parchment paper so the bars lift out cleanly.
- In a bowl, mix flour, sugar, salt, and melted butter. Stir just until the mixture looks like even, sandy crumbs.
- Press the mixture firmly into the prepared pan. Use the back of a measuring cup to compact it into an even layer.
- Bake the crust for 12 minutes. Look for lightly golden edges while the center stays set.
- Beat cream cheese until smooth. Stop and scrape the bowl so there are no lumps.
- Add sugar, egg, and vanilla. Mix until creamy and fully combined.
- Spread the cream cheese mixture over the warm crust. Smooth the top so it reaches the edges.
- Toss blueberries with sugar, cornstarch, and lemon juice. Stir until the berries look glossy and the cornstarch is evenly distributed.
- Scatter blueberries evenly over the cream cheese layer. Arrange them so there are berries in every corner.
- Bake for 30–35 minutes until the filling is set. The center should look firm with only a slight wobble.
- Cool completely. Let the bars reach room temperature before chilling for the best slice.
- Refrigerate for at least 2 hours. Chill until fully firm to ensure tidy bar slices.
- Slice into bars and dust with powdered sugar if desired. Use a sharp knife and wipe it between cuts for clean edges.