
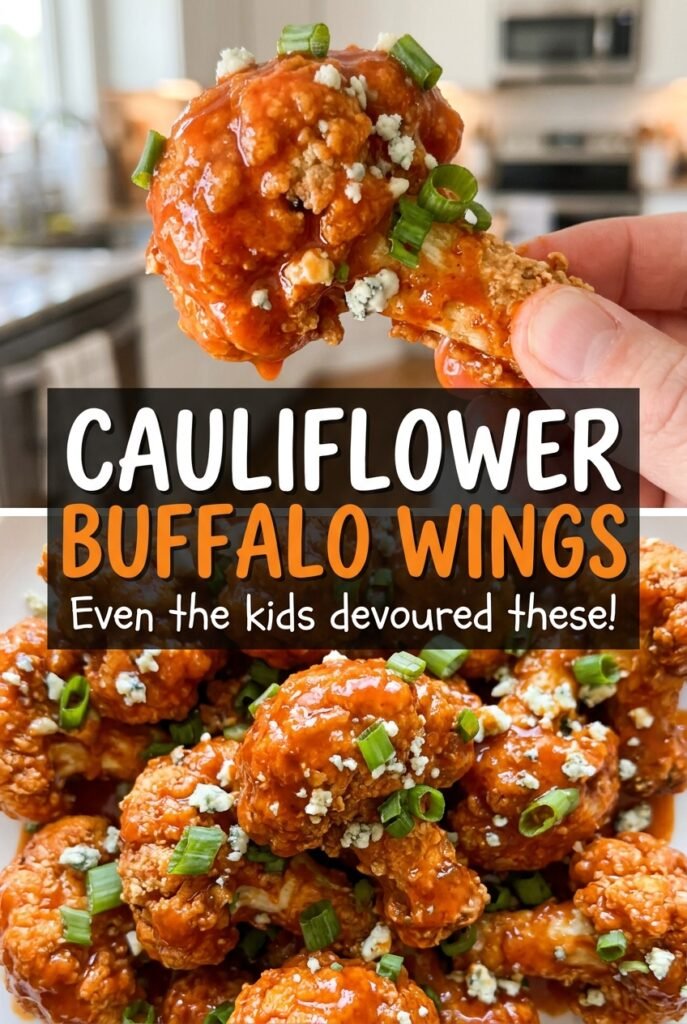
Cauliflower Buffalo Wings
The first time I made these, I sauced the cauliflower as soon as it came out of the oven. The coating softened before it had a chance to set, and…
Tip: save now, read later.
The first time I made these, I sauced the cauliflower as soon as it came out of the oven. The coating softened before it had a chance to set, and the florets felt more like battered vegetables than Buffalo wings. Now I bake them once without sauce, then give them a short second trip to the oven after tossing. That’s what makes these Cauliflower Buffalo Wings work: the outside gets a little structure before the buttery cayenne sauce goes on.
Cutting the cauliflower into florets close to 1 1/2 inches helps them cook at about the same pace, and a thin flour-and-milk coating clings without turning heavy. I turn the pieces partway through the first bake so the coating dries evenly, then watch for lightly golden edges and cauliflower that’s just tender. After the sauce goes on, the final bake sets it around each floret. They come out warm, tangy, and coated all the way around.
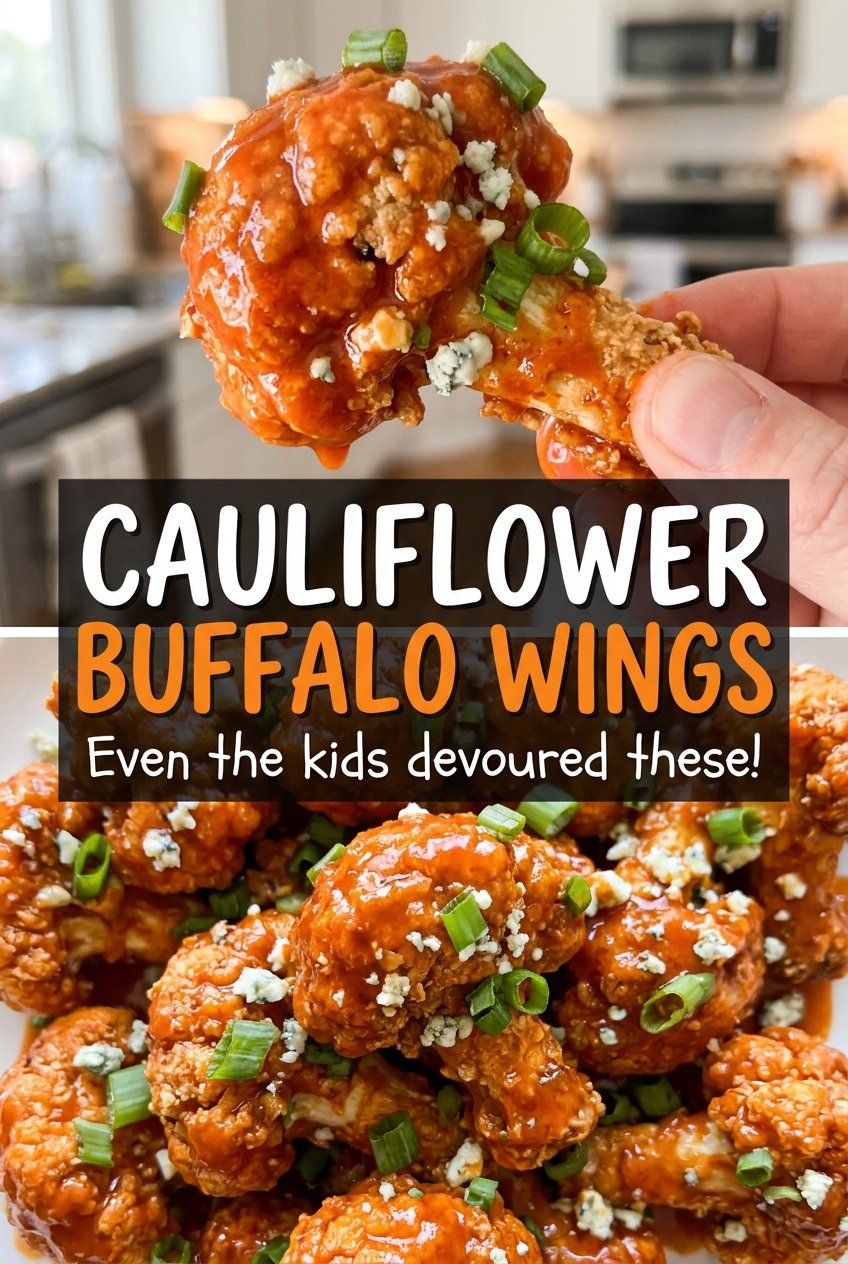
Kitchen Note
Keep the florets in a single layer instead of crowding them together. When they have room around them, the coating dries rather than steaming against the neighboring pieces.
Save these Cauliflower Buffalo Wings for a batch with a dry, lightly golden coating and a buttery cayenne finish.
Why the Buffalo Sauce Goes on After the First Bake
Buffalo sauce brings butter and hot sauce together, but it also adds moisture. If it goes onto raw, flour-coated cauliflower, that coating gets wet before it has time to firm up. Baking the florets plain first gives the flour-and-milk layer a chance to dry and turn lightly golden, so it can hold onto the sauce instead of sliding away.
The two bakes do different jobs. The first cooks the cauliflower and sets its coating; the second warms the sauced florets and lets the sauce settle onto the surface. Don’t wait for a thick, crunchy crust during the first bake—that isn’t what this thin batter is meant to make. Look for a dry coating and cauliflower that’s just tender, then move on to the sauce. This timing keeps the centers tender while the outside still has enough structure to carry that buttery heat.
What the Flour, Butter, and Cayenne Sauce Do for These Wings
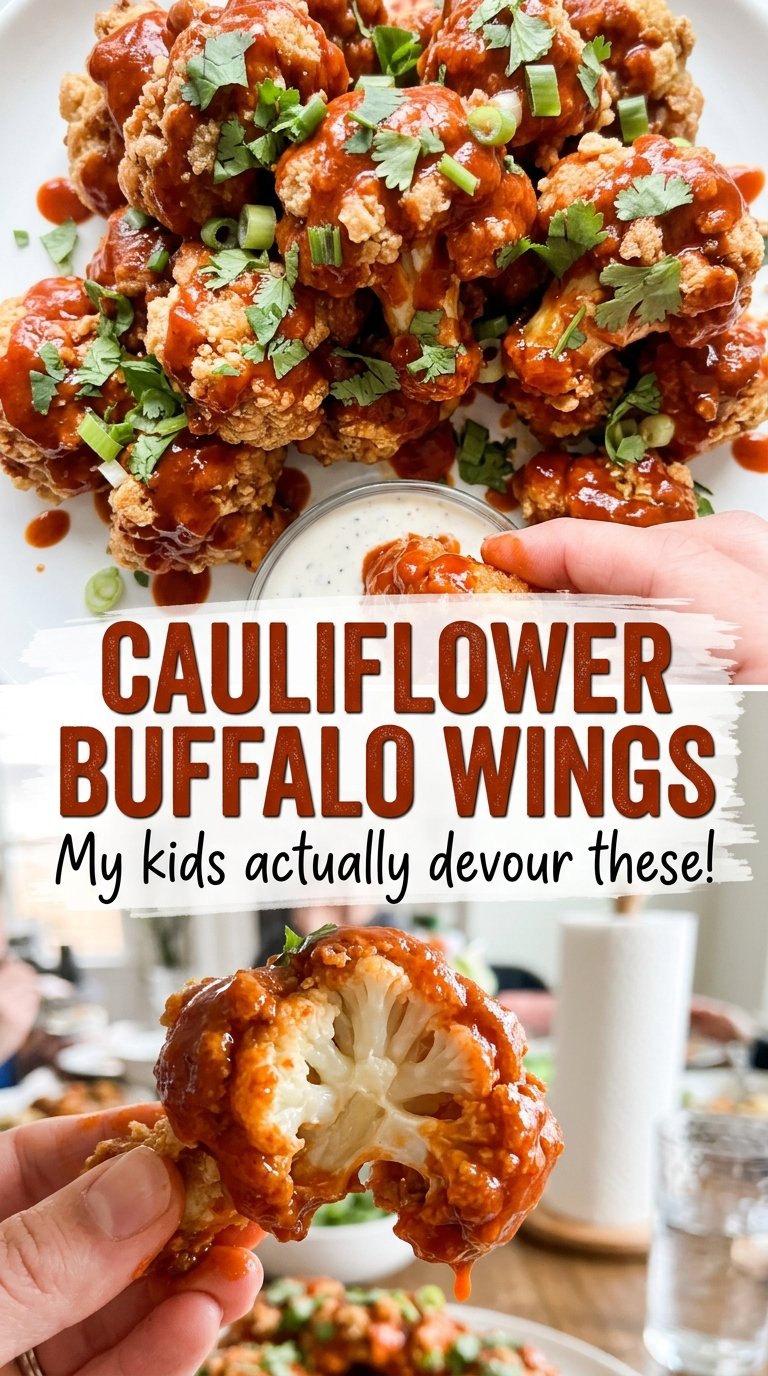
- All-purpose flour — It gives the coating enough body to cling to the cauliflower, while staying light rather than breaded and thick. A standard grocery-store flour works well; there’s no need for a specialty brand. For a gluten-free batch, use a cup-for-cup gluten-free all-purpose flour blend in its place.
- Milk — Milk loosens the flour into a smooth batter that can cover the uneven surfaces of the florets. Plain milk is the right choice; sweetened or flavored varieties would bring an unwanted taste. Plain, unsweetened plant milk can stand in at the same volume if you’re adapting the recipe for dairy-free eating.
- Cauliflower — A fresh, firm head cuts into florets that hold their shape through both bakes. Choose one without soft or dark spots, but an ordinary supermarket head is fine. Keep the pieces close to the same size so the smaller ones don’t turn soft while the larger ones are still cooking.
- Unsalted butter — Butter rounds out the sharp, vinegary heat of cayenne pepper hot sauce and helps the sauce coat the florets. Store-brand unsalted butter works here; the sauce has plenty of character from the hot sauce. For a dairy-free version, use an equal amount of a butter-style vegan alternative.
- Cayenne pepper hot sauce — This is what gives the coating its familiar Buffalo-style tang and heat. A basic cayenne pepper sauce is a good fit, so an expensive bottle isn’t necessary. The heat and acidity vary by brand, so taste the sauce you plan to use before mixing it with the butter.
How to Bake the Coating Before the Buffalo Sauce Goes On
Whisk and Coat the Florets
Heat the oven to 450°F and line a large rimmed baking sheet with parchment paper. Whisk the flour, milk, garlic powder, paprika, kosher salt, and black pepper in a large bowl until the batter is smooth, with no dry pockets of flour. Add the cauliflower and toss until the florets are coated. Arrange them in a single layer, leaving space between pieces so the coating can dry in the oven.
Dry the Batter in the First Bake
Bake the cauliflower for 20–25 minutes, turning the florets after 12 minutes. The coating should look dry and lightly golden, and the cauliflower should be just tender. If the batter still looks wet in spots, give it time within the bake rather than adding sauce early. Don’t wait for deep browning; the florets will go back into the oven after they’re sauced.
Stir Together the Butter and Hot Sauce
Melt the butter in a microwave-safe bowl, then stir in the cayenne pepper hot sauce until combined. Stir until the buttery streaks disappear and the sauce looks even. If the butter is still in separate pools, keep stirring before you toss it with the cauliflower. This quick sauce comes together while the first bake finishes.
Toss, Return, and Set the Sauce
Transfer the baked cauliflower to a large bowl and toss it with the buffalo sauce until the florets are covered. Return them to the parchment-lined baking sheet and bake for 8–10 minutes, until the sauce is set and the florets are hot. Spread them back into a single layer so they heat evenly. The coating will look glossy at first, then settle onto the florets as it bakes.
Easy Ways to Change the Heat, Coating, or Dairy
Make the batter gluten-free
Replace the all-purpose flour with the same volume of a cup-for-cup gluten-free all-purpose blend. The coating may brown a little differently, so use its dry, lightly golden appearance—not deep color—as your cue to move on to the sauce.
Make the wings dairy-free
Use plain, unsweetened plant milk in the batter and an equal amount of butter-style vegan alternative in the sauce. The coating will still cling, and the sauce will keep its buttery-style richness, though the exact taste depends on the alternative you choose.
Give the coating a smokier edge
Swap the paprika for smoked paprika. It adds a mellow, smoky note behind the cayenne sauce without changing the two-bake method. The finished wings will taste less like a classic Buffalo bar snack and more like a smoky-spiced version.
Storage and Reheating
- Refrigerator: Store leftovers in a covered container for 3–4 days. The cauliflower and coating soften as they sit.
- Freezer: Freezing is possible, but thawed cauliflower and batter lose their texture; I don’t recommend it if you want the best result.
- Reheating: Spread the wings on a parchment-lined baking sheet and warm them in the oven until hot. The coating won’t be as firm as it was fresh, and microwaving softens it further.
Questions That Come Up With Cauliflower Buffalo Wings
Cauliflower Buffalo Wings
Ingredients
Equipment
Method
- Heat the oven to 450°F.
- Line a large rimmed baking sheet with parchment paper.
- Whisk the flour, milk, garlic powder, paprika, kosher salt, and black pepper in a large bowl until smooth.
- Add the cauliflower and toss to coat, then arrange the florets in a single layer on the baking sheet.
- Bake for 20–25 minutes, turning the florets after 12 minutes, until the coating is dry and lightly golden and the cauliflower is just tender.
- Melt the butter in a microwave-safe bowl.
- Stir in the hot sauce until combined.
- Transfer the baked cauliflower to a large bowl and toss with the buffalo sauce.
- Return the florets to the baking sheet and bake for 8–10 minutes, until the sauce is set and the florets are hot.
