
Chewy Pumpkin Monster Cookies with M&Ms and Oats
Pumpkin puree looks thick in the can, but it brings more moisture to cookie dough than you might expect. Blotting it first is what lets these chewy pumpkin monster cookies…
Tip: save now, read later.
Pumpkin puree looks thick in the can, but it brings more moisture to cookie dough than you might expect. Blotting it first is what lets these chewy pumpkin monster cookies keep their shape instead of turning soft and cakey.
I spread the puree between paper towels and press until it’s thick, then measure it. That small bit of prep matters in a dough that already gets richness from butter and creamy peanut butter, plus plenty of chew from rolled oats.
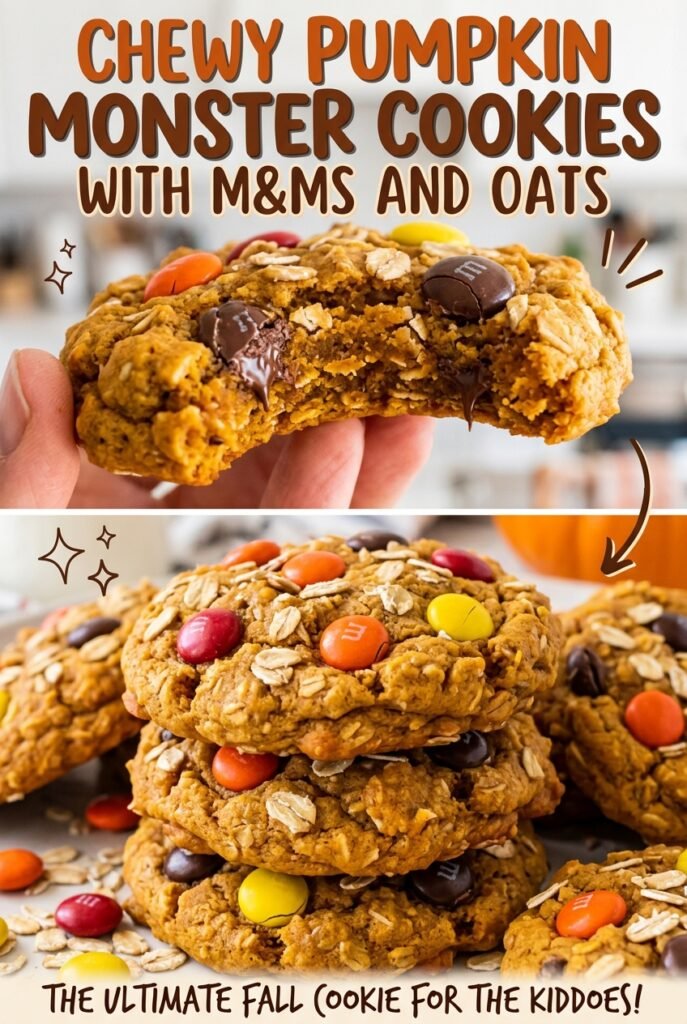
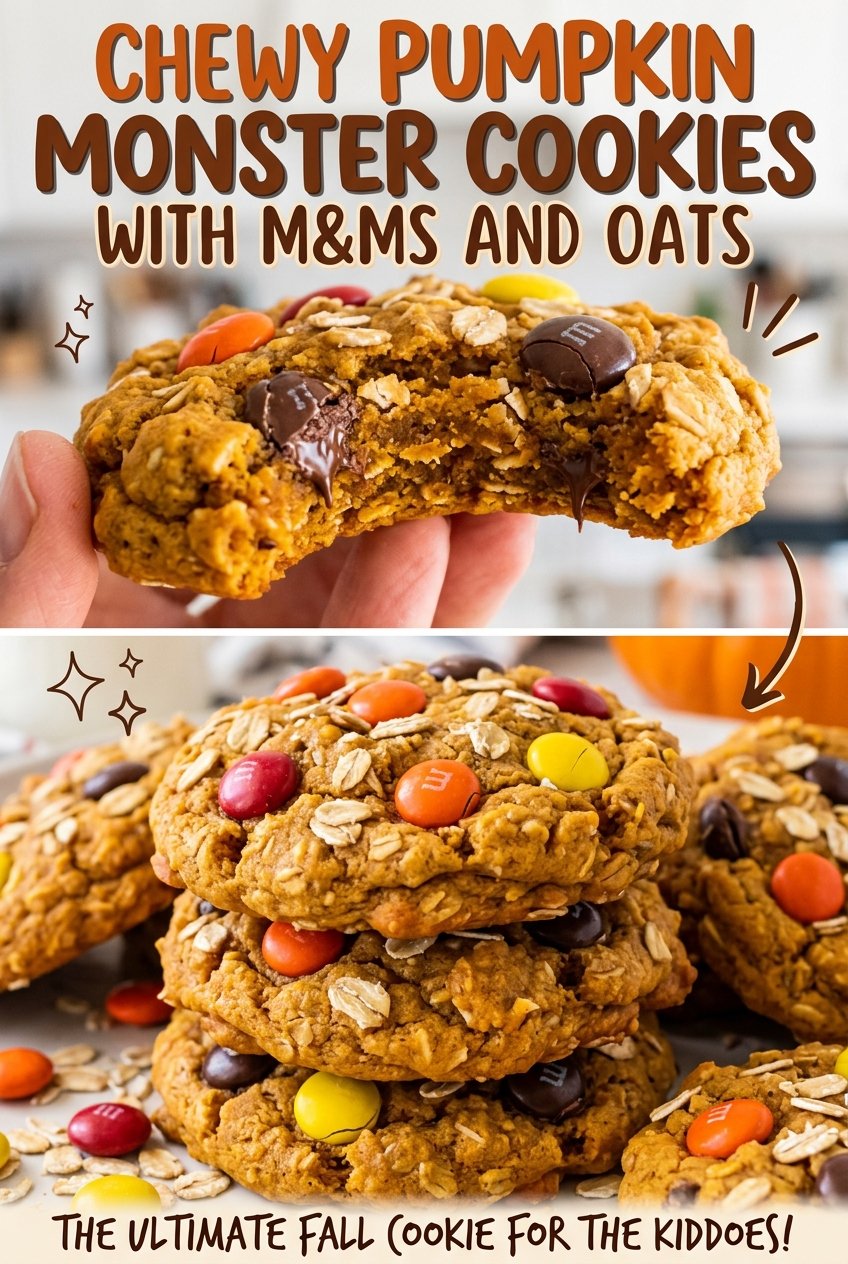
The finished cookies have lightly golden edges, soft centers, and M&Ms tucked through the oats and peanut butter. They’re hearty without being dry, with pumpkin in every bite and a candy crunch on top.
Kitchen Note
Give the cookies their full 10 minutes on the baking sheet before transferring them. They’re delicate when they first come out, and that short rest lets the centers set enough to move without breaking.
Save these chewy pumpkin monster cookies with M&Ms and oats for a bake with soft centers, hearty oats, and colorful candy in every bite.
Why Blotting the Pumpkin Matters More Than Adding More Flour
Pumpkin puree brings flavor and moisture, but extra water can throw off a cookie dough before it ever reaches the oven. If the puree is loose and wet, the dough can become softer than intended, and the baked cookies may lean cakey rather than chewy. Adding more flour to compensate changes the balance of the dough instead of fixing the source of the extra moisture.
Spread the puree over paper towels, cover it with more paper towels, and press until it feels thick and measures the intended amount. That way, the pumpkin contributes its earthy flavor without bringing along as much excess liquid. The dough should still be soft, but it will be easier to scoop and gently flatten.
Use plain pumpkin puree, not pumpkin pie filling. Pie filling is already sweetened and seasoned, so it changes both the taste and the way the dough is balanced. This simple distinction keeps the pumpkin flavor clear alongside the peanut butter and chocolate candies.
What Pumpkin, Peanut Butter, and Oats Each Bring to These Cookies

- Pumpkin puree — Plain puree gives the cookies their pumpkin flavor without the added sugar and spices in pie filling. Canned puree is convenient and consistent; fresh puree can vary in moisture, so it needs the same attention to texture. There isn’t a direct swap that keeps the pumpkin character and dough balance unchanged.
- Butter and sugars — Softened unsalted butter creams smoothly with the peanut butter and sugars. Store-brand butter works well here; the texture matters more than choosing a premium brand. Packed light brown sugar contributes moisture and a mellow molasses note, while granulated sugar keeps the sweetness from being too heavy.
- Creamy peanut butter — A smooth, conventional creamy peanut butter blends evenly into the dough. If you need a peanut-butter alternative, smooth almond butter works in the same amount, though it gives the cookies a different nutty flavor and doesn’t make them safe for someone with tree-nut allergies.
- Egg yolk and vanilla — The yolk adds richness without the extra moisture of a whole egg, which helps keep the dough thick. Use the yolk rather than swapping in a whole egg. A standard vanilla extract is a good fit; there’s no need for an expensive specialty bottle.
- Flour, baking soda, and salt — All-purpose flour gives the dough structure, while baking soda helps the cookies bake up with tender edges. For a gluten-free batch, use a measure-for-measure gluten-free baking blend in place of the flour and certified gluten-free oats. The texture may be a little more tender than the original.
- Old-fashioned oats and M&Ms — Rolled oats give these cookies their distinct chewy texture; quick oats work in the same amount but make the crumb softer and less visibly oat-y. M&Ms add candy-shell crunch and chocolate. Chocolate chips can stand in for them, though you’ll lose the colorful shells and crisp little crunch.
The Mixing and Chilling Sequence That Keeps Them Chewy
Prepare the Pumpkin and Pan
Spread the pumpkin puree on paper towels, cover it with more paper towels, and press until it’s thick and measures one-third cup. Set it aside while you heat the oven to 350°F. Line a baking sheet with parchment paper so the cookies lift off cleanly after baking.
Cream the Butter, Peanut Butter, and Sugars
Beat the softened butter, creamy peanut butter, brown sugar, and granulated sugar in a large bowl until creamy, about 2 minutes. Scrape down the bowl if you see unmixed butter clinging to the sides. Beat in the egg yolk, blotted pumpkin, and vanilla until the mixture looks even.
Bring the Dough Together Without Overworking It
Whisk the flour, baking soda, and salt in a separate bowl, then stir in the oats. Add this dry mixture to the wet ingredients and stir only until no dry flour remains. If you keep mixing after the flour disappears, the cookies can turn firmer than you want. Fold in the M&Ms, cover the bowl, and refrigerate the dough for 30 minutes.
Flatten Gently and Bake to the Right Cue
Scoop rounded 2-tablespoon portions onto the parchment-lined sheet, leaving about 2 inches between them, then gently flatten each mound. Bake for 10–12 minutes, until the edges are set and lightly golden while the centers still look slightly soft. They’ll continue to settle as they cool, so don’t wait for the centers to look fully firm in the oven. Cool on the baking sheet before transferring the cookies to a rack, and use a cooled baking sheet for each remaining batch.
Easy Ways to Change the Candy, Texture, or Diet
A Dairy-Free Batch with Baking Sticks
Replace the butter with the same amount of dairy-free baking sticks, not soft tub spread, and use dairy-free candy-coated chocolate pieces in place of the M&Ms. The cookies keep their peanut butter and oat base, though the buttery note may be a little less pronounced.
A Deeper Molasses Note with Dark Brown Sugar
Use dark brown sugar in place of light brown sugar, keeping the amount the same. The extra molasses flavor gives the cookies a deeper caramel note and a slightly more pronounced brown-sugar taste next to the peanut butter.
More Candy in Every Bite with Mini M&Ms
Swap in mini M&Ms for the regular size, using the same amount. Their smaller size spreads the candy more evenly through the dough, so each cookie gets little pops of chocolate and crunch rather than a few larger candy bites.
Storage and Reheating
- Refrigerator: Store cooled cookies in an airtight container for up to 1 week. They’ll feel firmer straight from the fridge; let them sit at room temperature before eating for a softer center.
- Freezer: Freeze baked cookies in an airtight container, with parchment between layers, for up to 2 months. Thaw at room temperature before serving.
- Reheating: For a warm cookie, microwave one for about 5 seconds. Longer heating can soften or melt the candy coating, so keep the interval short.
Questions That Come Up While Baking Pumpkin Monster Cookies
Chewy Pumpkin Monster Cookies with M&Ms and Oats
Ingredients
Equipment
Method
- Spread the pumpkin puree on paper towels, cover with more paper towels, and press until it is thick and measures 1/3 cup; set aside.
- Heat the oven to 350°F and line a baking sheet with parchment paper.
- In a large bowl, beat the butter, peanut butter, brown sugar, and granulated sugar until creamy, about 2 minutes.
- Beat in the egg yolk, blotted pumpkin, and vanilla until combined.
- In a separate bowl, whisk together the flour, baking soda, and salt.
- Stir the oats into the dry mixture.
- Add the dry mixture to the wet mixture and stir just until no dry flour remains.
- Fold in the M&M’s.
- Cover and refrigerate the dough for 30 minutes.
- Scoop rounded 2-tablespoon portions onto the prepared baking sheet, spacing them about 2 inches apart.
- Gently flatten each mound.
- Bake for 10–12 minutes, until the edges are set and lightly golden while the centers still look slightly soft.
- Cool on the baking sheet for 10 minutes before transferring to a rack.
- Bake remaining dough in batches, using a cooled baking sheet.
