
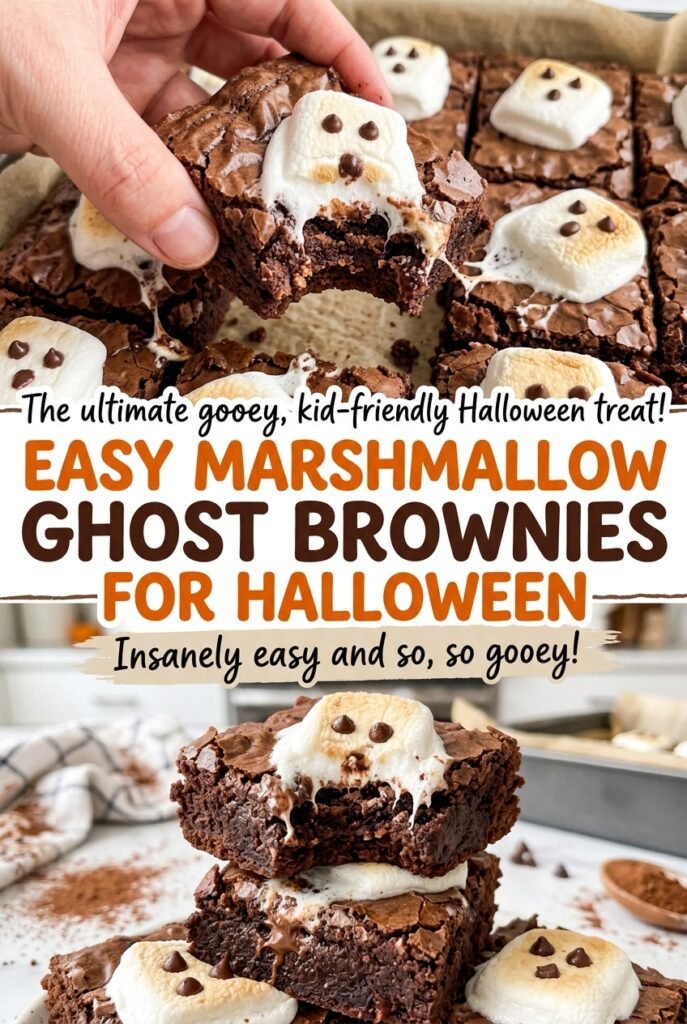
Easy Marshmallow Ghost Brownies for Halloween
The parchment overhang is what makes a full pan of brownies feel manageable: I lift the cooled slab out in one piece, cut it on the counter, and frost the…
Tip: save now, read later.
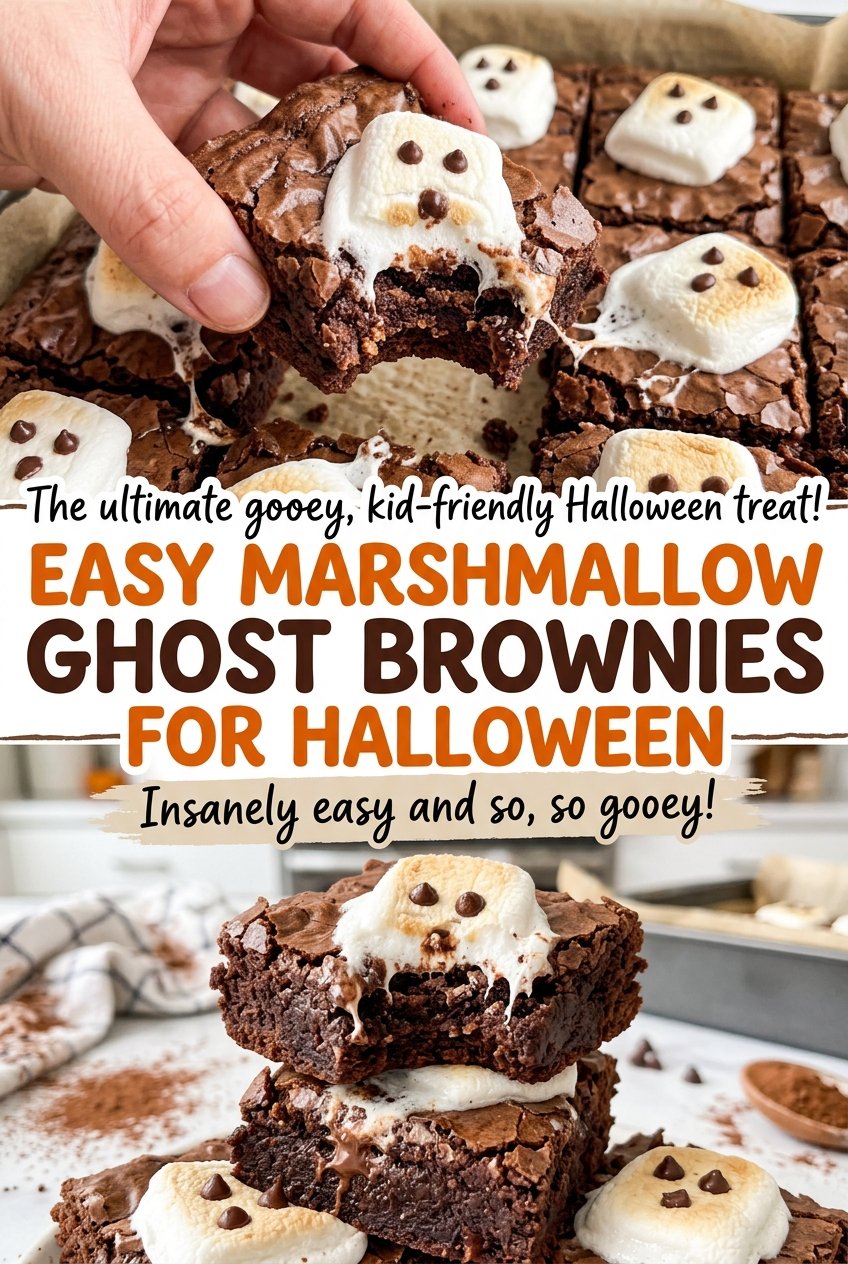
The parchment overhang is what makes a full pan of brownies feel manageable: I lift the cooled slab out in one piece, cut it on the counter, and frost the squares without wrestling with the corners. These Easy Marshmallow Ghost Brownies for Halloween start with a simple cocoa batter, then get their ghost shapes from a soft marshmallow frosting piped right onto each piece.
There’s no melted chocolate to fuss with, and the batter comes together in one bowl with a whisk and a spoon. The part worth watching is the brownie bake: a toothpick should come out with a few moist crumbs, not perfectly clean. Once the squares are cool, the frosting can hold a tall shape, and three little chocolate chips turn each one into a ghost with a face. The finished brownies are rich, soft, and easy to portion for a Halloween tray.
Kitchen Note
Beat the butter until it looks creamy before adding the marshmallow creme. Add the powdered sugar in two rounds, starting on low; turning the mixer up too early sends sugar everywhere.
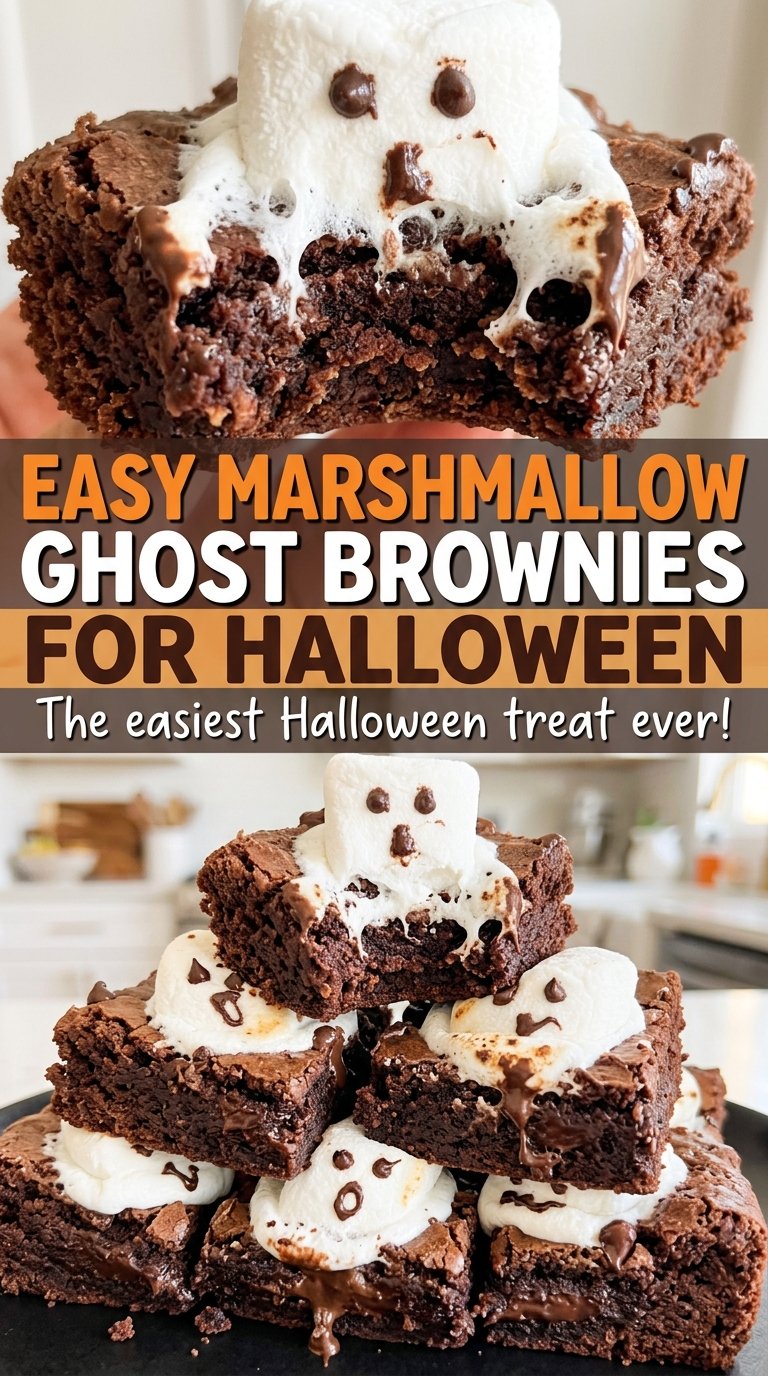
Save these marshmallow ghost brownies for Halloween: soft cocoa squares topped with tall, fluffy ghosts and chocolate-chip faces.
Why Each Brownie Gets Its Own Little Ghost
Piping the ghosts onto individual squares, rather than frosting the whole pan and cutting afterward, keeps the faces intact. A knife through the frosting would smear the piped shapes and drag the chocolate-chip features out of place. Cutting first gives you a flat, steady surface for each decoration and leaves the parchment free to lift the brownies cleanly from the pan.
The quantities also fit the design: the pan is cut into 16 squares, and 48 mini chips give you three for each ghost. Press two chips in for eyes and one below for a mouth. Mini chips work well because their small size keeps the face in proportion to the piped frosting. If you’re setting these out on a platter, leave a little room between squares so the frosting peaks don’t brush against one another as you move them.
That order—cool, lift, cut, then pipe—also makes the decorating feel less fiddly. You can turn each square as you work, instead of reaching across a full pan, and place the finished brownies directly where you want them to sit.
What Makes the Brownies Rich and the Ghosts Fluffy
- Unsweetened cocoa powder — This supplies the brownie’s chocolate flavor without adding extra liquid. A familiar, reasonably priced cocoa works well here; hot cocoa mix isn’t a substitute because it contains sugar and other ingredients. There isn’t a direct melted-chocolate swap without changing the batter’s fat and moisture balance.
- Vegetable oil — Oil keeps the crumb tender and makes the batter easy to whisk together. A neutral-tasting oil is the practical choice. Melted butter can stand in for the oil, but it brings a buttery flavor and may make the cooled brownies firmer.
- Eggs and granulated sugar — The eggs bind the batter, while the sugar sweetens and helps give the brownies structure. Use large eggs as listed; changing egg size shifts the liquid balance. There’s no need for a specialty sugar here.
- Marshmallow creme — This is what gives the frosting its airy, marshmallow character. Whole marshmallows don’t beat into the same smooth frosting, so they aren’t a reliable one-for-one replacement. Choose a fresh jar that stirs easily rather than a dried-out one.
- Unsalted butter and powdered sugar — Softened butter gives the frosting its body, and powdered sugar thickens it while keeping the texture smooth. If you only have salted butter, the frosting will taste a little saltier; unsalted butter gives you better control. Add the sugar gradually so it blends into the butter and creme without a gritty finish.
- Mini semisweet chocolate chips — Their small size makes tidy eyes and a mouth. Dark chocolate mini chips are a straightforward swap if you want a less-sweet face; larger chips are heavier and can look oversized on the ghosts.
Mixing, Baking, and Piping the Ghosts
Whisk the Cocoa Batter Without Overworking It
Whisk the vegetable oil and granulated sugar together in a large bowl, then whisk in the eggs one at a time and add the vanilla. Stir in the cocoa powder, flour, baking powder, and salt only until the dry streaks disappear. Scraping and mixing beyond that point develops the flour more than this brownie batter needs, which can leave the squares less tender. The finished batter should look evenly chocolate-colored, with no pockets of flour at the bottom of the bowl.
Use the Crumb Cue, Not a Dry Toothpick
Spread the batter evenly in the greased and parchment-lined 9×13-inch pan, then bake at 350°F for 25–30 minutes. Start checking toward the earlier end of that range, since the pan and oven can affect the exact timing. A toothpick inserted in the center should come out with a few moist crumbs clinging to it. If it comes out coated in wet batter, give the brownies more time; if it’s completely dry, the center may be less soft than you want.
Cool Completely Before Cutting
Let the brownies cool completely in the pan before lifting them out by the parchment overhang. Warm brownies are soft and can tear when you cut them, so give the center time to firm up along with the edges. Set the slab on a cutting surface and cut it into 16 squares. Try to keep the portions even so the ghost decorations have similarly sized bases.
Beat, Pipe, and Give Each Ghost a Face
Beat the softened butter in a medium bowl until creamy, then beat in the marshmallow creme. Add the powdered sugar in two additions, mixing on low until combined and then on medium until smooth. Transfer the frosting to a piping bag fitted with a 1/2-inch round tip, pipe a tall shape onto each square, and lift the bag to form a point. Press three mini semisweet chocolate chips into each ghost for its eyes and mouth.
Easy Ways to Adapt These Halloween Brownies
Make a Gluten-Free Batch
Replace the all-purpose flour with the same amount of a 1:1 gluten-free baking flour. The brownies may be a little more delicate when cut, so let them cool fully before lifting and portioning them.
Give the Ghost Faces a Darker Chocolate Note
Use dark chocolate mini chips instead of semisweet mini chips for the eyes and mouth. The ghosts keep the same look, while the faces taste less sweet and a bit more cocoa-forward.
Storage and Reheating
- Refrigerator: Keep the frosted brownies covered in an airtight container for up to 4 days. The frosting firms up when cold.
- Freezer: Freeze the undecorated brownie squares in an airtight container for up to 2 months. Thaw them in the refrigerator, then add the frosting and chocolate-chip faces.
- Reheating: These are best served at room temperature. Let a chilled brownie sit out for 20–30 minutes; microwaving a frosted square can melt the ghost and smear its face.
Questions That Come Up While Making Ghost Brownies
Easy Marshmallow Ghost Brownies for Halloween
Ingredients
Equipment
Method
- Heat the oven to 350°F and grease a 9x13-inch baking pan; line it with parchment paper, leaving an overhang on two sides.
- In a large bowl, whisk together the oil and sugar.
- Whisk in the eggs one at a time and the vanilla.
- Stir in the cocoa powder, flour, baking powder, and salt just until no dry streaks remain.
- Spread the batter evenly in the prepared pan and bake for 25–30 minutes, until a toothpick inserted in the center comes out with a few moist crumbs.
- Cool the brownies completely in the pan.
- Lift the brownies out using the parchment and cut into 16 squares.
- In a medium bowl, beat the butter until creamy.
- Beat in the marshmallow creme.
- Add the powdered sugar in two additions, beating on low until combined and then on medium until smooth.
- Transfer the frosting to a piping bag fitted with a 1/2-inch round tip and pipe a tall ghost shape onto each brownie square, lifting the bag to form a point.
- Press three mini chocolate chips into each ghost for the eyes and mouth.
