
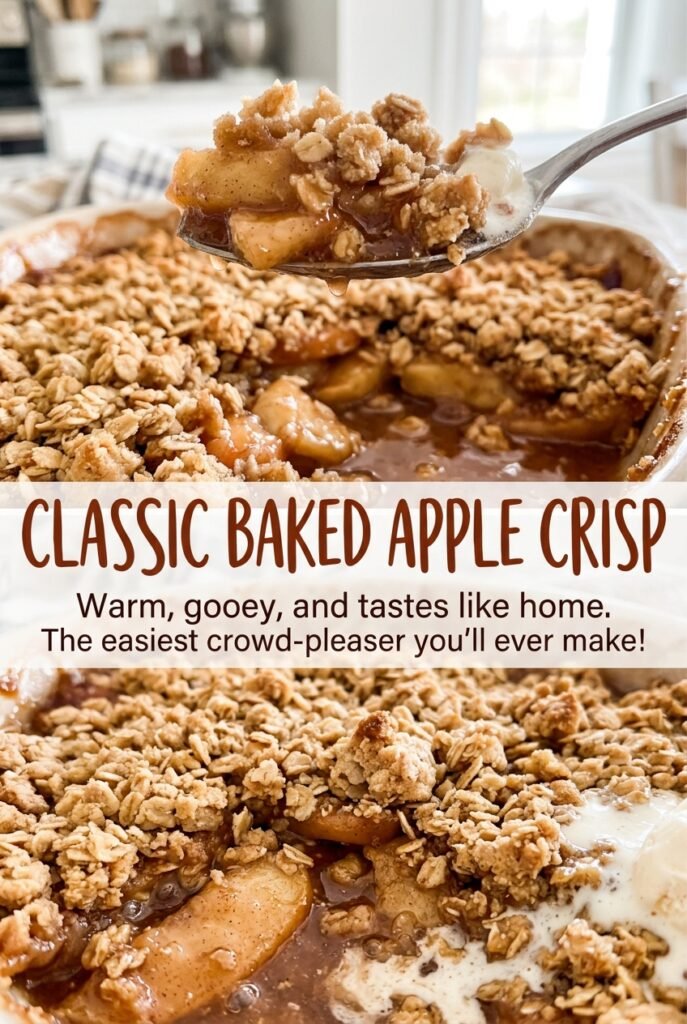
Classic Baked Apple Crisp
As the apples soften in the oven, their juices bubble up around the edges while the oat topping turns golden. That contrast is what I want from a classic baked…
Tip: save now, read later.
As the apples soften in the oven, their juices bubble up around the edges while the oat topping turns golden. That contrast is what I want from a classic baked apple crisp: tender fruit underneath, with a crumbly top that still has a little texture. This version keeps the apple slices coated in a lightly spiced filling, then lets the oven do the slow work of bringing everything together.
The filling gets a little help from cornstarch, which thickens the juices released by the apples as they bake. Lemon juice brightens the fruit, and cinnamon goes into both the filling and the topping so the flavor runs through every bite. After baking, a short rest gives the filling time to settle before you scoop into the warm, golden crisp.
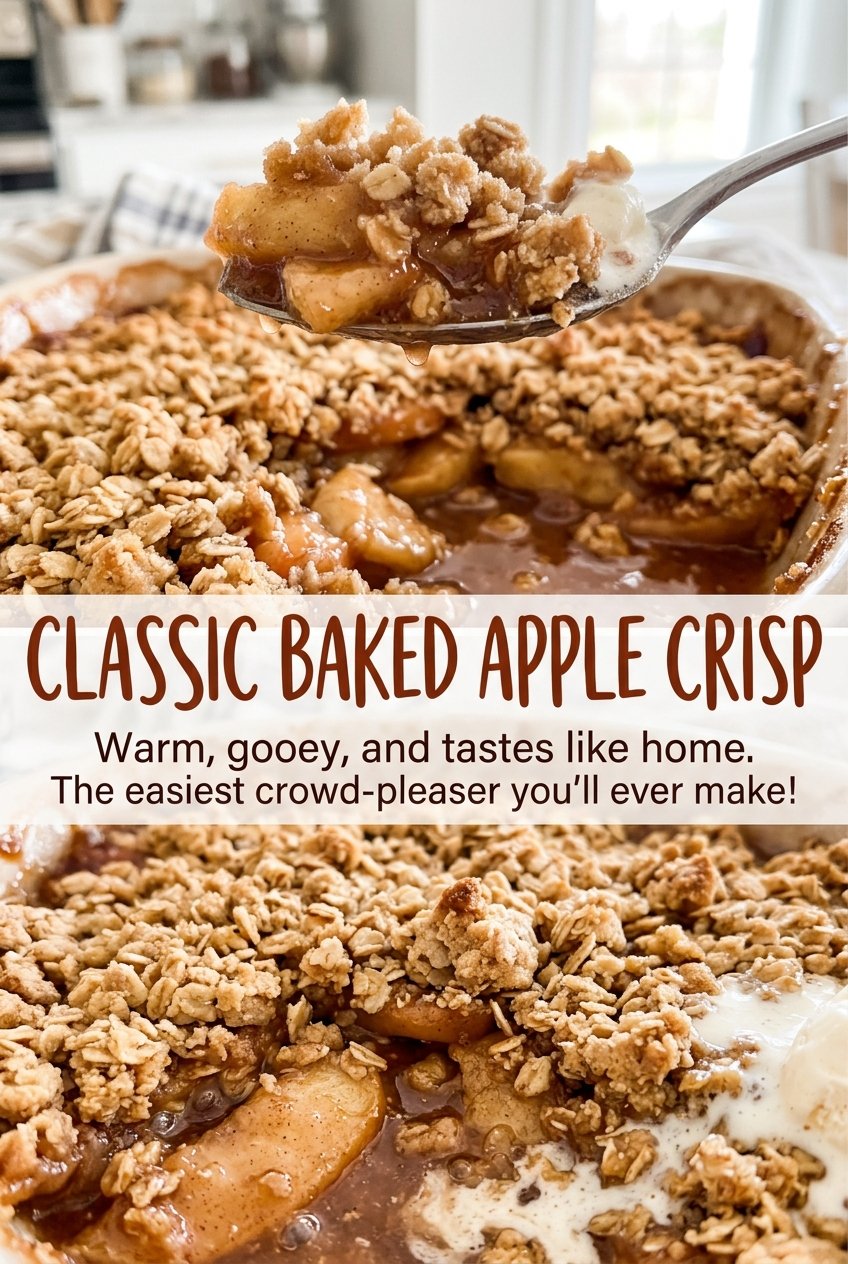
Kitchen Note
Keep the butter cold while you work it into the oats and flour. Stop when you have coarse clumps; if you keep mixing until the topping looks smooth, it won’t bake up with the same crumbly texture.
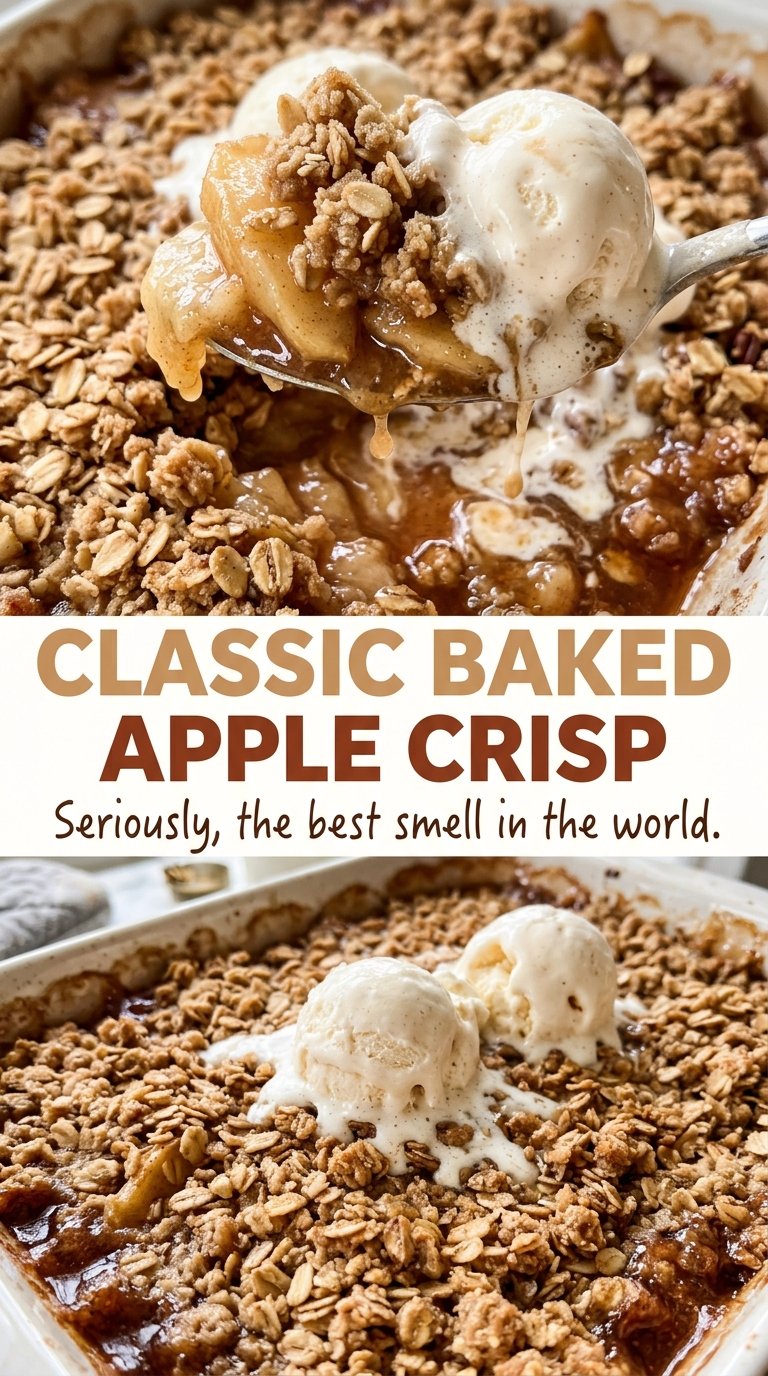
Save this classic baked apple crisp for a cozy dessert with tender cinnamon apples and a golden oat topping.
Why Apple Slices Need to Be Close to 1/4 Inch
Apples don’t all soften at the same speed when their slices vary in thickness. A thin slice can collapse while a thicker piece is still firm, leaving you with a filling that’s soft in some spots and resistant in others. Cutting the apples to a consistent thickness gives the whole dish a better chance of baking evenly.
That 1/4-inch slice also helps the fruit fit neatly in the baking dish without turning the filling into a tall, crowded pile. Take a moment to check the slices as you work, especially near the core where pieces can come out uneven. If you notice a few much thicker slices, cut them down before tossing the apples with the sugar and spices. The knife test at the end is still the final word, but even slices make it easier for every bite to reach the same tender texture.
What the Apples, Cornstarch, and Oats Each Bring
- Apples — Choose fruit that feels firm and unbruised; it should hold its shape better than a soft, mealy apple. A mix of tart and sweet varieties works well, as long as you keep the slices even. Peeling, coring, and slicing the fruit before tossing it helps the filling bake consistently.
- Lemon juice and cornstarch — Lemon juice keeps the sweetness from tasting flat, while cornstarch thickens the juices released by the apples. Don’t leave out the thickener if you want a scoopable filling rather than loose fruit juices in the dish. Stir these ingredients through the apples so the coating isn’t concentrated in one spot.
- Old-fashioned rolled oats — These give the topping distinct, chewy flakes and a bit of bite. Quick oats make a finer, less textured topping, so stick with rolled oats for the intended crumbly finish.
- All-purpose flour and brown sugar — Flour helps bind the topping into clumps, and packed light brown sugar brings a deeper sweetness than granulated sugar alone. A cup-for-cup gluten-free baking flour blend can replace the all-purpose flour, though the topping may crumble a little differently.
- Cold unsalted butter — Cold cubes are easier to work through the dry topping ingredients without making the mixture greasy. Unsalted butter also lets the measured kosher salt season the topping without an unpredictable extra salty note.
- Cinnamon and kosher salt — Cinnamon warms both layers, while a little salt keeps the sweet filling and topping from tasting one-dimensional. Use ground cinnamon that smells fragrant when you open the jar; an old, faintly scented jar won’t bring as much character.
From Even Apple Slices to a Golden, Bubbling Crisp
Coat the Apples Before They Go in the Dish
Heat the oven to 375°F and coat a 9×13-inch baking dish with nonstick cooking spray. In a large bowl, toss the peeled, cored, and evenly sliced apples with the granulated sugar, lemon juice, cornstarch, cinnamon, and kosher salt. Keep tossing until the fruit looks evenly coated rather than leaving a pocket of dry cornstarch at the bottom of the bowl. Spread the apples evenly in the prepared dish so the topping can cover them in a level layer.
Work the Butter into Coarse Clumps
Stir the rolled oats, flour, packed light brown sugar, cinnamon, and kosher salt together in a medium bowl. Add the cold, cubed butter and work it in with your fingertips, pinching and rubbing the pieces into the dry mixture. Stop when the topping forms coarse clumps instead of a uniform paste. If the butter starts to feel soft, pause briefly so it stays firm enough to leave those little clusters.
Bake Until the Edges Bubble
Scatter the topping evenly over the apples, covering the fruit from edge to edge. Bake for 40 to 50 minutes, until the topping is golden brown, the filling bubbles around the edges, and a knife slides easily into the apples. Don’t rely on topping color alone; the apples need to be tender too. Let the crisp rest for 15 minutes before serving so the hot filling can settle.
Two Simple Changes That Suit Different Kitchens
Make the topping gluten-free
Replace the all-purpose flour with a cup-for-cup gluten-free baking flour blend, and use certified gluten-free rolled oats. The crisp keeps its oat-and-butter character, though the topping may be a little more fragile when scooped.
Use brown sugar in the filling, too
Swap the granulated sugar in the filling for the same amount of packed light brown sugar. The apples will taste a little deeper and more caramel-like, with less of the clean sweetness you get from granulated sugar.
Storage and Reheating
- Refrigerator: Cover and refrigerate leftovers within 2 hours; they’ll keep for 3 to 4 days. The topping softens as it sits.
- Freezer: Freeze the cooled crisp in a tightly covered freezer-safe container for up to 3 months. Thaw it in the refrigerator before reheating.
- Reheating: Warm portions in a 350°F oven until heated through to help the topping regain some crispness. A microwave works for speed, but the topping will be softer.
Questions That Come Up Before the First Scoop
Classic Baked Apple Crisp
Ingredients
Equipment
Method
- Heat the oven to 375°F.
- Coat a 9x13-inch baking dish with nonstick cooking spray.
- In a large bowl, toss the apples with the granulated sugar, lemon juice, cornstarch, cinnamon, and salt.
- Spread the apple mixture evenly in the prepared dish.
- In a medium bowl, stir together the oats, flour, brown sugar, cinnamon, and salt.
- Work in the cold butter with your fingertips until the mixture forms coarse clumps.
- Scatter the topping evenly over the apples.
- Bake for 40 to 50 minutes, until the topping is golden brown, the filling bubbles around the edges, and a knife slides easily into the apples.
- Let the apple crisp rest for 15 minutes before serving.
