
Classic Southern Tomato Pie
Classic Southern Tomato Pie has that rare kind of comfort-food pull that makes people come back for a second slice before the first one’s even cooled. The crust stays flaky,…
Tip: save now, read later.
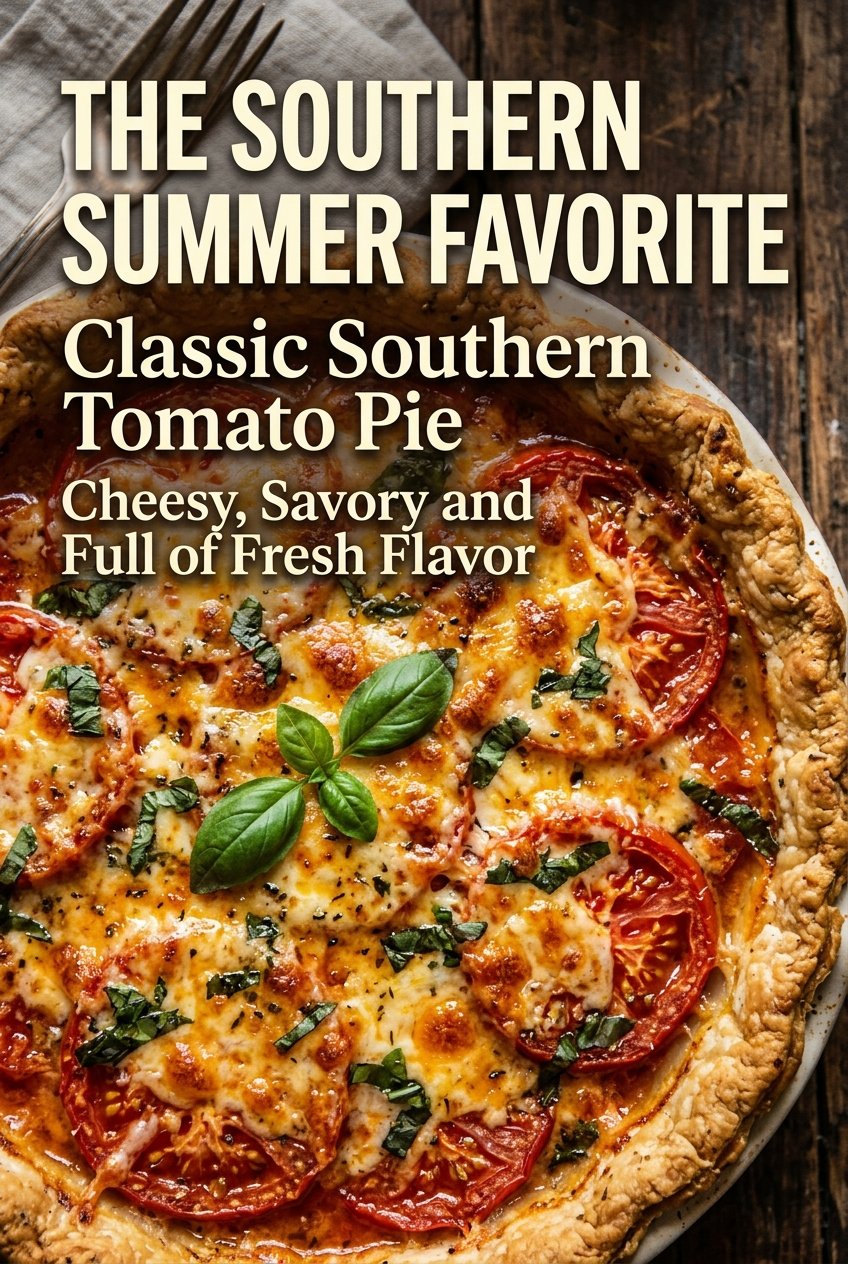
Classic Southern Tomato Pie has that rare kind of comfort-food pull that makes people come back for a second slice before the first one’s even cooled. The crust stays flaky, the tomatoes turn tender and jammy at the edges, and the cheesy topping bakes into a savory cap that holds everything together instead of sliding off the moment you cut in. It tastes like summer tomatoes at their best, wrapped in a pie that eats more like a proper meal than a side dish.
What makes this version work is the moisture control. Tomatoes hold a lot of water, and if they go into the crust wet, you get a soggy bottom and a filling that won’t set cleanly. Salting the slices first, then patting them dry, pulls out enough liquid to protect the crust without stripping the tomatoes of their flavor. Baking the shell briefly before filling it gives you a head start on crispness, and the mayonnaise-cheese mixture melts into a rich, savory layer that browns well without turning greasy.
I followed the salting step and the crust stayed crisp all the way through. The tomato slices baked up tender, and the cheddar-mayo topping set perfectly without separating.
Save this Southern tomato pie for the day you’ve got ripe tomatoes and want a flaky crust with a crisp, savory finish.
The Soggy Crust Problem That Ruins Tomato Pie
The biggest mistake with tomato pie is treating the tomatoes like they’re ready to go the moment they’re sliced. They aren’t. Fresh tomatoes keep releasing juice as they heat, and that liquid sinks straight into the crust if you don’t draw it out first. Salting the slices and letting them sit on paper towels is what keeps this pie from turning soft and muddy underneath.
Parbaking the crust matters for the same reason. A raw shell doesn’t get enough of a head start before the filling goes in, so it never gets a chance to firm up before the tomato juices hit it. Ten minutes in the oven is enough to set the structure without fully baking the crust blind. That little step is the difference between a pie that slices cleanly and one that slumps into the pan.
What Each Ingredient Is Doing in This Pie

- Prepared pie crust — A sturdy, all-butter or standard refrigerated crust both work here. A homemade crust gives you more flavor, but a good store-bought one is fine as long as it bakes up with some structure. Keep it cold until it goes into the oven so it doesn’t shrink and slip down the sides.
- Ripe tomatoes — Use tomatoes that feel heavy and smell like tomatoes. Under-ripe slices taste flat and can turn watery as they bake. If yours are extra juicy, slice them thick enough to hold shape, then salt and drain them longer so the filling doesn’t weep.
- Green onions and basil — These bring sharpness and freshness to a dish that can otherwise lean rich. Fresh basil matters more than dried here because it gives the pie its bright finish. If you need to swap, chives can stand in for the green onions, but the basil is worth keeping if you can.
- Sharp cheddar and mozzarella — Cheddar gives the pie its savory backbone and enough salt to keep the topping from tasting flat, while mozzarella melts into the topping so it bakes smooth instead of grainy. Pre-shredded cheese works, but freshly shredded melts more evenly. If you want a stronger bite, use more cheddar and a little less mozzarella.
- Mayonnaise — This is what binds the cheese topping and helps it brown into a spreadable layer. It doesn’t make the pie taste like mayonnaise; it melts into the cheese and holds everything together. Full-fat mayo gives the best texture, and light versions can turn thinner and less stable in the oven.
Building the Pie So the Bottom Stays Crisp
Prebake the Shell
Start with the pie crust and bake it just until it looks set and pale gold at the edges. You’re not trying to fully brown it here; you’re building a barrier so the filling doesn’t soak in right away. If the crust puffs in spots, press it down gently with a spoon while it’s still hot. Letting the shell cool for a few minutes before filling keeps the bottom from steaming itself soft.
Drain the Tomatoes Thoroughly
Lay the tomato slices on paper towels, salt them, and give them time to release their liquid. You’ll see beads of moisture form on the surface and on the towels underneath. Pat them dry before layering so you’re not carrying that extra water into the pie. If the slices still feel slick, blot them again; wet tomatoes are the main reason this dish turns soupy.
Layer, Then Cap with the Cheese Mixture
Build the tomatoes and herbs in even layers so every bite gets seasoning. Mix the mayonnaise, cheddar, mozzarella, pepper, and garlic powder in a separate bowl until it looks thick and spreadable, then spoon it over the top instead of stirring it into the tomatoes. That top layer should cover most of the surface and bake into a browned lid. If you spread it too thin, the filling can separate and look oily before the center is done.
Bake Until the Top Blisters
Slide the pie into a hot oven and bake until the topping is bubbling and spotted with deep golden color. The center should feel set when you nudge the pan, not loose or sloshy. If the top browns too fast, lay a loose piece of foil over it for the last few minutes. Let the pie rest before slicing or the filling will run.
Three Ways to Make This Work for Your Kitchen
Gluten-Free Tomato Pie
Use a gluten-free 9-inch pie crust that bakes up firm, not crumbly. The filling itself is naturally gluten-free, so the crust is the only swap that matters. A crust that holds its shape is important here because the tomatoes are already working hard against the bottom.
Lighter, Less Rich Topping
Swap half of the mayonnaise for plain Greek yogurt if you want a sharper, tangier topping with a little less richness. The texture won’t be quite as silky and the top won’t brown as deeply, but it still sets well. Use full-fat yogurt so it doesn’t break under heat.
More Herb-Forward
Add a little chopped dill or parsley along with the basil if you want the pie to taste brighter and less cheesy. Dill gives it a sharper, more savory edge, while parsley keeps the flavor clean and green. Don’t overdo it or the herbs will compete with the tomatoes instead of lifting them.
Storage and Reheating
- Refrigerator: Store covered for up to 3 days. The crust softens a little, but the flavor holds up well.
- Freezer: Not a great freezer pie. Tomatoes turn watery after thawing and the topping can separate.
- Reheating: Warm slices in a 350°F oven until the top is hot and the crust is crisp again. The microwave makes the crust limp, which is the fastest way to lose what makes this pie worth eating.
Questions I Get Asked About This Recipe
Classic Southern Tomato Pie
Ingredients
Equipment
Method
- Preheat oven to 375°F (190°C). Make sure the oven is fully hot before baking so the crust sets properly.
- Bake the pie crust for 10 minutes until lightly set. Place it on a sheet pan for easy handling.
- Place tomato slices on paper towels. This helps remove surface moisture before salting.
- Sprinkle with salt and let sit for 20 minutes to remove excess moisture. You should see the towels start to absorb tomato liquid.
- Pat tomatoes dry thoroughly. Press gently so the filling doesn’t become watery.
- Layer half of the tomatoes into the pie crust. Spread them evenly so they bake at the same rate.
- Sprinkle with half of the green onions and basil. Distribute across the surface for even flavor.
- Repeat layers with remaining tomatoes and herbs. Keep the top layer level for a consistent cheese spread.
- In a bowl, mix mayonnaise, cheddar cheese, mozzarella cheese, black pepper, and garlic powder. Stir until the mixture looks thick and evenly combined.
- Spread the cheese mixture evenly over the tomatoes. Cover the tomatoes so they’re fully topped before baking.
- Bake for 30–35 minutes until golden and bubbly. Look for bubbling at the edges and a lightly browned top.
- Cool for 10–15 minutes before slicing. The pie will firm up so the slices hold together.
- Garnish with extra basil and serve. Add it right before serving for the freshest green color.