
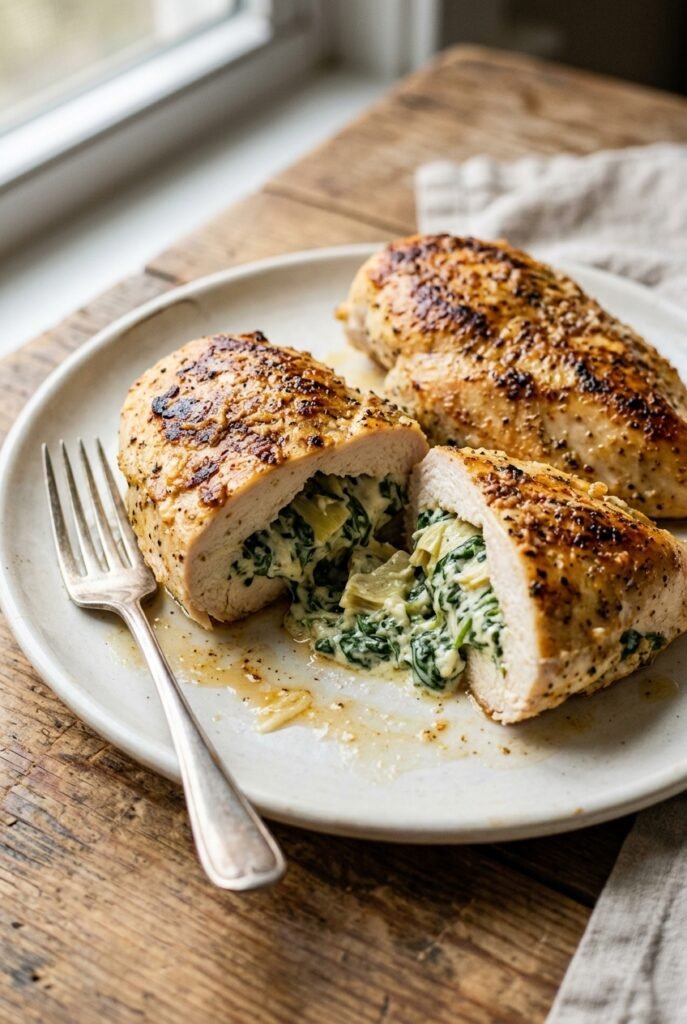
Creamy Spinach Artichoke Stuffed Chicken Breast
Juicy chicken breast with a hot, creamy spinach-artichoke center is the kind of dinner that looks like it took a lot more work than it did. The outside gets seasoned,…
Tip: save now, read later.
Juicy chicken breast with a hot, creamy spinach-artichoke center is the kind of dinner that looks like it took a lot more work than it did. The outside gets seasoned, seared, and lightly bronzed before it goes into the oven, and the filling stays rich and spoonable instead of leaking out into the pan. When you slice into it, you get clean layers: savory chicken, tangy cream cheese, melted mozzarella, and little bites of artichoke in every forkful.
The part that makes this version work is restraint. The filling needs to be thick, not loose, so the artichokes have to be drained well and the cream cheese has to be soft enough to mix smoothly. The chicken also cooks better when you cut a deep pocket instead of butterflying it open. That keeps more of the filling tucked inside and helps the breast stay juicy through the oven finish.
Below, I’ll walk through the sear, the pocket cut, and the one mistake that usually makes stuffed chicken leak. I’ve also included a few variations if you want to adjust the filling or change up the cheese.
The filling stayed put and turned out creamy instead of runny, and the chicken was still juicy after baking. I used toothpicks and the sear gave the outside a nice golden color before it went in the oven.
Save this creamy spinach artichoke stuffed chicken for the nights when you want a crispy-seared, oven-finished dinner with a rich cheesy center.
The Filling Has to Stay Thick Before It Ever Touches the Chicken
Stuffed chicken fails most often because the filling turns loose in the bowl before it ever goes into the oven. Spinach carries more moisture than people expect, and jarred artichokes can do the same if they’re left wet. Once that moisture gets into the cheese mixture, it thins out, leaks through the cut pocket, and leaves you with a puddle in the skillet instead of a creamy center.
The other problem is overstuffing. A chicken breast pocket should hold enough filling to look generous when sliced, but not so much that the breast has to stretch open around it. If the edges are pulled tight or split before baking, you’ve packed in too much. A little toothpick support is fine; forcing the chicken closed isn’t.
What Each Ingredient Is Actually Doing in This Dish
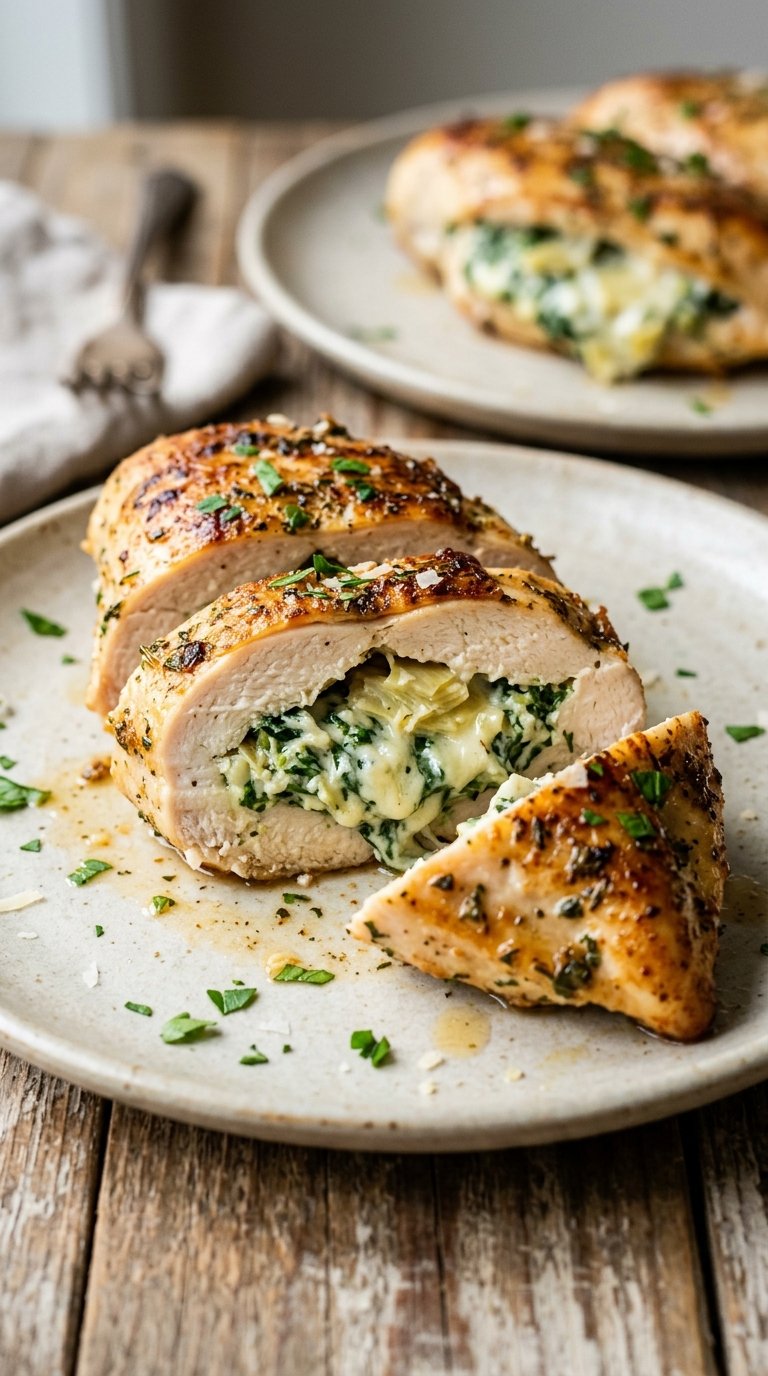
- Chicken breasts — Use large, evenly sized breasts so they cook at the same rate. If one side is much thicker, pound the thickest part lightly before cutting the pocket. That gives you a more even bake and keeps the thinner end from drying out.
- Cream cheese — This is what gives the filling its body. Full-fat cream cheese works best because it holds up under heat and stays plush. Low-fat versions can work, but the filling won’t be as stable.
- Spinach and artichokes — These are the whole point of the filling, but they need to be dry. Chop them finely so the stuffing slices neatly and stays tucked inside the chicken. If you use frozen spinach, thaw it completely and squeeze out every bit of water before mixing.
- Mozzarella and Parmesan — Mozzarella gives you that stretch and Parmesan adds salt, depth, and a little sharpness. Freshly grated Parmesan melts and seasons better than the shelf-stable kind. If you need a swap, provolone can stand in for mozzarella, but the filling will be a little less stretchy.
- Sour cream — This loosens the filling just enough to make it mixable without turning it thin. You can swap in plain Greek yogurt for a tangier edge, but use a thick one so the stuffing doesn’t slacken.
- Seasonings — The garlic powder, smoked paprika, Italian seasoning, and black pepper on the chicken keep the exterior from tasting plain. The filling is rich, so the coating needs enough seasoning to balance it.
The Pocket Cut and Sear That Keep the Filling Where It Belongs
Building the Pocket
Lay each chicken breast flat and cut a deep pocket through the thick side, stopping before you reach the far edge. The knife should travel parallel to the cutting board, not down through the breast. If you slice all the way through, the filling will escape the second it warms up. A clean pocket gives you room for the stuffing without turning the chicken into a split-open roll.
Seasoning the Outside
Rub the chicken all over with the spice mixture before it gets stuffed. The seasoning belongs on the exterior, where it can brown in the pan and taste like more than plain chicken wrapped around cheese. If the breasts are wet on the outside, the spices clump instead of sticking, so pat them dry first. That dry surface is what helps the sear take hold.
Stuffing and Securing
Spoon the filling into each pocket and press the chicken gently around it. You want the breast to close naturally without stretching. If the opening looks wide or the filling wants to creep out, use a toothpick or two near the edge of the pocket. Don’t pack the filling in so tightly that it bulges through the seam.
Searing Before Baking
Heat the skillet until the oil shimmers, then lay the chicken in without crowding the pan. The first side needs enough time to develop a golden crust before you flip it. If the pan is too cool, the chicken will pale and steam; if it’s too hot, the spices can scorch before the center has a chance to warm. A quick sear is enough here — you’re building color, not finishing the meat.
Finishing in the Oven
Move the skillet to the oven and cook until the thickest part reaches 165°F (74°C). The breast should feel firm at the edges with a little spring in the center. If you slice too early, the juices and filling will run out onto the board. Rest it for several minutes so the cheese settles and the chicken stays juicy when you cut in.
Three Ways to Change the Filling Without Losing the Plot
Make it gluten-free without changing the method
This recipe is naturally gluten-free as written, so you don’t need a flour coating or breadcrumb filler to make it work. Keep the filling thick and the chicken dry, and the texture stays just as creamy and structured as the original.
Swap the dairy for a lighter, tangier filling
Use dairy-free cream cheese and a plant-based mozzarella-style shred if you need a lactose-free version. The filling will be a little less lush and less stretchy, but the spinach-artichoke flavor still comes through. Choose a thick alternative or the stuffing will loosen too much in the oven.
Use thighs when you want a richer, more forgiving result
Boneless chicken thighs can hold stuffing too, and they stay juicier if you’re worried about overcooking. You’ll need to trim and flatten them a bit, then fold them around a smaller amount of filling. The result is less neat on the plate, but the meat is more forgiving and a little richer.
Add sun-dried tomatoes for a sharper finish
A tablespoon or two of finely chopped sun-dried tomatoes gives the filling a sweet-tart edge that plays well with the cheese. Don’t overdo it, or the stuffing gets crowded and starts to lose its creamy texture. This is the best variation if you want a little more brightness without changing the structure.
Storage and Reheating
- Refrigerator: Store leftovers in an airtight container for up to 3 days. The filling stays creamy, but the chicken will firm up a bit as it chills.
- Freezer: It freezes, but the cheese filling can turn a little grainy after thawing. Wrap individual portions tightly and freeze for up to 2 months if you don’t mind a softer texture.
- Reheating: Reheat gently in a covered skillet or 325°F oven until warmed through. High heat dries out the chicken before the center heats, and that’s the fastest way to ruin stuffed chicken leftovers.
Answers to the Questions Worth Asking
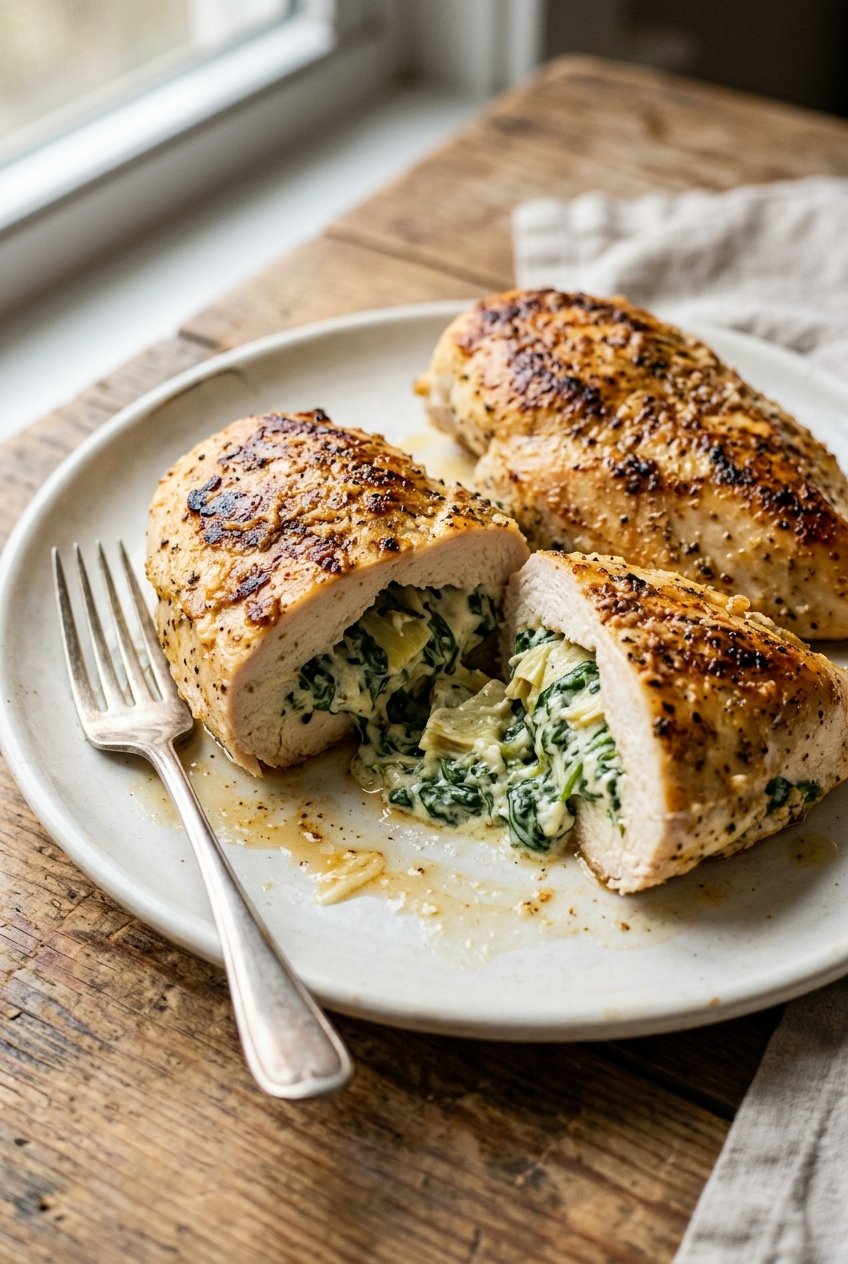
Creamy Spinach Artichoke Stuffed Chicken Breast
Ingredients
Equipment
Method
- Preheat the oven to 400°F (205°C).
- Arrange a rack in the middle position so the stuffed chicken can bake evenly.
- In a bowl, combine softened cream cheese, chopped spinach, drained artichoke hearts, shredded mozzarella, Parmesan, minced garlic, and sour cream.
- Stir in Italian seasoning, kosher salt, black pepper, and optional red pepper flakes.
- Mix until thick and evenly combined, and confirm the artichokes are well drained to prevent a watery filling.
- Pat the chicken breasts dry.
- Cut a deep horizontal pocket into the thick side of each breast, stopping before cutting all the way through.
- In a small bowl, combine kosher salt, black pepper, garlic powder, onion powder, smoked paprika, and Italian seasoning.
- Season both sides of each chicken breast with the spice mixture.
- Divide the spinach-artichoke mixture among the four chicken breasts, placing about ⅓–½ cup filling inside each pocket.
- Press the chicken gently around the filling and secure with toothpicks if needed.
- Heat the olive oil in a large oven-safe skillet over medium-high heat.
- Add the stuffed chicken breasts and sear for 3–4 minutes on the first side until golden.
- Flip carefully and cook for 2–3 minutes more, until the second side is also golden.
- Transfer the skillet to the oven and bake for 15–20 minutes, depending on thickness, until the thickest part reaches 165°F (74°C).
- If the tops look pale, pause near the end so you can add Parmesan during the final few minutes.
- During the final few minutes, sprinkle Parmesan over the chicken and broil briefly if you want a more deeply golden surface.
- Rest for 5–7 minutes before slicing, then remove any toothpicks.
- Slice one breast diagonally to expose the creamy spinach-artichoke center.
- Finish with chopped fresh parsley and serve with optional lemon wedges.
