
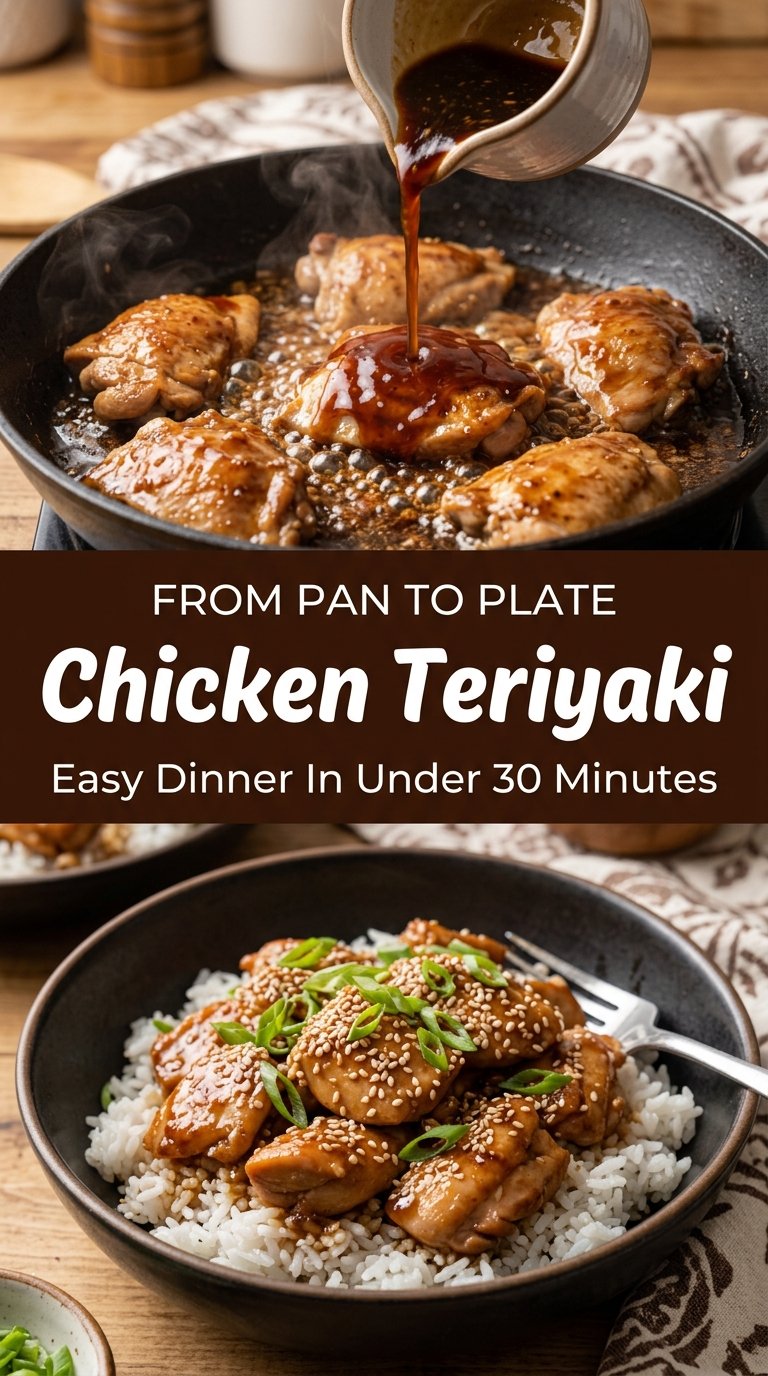
Easy Chicken Teriyaki Bowls
Sticky chicken, glossy sauce, and a bowl of hot rice is the kind of dinner that disappears fast. These chicken teriyaki bowls hit that takeout-style sweet-salty balance without a long…
Tip: save now, read later.
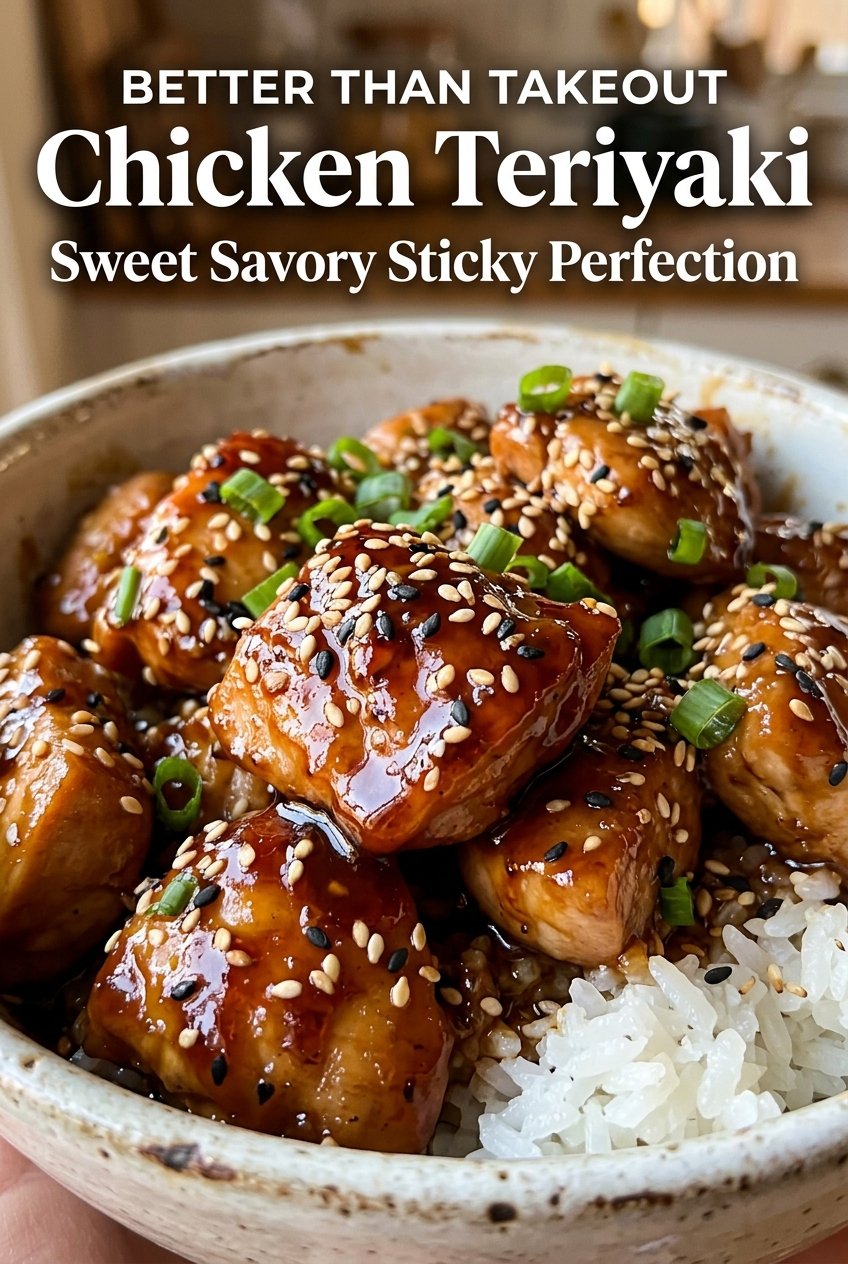
Sticky chicken, glossy sauce, and a bowl of hot rice is the kind of dinner that disappears fast. These chicken teriyaki bowls hit that takeout-style sweet-salty balance without a long ingredient list or any complicated marinating. The sauce clings to every bite of chicken instead of pooling in the pan, and that’s what makes the whole thing taste finished instead of just sauced.
The trick is cooking the chicken first so it gets a little color before the teriyaki goes in. Then the sauce gets simmered in the same skillet and thickened with a cornstarch slurry at the end, which keeps it smooth and shiny. If you’ve ever had teriyaki turn thin, muddy, or oddly sweet, it usually means the sauce never got a proper simmer or the thickener went in too soon.
Below you’ll find the small details that make this bowl work on a busy night, plus a few swaps if you need to use what you’ve got in the pantry.
The sauce thickened up glossy and perfect, and the chicken stayed juicy even after I tossed it with the rice. My husband went back for seconds before I’d even sat down.
Like these Chicken Teriyaki Bowls? Save them to Pinterest for the nights when you want sticky sauce, tender chicken, and rice all in one pan.
The Reason the Sauce Stays Glossy Instead of Turning Grainy
Teriyaki sauce can go wrong in two common ways: it can turn thin and watery, or it can get sticky in the wrong way and start looking grainy. The fix here is heat control. The sauce gets whisked together first, then simmered just long enough for the brown sugar and honey to dissolve before the cornstarch slurry goes in. Once the slurry is added, the sauce only needs a couple of minutes to go from pale and loose to deep, shiny, and spoon-coating.
Another important detail is adding the cornstarch mixed with cold water, not straight into the hot pan. If you dump dry cornstarch in, it clumps immediately and never fully smooths out. A gentle simmer gives the starch time to thicken the sauce evenly, and that’s what keeps the finished bowl looking polished instead of patchy.
- Chicken thighs — Thighs stay juicy and forgiving in a skillet, which matters here because the chicken finishes in the sauce. Chicken breast works too, but it needs a shorter cook so it doesn’t dry out.
- Low-sodium soy sauce — This keeps the teriyaki from getting aggressively salty once the brown sugar and honey reduce. Regular soy sauce works, but cut back a touch if you know yours runs salty.
- Brown sugar and honey — These give the sauce its deep, glossy sweetness. You need both for the right balance: brown sugar brings molasses notes, and honey helps the sauce cling.
- Fresh ginger and garlic — Fresh is worth using here because the sauce is so simple. Powdered versions work in a pinch, but the finished sauce tastes flatter and less bright.
- Cornstarch — This is what turns the sauce from thin and pourable into that classic teriyaki glaze. Arrowroot can stand in if needed, but it thickens a little faster, so watch it closely.
Building the Bowl in the Right Order
Searing the Chicken First
Heat the olive oil in a large skillet over medium-high heat and add the seasoned chicken in a single layer. Let it sit long enough to brown before stirring, because that color is where a lot of the flavor comes from. If you crowd the pan, the chicken will steam and turn pale instead of picking up those caramelized edges. Cook until the pieces are cooked through and the surface has some deep golden spots.
Whisking the Sauce Before It Hits the Pan
Combine the soy sauce, brown sugar, water, honey, garlic, ginger, and rice vinegar in a bowl before you pour anything into the skillet. That keeps the sugar from burning in one spot and helps the garlic and ginger distribute evenly. The sauce should look fully blended and a little foamy from whisking, not streaky. Pour it over the chicken and let it come to a gentle simmer, not a hard boil.
Thickening to a Shine
Stir the cornstarch with the second measure of water until it looks smooth and milky, then pour it into the simmering sauce while stirring. The sauce will thicken fast, usually within a minute or two, and it should coat the back of a spoon without looking pasty. If it seems too loose, give it another minute. If it gets too tight, add a splash of water and stir until it loosens back up.
Finishing the Bowl
Toss the chicken until every piece is lacquered in sauce, then spoon it over hot jasmine rice. The rice should be fluffy and steamy so it catches the extra sauce instead of collapsing under it. Finish with green onions and sesame seeds for freshness and a little crunch. Serve right away while the glaze is still shiny.
How to Adapt These Teriyaki Bowls Without Losing the Point
Swap in chicken breast for a leaner bowl
Chicken breast works if that’s what you have, but it cooks faster and dries out sooner than thighs. Cut the pieces evenly and pull them from the heat as soon as they’re cooked through, then add the sauce right away so they stay tender.
Make it gluten-free
Use gluten-free tamari in place of soy sauce and keep everything else the same. The flavor stays close to the original, with the same salty-sweet balance and glossy finish.
Make it dairy-free and weeknight-friendly
This recipe is already dairy-free, which is part of why it works so well for a fast dinner. The real advantage is that the sauce comes together with pantry ingredients, so you don’t need a special grocery run to get dinner on the table.
Use it with cauliflower rice or steamed vegetables
If you want a lighter bowl, serve the chicken over cauliflower rice or shredded cabbage instead of jasmine rice. You’ll lose some of the soak-up factor, but the teriyaki glaze still clings to the chicken and vegetables in the same satisfying way.
Storage and Reheating
- Refrigerator: Store the chicken and rice in separate containers for up to 4 days. The sauce will thicken as it chills, which is normal.
- Freezer: The chicken freezes well for up to 2 months, though the sauce may loosen slightly after thawing. Freeze in a sealed container and thaw in the refrigerator overnight.
- Reheating: Warm the chicken gently in a skillet over low heat with a splash of water to loosen the glaze. Microwave works too, but stop and stir halfway through so the sauce heats evenly instead of drying out at the edges.
The Questions People Usually Ask Before They Make These Bowls
Easy Chicken Teriyaki Bowls
Ingredients
Equipment
Method
- Season the chicken thighs with salt and black pepper.
- Heat the olive oil in a large skillet over medium-high heat, until shimmering.
- Cook the chicken for 6–8 minutes, stirring occasionally, until browned and cooked through.
- Whisk the low-sodium soy sauce, brown sugar, water, honey, garlic, fresh ginger, and rice vinegar in a bowl until the sugar dissolves.
- Pour the sauce into the skillet with the chicken and bring it to a gentle simmer at medium-high heat.
- Mix the cornstarch with 2 tablespoons of water to form a slurry.
- Stir the slurry into the simmering sauce and cook for 2–3 minutes until thick and glossy.
- Toss the chicken until fully coated in the teriyaki sauce.
- Serve the chicken teriyaki over cooked jasmine rice.
- Garnish with sliced green onions and sesame seeds.