
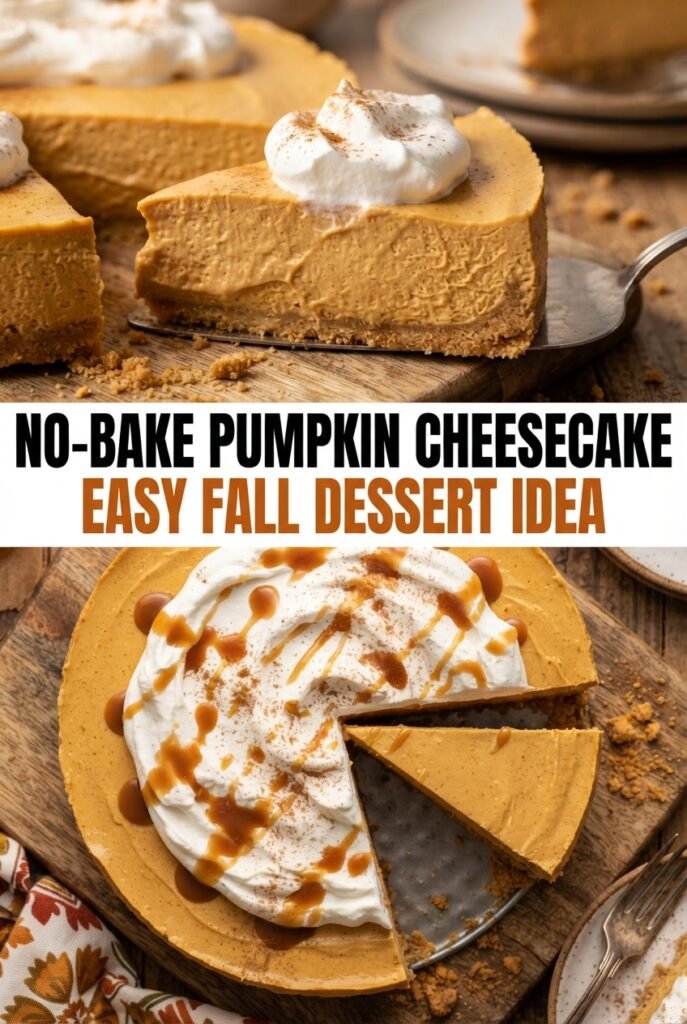
Easy No-Bake Pumpkin Cheesecake with Graham Cracker Crust
Silky pumpkin cheesecake filling, a buttery graham cracker crust, and no oven to babysit — that’s what makes this dessert earn a permanent spot on the table. The texture lands…
Tip: save now, read later.
Silky pumpkin cheesecake filling, a buttery graham cracker crust, and no oven to babysit — that’s what makes this dessert earn a permanent spot on the table. The texture lands right between pumpkin pie and classic cheesecake: dense enough to slice cleanly, but soft and creamy on the tongue with a gentle spice that doesn’t overpower the pumpkin.
The trick is in the structure. Cream cheese gives the filling body, but it needs to be beaten until completely smooth before the pumpkin goes in or you’ll carry little lumps all the way to the final slice. Whipped cream does the lightening work, and folding it in at the end keeps the filling airy without turning it loose. The crust stays crisp because it chills before the filling goes on, which keeps the butter from soaking through too fast.
Below, I’m walking through the details that matter most: how to press the crust so it holds together, how to fold the filling without deflating it, and what to do if you want to make it a day ahead for a holiday dessert spread.
The filling set up beautifully after overnight chilling, and the slices came out clean without that mushy middle you sometimes get with no-bake desserts. The graham crust stayed firm all the way to the last piece.
Save this no-bake pumpkin cheesecake for the dessert that tastes like pumpkin pie and cheesecake in one creamy slice.
The Crust Needs to Chill Before the Filling Goes In
A no-bake crust can turn soft fast if you rush it. Press the crumbs firmly into the pan, then chill them while you work on the filling so the butter has a chance to set up again. That short chill is what helps the base hold its shape when you slice the cheesecake later.
If the crust looks sandy or loose, it usually means it wasn’t packed tightly enough. Use the bottom of a measuring cup to press it down evenly, and don’t forget the edges if you want each slice to stand tall. A lightly compacted crust crumbles the second the knife goes in.
What the Cream Cheese, Pumpkin, and Whipped Cream Each Do
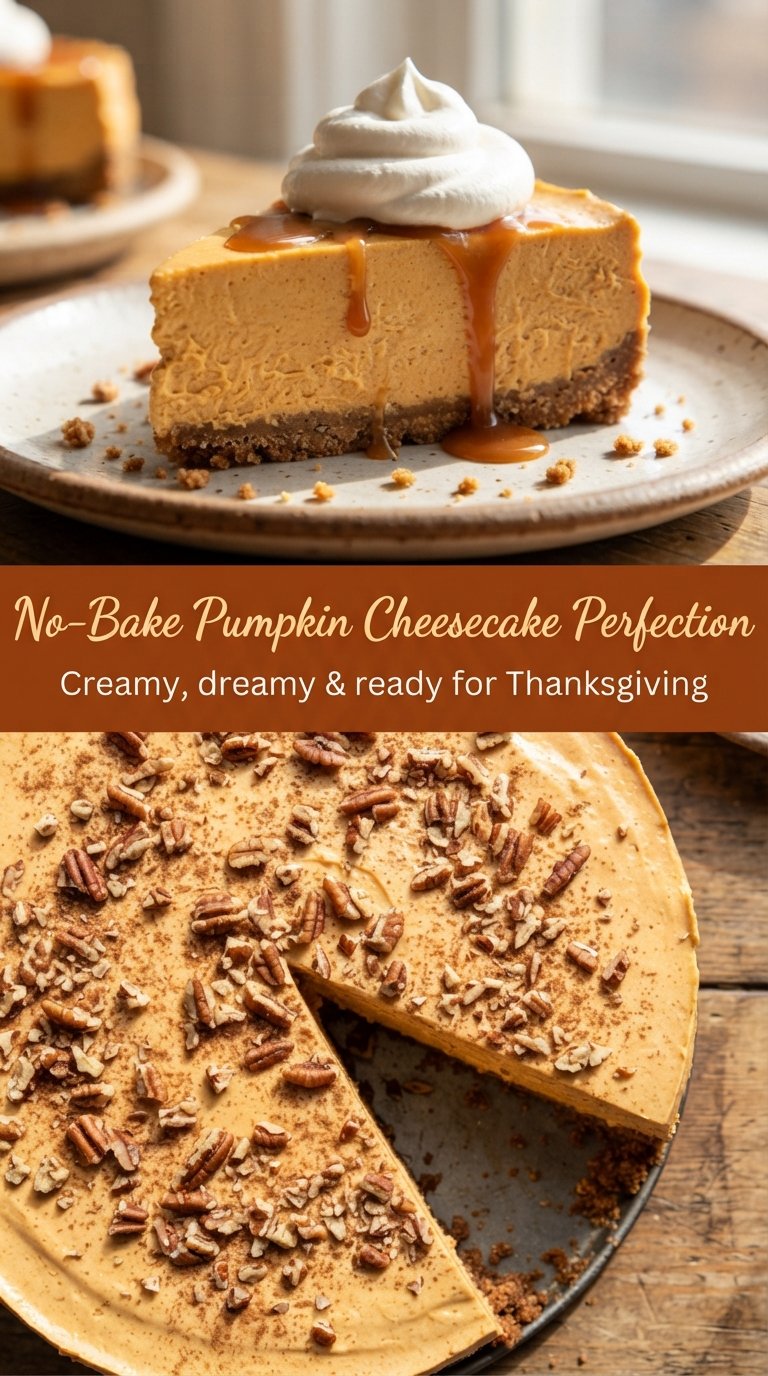
- Cream cheese — This is the backbone of the filling. It has to be fully softened before beating so it turns smooth instead of staying grainy. Cold cream cheese is the fastest way to end up with tiny lumps that never disappear.
- Pumpkin puree — Use plain pumpkin puree, not pumpkin pie filling. Pie filling already contains sugar and spice, which throws off the balance and can make the cheesecake taste flat or too sweet. If your puree looks watery, blot it lightly before adding it so the filling stays thick.
- Powdered sugar and brown sugar — The powdered sugar sweetens while keeping the texture smooth, and the brown sugar adds a deeper, more molasses-like note that plays well with pumpkin spice. You can use all powdered sugar in a pinch, but you’ll lose some of that warm caramel edge.
- Heavy whipping cream — Whipping the cream separately gives the filling its lift. Don’t skip the stiff peaks stage; soft whipped cream will loosen the filling and make it harder to slice. A chilled bowl helps it whip faster and hold better.
- Graham crackers and butter — The crust depends on enough butter to bind the crumbs, but not so much that it turns greasy. The mixture should feel like damp sand and hold together when squeezed. If it still falls apart, add another tablespoon of melted butter.
Folding the Filling Without Knocking Out the Air
Beat the base until it’s completely smooth
Start with the cream cheese and both sugars and beat them until the mixture looks glossy and uniform, with no pale streaks or little cheese flecks left behind. This stage matters because the filling won’t get smoother later; once the whipped cream goes in, you’re no longer trying to break anything up. If the cream cheese is still even slightly cold, you’ll fight the mixer the whole time and the texture will stay a little gritty.
Mix in the pumpkin and spice
Add the pumpkin puree, pumpkin pie spice, vanilla, and salt, then beat just until everything turns an even orange color. Don’t keep going once it looks combined. Overmixing at this stage can make the filling looser than it needs to be, especially if the pumpkin puree is on the wetter side.
Whip and fold with a light hand
Whip the cream to stiff peaks in a separate cold bowl; it should stand tall on the whisk and hold its shape instead of slumping. Fold it into the pumpkin mixture in two additions, scraping from the bottom and turning the bowl as you go. If you stir aggressively, you’ll knock out the air and the cheesecake will set up dense instead of creamy and cloudlike.
Chill until the center is firm
Smooth the filling into the crust, cover the pan, and chill it long enough to set all the way through. Six hours is the minimum, but overnight gives you the cleanest slices and the best flavor. If the center still wobbles like soft pudding, it needs more time; cutting too early is how you end up with a messy, collapsing slice.
Three Ways to Adjust This Cheesecake Without Losing the Texture
Gluten-Free Crust Swap
Use gluten-free graham-style crackers or another dry cookie crumb that presses into a firm base. The texture stays nearly the same as long as the crumbs are fine and the butter ratio stays close. Coarser crumbs need a little extra pressing to keep the crust from crumbling at the first cut.
Dairy-Free Version
Use dairy-free cream cheese and a sturdy plant-based whipping cream that can hold stiff peaks. The filling will still set, but it may be a little softer and need the full overnight chill. Stick with a pan that has a removable bottom if you want the cleanest release.
Make It Sweeter or More Pumpkin-Forward
If you want a dessert that leans closer to pumpkin pie, add another tablespoon of brown sugar and a pinch more pumpkin pie spice. If you want the cheesecake to taste richer and less sweet, reduce the powdered sugar slightly and keep the spice mix modest. The balance shifts fast here, so small changes matter.
Storage and Reheating
- Refrigerator: Store covered for up to 4 days. The crust will soften a little by day three, but the filling stays creamy.
- Freezer: It freezes well. Freeze the whole cheesecake or individual slices until firm, wrap tightly, and thaw in the refrigerator overnight for the cleanest texture.
- Reheating: No reheating needed. Serve it cold straight from the fridge, and wipe the knife between cuts so the slices stay neat instead of dragging through the filling.
Questions I Get Asked About This Recipe
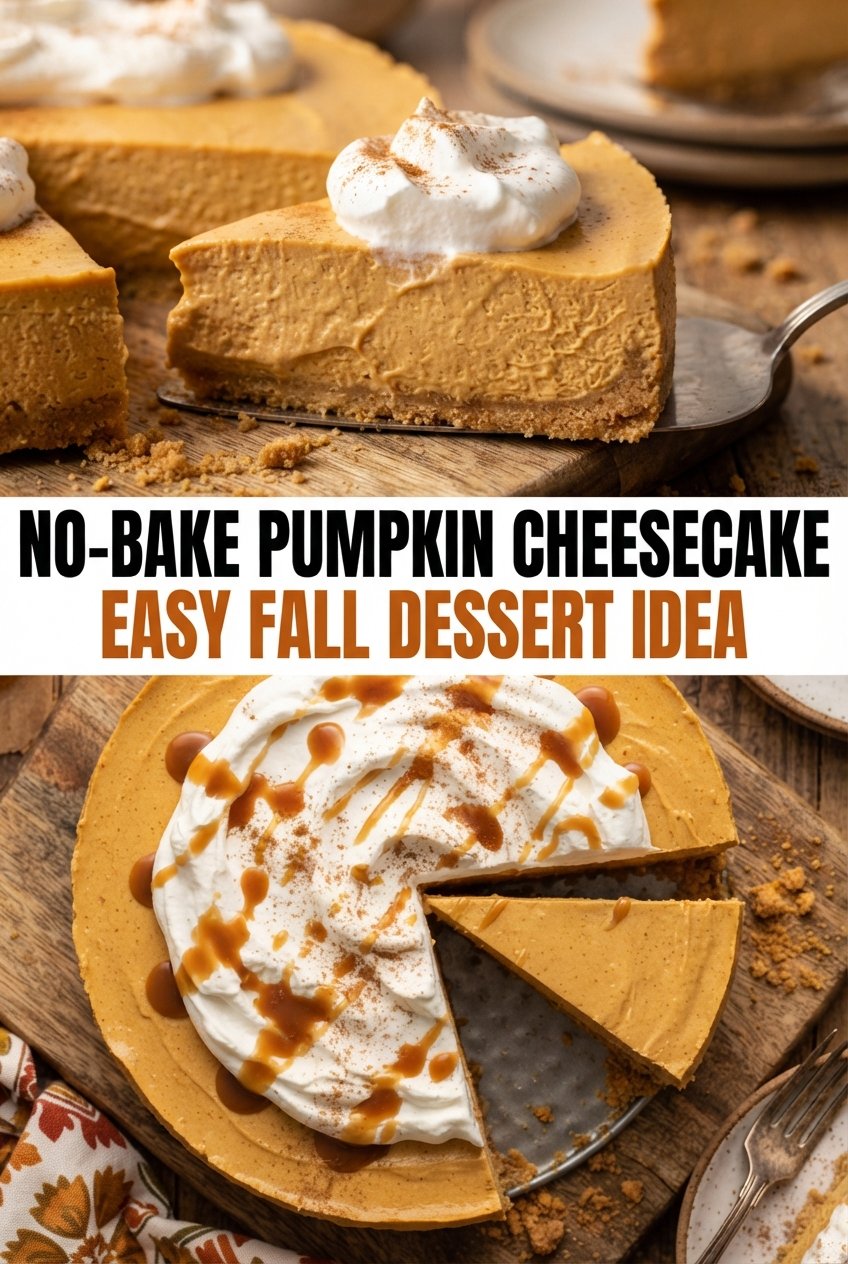
Easy No-Bake Pumpkin Cheesecake with Graham Cracker Crust
Ingredients
Equipment
Method
- Stir the graham cracker crumbs, granulated sugar, and melted unsalted butter until the mixture looks like wet sand. Press it firmly into the bottom and slightly up the sides of a 9-inch springform pan, then chill while you make the filling.
- Beat the cream cheese with powdered sugar and light brown sugar on medium speed until completely smooth and lump-free, about 2 minutes. Scrape the bowl as needed so no dry pockets remain.
- Add the pumpkin puree, pumpkin pie spice, vanilla extract, and salt, then beat until evenly orange and creamy. Mix just until the color is uniform.
- In a separate chilled bowl, whip the cold heavy whipping cream to stiff peaks, about 3 minutes. Stop when the peaks hold their shape clearly.
- Gently fold the whipped cream into the pumpkin mixture in two additions until no white streaks remain. Keep the mixture airy and avoid overmixing.
- Spread the filling over the crust, smooth the top, cover, and refrigerate for at least 6 hours or overnight until firm. Chill at 40°F/4°C for best sliceable texture.
- Run a knife around the edge, release the springform ring, and slice with a knife wiped clean between cuts. Slice while cold so the layers hold together.
- Top each slice with whipped cream, a drizzle of caramel sauce, and a pinch of ground cinnamon, then serve cold. Add toppings right before eating for clean presentation.
