
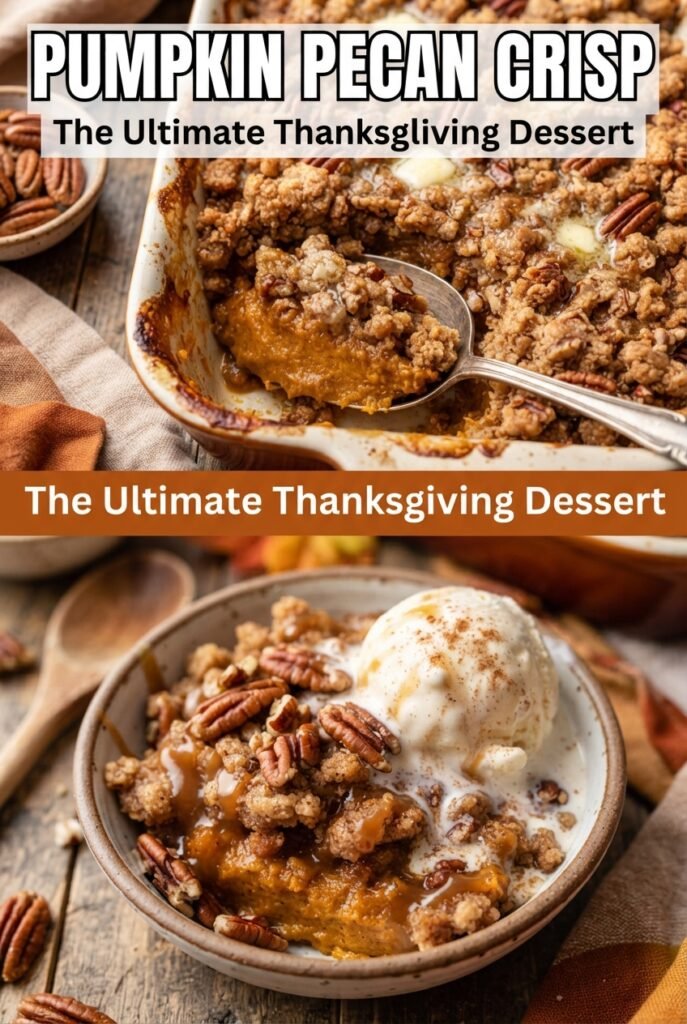
Easy Pumpkin Crisp with Brown Sugar Pecan Oat Topping
Silky pumpkin custard under a buttery brown sugar pecan oat crumble is the kind of dessert that disappears fast, and this one earns that reputation the easy way. It bakes…
Tip: save now, read later.
Silky pumpkin custard under a buttery brown sugar pecan oat crumble is the kind of dessert that disappears fast, and this one earns that reputation the easy way. It bakes into something that feels familiar like pumpkin pie, but without the fussy crust or the stress of rolling, chilling, and blind baking. The top turns deeply golden and crisp while the filling stays soft and spoonable underneath.
The key is that the pumpkin layer is mixed until completely smooth before it ever goes into the oven, so you don’t end up with streaks of egg or pockets of spice. The topping uses cold butter cut into dry ingredients, which keeps it crumbly and crisp instead of melting into a pasty layer. The oats and pecans give it enough texture to stand up to the custard below.
Below you’ll find the one step that matters most for getting the right set, plus a few smart ways to adapt this crisp for different diets and make-ahead plans. If you’ve had pumpkin desserts turn watery or soggy before, this version fixes both of those problems.
The topping stayed crisp all the way through and the pumpkin layer set up beautifully after the rest time. I served it warm with vanilla ice cream and my brother went back for seconds before I even sat down.
Save this pumpkin crisp for the first night you want pumpkin pie flavor without rolling out a crust.
The Custard Needs to Set Before the Topping Stops Browning
Pumpkin crisp fails in one of two ways: the topping gets too dark before the filling is done, or the filling is soupy because it was pulled from the oven too soon. The answer isn’t baking it hotter. It’s giving the custard enough time to set while the crumble protects the top from drying out. A slight jiggle in the center is what you want, not a sloshy middle.
Letting the dish rest for 15 minutes matters just as much as the bake itself. The custard firms up as it cools, and that short pause keeps the spoonfuls neat instead of collapsing into pumpkin soup. If you cut into it immediately, the texture will look loose even if the oven did its job.
- Use an 8×8-inch dish. A smaller, deeper dish helps the pumpkin layer bake through before the topping overbrowns.
- Watch the center, not the clock. Ovens vary, and the crisp is done when the top is deep golden and the middle only trembles slightly.
- Don’t skip the rest. Those 15 minutes are where the custard tightens into a creamy, scoopable filling.
What Each Ingredient Is Doing in This Pumpkin Crisp

- Pumpkin puree gives you the thick, earthy base. Use pure pumpkin, not pumpkin pie filling, or you’ll end up with extra sugar and spices that throw off the balance.
- Evaporated milk makes the custard rich and smooth without turning it heavy. Regular milk works in a pinch, but the filling won’t be quite as silky.
- Eggs are what set the filling. Whisk them in thoroughly so the custard bakes evenly and doesn’t turn streaky.
- Old-fashioned oats and chopped pecans create the crisp topping’s crunch. Quick oats can work, but they soften faster and give a finer texture.
- Cold butter is nonnegotiable for the crumble. If it melts before baking, the topping turns sandy instead of crisp.
- Light brown sugar adds moisture and a light caramel note that works well against the pumpkin spice. Dark brown sugar will taste deeper and a little more molasses-forward.
Building the Crisp So the Topping Stays Crunchy
Mix the pumpkin base until it disappears into itself
Whisk the pumpkin, evaporated milk, eggs, sugar, spices, salt, and vanilla until the mixture looks completely smooth and even in color. Any streaks of egg will show up later as little firm ribbons in the custard. Once it looks silky, stop whisking; overworking won’t help and only adds air you don’t need.
Cut the butter into the dry topping ingredients
Stir the flour, oats, brown sugar, cinnamon, and salt together first, then cut in the cold butter until you have pea-sized clumps. Those little butter pockets melt in the oven and create the crisp texture. If the butter gets too warm and turns pasty, chill the bowl for a few minutes before adding the pecans.
Bake until the center barely moves
Spread the topping all the way to the edges so the whole surface browns evenly, then bake at 350°F until the top is deeply golden. The center should still have the faintest jiggle when you nudge the pan. If it sloshes, it needs more time; if it looks totally firm in the oven, it may bake up dry after cooling.
Let the custard settle before serving
Give the crisp 15 minutes out of the oven before spooning it into bowls. That pause lets the pumpkin layer finish setting and keeps the topping from sinking into the filling. Serve it warm, not piping hot, so the ice cream melts into the cracks without washing everything out.
How to Adapt This for Different Tables and Different Diets
Dairy-Free Pumpkin Crisp
Use full-fat canned coconut milk in place of evaporated milk and swap the butter for a solid plant-based butter stick. The filling will be a touch richer and slightly coconut-leaning, and the topping will still brown well if the butter substitute stays cold.
Gluten-Free Version
Replace the all-purpose flour with a cup-for-cup gluten-free blend. The texture stays close to the original, though the crumble may be a little more delicate when you scoop it. The oats and pecans still carry most of the crunch.
Making It Ahead for Thanksgiving
Bake it earlier in the day, let it cool, then keep it at room temperature for a few hours before serving. The topping stays crisp better than a traditional pumpkin pie crust, and it slices cleaner once it has had time to settle. Warm it briefly in a low oven if you want to bring back that just-baked smell.
Adding a Little More Spice
If you like a sharper pumpkin pie flavor, add an extra 1/4 teaspoon cinnamon or a pinch more cloves. Keep it small. Too much spice can bury the custard and make the dessert taste dusty instead of warm.
Storage and Reheating
- Refrigerator: Store covered for up to 4 days. The topping softens a bit, but the flavor stays great.
- Freezer: It freezes, but the topping loses some of its crunch. Freeze individual portions tightly wrapped, then thaw overnight in the fridge.
- Reheating: Warm slices in a 300°F oven until heated through. The microwave softens the crumble and makes the filling weep, so use it only if you don’t mind a softer texture.
Answers to the Questions Worth Asking
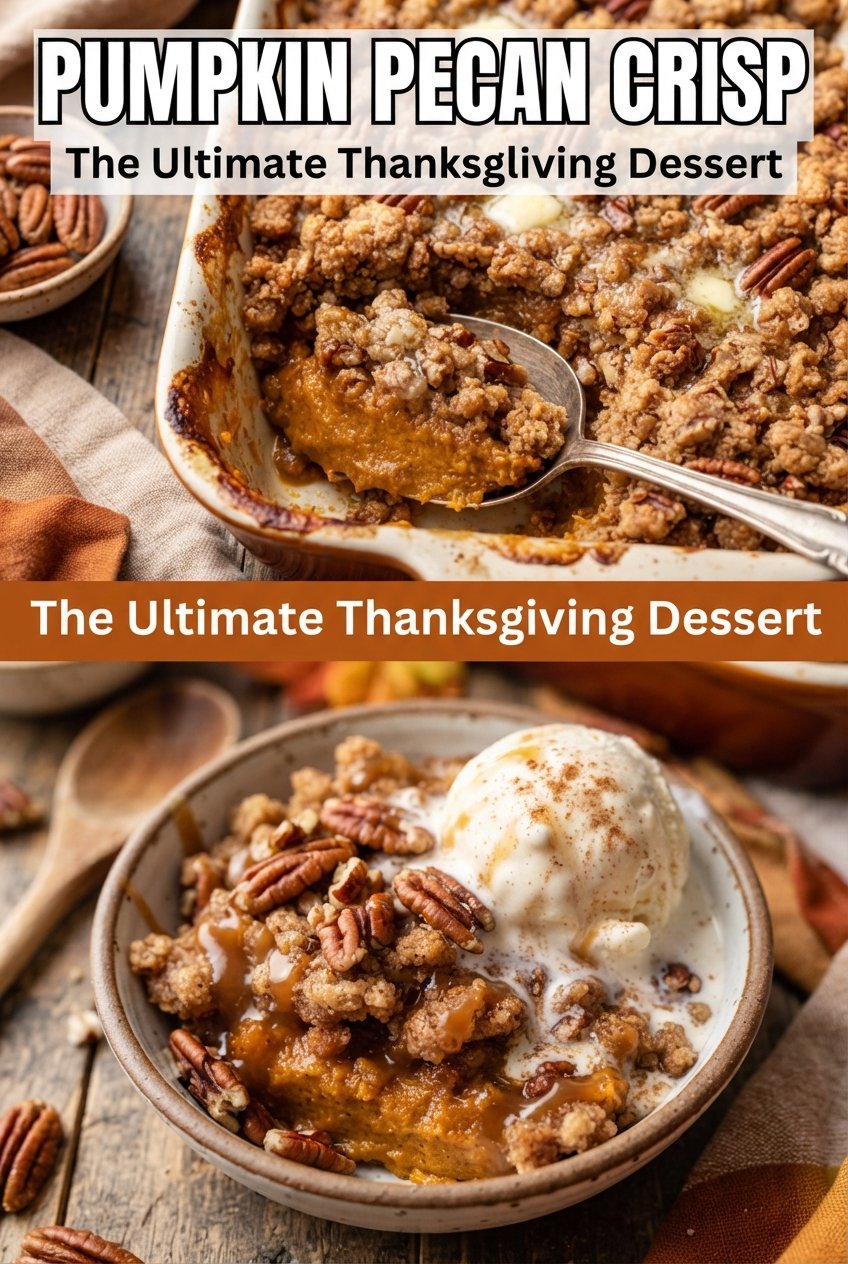
Easy Pumpkin Crisp with Brown Sugar Pecan Oat Topping
Ingredients
Equipment
Method
- Preheat the oven to 350°F and grease an 8x8-inch baking dish with a thin even coating.
- Whisk the pumpkin puree, evaporated milk, eggs, granulated sugar, ground cinnamon, ground ginger, ground nutmeg, ground cloves, salt, and vanilla extract in a bowl until completely smooth and lump-free.
- Pour the pumpkin filling into the prepared baking dish and spread it evenly so it reaches the corners.
- In a separate bowl, stir together the all-purpose flour, old-fashioned rolled oats, packed light brown sugar, ground cinnamon, and salt.
- Cut in the cold unsalted butter with a pastry cutter or your fingertips until the mixture forms pea-sized clumps, then fold in the chopped pecans.
- Sprinkle the pecan oat topping evenly over the filling, covering it edge to edge for consistent crunch.
- Bake at 350°F for 50–55 minutes, until the topping is deep golden and the center jiggles only slightly when you nudge the dish.
- Let the crisp cool for 15 minutes so the custard sets to a sliceable, spoonable texture.
- Scoop into bowls while warm, top with vanilla ice cream or whipped cream, and drizzle caramel sauce if desired.
