
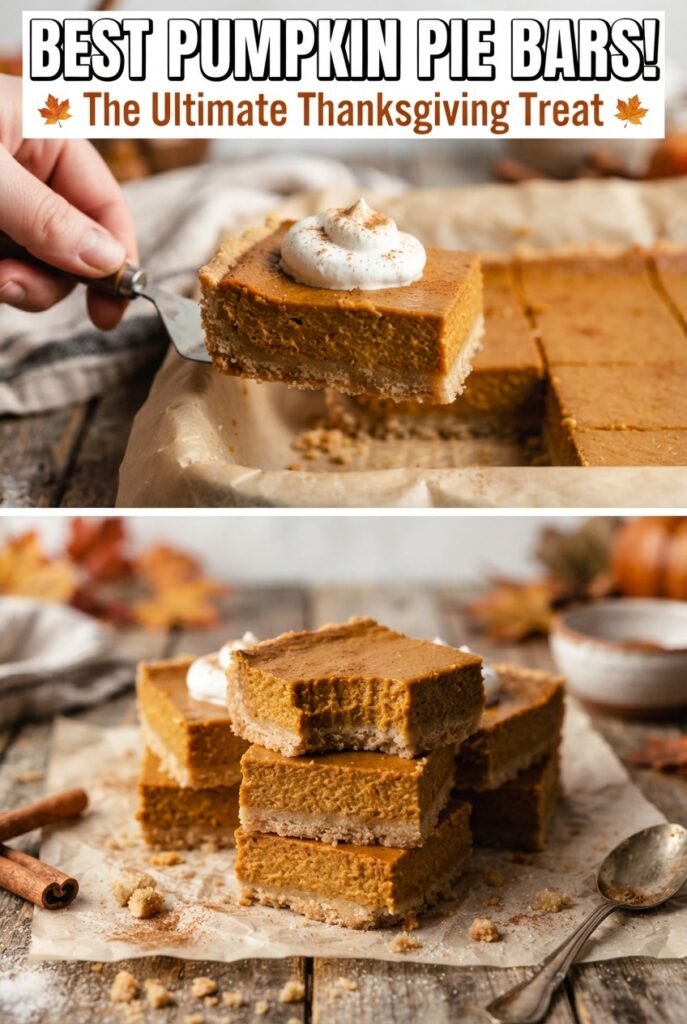
Easy Pumpkin Pie Bars with Buttery Shortbread Crust
These pumpkin pie bars give you everything people chase in a classic pumpkin pie — smooth custard, warm spice, and that soft, creamy set — without the fuss of rolling…
Tip: save now, read later.
These pumpkin pie bars give you everything people chase in a classic pumpkin pie — smooth custard, warm spice, and that soft, creamy set — without the fuss of rolling dough or trying to land a perfect slice from a pie plate. The shortbread crust bakes up tender and buttery, and it holds its shape under the filling instead of turning soggy at the bottom.
What makes this version work is the balance between the crust and the filling. The press-in shortbread starts with softened butter, so it packs down cleanly and bakes into a sturdy base without becoming hard. The filling uses sweetened condensed milk, which adds sweetness and body at the same time, so the custard sets smoothly instead of tasting loose or watery. Chilling matters here. Warm bars will fall apart no matter how careful you are with the knife.
Below, I’ll walk through the small details that keep the crust tender, the filling silky, and the bars neat enough to serve a crowd. There’s also a shortcut for getting clean cuts every time, which comes in handy when you’re making dessert for a holiday table or a bake sale.
The crust stayed buttery and didn’t get soggy at all, and the filling set up so cleanly after chilling. I cut them into neat little squares for Thanksgiving dessert and they disappeared fast.
Save these pumpkin pie bars for the holiday dessert table — the buttery shortbread base and smooth spiced filling slice neatly every time.
The Trick to Bars That Slice Clean Instead of Collapsing
The two places these bars usually go wrong are the crust and the chill time. A crust that’s too warm or too soft when it goes into the oven can bake up uneven and crumbly, and a filling that gets cut before it’s fully cold will smear instead of holding a sharp edge. The good news is that both problems are easy to avoid once you know what to look for.
Press the crust in firmly enough that it looks compact and even all the way to the corners. If there are thin spots, the filling can seep through and make the base greasy. After baking, the crust should be just barely golden at the edges. That light color matters because the filling goes back into the oven, and overbaking the crust first will leave you with dry edges before the custard is set.
- Softened butter — This is what lets the crust mix into a smooth, press-in dough without a mixer fight. Cold butter won’t distribute evenly here, and melted butter changes the texture into something denser and greasier.
- Pumpkin puree — Use plain pumpkin puree, not pumpkin pie filling. Pie filling already contains sugar and spices, which throws off the balance and can make the bars taste overly sweet and flat.
- Sweetened condensed milk — This is the ingredient that gives the filling its creamy body. There isn’t a perfect one-to-one swap for it; evaporated milk won’t add the same sweetness or thickness.
- Pumpkin pie spice — Store-bought is fine here. If you want to mix your own, use cinnamon-heavy spice blend with a little ginger, nutmeg, and clove so the bars still taste warm, not sharp.
Building the Crust and Filling in the Right Order
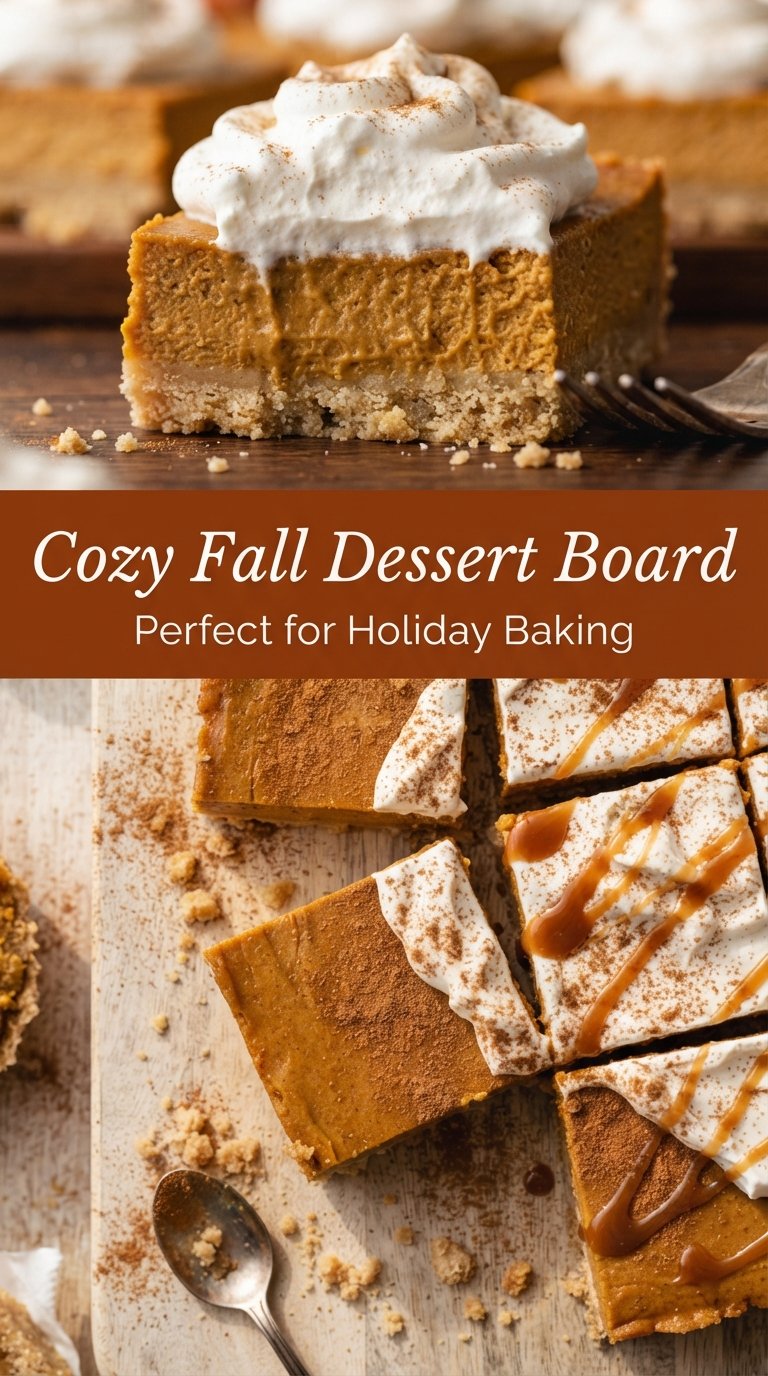
Mixing the Shortbread Base
Stir the flour, powdered sugar, salt, and softened butter until the mixture turns into a soft dough that holds together when pressed. It should look slightly crumbly at first, then come together into damp clumps. If it stays powdery, the butter was too cold; if it looks oily, the butter was too soft. Press it into the pan in an even layer and pay attention to the corners, since thin edges brown too fast and can break when sliced.
Whisking the Custard Until It’s Smooth
Whisk the pumpkin, condensed milk, eggs, spice, vanilla, and salt until the mixture is completely even and glossy. Any streaks of egg white or pockets of spice will show up after baking, so don’t rush this part. The filling should pour in a steady ribbon and spread without needing much coaxing. If you see bubbles, tap the bowl on the counter once or twice so the top bakes up smooth instead of pocked.
Baking Until the Center Still Gives a Little
Pour the filling over the warm crust and bake until the edges are set and the center still has a slight wobble. That last bit of jiggle is what you want; it finishes setting as the bars cool. If the whole pan looks firm in the oven, it’s probably already overbaked. The top should look matte, not wet, and the center should move like soft gelatin when you nudge the pan.
Cooling, Chilling, and Cutting
Let the bars cool at room temperature before they go into the refrigerator. Cutting them while they’re warm will squash the filling and drag the crust apart. After chilling, lift them out with the parchment overhang and use a clean knife wiped between cuts. A little whipped cream and a pinch of cinnamon finish them off without hiding the spice in the filling.
What to Change When You Want a Different Version
Gluten-Free Version
Swap the all-purpose flour for a good 1:1 gluten-free baking blend that includes xanthan gum. The crust will still be tender and sliceable, though a blend with too much rice flour can turn sandy, so use one meant for cookies or bars rather than bread.
Dairy-Free Adaptation
Use a plant-based butter stick in the crust and replace the sweetened condensed milk with a dairy-free version made for baking. The bars will still set, but the flavor leans a little less rich, so the vanilla and spice become more important. Don’t use a tub-style spread, which can make the crust greasy.
A More Biscuit-Like Crust
If you want a firmer base, press the crust a little thinner and bake it until the center just starts to show pale gold. That gives the bars a sturdier bottom with a touch more crunch, which works well if you’re serving them at room temperature on a dessert tray.
Storage and Reheating
- Refrigerator: Store covered for up to 5 days. The filling stays smooth, and the crust holds up well without getting soggy.
- Freezer: These bars freeze well. Freeze the cut bars on a tray, then wrap them tightly and store for up to 2 months. Thaw overnight in the refrigerator for the cleanest texture.
- Reheating: These are best served chilled or just slightly cool, not reheated. If you want to take the chill off, leave a bar at room temperature for 10 to 15 minutes. Microwaving softens the custard and can make the crust turn greasy.
Questions I Get Asked About This Recipe
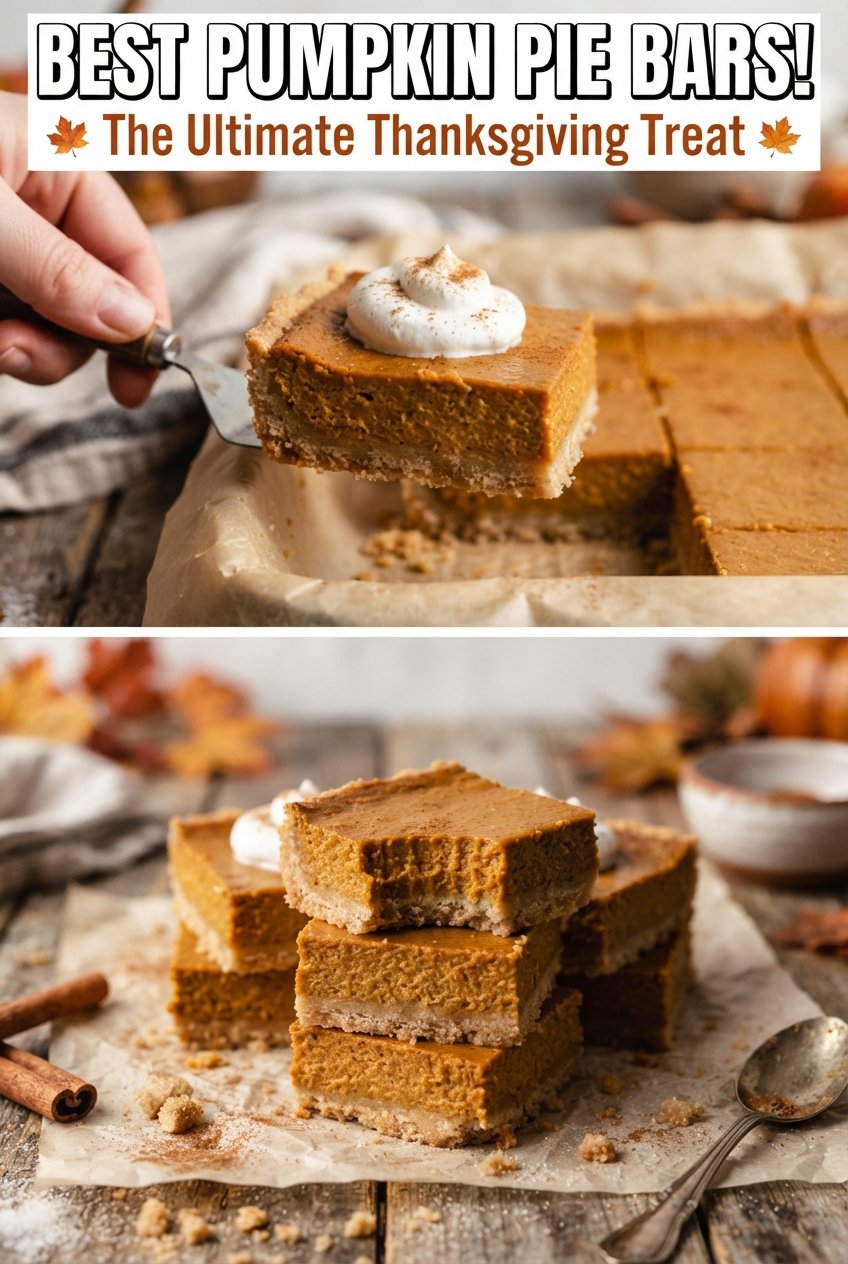
Easy Pumpkin Pie Bars with Buttery Shortbread Crust
Ingredients
Equipment
Method
- Preheat the oven to 350°F and line a 9x13-inch pan with parchment, leaving an overhang on two sides as a lift handle. Set the pan aside.
- Mix all-purpose flour, powdered sugar, salt, and softened unsalted butter until a soft dough forms. Press the dough evenly into the bottom of the pan.
- Bake the crust for 18–20 minutes at 350°F, until the edges are just lightly golden. Keep an eye on browning so the center stays tender.
- While the crust bakes, whisk pumpkin puree, sweetened condensed milk, eggs, pumpkin pie spice, vanilla extract, and salt until completely smooth. Stop whisking when no streaks remain.
- Pour the filling over the warm crust and spread it evenly to the edges. Tap the pan lightly to level the surface.
- Bake for 30–35 minutes at 350°F, until the edges are set and the center barely jiggles. Look for a slight wobble in the middle when you nudge the pan.
- Cool the pan at room temperature for 1 hour. Let the bars firm up before refrigerating.
- Refrigerate for at least 2 hours until firm. The custard should cut cleanly with no wet center.
- Lift the bars out using the parchment, then cut into 24 squares with a clean knife. Wipe the knife between cuts for sharper edges.
- Top each bar with whipped cream and a pinch of ground cinnamon. Serve chilled or within a day for best texture.
