
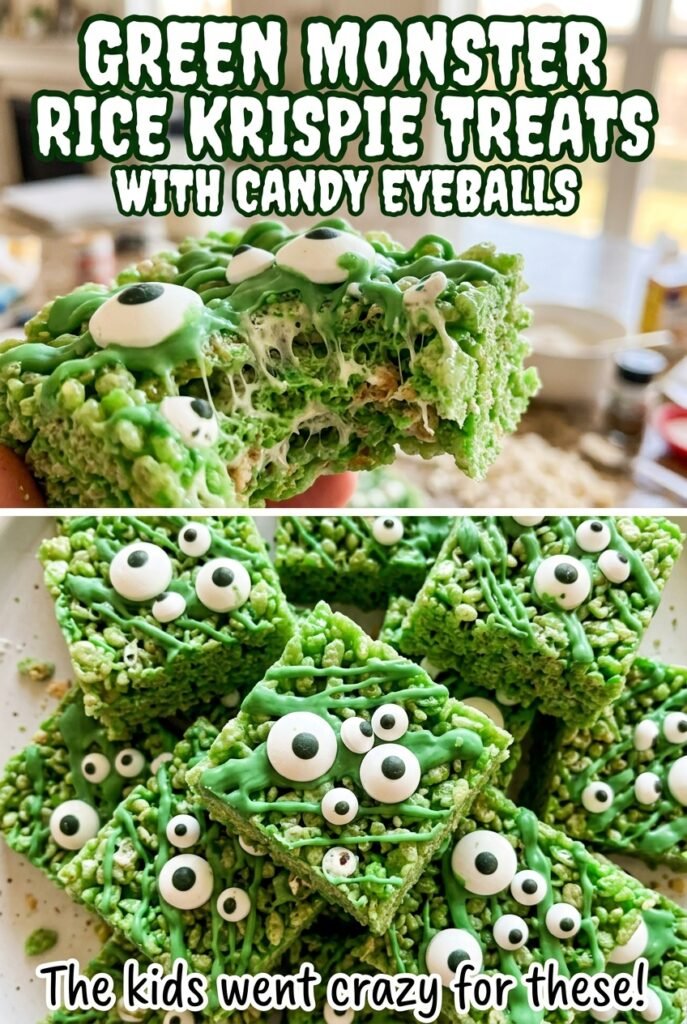
Green Monster Rice Krispie Treats with Candy Eyeballs
As the marshmallows melt, they go from separate little pillows to a glossy, stretchy puddle that coats the spoon. That’s the moment these Green Monster Rice Krispie Treats start to…
Tip: save now, read later.
As the marshmallows melt, they go from separate little pillows to a glossy, stretchy puddle that coats the spoon. That’s the moment these Green Monster Rice Krispie Treats start to come together, and it’s worth keeping the heat low so the mixture stays smooth instead of turning stiff. The green color goes in after the pot comes off the burner, which makes it easy to stir everything evenly before the cereal goes in.
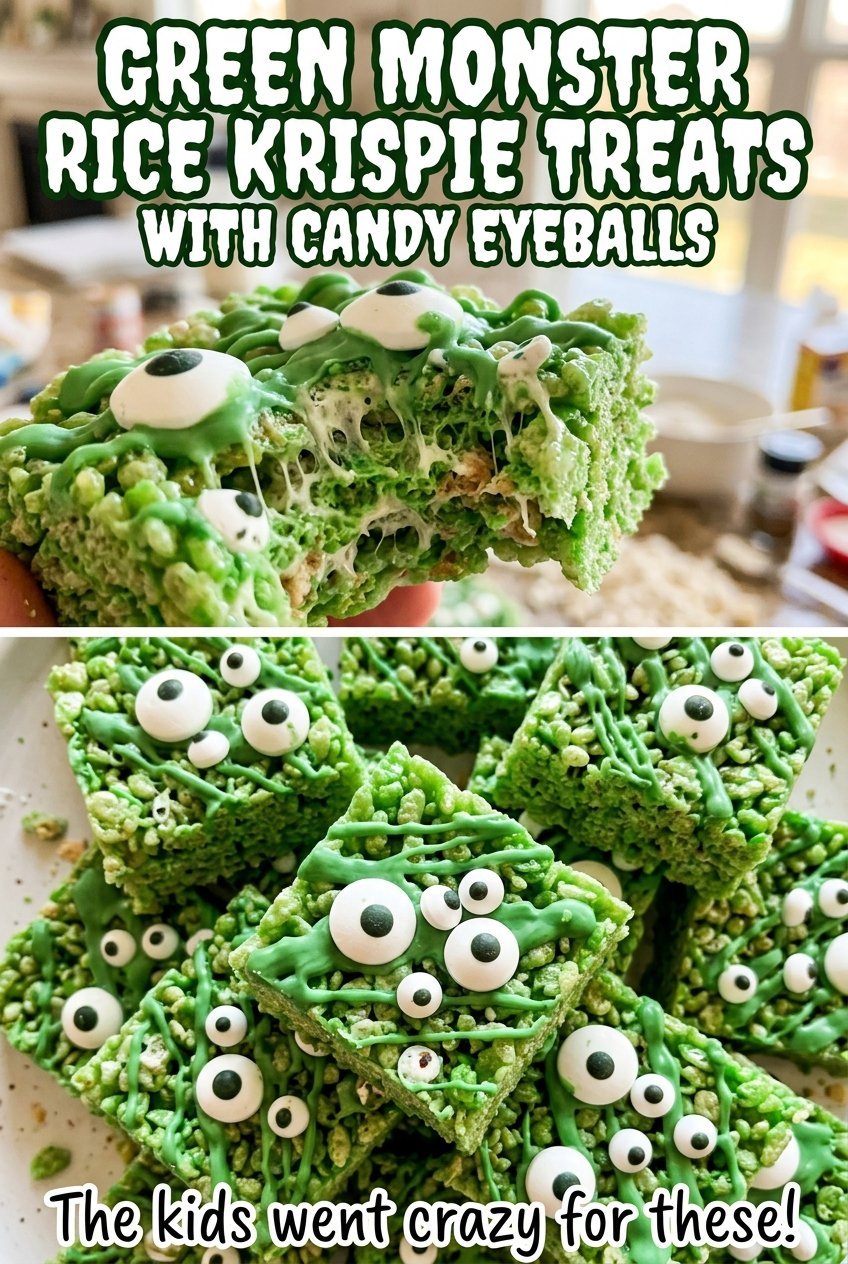
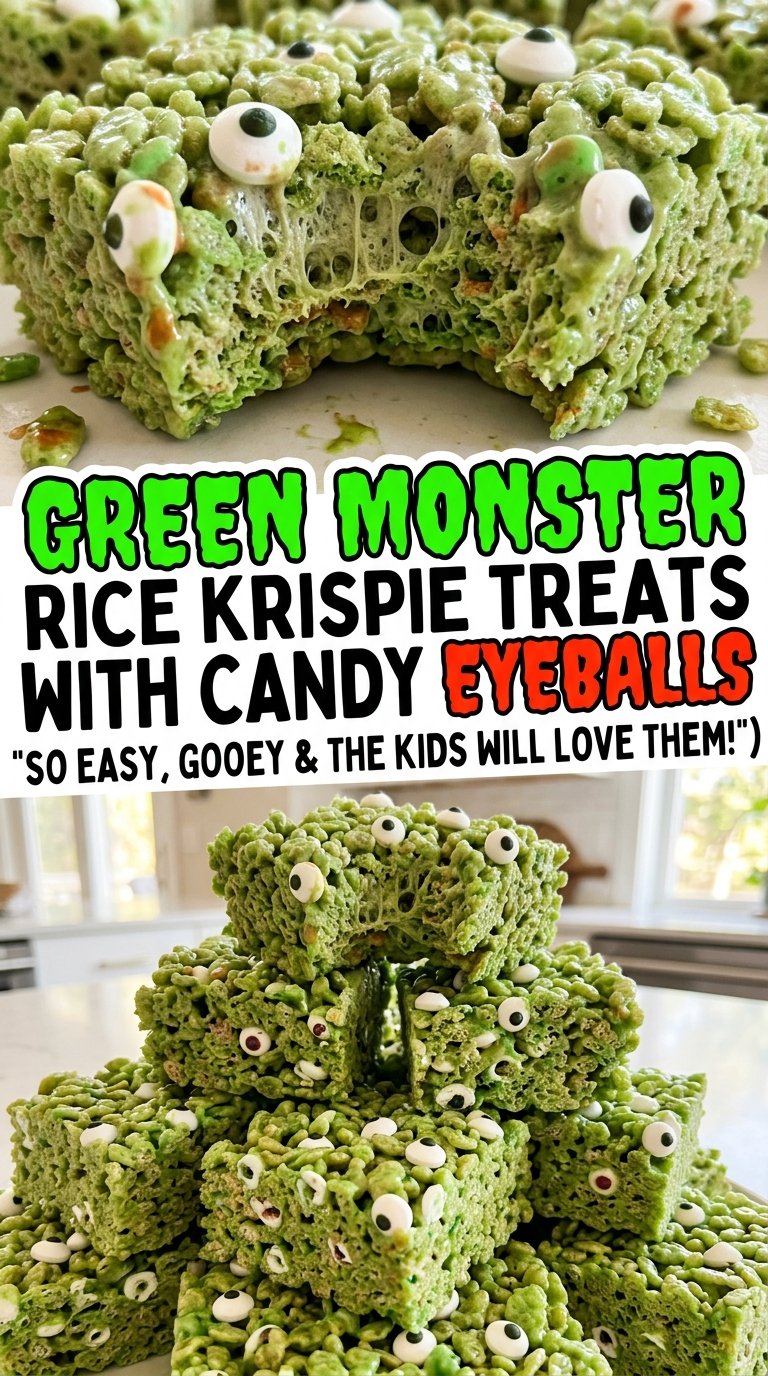
I like how the candy eyeballs turn a simple pan of cereal treats into a batch of little monsters without adding another cooking step. Press them onto the warm surface while the mixture is still soft, then leave the pan alone at room temperature while it sets. Each square stays crisp and chewy, with a bright green center and two eyes looking back at you.
A lightly coated pan and flexible spatula make the sticky mixture much easier to handle. Once it’s set, cut the pan into 12 squares and you’ve got a playful treat with a soft marshmallow pull and plenty of crunch.
Kitchen Note
Coat the flexible spatula before you start melting the marshmallows. The mixture gets sticky quickly once it leaves the pot, and a greased blade helps you spread it without stopping to scrape marshmallow off the spatula.
Save these Green Monster Rice Krispie Treats for a party tray or a playful snack—the green squares and candy eyeballs make each one its own little monster.
Why Pressing These Treats Too Firmly Makes Them Tough
It’s easy to think a firmly packed pan will give you neater squares, but cereal treats don’t need to be compressed to hold together. The melted marshmallow is the binder. If you push down hard, you squeeze the cereal into a dense layer and lose the light, crisp bite that makes a good treat easy to pull apart.
Use the flexible spatula to nudge the mixture into the corners and level the top, not to mash it flat. A few loose-looking spots will settle as you press the cereal into place. The surface should be even enough for the candy eyeballs, while the mixture underneath still feels airy rather than packed solid. This gentle touch also makes the finished squares easier to bite through once they’ve set.
The pan size matters here, too. A 9×13-inch pan gives the mixture room to spread into a layer that cuts into 12 squares without stacking the cereal too thickly. If the mixture resists as you spread it, guide it toward the edges with light strokes instead of forcing it down.
Why Mini Marshmallows and Crisp Rice Cereal Make This Texture
- Mini marshmallows — Their small size helps them melt into a smooth coating without large pieces lingering in the pot. Use a fresh package; marshmallows that have dried out are less likely to melt evenly. If you only have regular-size marshmallows, use the same weight and cut them into smaller pieces so they melt more evenly.
- Unsalted butter — Butter loosens the marshmallow mixture and gives the cereal a richer, less sticky coating. A basic grocery-store butter works well; there’s no need for a specialty brand. Salted butter can stand in, but leave out the added kosher salt so the finished treats don’t taste too salty.
- Crisp rice cereal — The light, crisp pieces give these treats their familiar crunch and distribute the marshmallow coating throughout the pan. A store brand is fine as long as it’s crisp rice cereal; puffed rice has a different shape and texture and won’t give the same bite. Fold it in gently so the pieces stay intact.
- Green food coloring — This is what gives the treats their monster-green look, while the vanilla and salt keep the sweetness from tasting flat. An everyday food coloring works for the green shade. Stir it into the melted mixture off the heat, before adding the cereal, so the color has a chance to spread evenly.
- Candy eyeballs — These add the defining monster detail without changing the cereal treat texture. A standard bag of candy eyeballs works well; choose pieces that are easy to space across the pan. Add them while the top is still soft so they stay attached after the treats set.
The Low-Heat Melt That Keeps the Marshmallow Coating Smooth
Let the Butter and Marshmallows Melt Slowly
Lightly coat the 9×13-inch baking pan, then melt the butter in a large pot over low heat for about 2 minutes. Add the mini marshmallows and stir for 4 to 6 minutes, until they’ve completely melted into a smooth mixture. Keep the heat low; a rapid boil or browned patches aren’t what you’re looking for here. If a few marshmallow lumps remain, keep stirring until the mixture looks glossy and even.
Stir in the Green Color Off the Heat
Take the pot off the burner before adding the green food coloring, vanilla, and kosher salt. Stir until the color is evenly distributed and no streaks of vanilla or salt remain visible. The mixture should still be fluid enough to coat the cereal. Adding these ingredients before the cereal gives you a more even green color without having to overwork the cereal later.
Fold Until the Cereal Is Coated
Add the crisp rice cereal to the pot and fold it through the marshmallow mixture until the pieces are evenly coated. Scrape from the bottom and turn the mixture over rather than stirring in quick circles. The coating is sticky, but keep folding until you no longer see dry patches of cereal. Work steadily so the mixture doesn’t have extra time to firm up in the pot.
Set the Eyes Before the Surface Firms
Transfer the cereal mixture to the prepared pan and gently press it into an even layer with the flexible spatula. Press the 24 candy eyeballs across the top while the surface is still soft enough for them to hold. Leave the pan at room temperature for about 45 minutes, until the layer has set. Cut it into 12 squares once it’s firm enough to lift cleanly.
Color and Dairy-Free Changes That Still Keep the Monster Look
Make a Different-Colored Monster Batch
Swap the green food coloring for another color of food coloring and stir it into the melted marshmallow mixture off the heat, just as you would for the green version. The vanilla flavor stays the same, but the candy eyes take on a different look against the new color. Start with less if your coloring is especially concentrated, then stir until the shade is even.
Make the Treats Dairy-Free
Replace the butter with plant-based butter and use vegan mini marshmallows in place of the regular marshmallows. Keep the same package weight of marshmallows and melt the mixture slowly, stirring until smooth before adding the remaining ingredients. Vegan marshmallows can set with a slightly different chew, but the cereal squares still hold their shape and take the candy eyeballs well.
Storage and Reheating
- Refrigerator: Skip refrigeration; store the treats in an airtight container at room temperature for up to 2 days to keep them chewy.
- Freezer: Freeze the squares in an airtight container for up to 6 weeks, with parchment between layers so the candy eyes don’t press into the treats. Thaw at room temperature before serving.
- Reheating: These are best served at room temperature and don’t need reheating. Microwaving can make the marshmallow coating hot and sticky.
Questions That Come Up Before You Cut the Green Squares
Green Monster Rice Krispie Treats with Candy Eyeballs
Ingredients
Equipment
Method
- Lightly coat a 9x13-inch baking pan and a flexible spatula with cooking spray.
- Melt the butter in a large pot over low heat, about 2 minutes.
- Add the marshmallows and stir for 4 to 6 minutes until completely melted and smooth.
- Remove the pot from the heat and stir in the green food coloring, vanilla, and salt until evenly combined.
- Add the crisp rice cereal and fold until evenly coated.
- Transfer the mixture to the prepared pan and gently press it into an even layer with the greased spatula.
- Press 24 candy eyeballs across the top.
- Let the treats set at room temperature for about 45 minutes.
- Cut into 12 squares.
