
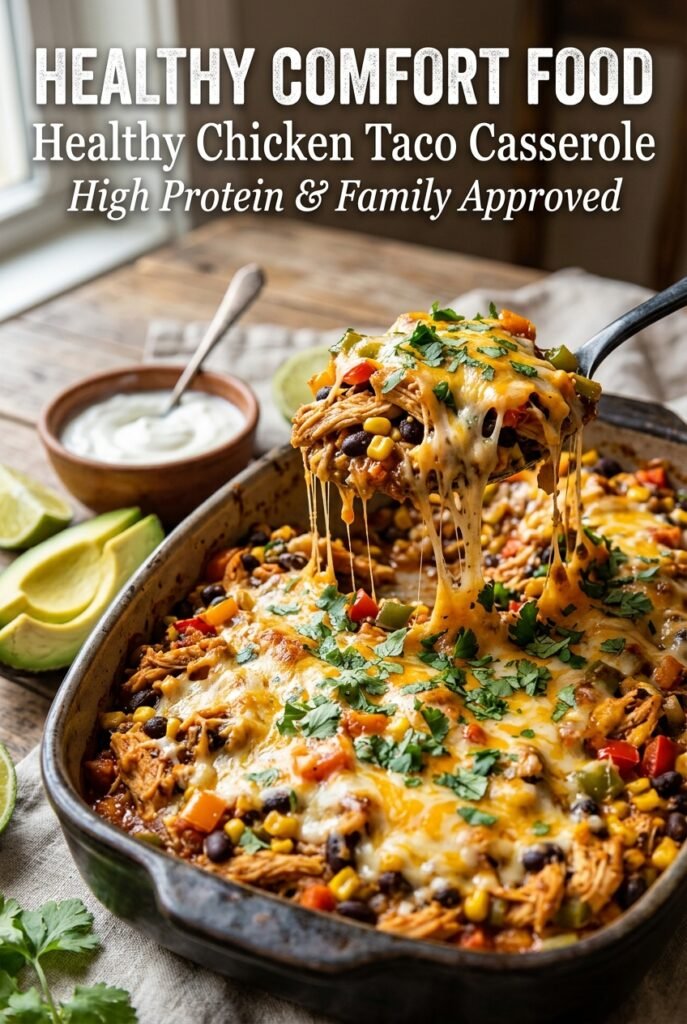
Healthy Chicken Taco Casserole
Healthy Chicken Taco Casserole comes out bubbling at the edges with seasoned chicken, black beans, sweet corn, and just enough cheese to hold everything together without burying the Tex-Mex flavor.…
Tip: save now, read later.
Healthy Chicken Taco Casserole comes out bubbling at the edges with seasoned chicken, black beans, sweet corn, and just enough cheese to hold everything together without burying the Tex-Mex flavor. The tortillas soften into the sauce, but they don’t disappear, so every scoop gives you tender strips, a little structure, and plenty of filling in one bite.
What makes this version work is the balance. Ground chicken stays light, but it needs help, so the onion, bell pepper, garlic, salsa, tomatoes, and spices build a real base before the casserole ever hits the oven. The tortilla strips go in after the filling is cooked so they stay pleasantly intact instead of turning to mush, and the reduced-fat cheese still melts into a proper top layer as long as you don’t overbake it.
Below you’ll find the details that keep this casserole from getting watery, plus a few smart ways to adapt it for different diets and leftovers. If you’ve ever had taco casseroles turn bland or soggy, the fixes here are worth reading before you start.
The casserole set up perfectly and didn’t come out watery like other taco bakes I’ve tried. The tortilla strips stayed soft but still had some texture, and my kids kept asking for the leftovers in their lunch boxes.
Keep this Healthy Chicken Taco Casserole handy for nights when you want a high-protein Tex-Mex bake with melty cheese and no soggy bottom.
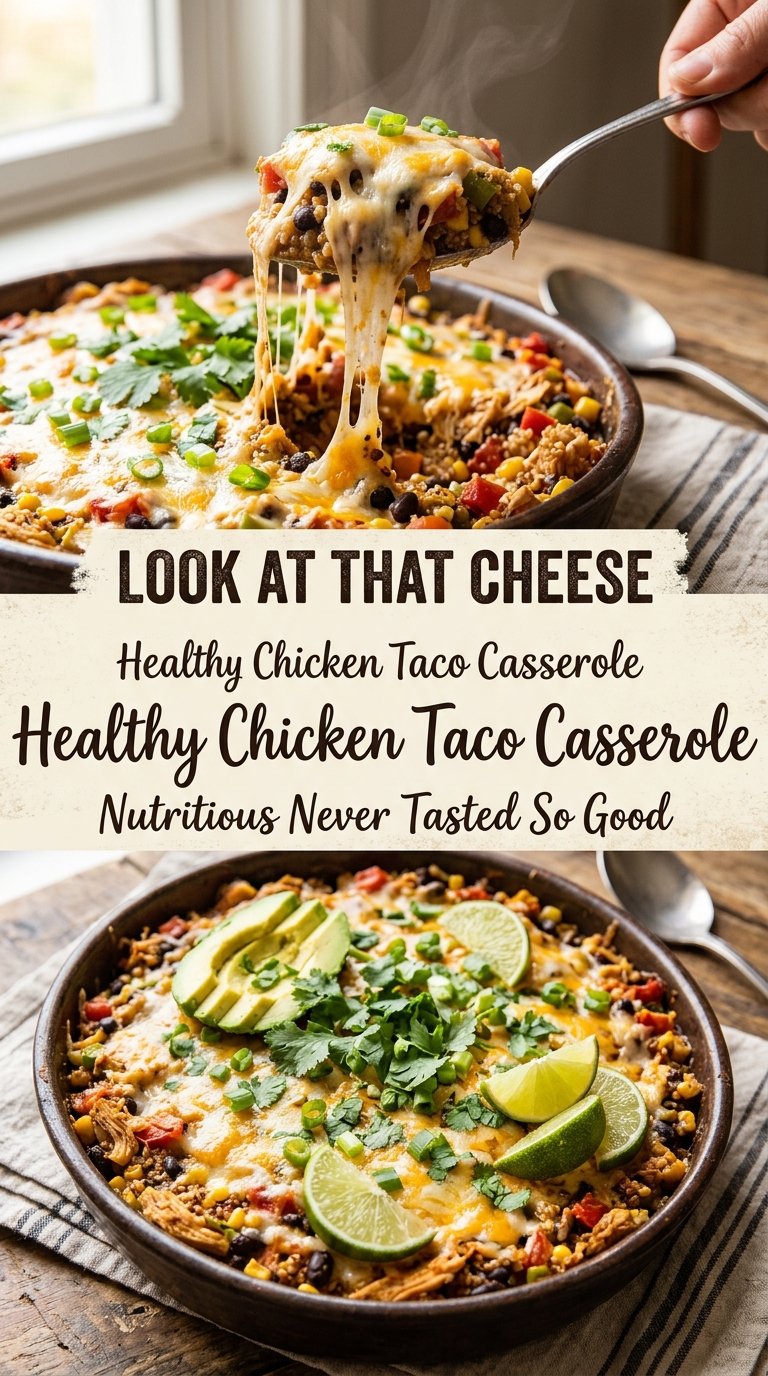
The Reason This Taco Casserole Stays Thick Instead of Watery
Most taco casseroles get soupy because the vegetables release moisture and the sauce never gets a chance to tighten before baking. Here, the skillet stage matters. You cook the onion and bell pepper first, then brown the chicken, and only after that do the beans, corn, tomatoes, and salsa go in. That gives the filling a head start so the oven is finishing the dish instead of trying to fix it.
The other thing that matters is the tortilla timing. Cut tortillas soak up some of the sauce and help the casserole hold together, but they need to go in after the filling has simmered. If you add them too early, they fall apart and turn the whole pan soft in the wrong way. Let the mixture simmer until it looks glossy and spoonable, not loose and brothy.
- Ground chicken — Lean chicken works well here because the salsa, tomatoes, and cheese add the moisture it lacks. If you use extra-lean chicken breast, don’t skip the onion and pepper; they keep the filling from tasting dry.
- Salsa and diced tomatoes with green chilies — These do more than add flavor. They build the sauce, so use a salsa you actually like the taste of. A thicker salsa gives a sturdier casserole than a thin, watery one.
- Black beans and corn — The beans add body and protein, while the corn gives little pops of sweetness that keep the casserole from tasting flat. Frozen corn works fine straight from the freezer, and canned corn just needs to be drained well.
- Whole wheat tortillas — They bring structure and a more substantial bite. If you swap in flour tortillas, the texture gets softer and more tender; if you use corn tortillas, the casserole tastes more traditional but the strips can break down a little faster.
- Reduced-fat Mexican cheese blend — A good melting cheese matters more than the fat level here. Pre-shredded cheese is fine, but it melts best if you spread it evenly and bake just until the top is bubbling and lightly browned at the edges.
Building the Filling Before It Ever Reaches the Oven
Softening the vegetables first
Start with the onion and bell pepper in hot olive oil and cook them until the onion turns translucent and the pepper loses its raw crunch. That usually takes about 4 minutes. This step pulls sweetness out of the vegetables and keeps them from releasing too much liquid later. If they stay firm, the finished casserole tastes chopped and uneven instead of cohesive.
Browning the chicken properly
Add the ground chicken after the vegetables and break it up as it cooks. You’re looking for no pink left and a few browned bits on the pan, not gray crumbles sitting in their own moisture. If the pan looks crowded and wet, keep cooking until the liquid evaporates before you season it. Dry, steamy chicken won’t absorb the spices well.
Letting the sauce thicken before baking
Once the beans, corn, tomatoes, salsa, and spices go in, simmer the mixture for about 5 minutes. The filling should look thick enough to mound on a spoon. If it still pours like soup, keep it on the heat a little longer; otherwise, that extra liquid ends up at the bottom of the baking dish. Fold in the tortilla strips only after the filling has thickened, then transfer everything to the dish and top with cheese.
Make It Dairy-Free
Swap the cheese for a good melting dairy-free shreds blend or leave the topping off and finish with avocado and cilantro. You lose the browned cheesy top, but the casserole still eats like a full meal because the filling already has plenty going on.
Make It Gluten-Free
Use certified gluten-free corn tortillas cut into strips instead of whole wheat tortillas. The texture will be a little softer and more delicate, but the casserole still holds together well if you let the filling simmer down before baking.
Use Ground Turkey Instead
Ground turkey swaps in cleanly if that’s what you have. Choose 93% lean or similar so the filling doesn’t dry out, and keep the seasoning generous because turkey needs a little more help than chicken to taste complete in a casserole like this.
Storage and Reheating
- Refrigerator: Keeps well for 4 days. The tortillas soften a little more each day, but the flavor holds up.
- Freezer: Freezes well for up to 2 months. Cool it completely, wrap the baking dish tightly, or portion it into airtight containers for easier lunches.
- Reheating: Reheat covered in a 325°F oven until hot in the center, or microwave single portions with a splash of water and a loose cover. The common mistake is blasting it too hard, which dries out the chicken before the middle is warm.
Answers to the Questions Worth Asking
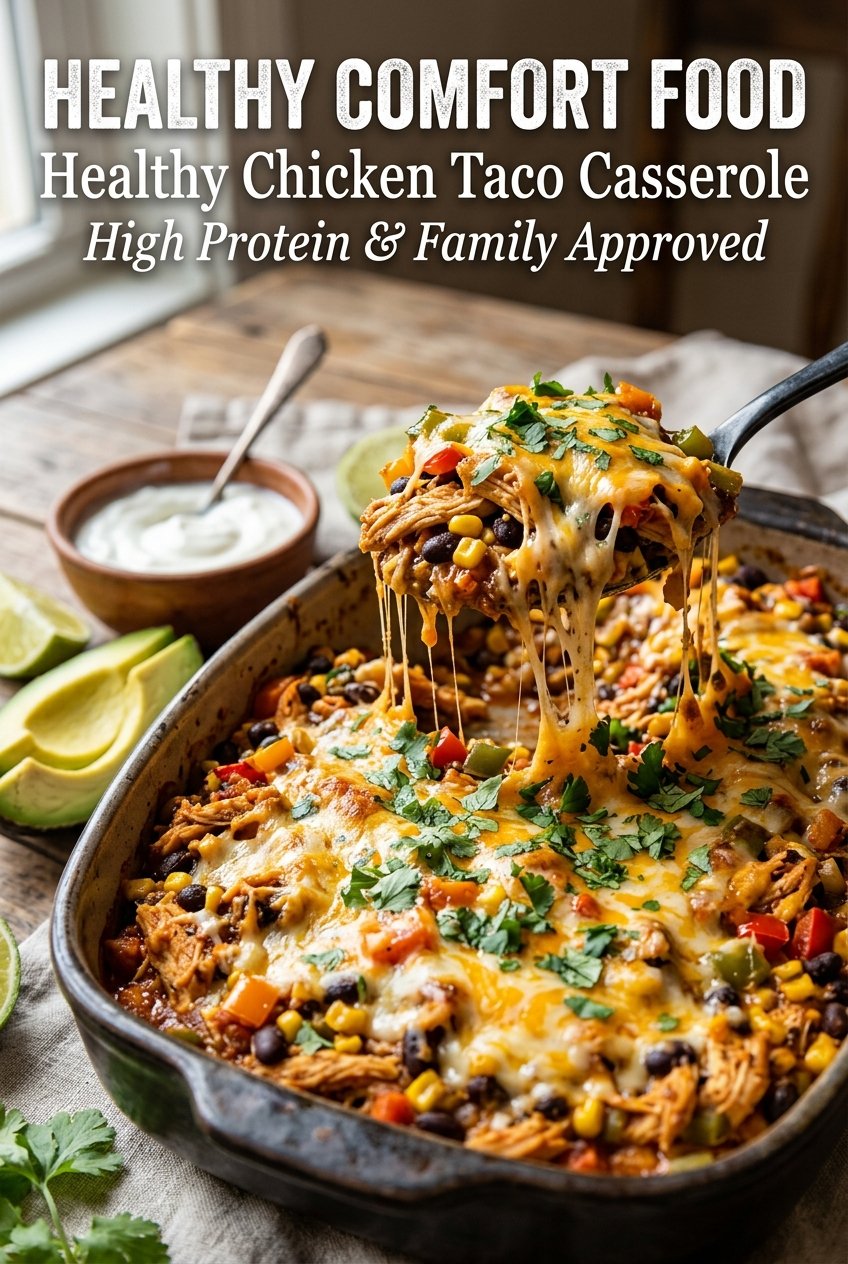
Healthy Chicken Taco Casserole
Ingredients
Equipment
Method
- Preheat the oven to 375°F (190°C) and set out a 9×13-inch baking dish. The oven should be fully heated before baking so the casserole turns bubbly and golden.
- Lightly grease a 9×13-inch baking dish. Use a thin coating to help prevent sticking when serving.
- Heat olive oil in a large skillet over medium heat. Look for shimmering oil to indicate it’s ready for vegetables.
- Cook the onion and bell pepper for 4 minutes. Stir now and then until the onion softens and the pepper begins to look slightly tender.
- Add the garlic and cook for 30 seconds. Keep it moving until fragrant but not browned.
- Add the ground chicken and cook until browned. Break up clumps and cook until no longer pink.
- Stir in taco seasoning, smoked paprika, ground cumin, salt, and black pepper. Coat the chicken evenly so the spices cling to the meat.
- Mix in the black beans, corn, diced tomatoes with green chilies, and salsa. Stir until the mixture looks evenly combined with visible bean and corn pieces.
- Simmer for 5 minutes. Let it bubble gently so flavors meld and the mixture thickens slightly.
- Fold in the tortilla strips. Ensure most strips are coated and begin to soften in the hot filling.
- Transfer the mixture to the prepared baking dish. Spread into an even layer for consistent baking.
- Sprinkle evenly with shredded reduced-fat Mexican cheese blend. Cover the surface so it melts into a golden top.
- Bake for 20–25 minutes at 375°F (190°C), until bubbly and golden. Watch for active bubbling at the edges and a melted, browned cheese layer.
- Garnish with chopped fresh cilantro, diced avocado, Greek yogurt, and lime wedges before serving. Add jalapeño slices and fresh tomatoes if desired for extra color and heat.
