
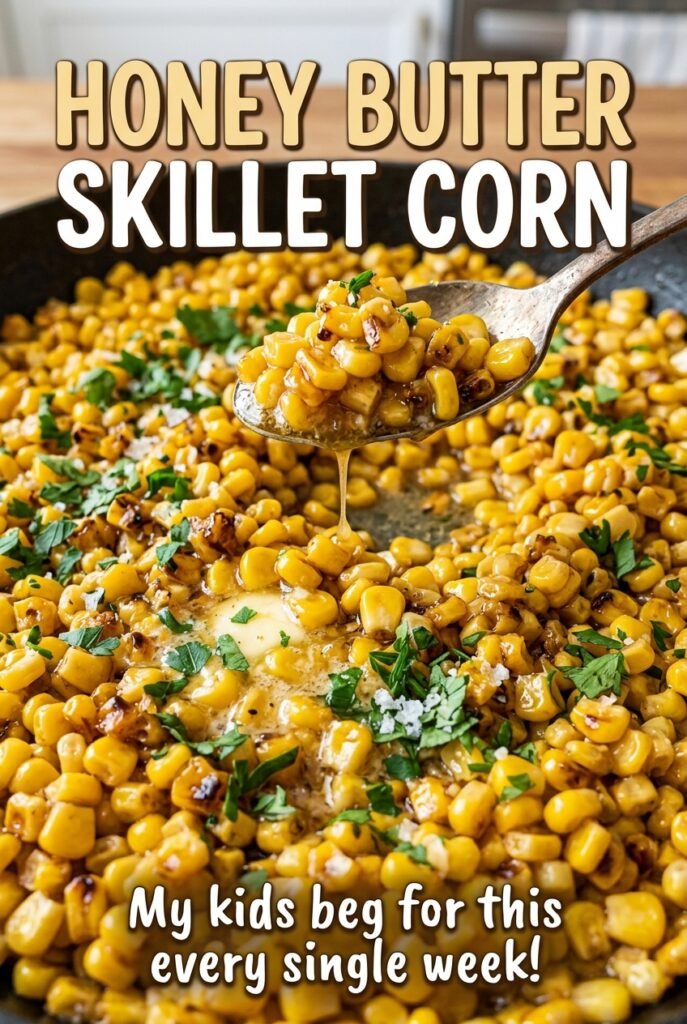
Honey Butter Skillet Corn
Frozen corn hits the hot butter with a soft hiss, then releases a little puddle across the skillet. That’s normal, and it’s the reason I don’t rush this honey butter…
Tip: save now, read later.
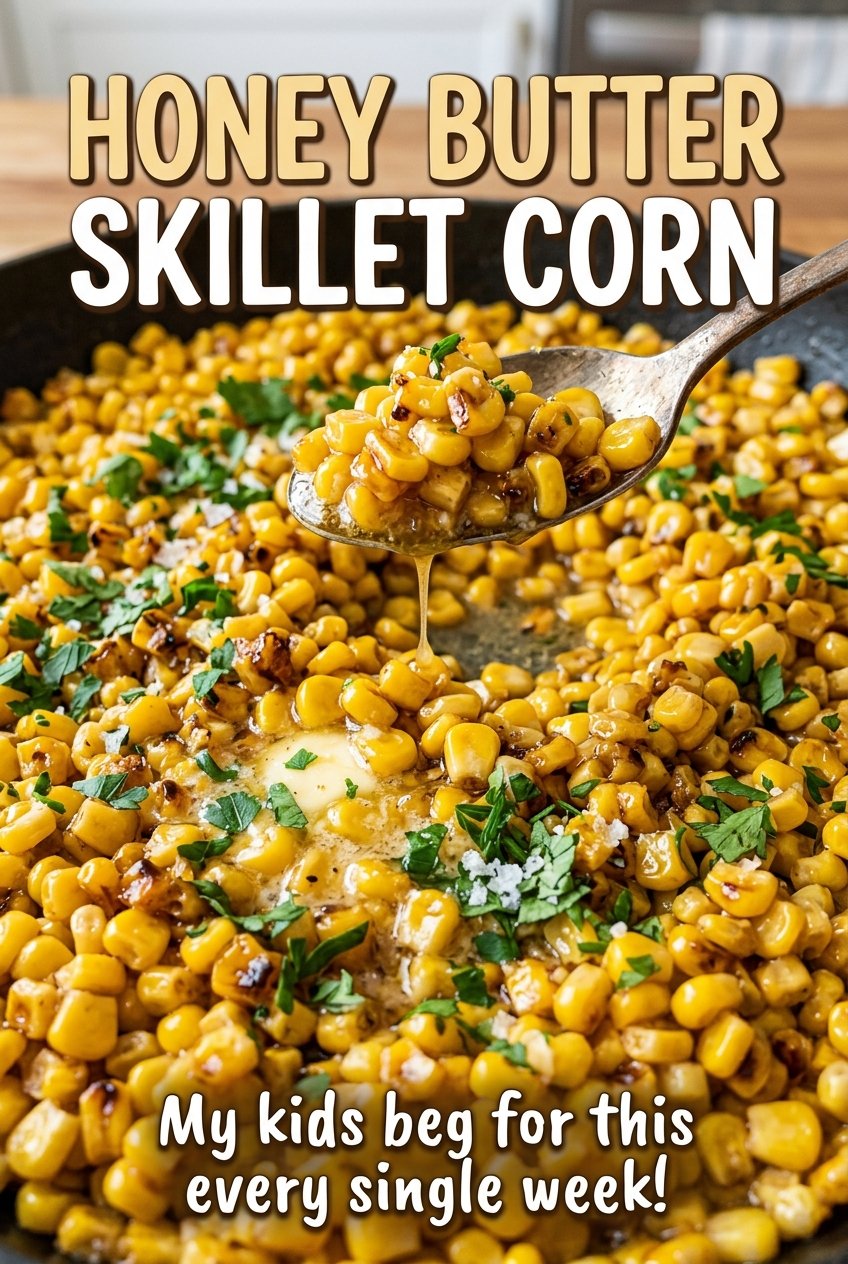
Frozen corn hits the hot butter with a soft hiss, then releases a little puddle across the skillet. That’s normal, and it’s the reason I don’t rush this honey butter skillet corn. Give the kernels a few minutes over medium heat and the extra moisture cooks away, leaving each bite tender and lightly sweet instead of watery.
I stir the honey into the melted butter before the corn goes in, so it’s already loosened and easy to distribute. The seasoning stays simple: kosher salt and black pepper balance the sweetness without covering up the taste of the corn. It’s a quick side for a weeknight dinner, but it also works alongside a more elaborate meal when the stovetop is already busy.
Kitchen Note
I stir often once the corn goes in, rather than letting the honey butter sit in one spot. That keeps the coating moving around the skillet and helps the kernels heat evenly.
Save this honey butter skillet corn for a quick side with tender kernels and a buttery-sweet finish.
Frozen Corn Releases Water Before It Turns Tender—Give That Moisture Somewhere to Go
Frozen corn is convenient here for a reason: the kernels go straight into the skillet, and their slight icy coating becomes part of the cooking process. As the corn heats, it gives off moisture. At first, the skillet may look more like it’s simmering than sautéing. That doesn’t mean anything has gone wrong. The liquid needs time to evaporate while the kernels warm through.
A 12-inch skillet gives a 16-ounce bag room to spread out, which helps that moisture escape instead of pooling deeply around crowded kernels. Keep the heat at medium rather than turning it up to force a faster finish; a higher flame can darken the honey butter before the water has cooked off. By the end, the corn should be hot and tender, with most of that extra liquid gone. The goal isn’t browned or crisp corn, but kernels that are juicy without a watery puddle underneath.
Why Honey and Butter Go in Before the Corn
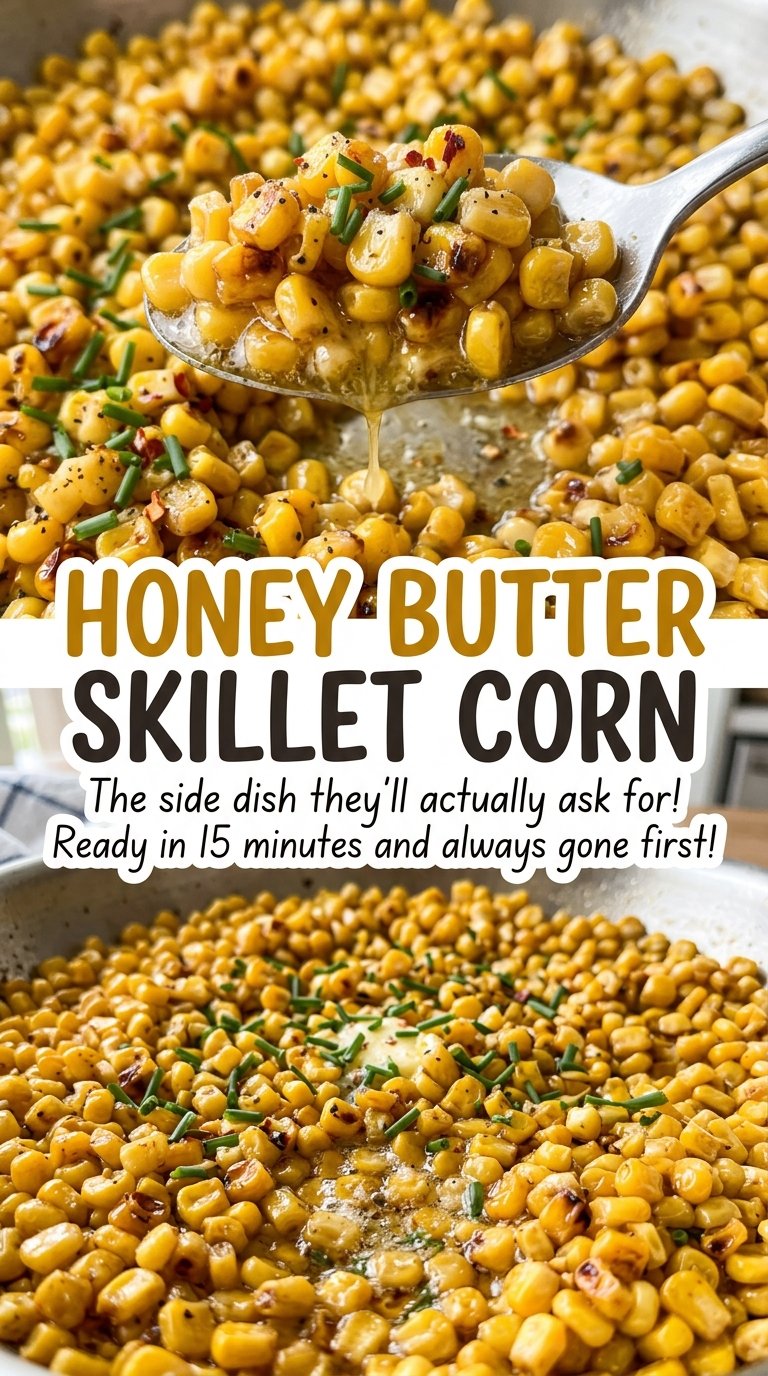
- Unsalted butter — It gives the honey a rich base and lets the kosher salt season the corn without guessing how salty the butter already is. Use a fresh stick; there’s no need for a specialty brand. Salted butter works, but the finished dish may taste saltier, so adjust the added salt to taste.
- Honey — Honey brings a mellow sweetness and helps the butter cling to the kernels. A mild everyday honey is a good fit; a strongly flavored variety will be more noticeable. Pure maple syrup can replace it in the same amount, with a woodsy maple note instead of honey’s floral sweetness.
- Frozen sweet corn — Frozen kernels make this a year-round side without shucking or cutting corn from the cob. Choose a bag of plain sweet corn rather than a seasoned blend, so you can control the salt and pepper yourself. The kernels don’t need to be thawed first.
- Kosher salt and black pepper — Salt sharpens the corn’s sweetness, while black pepper gives the buttery coating a little warmth. Freshly ground pepper has a bolder aroma, but ordinary ground black pepper is perfectly fine for an easy skillet side.
From Honey-Butter Base to Tender Kernels
Melt the Butter in the Skillet
Set a 12-inch skillet over medium heat and add the unsalted butter. Let it melt across the bottom of the pan before moving on; there’s no benefit to turning the heat high to hurry it. If the butter starts to brown, lower the heat so the honey won’t darken too quickly in the next stage. You’re looking for melted butter, not browned butter.
Stir the Honey into the Butter
Add the honey to the melted butter and stir until the two are combined. This brief head start makes the sweet coating easier to spread through the kernels once they’re added. Keep the skillet over medium heat. The mixture should be fluid and fragrant, not bubbling hard or turning dark.
Cook the Corn Until the Excess Moisture Evaporates
Add the frozen corn, kosher salt, and black pepper. Cook for 8 to 10 minutes, stirring often so the kernels heat evenly and the honey butter moves around the pan. The corn will release moisture as it warms, so don’t pull it off the heat just because you see liquid early on. It’s ready when the kernels are hot and tender and most of the excess moisture has evaporated.
Small Changes That Still Let the Corn Shine
Make It Dairy-Free
Replace the unsalted butter with an unsalted plant-based butter stick, using the same amount. The coating will still be rich, though the exact texture can vary a little by brand. Keep the honey for a dairy-free version; honey is not vegan.
Add a Gentle Chile Kick
Stir a pinch of cayenne in with the salt and black pepper. It adds a little warmth that contrasts with the honey without changing the buttery texture. Start small; cayenne can take over quickly in a simple side dish.
Give It a Smoky Edge
Add a little smoked paprika along with the other seasonings for a savory contrast to the honey. The corn will taste smokier and less purely sweet, so keep the paprika light enough that the kernels remain the main event.
Storage and Reheating
- Refrigerator: Refrigerate leftovers within 2 hours and keep them in a covered container for 3 to 4 days. The kernels soften a little as they sit.
- Freezer: Freeze cooled leftovers in an airtight container for up to 2 to 3 months. Thaw in the refrigerator; the texture will be softer than freshly cooked corn.
- Reheating: Warm the corn in a skillet over medium heat, stirring until it’s steaming hot throughout and reaches 165°F. Avoid high heat, which can scorch the honey butter before the kernels warm evenly.
Questions That Come Up When the Skillet Is on the Stove
Honey Butter Skillet Corn
Ingredients
Equipment
Method
- Melt the butter in a 12-inch skillet over medium heat.
- Stir the honey into the melted butter.
- Add the frozen corn, salt, and pepper.
- Cook for 8 to 10 minutes, stirring often, until the corn is hot and tender and most of the excess moisture has evaporated.
