
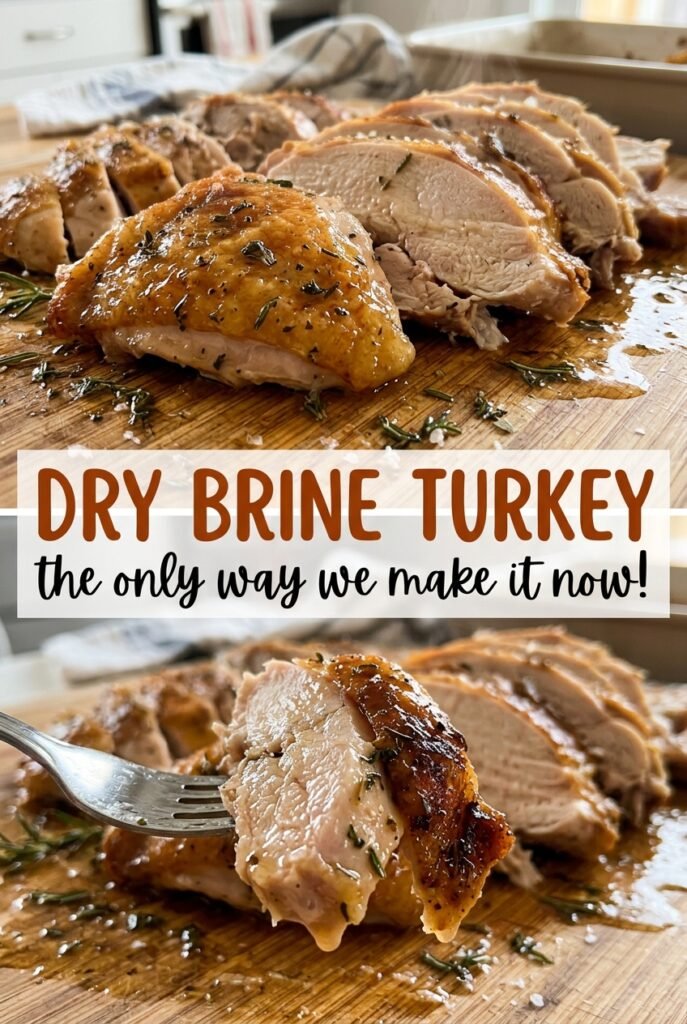
Dry Brine Turkey
The first clue that a dry-brined turkey is working is the skin: after a night uncovered in the refrigerator, it feels drier instead of slick. That matters once the bird…
Tip: save now, read later.
The first clue that a dry-brined turkey is working is the skin: after a night uncovered in the refrigerator, it feels drier instead of slick. That matters once the bird goes into the oven, because wet skin takes longer to brown. For this 12-pound turkey, I spread the salt under the skin as well as over the outside and inside the cavity, so the seasoning reaches more than the surface.
I use a thawed turkey that hasn’t been kosher or enhanced, since those birds may already contain salt. The uncovered rest gives the salt time to season the meat while the refrigerator air dries the skin. Butter goes under the breast skin just before roasting, and the pepper goes over the outside. The result is deeply seasoned turkey with golden skin and juicy slices.
Kitchen Note
Don’t rinse the turkey after its time in the refrigerator. Rinsing washes away some of the seasoned surface and leaves the skin wet just before it needs to brown.
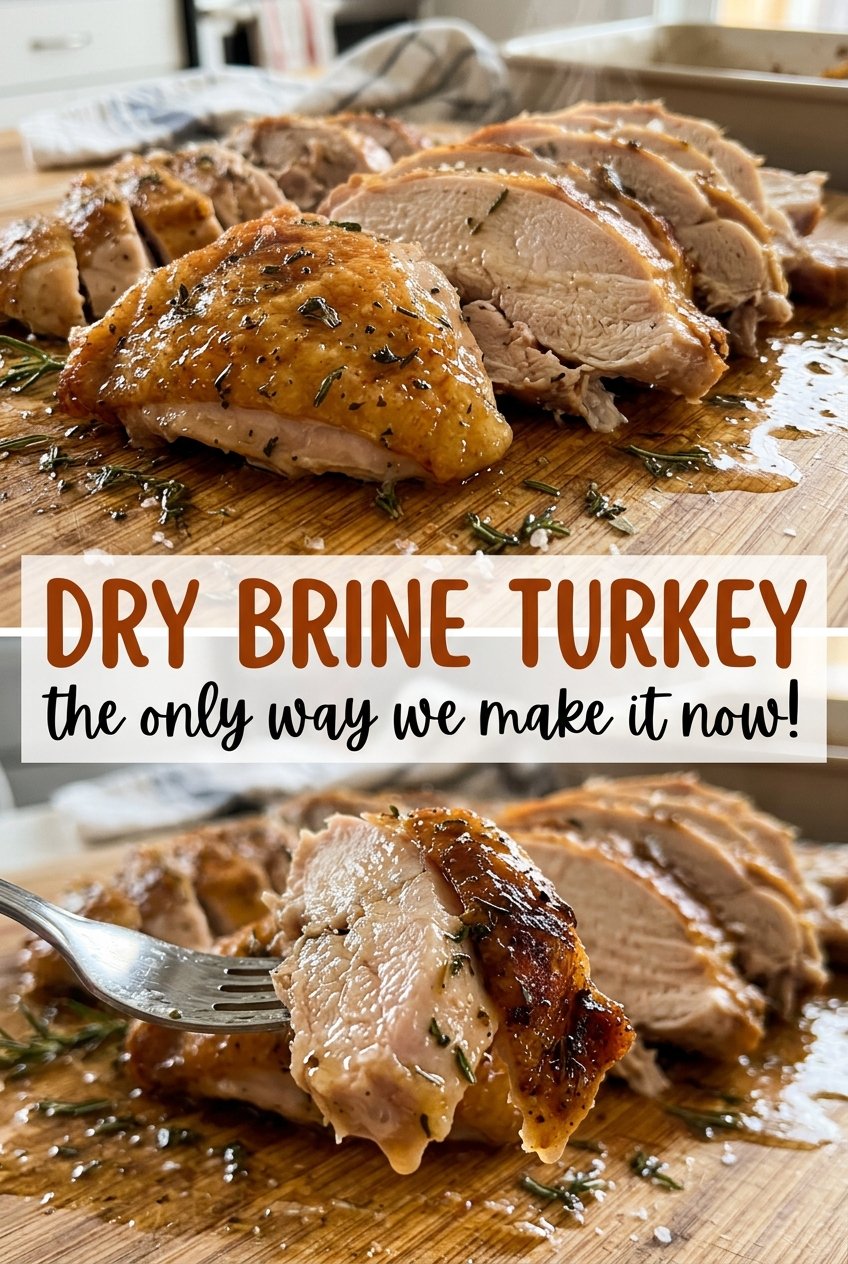
Save this Dry Brine Turkey for a golden-skinned roast with seasoning worked under the skin and through the meat.
Why the Uncovered Refrigerator Rest Helps the Skin Brown
A dry brine does two jobs at once. Salt draws moisture to the turkey’s surface, then that seasoned moisture is gradually reabsorbed. At the same time, leaving the bird uncovered gives the refrigerator air a chance to dry the skin. That combination is what makes this method different from salting the turkey right before it goes into the oven.
Wet skin has to lose its surface moisture before it can brown, so it can stay pale while the turkey cooks. The rack keeps the bird elevated in the roasting pan, and the uncovered rest exposes more of its surface to the cool air. Give the brine the time it needs rather than trying to make up for a short rest with extra oven heat. A hotter oven changes the cooking conditions without replacing the time the salt needs to season the meat.
The skin won’t look exactly the same on every turkey, but the process gives it a better start. When you take the bird out to prepare it for roasting, look for skin that feels less wet than it did when you first patted the turkey dry.
Why the Turkey, Salt, and Butter Matter More Than Extra Seasonings
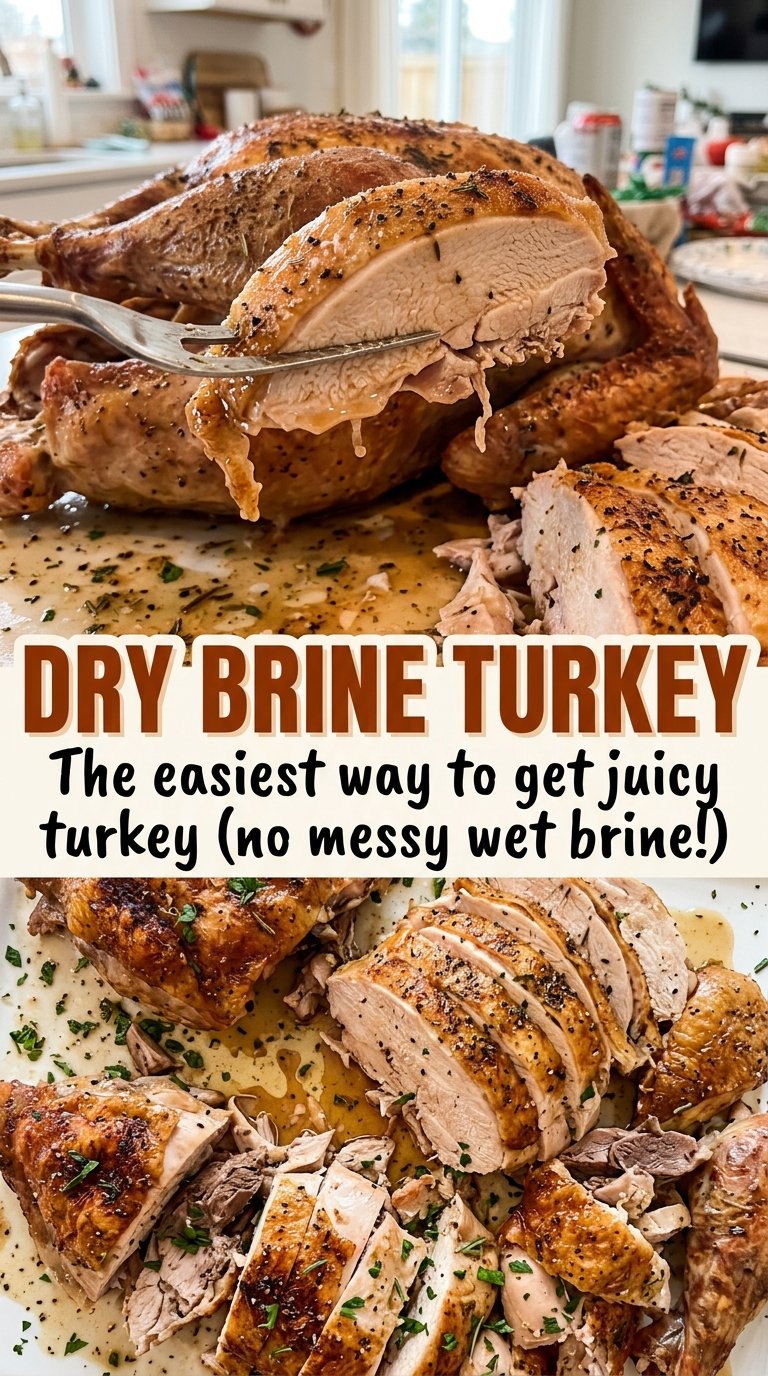
- The turkey — Start with a thawed, 12-pound bird with the giblets removed. It should not be kosher or enhanced; those turkeys may already be salted, which makes it hard to control the seasoning in a dry brine. The quality of the bird matters, but the label matters just as much here.
- Diamond Crystal kosher salt — The salt is the central seasoning, and the recipe is measured for this specific kosher salt. Different brands and types of salt have different crystal sizes, so a same-volume swap can change how salty the turkey turns out. For the most reliable result, use the named salt rather than guessing at a replacement amount.
- Unsalted butter — Softened butter spreads beneath the breast skin, where it adds richness without covering the skin’s surface. Unsalted butter also keeps the salt level under control. It should be soft enough to spread gently, not melted and runny.
- Black pepper — Pepper adds a warm, savory bite across the skin. Use pepper that smells fresh when you open it; old pepper loses its aroma. No other seasoning is needed for this straightforward roast.
From Dry Skin to a Thermometer-Ready Roast
Pat the Turkey Dry and Set It on the Rack
Use paper towels to pat the turkey dry, including around the legs and wings where moisture can collect. Set it breast-side up on a rack in a roasting pan. Drying the surface before salting gives the brine a better starting point, while the rack keeps the turkey lifted out of any liquid in the pan. Check that the giblets have been removed before you begin.
Work the Salt Beneath the Skin
Gently loosen the skin over the breasts and thighs with your fingers, taking care not to tear it. Rub the salt under the loosened skin, then spread it over the outside and inside the cavity. Aim for even coverage rather than leaving a heavy pile in one spot. If the skin resists, ease your fingers along gradually instead of pulling sharply.
Let the Uncovered Brine Rest
Place the turkey breast-side up on its rack in the refrigerator, uncovered, for 24 to 48 hours. Leave space around the pan so the turkey isn’t pressed against other items. This is the stretch that seasons the meat and dries the surface; don’t shorten it to fit the roasting schedule at the last minute. Keep the bird on its roasting pan and rack while it rests.
Butter the Breast and Add the Pepper
About 45 minutes before roasting, take the turkey out of the refrigerator and heat the oven to 325°F. Spread the softened butter under the breast skin, working it gently across the breast rather than pushing hard enough to break the skin. Sprinkle the black pepper over the turkey. The butter belongs under the skin, not smeared across the outside.
Roast Until the Thermometer and Skin Agree
Roast the turkey uncovered for 3 to 3 1/2 hours, watching for golden-brown skin. Check the thickest part of the breast and the innermost part of the thigh with a thermometer, keeping the probe away from bone; both spots should read 165°F. Don’t rely on the skin’s color or the clock by itself, since neither tells you the temperature at the center of the meat. Transfer the turkey to a cutting board and let it rest for 30 minutes before carving.
Two Simple Ways to Adapt This Dry-Brined Turkey
A Dairy-Free Roast Without Butter
For a dairy-free version, leave out the butter and keep the rest of the dry-brining and roasting method the same. The turkey will have less buttery richness, but the salt still seasons the meat and the uncovered roast still browns the skin.
A Milder Bird Without Black Pepper
Skip the black pepper if you want the turkey’s flavor without its peppery edge. Keep the salt and butter in place; the brine will still season the bird, while the finished turkey will taste milder and less warmly spiced.
Storage and Reheating
- Refrigerator: Store carved turkey in covered containers and use within 3 to 4 days. Chilled slices will feel firmer than freshly roasted turkey.
- Freezer: Freeze leftover meat in airtight portions for 2 to 6 months for best quality. Thaw it in the refrigerator before reheating.
- Reheating: Reheat sliced turkey covered until steaming hot throughout. Gentle heat helps keep it from drying out; leaving it uncovered in the oven for a long stretch can make the slices tough.
Questions That Come Up When Dry-Brining a Whole Turkey
Dry Brine Turkey
Ingredients
Equipment
Method
- Pat the turkey dry with paper towels.
- Set it breast-side up on a rack in a roasting pan.
- Gently loosen the skin over the breasts and thighs.
- Rub the salt evenly under the skin, over the outside of the turkey, and inside the cavity.
- Refrigerate the turkey uncovered for 24 to 48 hours; do not rinse it.
- About 45 minutes before roasting, take the turkey out of the refrigerator.
- Heat the oven to 325°F.
- Spread the softened butter under the breast skin.
- Sprinkle the black pepper over the turkey.
- Roast uncovered for 3 to 3 1/2 hours, until the skin is golden brown and a thermometer reads 165°F in the thickest part of the breast and innermost part of the thigh, away from bone.
- Transfer the turkey to a cutting board.
- Rest for 30 minutes before carving.
