

Turkey Gravy from Drippings
The flour disappears into the hot fat, then the whisk starts dragging through a smooth, thick paste that smells lightly toasted. That’s the moment to keep moving: a roux can…
Tip: save now, read later.
The flour disappears into the hot fat, then the whisk starts dragging through a smooth, thick paste that smells lightly toasted. That’s the moment to keep moving: a roux can go from pale to golden quickly, and a few minutes of steady whisking give turkey gravy from drippings its base without letting the flour scorch. I’ve found that setting out the measured liquid before the pan goes on the burner makes this part calmer.
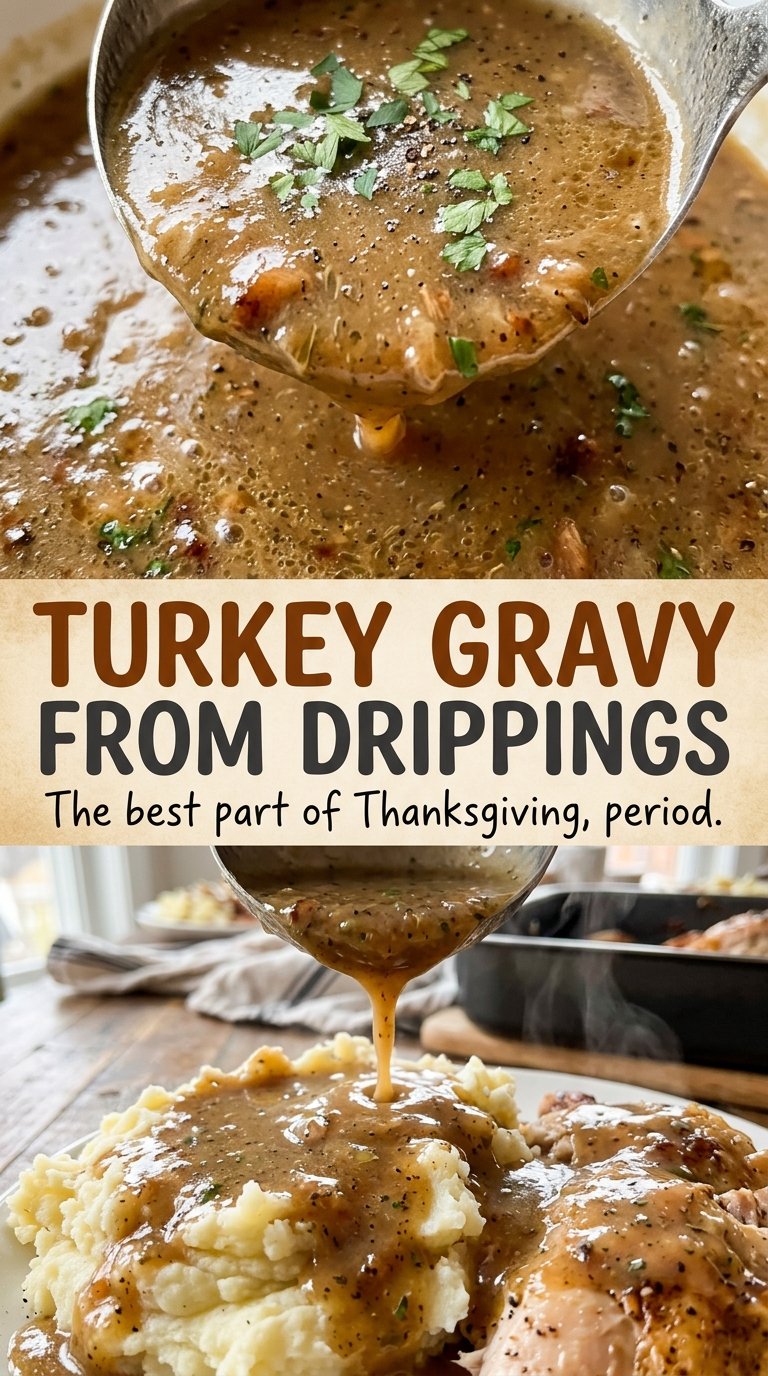
This gravy uses the turkey pan juices for their roasted flavor, then low-sodium turkey broth fills in whatever liquid is needed. The fat gets separated first, so you can combine it with unsalted butter and build a roux with a measured amount of fat and flour. Whisk in the liquid, let the gravy simmer until it coats the back of a spoon, then season it to taste. The finished gravy is smooth, savory, and ready to pour over the turkey.

Kitchen Note
Set the juices and broth out in their measured amount before you start the roux. The flour cooks quickly, and you won’t want to stop whisking to measure liquid once it’s in the pan.
Save this turkey gravy from drippings for a smooth, golden gravy that puts those pan juices to work.
Why the Pan Juices Need to Hit Four Cups Before They Go Into the Roux
Turkey pans don’t all leave the same amount of liquid behind. Some give you plenty of juices; others leave only a little once the drippings are strained. Rather than guessing, bring the strained juices up to four cups with low-sodium turkey broth. That measured amount gives the roux a consistent volume of liquid to thicken.
The proportions are doing quiet, useful work here: the combined turkey fat and butter match the flour, and the four cups of liquid are added to that roux. If you pour in less liquid, the gravy will finish thicker; more liquid gives you a looser result. Keeping the liquid total steady means the simmer can do its job without you having to compensate for an unknown starting point.
Low-sodium broth is a sensible choice because pan juices can already bring plenty of seasoning. You’ll add a small amount of salt and pepper near the end, then taste before adding more salt. That order leaves room for the character of the drippings instead of committing to a salt level before everything has come together.
What the Turkey Fat, Butter, Flour, and Broth Each Bring
- Strained turkey pan juices and low-sodium turkey broth — The pan juices bring the roasted turkey flavor, while broth makes it possible to measure a consistent amount of liquid. Strain the juices to remove solids before using them. A low-sodium broth is useful here because you can adjust the salt after the gravy simmers.
- Turkey drippings fat and unsalted butter — The fat carries the flour into a smooth roux, and the turkey drippings contribute savory depth. Combine the drippings fat with unsalted butter to reach the total amount needed; there’s no need to chase a particular ratio of one fat to the other. Unsalted butter also leaves the final seasoning in your hands.
- All-purpose flour — Flour thickens the gravy as the roux cooks and then simmers with the liquid. A standard all-purpose flour works well; an expensive brand isn’t needed. Measure it accurately so the gravy thickens as expected, and whisk it into the melted fat rather than sprinkling it into the broth.
- Kosher salt and black pepper — These season the gravy at the finish, when the turkey juices and broth are already combined. Use the listed amounts as your starting point, then taste and add more salt if it needs it. Freshly ground or pre-ground black pepper both work; choose the texture you like.
From Separated Drippings to Gravy That Coats a Spoon
Separate the fat and measure the liquid
Strain the turkey drippings into a fat separator or measuring cup, then let them stand until the fat rises to the top. Separate the fat from the pan juices, and add enough low-sodium turkey broth to the juices to reach four cups. The measured liquid should be ready before you begin cooking the roux.
Melt the combined fats
Set a three-quart saucepan over medium heat and combine the turkey fat with enough unsalted butter to make one-half cup total. Let the fats melt together before adding flour. Keep the heat at medium; the aim is melted fat, not browned or smoking fat.
Cook a lightly golden roux
Whisk in the flour and keep whisking constantly for two to three minutes. The mixture should become smooth and lightly golden, with no dry pockets of flour. If it starts to darken quickly or smells scorched, lower the heat rather than letting it continue to brown.
Whisk in the juices and simmer
Gradually whisk in the four cups of pan juices and broth until the mixture is smooth. Bring it to a simmer, then cook for five to eight minutes, whisking often. Watch the texture as it cooks: the gravy is ready when it thickens enough to coat the back of a spoon, not when it has boiled down to a paste.
Season at the finish
Stir in the kosher salt and black pepper, then taste the gravy. Add more salt only if it needs it; pan juices vary, so tasting is more reliable than adding extra by habit. If the gravy is already at the thickness you want, take it off the heat rather than continuing to reduce it.
Simple Ways to Shift the Flavor or Fit a Gluten-Free Table
Make it gluten-free with a 1:1 flour blend
Replace the all-purpose flour with the same amount of a gluten-free 1:1 baking flour blend, then use it in the roux as you would regular flour. Some blends won’t turn as golden, so judge the roux by its smooth texture and the cooking time as well as its color. The gravy may have a slightly different finish depending on the blend.
Lean into the turkey flavor
When you have plenty of strained pan juices, use more of them and less low-sodium broth while keeping the liquid total at four cups. The gravy will taste more directly of the roast. If the juices are limited, broth still fills out the measured liquid without changing the roux method.
Give the finish more pepper
For a pepper-forward gravy, add a little more black pepper after the simmer and taste again before serving. Adding it at the end keeps the pepper’s character noticeable rather than burying it in the roux. Keep the salt adjustment separate so you can control both seasonings.
Storage and Reheating
- Refrigerator: Store in a covered container for 3 to 4 days. The gravy will thicken as it chills.
- Freezer: Freeze in an airtight container for up to 3 months. Thaw it in the refrigerator; the texture may separate slightly, but whisking as it reheats will bring it back together.
- Reheating: Warm it gently in a saucepan, whisking as it loosens. Heat leftovers to 165°F, and avoid a hard boil, which can make the gravy reduce too far.
The Gravy Questions That Come Up at the Stove
Turkey Gravy from Drippings
Ingredients
Equipment
Method
- Strain the turkey drippings into a fat separator or measuring cup and let stand until the fat rises to the top. Separate the fat from the pan juices, then add enough low-sodium turkey broth to the juices to measure 4 cups.
- In a 3-quart saucepan over medium heat, combine the turkey fat with enough unsalted butter to make 1/2 cup total and melt.
- Whisk in the flour and cook for 2 to 3 minutes, whisking constantly, until the roux is smooth and lightly golden.
- Gradually whisk in the 4 cups of pan juices and broth until smooth, then bring to a simmer and cook for 5 to 8 minutes, whisking often, until thick enough to coat the back of a spoon.
- Stir in the salt and pepper, taste, and add more salt if needed.
