
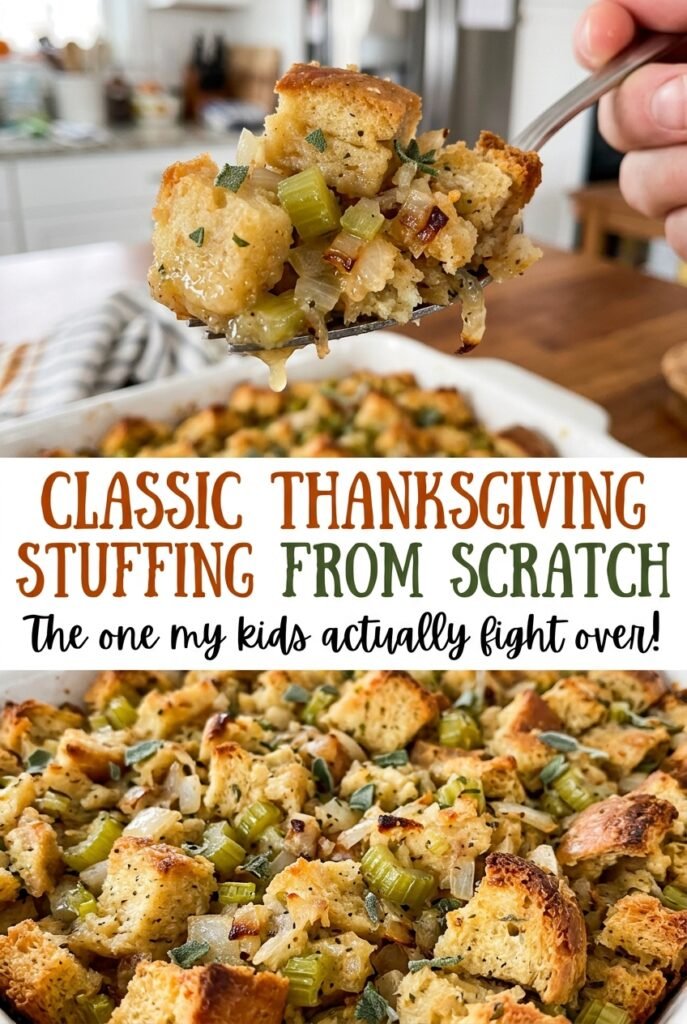
Classic Thanksgiving Stuffing from Scratch
The first thing I notice when this stuffing goes into the oven is how much the sage and onion perfume the kitchen before the top has even started to brown.…
Tip: save now, read later.
The first thing I notice when this stuffing goes into the oven is how much the sage and onion perfume the kitchen before the top has even started to brown. A casserole can look deceptively simple, but bread that’s still soft in the middle absorbs broth unevenly, and the finished dish can feel heavy. For Classic Thanksgiving Stuffing from Scratch, I dry the cubes until they’re crisp all the way through, then give them time to take up the seasoned broth before baking.
Eggs are what make this a cohesive, spoonable stuffing instead of a loose pile of cubes. They’re whisked into the broth first, so they spread through the bread rather than leaving little cooked bits behind. The covered bake keeps the middle tender; uncovering it at the end gives the top time to turn golden. It’s a straightforward casserole with a savory center and a crisp, browned lid.
Kitchen Note
Keep the foil snug against the edges of the baking dish for the first part of baking. A loose cover lets steam escape, and the top can dry out before the center has had time to heat through.
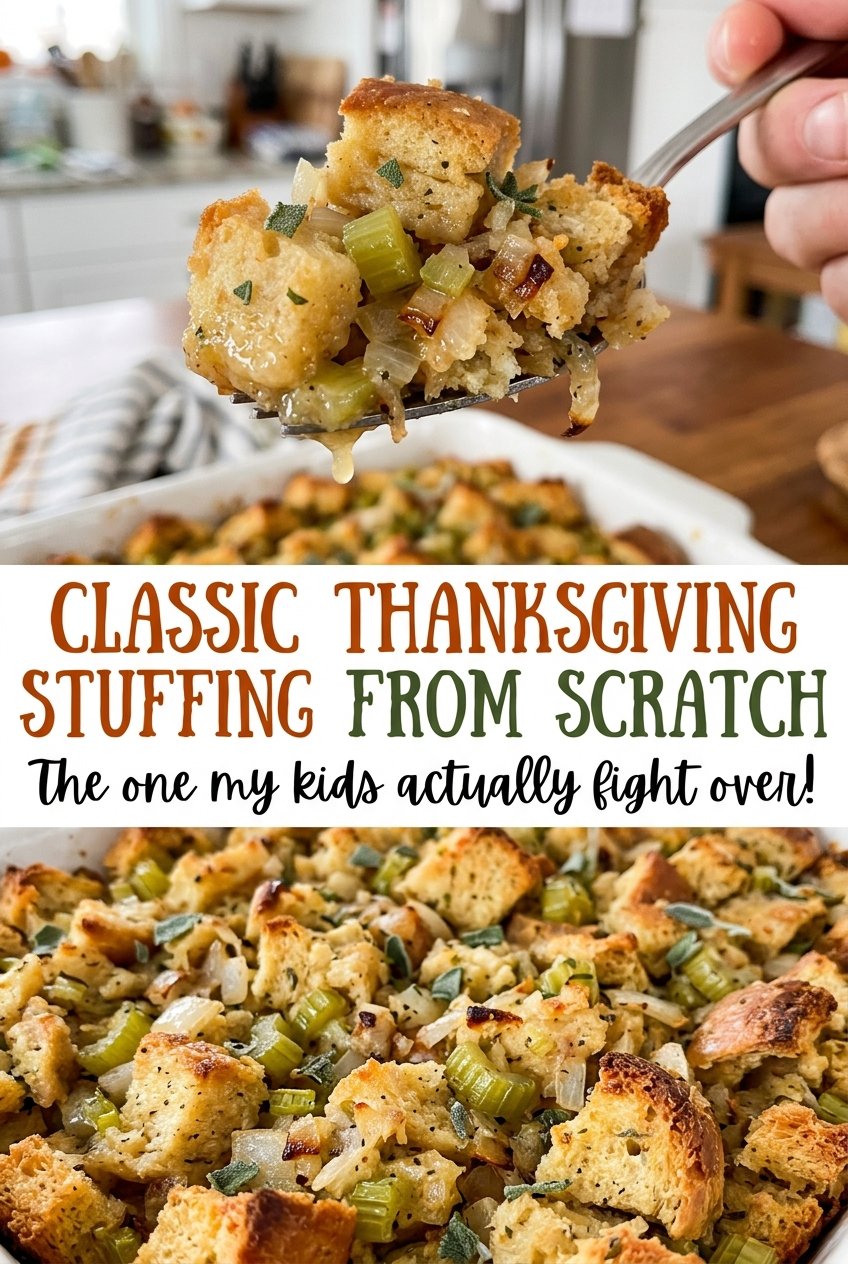
Save this classic Thanksgiving stuffing for a crisp golden top, tender middle, and the unmistakable flavor of fresh sage.
Why the Eggs Make This Stuffing Hold Together Without Turning It Custardy
Stuffing needs enough structure to stay together on the serving spoon, but it shouldn’t eat like a savory bread pudding. The eggs help with that balance: whisked into the broth, they disperse through the bread and set as the casserole bakes. They bind the cubes while leaving their edges and texture recognizable.
Distribution matters more than extra mixing. Whisk the eggs thoroughly into the broth before adding the parsley, then pour that mixture over the bread and toss until the cubes look evenly moistened. If the eggs go straight onto the bread, they’re harder to spread evenly; if you keep tossing after everything is coated, the bread can break down. A short rest before baking gives the cubes a chance to absorb the liquid, so the center bakes up evenly rather than with wet pockets between dry pieces.
Why Sturdy White Bread, Fresh Herbs, and Unsalted Butter Earn Their Place
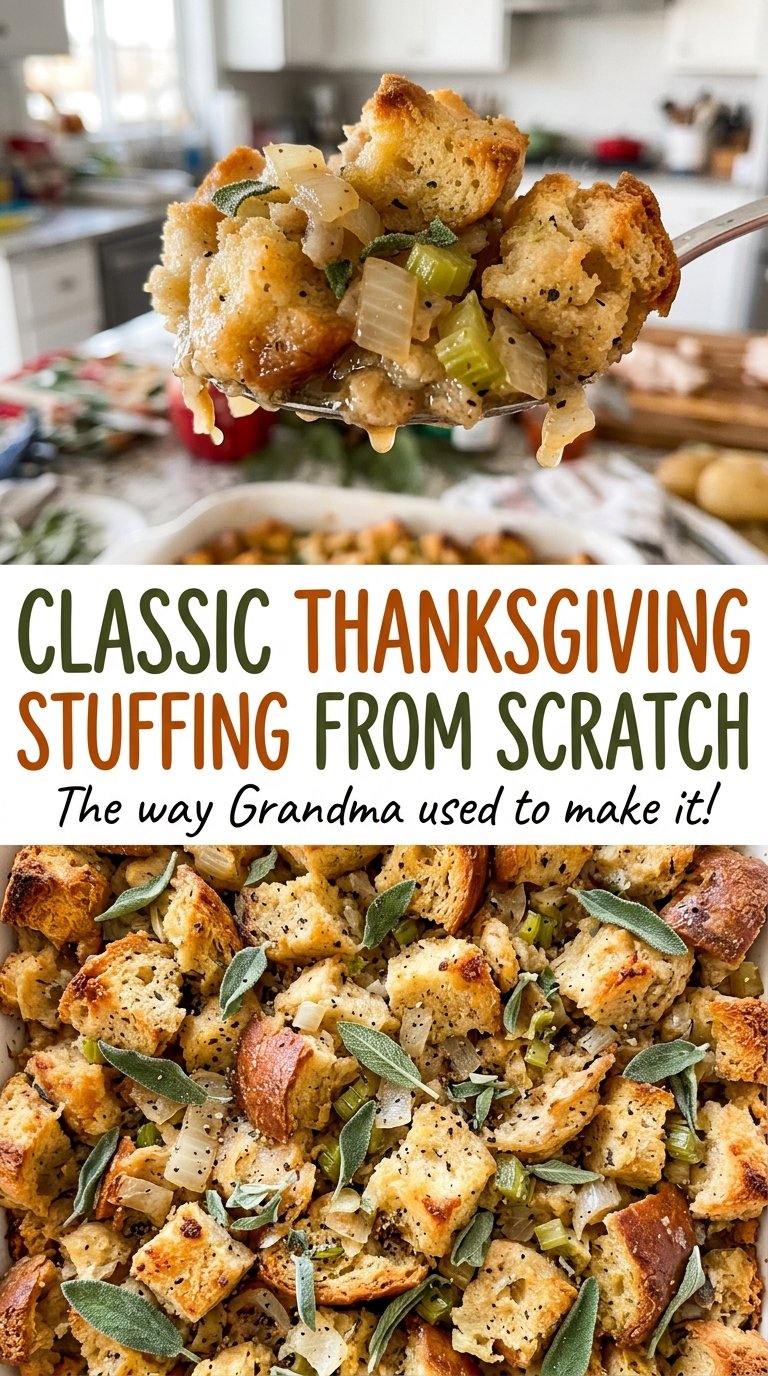
- Sturdy white bread — A firm loaf holds its shape through tossing and baking better than soft sandwich bread. A basic, plain loaf is all you need; the cubes are dried in the oven, so there’s no need to seek out specialty bread. Cut the cubes evenly so they dry at about the same rate.
- Unsalted butter — It carries the onion, celery, and herbs as they soften, and using unsalted butter lets you control the seasoning alongside the kosher salt and low-sodium broth. A standard grocery-store butter works well here; the important part is choosing unsalted.
- Yellow onion and celery — These are the savory base, and finely chopping them helps them soften throughout instead of leaving large crunchy pieces in the finished casserole. Fresh, firm celery ribs are a good choice; limp celery won’t bring the same clean, crisp flavor.
- Fresh sage and thyme — Sage gives the stuffing its familiar savory aroma, while thyme fills in the background without taking over. Fresh herbs have a brighter, more distinct flavor here than dried herbs. If you need to use dried herbs, use one teaspoon of dried sage in place of the chopped fresh sage and about one-third teaspoon dried thyme in place of the fresh thyme.
- Low-sodium chicken broth — Broth seasons and moistens the bread, while the low-sodium version leaves room for the added kosher salt. Use a broth you like the taste of; a strongly salted broth can make the finished dish taste too salty.
- Eggs and parsley — The eggs help the casserole set, and fresh parsley adds a clean, green note to the broth mixture. Parsley is best chopped shortly before you use it; the eggs should be whisked in well so they’re evenly distributed.
Drying the Bread Before Building the Casserole
Dry the cubes until crisp, not merely warmed
Heat the oven to 300°F and spread the bread cubes in a single layer across two rimmed baking sheets. Bake for 45 to 60 minutes, stirring once, until the cubes feel dry and crisp rather than soft in the center. If they’re still pliable, give them more time; soft cubes soak up broth quickly and can leave the stuffing heavy. Transfer the crisp cubes to a large bowl.
Soften the onion and celery in butter
Melt the butter in a 12-inch skillet over medium heat, then add the finely chopped onion and celery. Cook for 8 to 10 minutes, stirring occasionally, until both vegetables have softened; they shouldn’t still crunch when you bite into a piece. Stir in the sage, thyme, salt, and pepper, and cook for 1 minute to bring the herbs into the buttery vegetables. If the butter begins to brown before the vegetables soften, lower the heat.
Whisk the broth and eggs before tossing
Raise the oven temperature to 350°F and grease a 9×13-inch baking dish. In a medium bowl, whisk the broth and eggs together, then stir in the chopped parsley. Add the skillet mixture to the bread and toss, then pour in the broth mixture and toss again until the cubes are evenly moistened. Let the mixture stand for 10 minutes before transferring it to the prepared dish.
Bake covered, then uncover for a golden top
Cover the dish tightly with foil and bake for 30 minutes. Remove the foil and continue baking for 20 to 25 minutes, until the top is golden brown and the center reaches 160°F. If the top is browning but the center hasn’t reached that temperature, keep baking until it does. Let the stuffing rest for 10 minutes before serving so it has time to settle.
Three Practical Ways to Adapt This Thanksgiving Stuffing
Make it vegetarian with vegetable broth
Replace the chicken broth with the same amount of low-sodium vegetable broth. The stuffing keeps its savory, herb-forward character, though the broth gives it a slightly different base flavor.
Use gluten-free bread for a gluten-free version
Swap in sturdy gluten-free white bread, cut into the same size cubes and dried until crisp. Different gluten-free loaves absorb broth differently, so toss carefully and let the cubes sit for the full rest before you decide whether the mixture looks evenly moistened.
Choose a dairy-free butter alternative
Use the same amount of a plant-based butter in place of the unsalted butter when softening the onion and celery. Pick one intended for cooking; the finished stuffing will still have its savory vegetable-and-herb base, with a slightly different buttery flavor.
Storage and Reheating
- Refrigerator: Store leftovers covered or in an airtight container for 3 to 4 days. The crisp top softens in the refrigerator.
- Freezer: Freeze cooled portions in an airtight container for up to 3 months. Thaw in the refrigerator before reheating; the texture will be a little softer than freshly baked.
- Reheating: Reheat covered in a 325°F oven until the center reaches 165°F, uncovering near the end if you’d like to crisp the top. Leaving it uncovered the whole time can dry the edges before the middle is hot.
Questions That Come Up When Making Stuffing from Scratch
Classic Thanksgiving Stuffing from Scratch
Ingredients
Equipment
Method
- Heat the oven to 300°F.
- Spread the bread cubes in a single layer on two rimmed baking sheets.
- Bake for 45 to 60 minutes, stirring once, until dry and crisp.
- Transfer the bread cubes to a large bowl.
- Melt the butter in a 12-inch skillet over medium heat.
- Add the onion and celery, and cook for 8 to 10 minutes until softened.
- Stir in the sage, thyme, salt, and pepper, then cook for 1 minute.
- Increase the oven temperature to 350°F.
- Grease a 9x13-inch baking dish.
- Whisk the broth and eggs in a medium bowl.
- Stir the parsley into the broth mixture.
- Add the skillet mixture to the bread cubes and toss to combine.
- Pour in the broth mixture and toss until evenly moistened.
- Let stand for 10 minutes.
- Transfer the stuffing to the prepared baking dish and cover tightly with foil.
- Bake for 30 minutes.
- Remove the foil and bake for 20 to 25 minutes until the top is golden brown and the center reaches 160°F.
- Rest for 10 minutes before serving.
