Lemon Brownies Recipe
Lemon Brownies are a delightful twist on the classic chocolate treat, bringing together a bright, zesty lemon flavor with a soft, chewy brownie texture. These bars are bursting with fresh…
Tip: save now, read later.
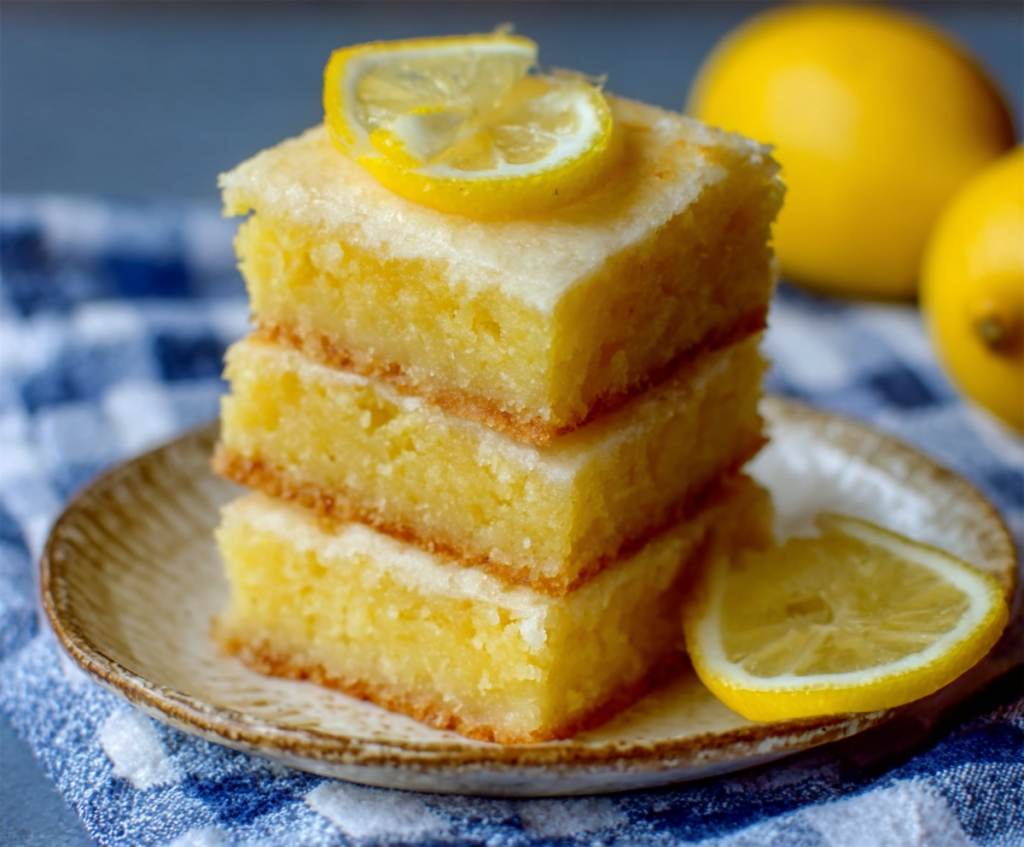
Lemon Brownies are a delightful twist on the classic chocolate treat, bringing together a bright, zesty lemon flavor with a soft, chewy brownie texture. These bars are bursting with fresh lemon juice and zest, giving each bite a perfect balance of sweet and tangy. The chewy edges and moist center make them an irresistible treat any time of day.
I love making these lemon brownies when I want something different from the usual chocolate fix. The lemon flavor feels fresh and light, which makes them feel almost like a special snack for spring or summer. One thing I always do is add a little powdered sugar on top after baking — it adds a lovely touch without overpowering the lemon taste.
These lemon brownies are great for sharing with friends or bringing to a potluck because they’re easy to cut and serve. I like to pair them with a cup of tea or a cold glass of milk. Whenever I make them, people always ask for the recipe, and I’m happy to see how much fun it is to switch up brownie night with this bright, cheerful treat.
Key Ingredients & Substitutions
Butter: Using unsalted butter lets you control the salt level better. Melted butter keeps the brownies moist and tender. If you want a dairy-free option, try melted coconut oil—it works well here.
Lemon Zest and Juice: Fresh lemon zest and juice give the brightest lemon flavor. Bottled lemon juice can be used but fresh always tastes better. For a twist, you can try lime zest instead.
Eggs: Eggs help bind everything and add moisture. If you’re vegan, try a flax or chia egg (1 tbsp ground flaxseed + 3 tbsp water) but texture may be a bit different.
Flour: All-purpose flour is perfect for these brownies. For gluten-free, you can swap with a gluten-free baking blend, just check it has baking powder included.
Powdered Sugar Glaze: Powdered sugar makes the glaze smooth and sweet. If you don’t have lemon juice for the glaze, orange juice works as a nice alternative.
How Do I Get the Right Texture and Flavor Balance in Lemon Brownies?
The secret is balancing the lemon flavor while keeping the brownies moist and tender.
- Whisk the melted butter and sugar first until smooth to help dissolve sugar and get a silky batter.
- Add eggs one at a time to make a smooth, stable mix—this keeps cakes tender.
- Be gentle when folding in dry ingredients; overmixing can make brownies tough.
- Baking until a toothpick comes out with a few moist crumbs ensures chewy, not dry, brownies.
- The glaze adds a bright, sweet finish—make it pourable but not too runny for even spreading.
Equipment You’ll Need
- 8×8 inch baking pan – perfect size for even baking and easy slicing of brownies.
- Parchment paper – helps you lift the brownies out of the pan without sticking.
- Large mixing bowl – roomy enough to mix wet ingredients comfortably.
- Whisk – great for blending butter and sugar smoothly and for mixing dry ingredients.
- Rubber spatula – ideal for folding dry ingredients gently and scraping the batter out.
- Measuring cups and spoons – to get the right amounts of ingredients for best results.
Flavor Variations & Add-Ins
- Add fresh blueberries to the batter for a burst of sweetness and extra moisture.
- Sprinkle poppy seeds into the mix to add a nice crunch and a subtle nutty flavor.
- Try using lime zest and juice instead of lemon for a different citrus twist.
- Mix in white chocolate chips for extra sweetness and creamy texture in each bite.
How to Make Lemon Brownies
Ingredients You’ll Need:
- 1 cup (2 sticks) unsalted butter, melted
- 1 ½ cups granulated sugar
- 3 large eggs
- 1 tablespoon lemon zest (from about 2 lemons)
- 2 tablespoons fresh lemon juice
- 1 teaspoon vanilla extract
- 1 ½ cups all-purpose flour
- ¼ teaspoon salt
- ½ teaspoon baking powder
- ½ cup powdered sugar (for the glaze)
- 2-3 tablespoons lemon juice (for the glaze)
- Lemon slices (for garnish, optional)
How Much Time Will You Need?
This recipe takes about 10 minutes to prep and 25-30 minutes to bake. Add extra time for cooling and glazing, about 15 minutes. Total, expect around 50 minutes from start to finish!
Step-by-Step Instructions:
1. Prepare Your Baking Pan:
Preheat your oven to 350°F (175°C). Grease an 8×8 inch baking pan and line it with parchment paper, leaving some overhang to make it easy to lift the brownies out later.
2. Mix Wet Ingredients:
In a large bowl, whisk together the melted butter and granulated sugar until smooth. Then, beat in the eggs one at a time, mixing well after each. Add the lemon zest, lemon juice, and vanilla extract, mixing until everything is combined.
3. Combine Dry Ingredients:
In a separate bowl, whisk together the flour, salt, and baking powder. Slowly fold these dry ingredients into the wet mixture. Stir gently until just combined—be careful not to overmix or the brownies may become tough.
4. Bake the Brownies:
Pour the batter into your prepared pan and smooth the top with a spatula. Bake in the preheated oven for 25-30 minutes. To check doneness, insert a toothpick in the center; it should come out clean or with a few moist crumbs.
5. Make the Lemon Glaze and Finish:
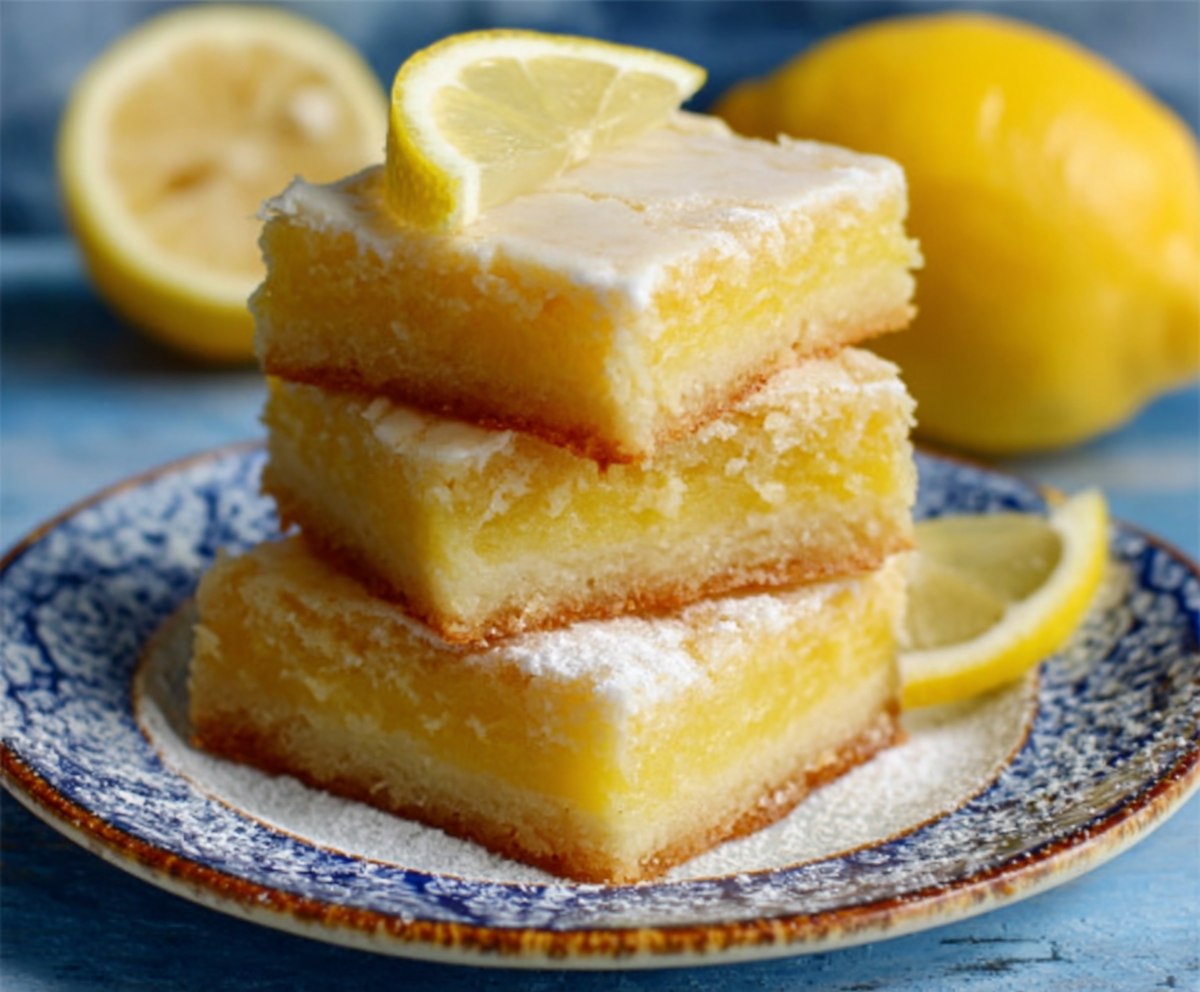
While the brownies cool in the pan, combine the powdered sugar with 2-3 tablespoons lemon juice in a bowl. Stir until smooth and pourable. When the brownies have cooled, spread the glaze evenly over the top. Add thin lemon slices on top for a pretty garnish, if you like.
6. Serve and Enjoy:
Slice the brownies into squares and enjoy your bright, zesty, and moist lemon brownies with family and friends!
Can I Use Frozen Lemons for the Zest and Juice?
Yes, you can! Thaw frozen lemons completely before zesting and juicing. Fresh lemons give the best flavor, but frozen work fine in a pinch.
Can I Make These Lemon Brownies Ahead of Time?
Absolutely! Prepare and bake the brownies a day in advance, then add the glaze just before serving to keep it fresh and vibrant.
How Should I Store Leftover Lemon Brownies?
Store leftovers in an airtight container at room temperature for up to 3 days, or refrigerate for up to a week. Bring to room temp before serving for the best texture.
Can I Substitute Ingredients to Make These Gluten-Free?
Yes! Use a gluten-free all-purpose flour blend that includes xanthan gum for best results. The texture will be slightly different but still delicious.