
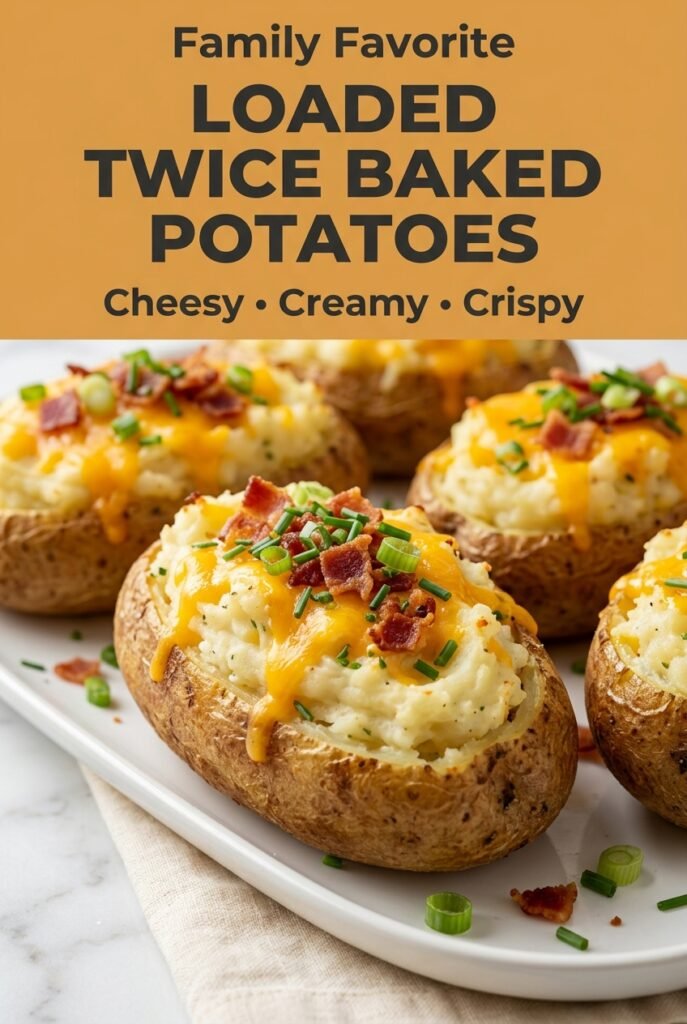
Loaded Twice Baked Potatoes
Loaded twice baked potatoes hit that sweet spot between comfort food and smart cooking: crisp skins, fluffy centers, and a filling that tastes rich without turning heavy. The second bake…
Tip: save now, read later.
Loaded twice baked potatoes hit that sweet spot between comfort food and smart cooking: crisp skins, fluffy centers, and a filling that tastes rich without turning heavy. The second bake gives you the contrast that makes these potatoes worth the extra few minutes — the tops set up and the cheese melts into the edges while the insides stay creamy and spoonable.
The trick is treating the potato shells like a vessel, not an afterthought. Baking them until the skins are dry and the centers are fully tender gives you enough structure to hold all that buttery filling. A little milk loosens the mash just enough, but the sour cream keeps it tangy and sturdy instead of loose or gluey. Bacon, cheddar, and green onions bring the classic loaded-potato flavor, and the final bake lets everything settle together instead of tasting like separate parts.
Below, I’ve included the little details that keep the filling smooth, the skins intact, and the tops browned in the right way. If you’ve ever ended up with soggy shells or grainy mashed potatoes, the notes in this post will help you avoid both.
The filling stayed creamy without getting watery, and the tops got that perfect cheesy crust after the second bake. I made them with the bacon and green onions for Sunday dinner, and there wasn’t a single half left.
Loaded Twice Baked Potatoes come out extra creamy inside with crisp, golden tops — save this one for the nights when you want a side that eats like a meal.
The Skin Has to Dry Out Before the Second Bake
The biggest mistake with twice baked potatoes is rushing the shells. If the potatoes go back into the oven while the skins are still damp, the outside never gets that crisp, sturdy texture that can hold the filling. You end up with a soft shell that collapses as soon as you add the mashed potato mixture.
Let the baked potatoes cool just long enough to handle, then scoop them carefully so you leave a thin wall of potato inside the skin. That little bit of potato helps the shell stay intact and gives you a better base for the filling. The final bake is what turns the tops golden and sets the filling so it slices cleanly instead of spreading.
What Each Ingredient Is Actually Doing in This Dish

- Russet potatoes — Their high starch content gives you a fluffy interior and sturdy skins. Waxy potatoes stay too dense and don’t mash up with the same light texture.
- Sour cream — This adds tang and keeps the filling rich without making it greasy. Plain Greek yogurt works in a pinch, but the texture is a little tighter and less silky.
- Whole milk — Just enough milk loosens the mash so it can mound back into the skins. Use cream if you want a richer filling, but add it slowly so the mixture doesn’t turn soupy.
- Sharp cheddar — The sharper the cheese, the more it stands up against the butter and bacon. Mild cheddar melts fine, but it won’t give you the same punch.
- Bacon and green onions — Bacon brings salt and crunch, while green onions cut through the richness. Cook the bacon until crisp; if it’s chewy, it disappears into the filling instead of giving you those savory bits you want.
Building the Filling Without Turning It Gluey
Baking the Potatoes All the Way Through
Rub the potatoes with oil and salt, then bake them until a knife slides in without resistance. Underbaked potatoes are harder to scoop and give you a lumpy filling. If the centers still feel tight, keep baking; the extra time is worth it for a fluffy mash.
Scooping Without Breaking the Shells
Let the potatoes cool until they’re comfortable to handle, then cut them in half and scoop out the flesh with a spoon, leaving a thin layer against the skin. That layer protects the shell and keeps it from tearing when you refill it. If you scrape too aggressively, the skins won’t hold the mound of filling during the second bake.
Mashing Just Enough
Mash the potato flesh with butter, sour cream, milk, and seasonings until the mixture looks smooth with no dry pockets. Stop once it’s creamy. If you overwork the potatoes, they can turn pasty, especially if they’re still steaming hot when you add the dairy. Fold in the cheese, bacon, and green onions at the end so they stay visible in the filling instead of disappearing.
Finishing With a Proper Top
Spoon the filling back into the shells in a generous mound, then scatter the remaining cheddar over the top. The second bake is about heat, not color drama. You want the cheese melted and lightly bronzed, with the edges of the filling set enough that they hold their shape when served.
Three Ways to Make These Fit the Meal
Dairy-Free Version
Use a plant-based butter, unsweetened dairy-free yogurt, and a good melting vegan cheese. The filling will be a touch softer and less tangy, so season it a little more aggressively with salt, pepper, and garlic powder to keep the flavor balanced.
Make Them Vegetarian
Skip the bacon and add extra cheddar plus a handful of sautéed mushrooms or roasted broccoli florets. You lose the smoky saltiness from the bacon, but the vegetables give the filling more body and keep the potatoes from tasting flat.
Turn Them Into a Main Dish
Add shredded rotisserie chicken, pulled pork, or chopped ham to the filling before refilling the shells. That turns the potatoes into a full dinner, and the second bake reheats the meat just enough without drying it out.
Make-Ahead for a Crowd
Bake and fill the potatoes earlier in the day, then refrigerate them on a sheet pan. When it’s time to serve, add the final layer of cheese and bake until hot all the way through. This keeps the skins from getting soggy and saves you from trying to mash hot potatoes when guests are already sitting down.
Storage and Reheating
- Refrigerator: Store leftovers in an airtight container for up to 4 days. The skins soften a bit, but the filling stays creamy.
- Freezer: They freeze well if wrapped individually and packed tightly. Freeze after the first bake and filling, then thaw in the fridge before the final bake for the best texture.
- Reheating: Reheat in a 350°F oven until hot in the center, about 20 to 25 minutes. The mistake people make is using the microwave, which warms the filling but leaves the skins limp.
Questions I Get Asked About This Recipe
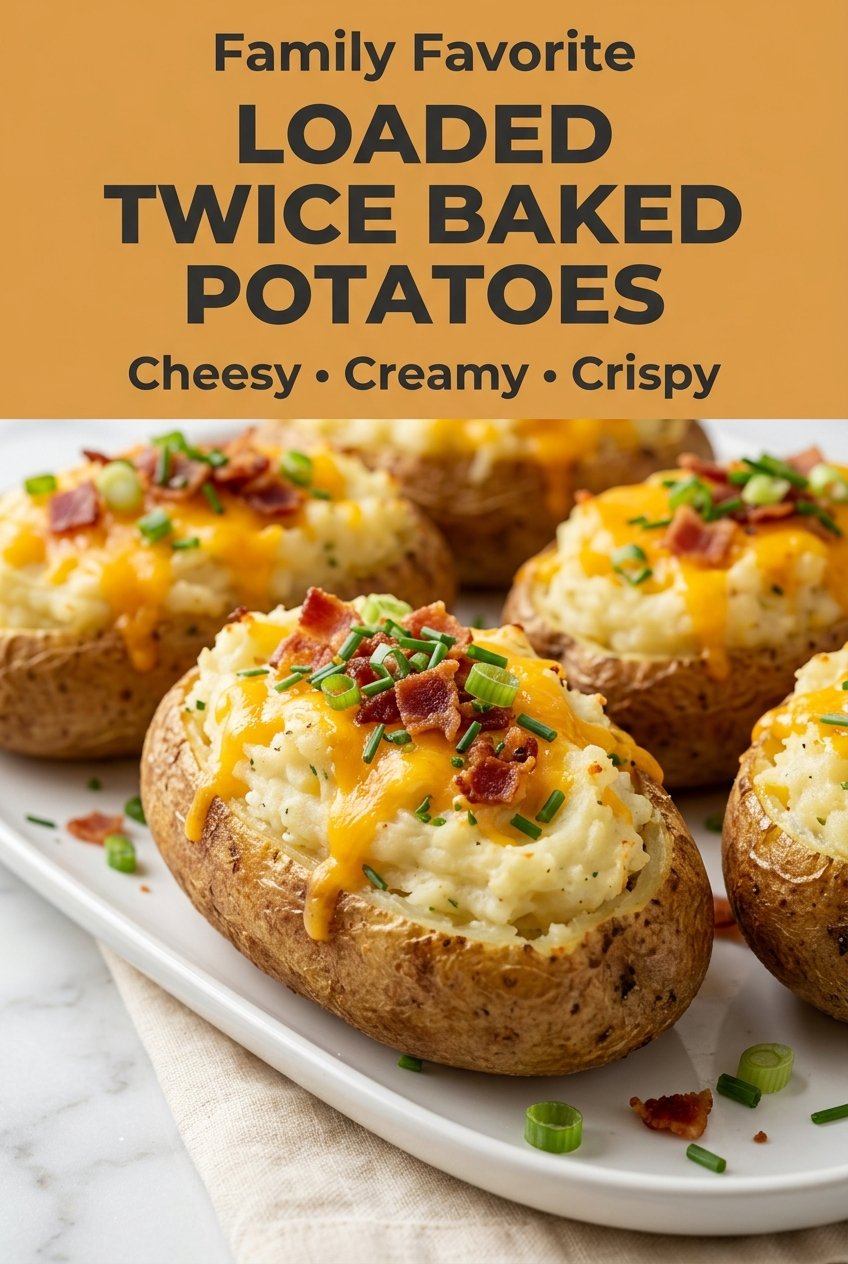
Loaded Twice Baked Potatoes
Ingredients
Equipment
Method
- Preheat the oven to 400°F. Rub the potatoes with olive oil and sprinkle with kosher salt.
- Bake at 400°F for 55–65 minutes until fork-tender. The skins should look drier and the center should yield easily.
- Let the potatoes cool for about 10 minutes. Aim for a warm-to-handle temperature so the flesh doesn’t tear.
- Slice each potato in half lengthwise and carefully scoop the flesh into a large bowl, leaving a thin shell intact. Keep the shells intact to support the filling.
- Mash the potato flesh with the butter, sour cream, whole milk, 1 cup of the cheddar cheese, bacon, green onions, garlic powder, onion powder, and black pepper until smooth and creamy. The mixture should look uniform with no large lumps.
- Spoon the filling back into the potato skins, creating a generous mound on each half. Fill them all evenly so they bake at the same rate.
- Sprinkle the remaining cheddar cheese evenly over the tops. Spread it to the edges for maximum browning.
- Bake again at 400°F for 15–20 minutes until the cheese is melted and lightly golden. Look for bubbling at the center and golden spots on top.
- Garnish with chopped fresh chives and serve with extra sour cream if desired. Add it right before eating for best texture.
