
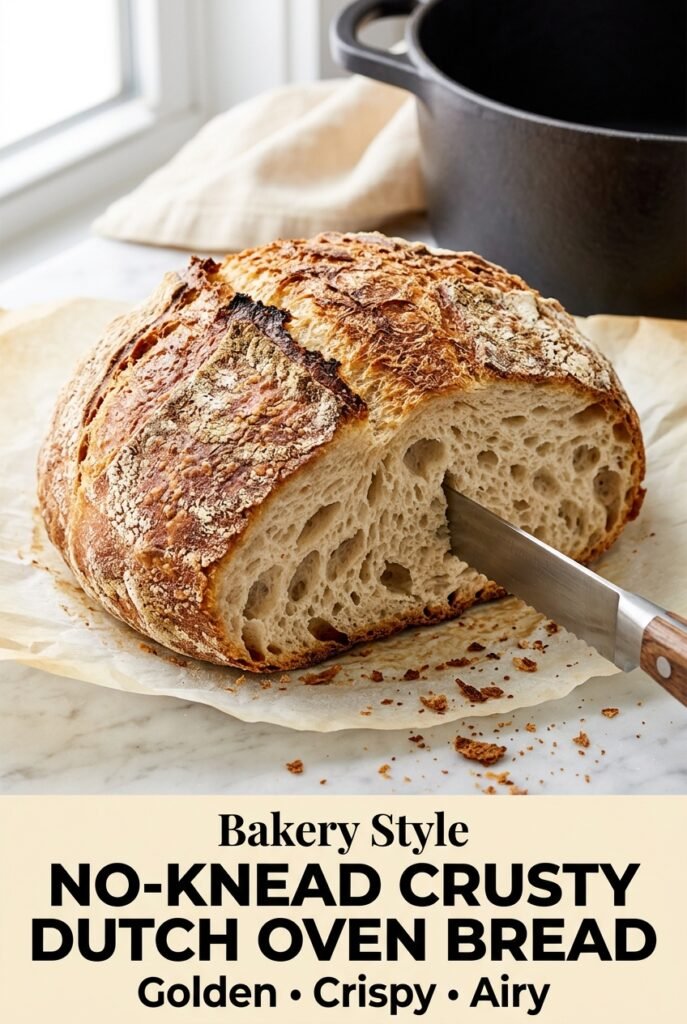
No-Knead Crusty Dutch Oven Bread
Craggy, golden, and shatteringly crisp on the outside, this no-knead Dutch oven bread bakes up with an airy, open crumb and the kind of bakery aroma that makes slicing it…
Tip: save now, read later.
Craggy, golden, and shatteringly crisp on the outside, this no-knead Dutch oven bread bakes up with an airy, open crumb and the kind of bakery aroma that makes slicing it hard to wait for. The crust cracks as it cools, the inside stays tender and light, and the whole loaf comes together with nothing more complicated than flour, water, salt, and yeast.
What makes this version work is patience, not effort. The long rise builds flavor and structure on its own, while the hot Dutch oven traps steam around the dough so the loaf expands before the crust sets. That steam is the difference between a pale, flat loaf and one with real oven spring and a deep brown shell.
Below, I’ll walk through the little details that matter most: how sticky the dough should look, why the second rest helps, and how to judge the bake so the center is cooked through before the crust gets too dark.
The crust came out crackly and the inside was full of big air pockets. I was shocked it only needed a quick stir and an overnight rise.
Save this no-knead crusty Dutch oven bread for the days when you want a crackly artisan loaf with almost no hands-on work.
The Quiet Trick Behind That Crackly Crust
Most homemade bread goes soft on the outside because the oven dries the surface too early. The Dutch oven fixes that by creating a sealed, steamy space around the loaf during the first part of baking. That trapped moisture keeps the exterior flexible long enough for the bread to expand before the crust hardens.
The other piece people miss is that this dough needs to stay loose and shaggy. If you add too much flour during shaping, the loaf turns dense and tight. A sticky dough and a gentle fold are what give you those irregular holes and a lighter crumb.
- Bread flour — The higher protein content gives the loaf better structure and a chewier bite. All-purpose flour will work in a pinch, but the crumb will be a little less robust.
- Instant yeast — Just a half teaspoon is enough because the long rise does the heavy lifting. If you only have active dry yeast, use the same amount and expect the dough to rise a bit more slowly.
- Kosher salt — Salt keeps the bread from tasting flat and tightens the dough just enough to support the long fermentation. Fine salt can work, but reduce the amount slightly if it’s much saltier by volume.
- Warm water — Aim for warm, not hot. Water that feels comfortably warm to the touch helps the yeast wake up without risking a sluggish rise from overheating it.
How to Handle the Dough Without Overworking It

Mixing the Shaggy Dough
Stir the flour, salt, yeast, and warm water just until no dry pockets remain. The dough should look rough, sticky, and uneven, not smooth. That messy texture is the point, and if it seems impossible to handle now, it’s on track. Resist the urge to add a lot of extra flour, because a firm dough bakes up heavy instead of airy.
Letting Time Do the Work
Cover the bowl tightly and leave it at room temperature for 12 to 18 hours. By the end, the dough should be doubled, puffy, and dotted with bubbles across the surface. If your kitchen runs cold, give it the full window; if it races ahead and collapses, it went too long and the gluten lost some strength.
Shaping With a Light Touch
Turn the dough onto a well-floured surface and fold the edges toward the center a few times to form a rough round. You’re building surface tension, not kneading. If the dough sticks to everything, dust the outside lightly with flour and use a bench scraper; rough handling here knocks out the gas you just spent all night developing.
Baking in a Preheated Dutch Oven
Heat the Dutch oven inside the oven for at least 30 minutes so the loaf hits a screaming-hot surface. Use parchment to lower the dough in safely, then cover it right away to trap steam. Bake covered first, then uncovered until the crust is deep golden brown and firm; if the top is pale, it needs more time, and if it darkens too fast, lower the rack next time.
Make It With Whole Wheat
Replace up to 1 cup of the bread flour with whole wheat flour for a nuttier loaf with a slightly tighter crumb. Past that, the bread gets heavier and needs a little more water to stay soft enough to rise well.
Gluten-Free Is a Different Bread Altogether
This method depends on gluten for structure, so a straight flour swap won’t behave the same way. A gluten-free bread blend made for yeast bread can work, but the loaf will be more tender and less open in the center.
Shaping Into Smaller Loaves
Divide the dough into two smaller rounds if you want shorter bake times and more crust per slice. The inside will still be soft and airy, but you’ll need to watch the color closely because smaller loaves brown faster.
Storage and Reheating
- Refrigerator: 3 days, wrapped well. The crust softens in the fridge, so room-temperature storage is usually better if you’ll eat it quickly.
- Freezer: Freezes well. Slice first, wrap tightly, and freeze for up to 3 months so you can toast pieces straight from frozen.
- Reheating: Warm slices in a toaster or a 350°F oven for a few minutes. The biggest mistake is microwaving the bread, which makes the crust leathery and the crumb gummy.
Answers to the Questions Worth Asking
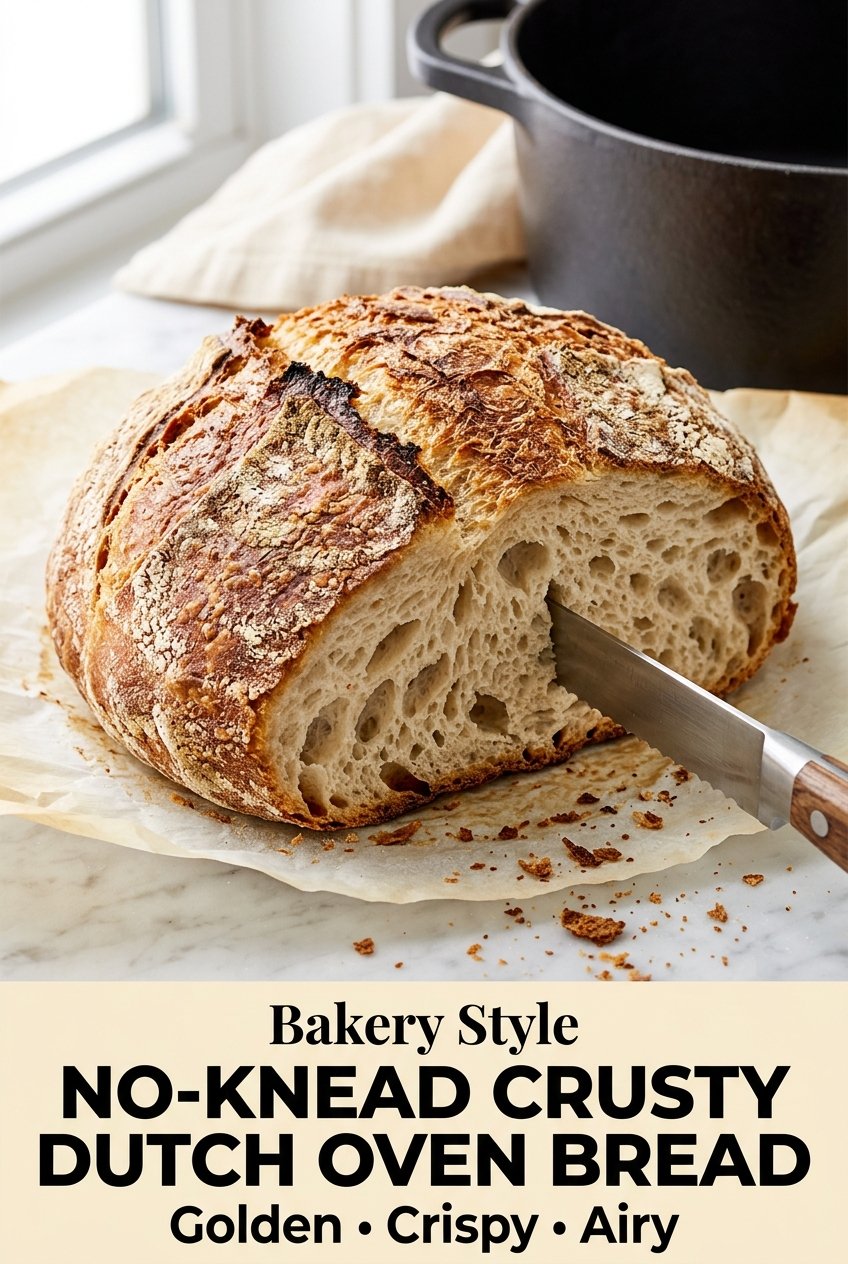
No-Knead Crusty Dutch Oven Bread
Ingredients
Equipment
Method
- In a large mixing bowl, combine the bread flour, kosher salt, and instant yeast.
- Pour in the warm water (about 105–110°F) and stir until a shaggy, sticky dough forms with no dry flour remaining.
- Cover the bowl tightly with plastic wrap or a lid, then let the dough rise at room temperature for 12–18 hours until doubled, bubbly, and soft.
- Turn the dough onto a generously floured surface and fold the edges toward the center several times to create a rough round, avoiding kneading.
- Place the dough seam-side down on a piece of parchment paper, cover loosely with a towel, and let it rest for 30–45 minutes.
- Preheat the oven to 450°F and heat a 5- to 6-quart Dutch oven with the lid inside for at least 30 minutes.
- Transfer the dough with the parchment paper into the hot Dutch oven and cover immediately with the lid.
- Bake covered at 450°F for 30 minutes until the loaf has expanded.
- Remove the lid and bake at 450°F for 12–18 minutes until the crust is deep golden brown and crisp.
- Lift the bread from the Dutch oven and cool on a wire rack for at least 1 hour before slicing, so it sounds hollow when tapped on the bottom.
