
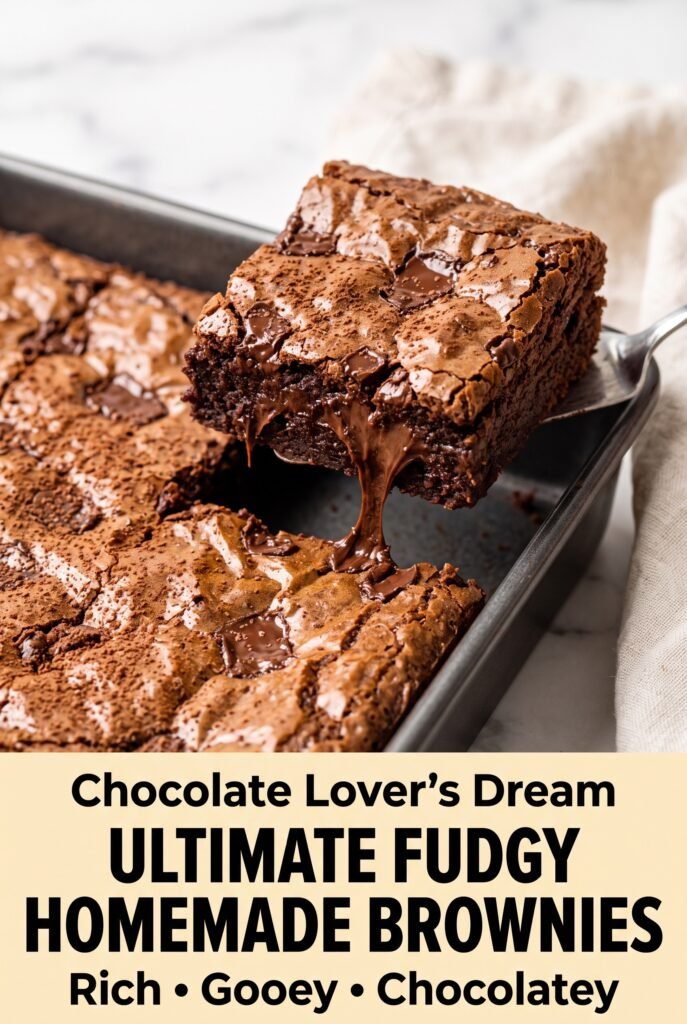
Ultimate Fudgy Homemade Brownies
Shiny-topped brownies with a dense, gooey center disappear fast for a reason. The crumb stays fudgy instead of turning cakey, the top gets that delicate crackle everyone wants, and the…
Tip: save now, read later.
Shiny-topped brownies with a dense, gooey center disappear fast for a reason. The crumb stays fudgy instead of turning cakey, the top gets that delicate crackle everyone wants, and the chocolate flavor lands deep without tasting heavy or flat. These are the brownies people cut into while they’re still warm, then come back for another square once they’ve cooled and set.
The trick is in the balance: melted butter for richness, a mix of granulated and brown sugar for both crackly top and chew, and enough cocoa to give the batter real depth without drying it out. Whisking the eggs into the warm butter-sugar base helps build that glossy surface, while folding the dry ingredients in just until the flour disappears keeps the texture dense and tender. A little espresso powder doesn’t make them taste like coffee; it just pushes the chocolate forward.
Below you’ll find the exact bake time window that keeps the middle soft, plus a couple of practical notes on pan size, add-ins, and storage so the brownies stay fudgy instead of turning dry by day two.
The top came out shiny and crackly just like the picture, and the center stayed fudgy after cooling. I used the espresso powder and it made the chocolate taste deeper without any coffee flavor.
Save these fudgy brownies for the days you want a crackly top, a gooey middle, and a pan that disappears in one afternoon.
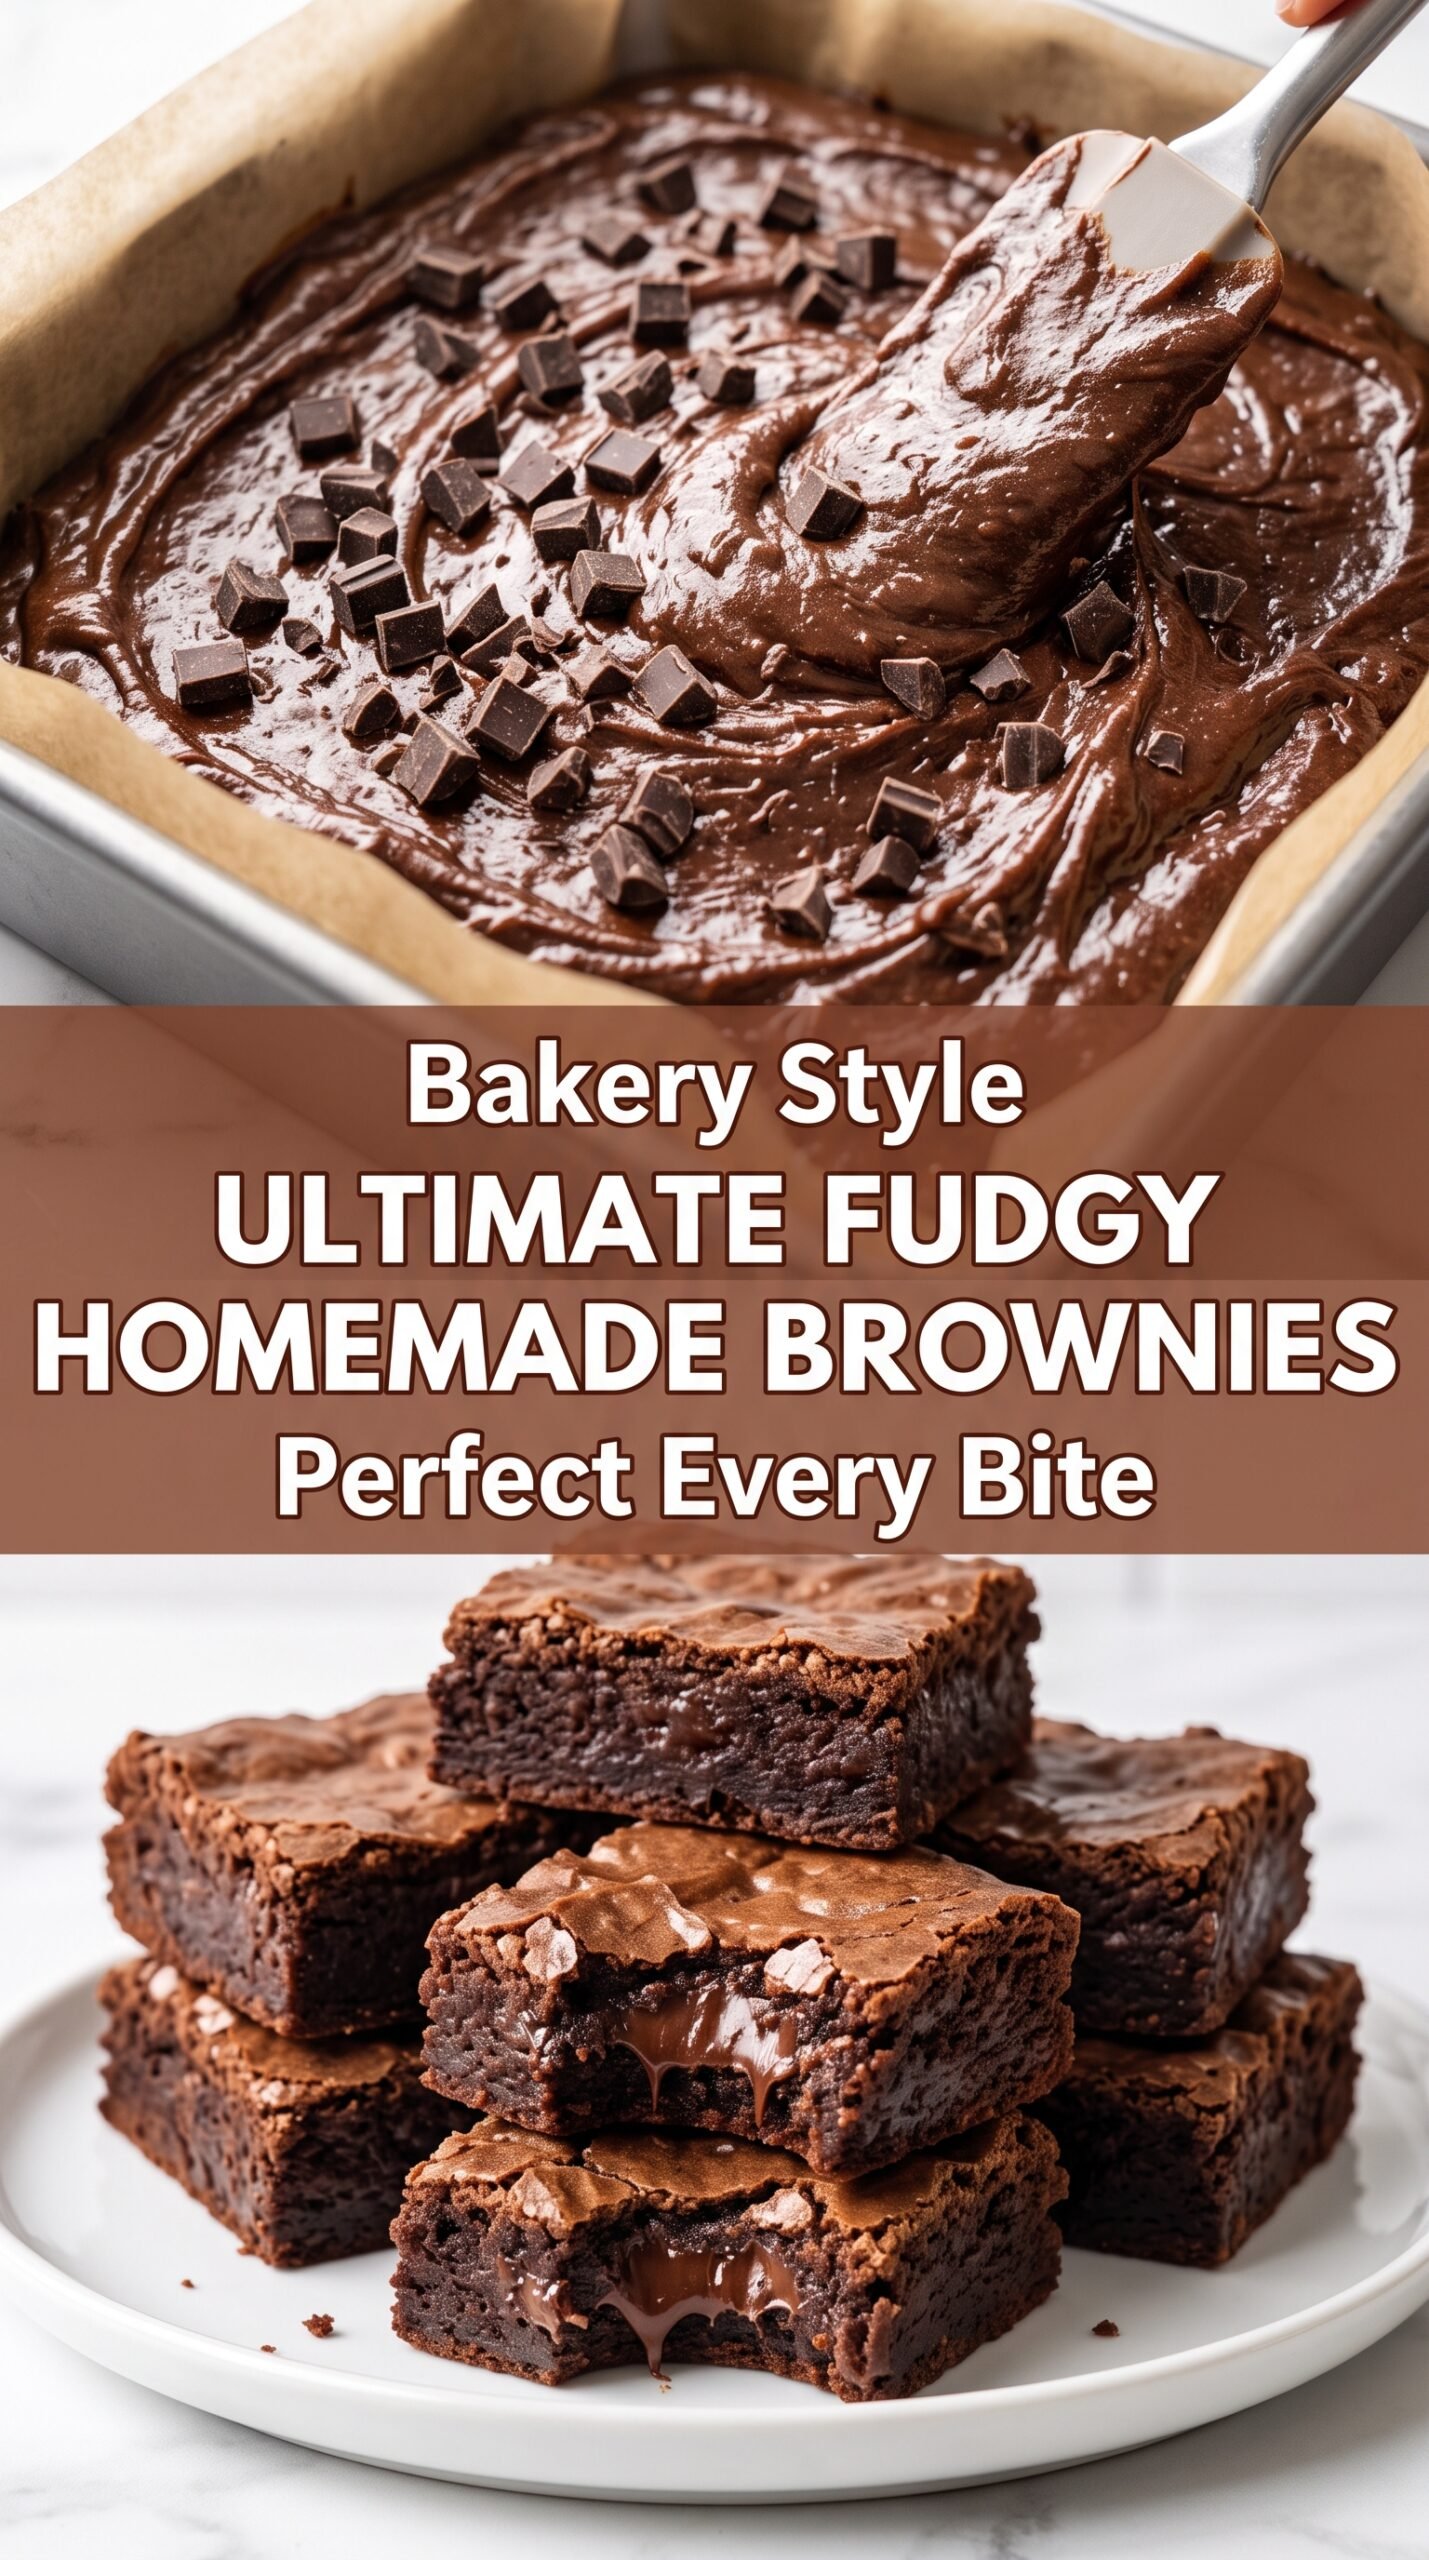
The Secret to a Crackly Top Without Turning the Middle Dry
Most brownie recipes fail in one of two ways: they bake up cakey because there’s too much flour or too much mixing, or they stay soft in the middle because the pan comes out before the edges have set. This version stays on the fudgy side because the batter is rich to begin with and the eggs are whisked into a warm base that helps dissolve the sugar. That gives you the glossy surface and chewy bite without needing a complicated method.
The other thing that matters is the bake itself. Brownies keep cooking in the hot pan after they leave the oven, so you want the center to look slightly underdone when it comes out. If the toothpick comes out clean, you’ve gone too far. A few moist crumbs are the target.
- Butter — Melted butter gives these brownies their dense, fudgy texture. You can use salted butter if that’s what you have, but reduce the added salt a little.
- Light brown sugar — This adds moisture and a subtle caramel note. Granulated sugar alone will still work, but the brownies lose some chew and depth.
- Cocoa powder — Use unsweetened cocoa powder for the strongest chocolate flavor. Dutch-process cocoa gives a darker, smoother result, while natural cocoa brings a sharper chocolate edge.
- Espresso powder — Optional, but worth using if you have it. It doesn’t make the brownies taste like coffee; it intensifies the chocolate.
- Chocolate chips and chunks — Chips help the batter stay studded with chocolate, while chunks give you those molten pockets. If you only have chips, use all chips and don’t worry about it.
Building the Brownie Batter So It Stays Fudgy
Start with the warm butter and sugars
Melt the butter over low heat, then take it off the burner before whisking in both sugars. The warmth helps the sugar start dissolving, which is part of what creates that shiny top. If the butter is bubbling hot, let it cool for a minute first so the eggs don’t scramble in the next step.
Whisk in the eggs until the batter turns glossy
Add the eggs one at a time, whisking well after each one, then stir in the vanilla. The batter should look thicker and shinier after the eggs go in. That glossy stage matters; it means the sugar is working with the eggs instead of sitting grainy in the pan.
Fold the dry ingredients in gently
Sift or whisk the cocoa, flour, espresso powder, and salt together before adding them. Fold just until you stop seeing dry streaks. If you beat the batter hard at this point, the brownies start leaning cakey and tough instead of dense and fudgy.
Finish with the chocolate and the pan
Reserve a handful of chips or chunks for the top, then spread the batter evenly into the lined pan. The surface should look thick and smooth, not airy. Those extra pieces on top melt into little puddles and give the finished brownies a bakery-style look without any extra work.
Make Them Extra Rich With Dark Chocolate Only
Swap the semi-sweet chips and dark chunks for all dark chocolate if you want a less sweet brownie with a deeper cocoa finish. The texture stays the same, but the flavor comes out more grown-up and less candy-like.
Gluten-Free Brownies That Still Set Up Cleanly
Use a 1:1 gluten-free baking flour blend with xanthan gum in place of the all-purpose flour. The brownies will still be fudgy, though the crumb may be a touch more delicate, so let them cool completely before slicing.
Dairy-Free Version
Use a good vegan butter stick instead of regular butter and keep the rest of the recipe the same. The brownies won’t be quite as rich as the original, but the structure and crackly top still come through.
Storage and Reheating
- Refrigerator: Store in an airtight container for up to 5 days. The texture firms up in the fridge, which some people actually prefer.
- Freezer: These freeze well. Wrap squares individually, then tuck them into a freezer bag for up to 2 months.
- Reheating: Warm a square in the microwave for 10 to 15 seconds for that just-baked center. Longer heating dries out the edges and steals the fudgy texture.
Questions I Get Asked About This Recipe
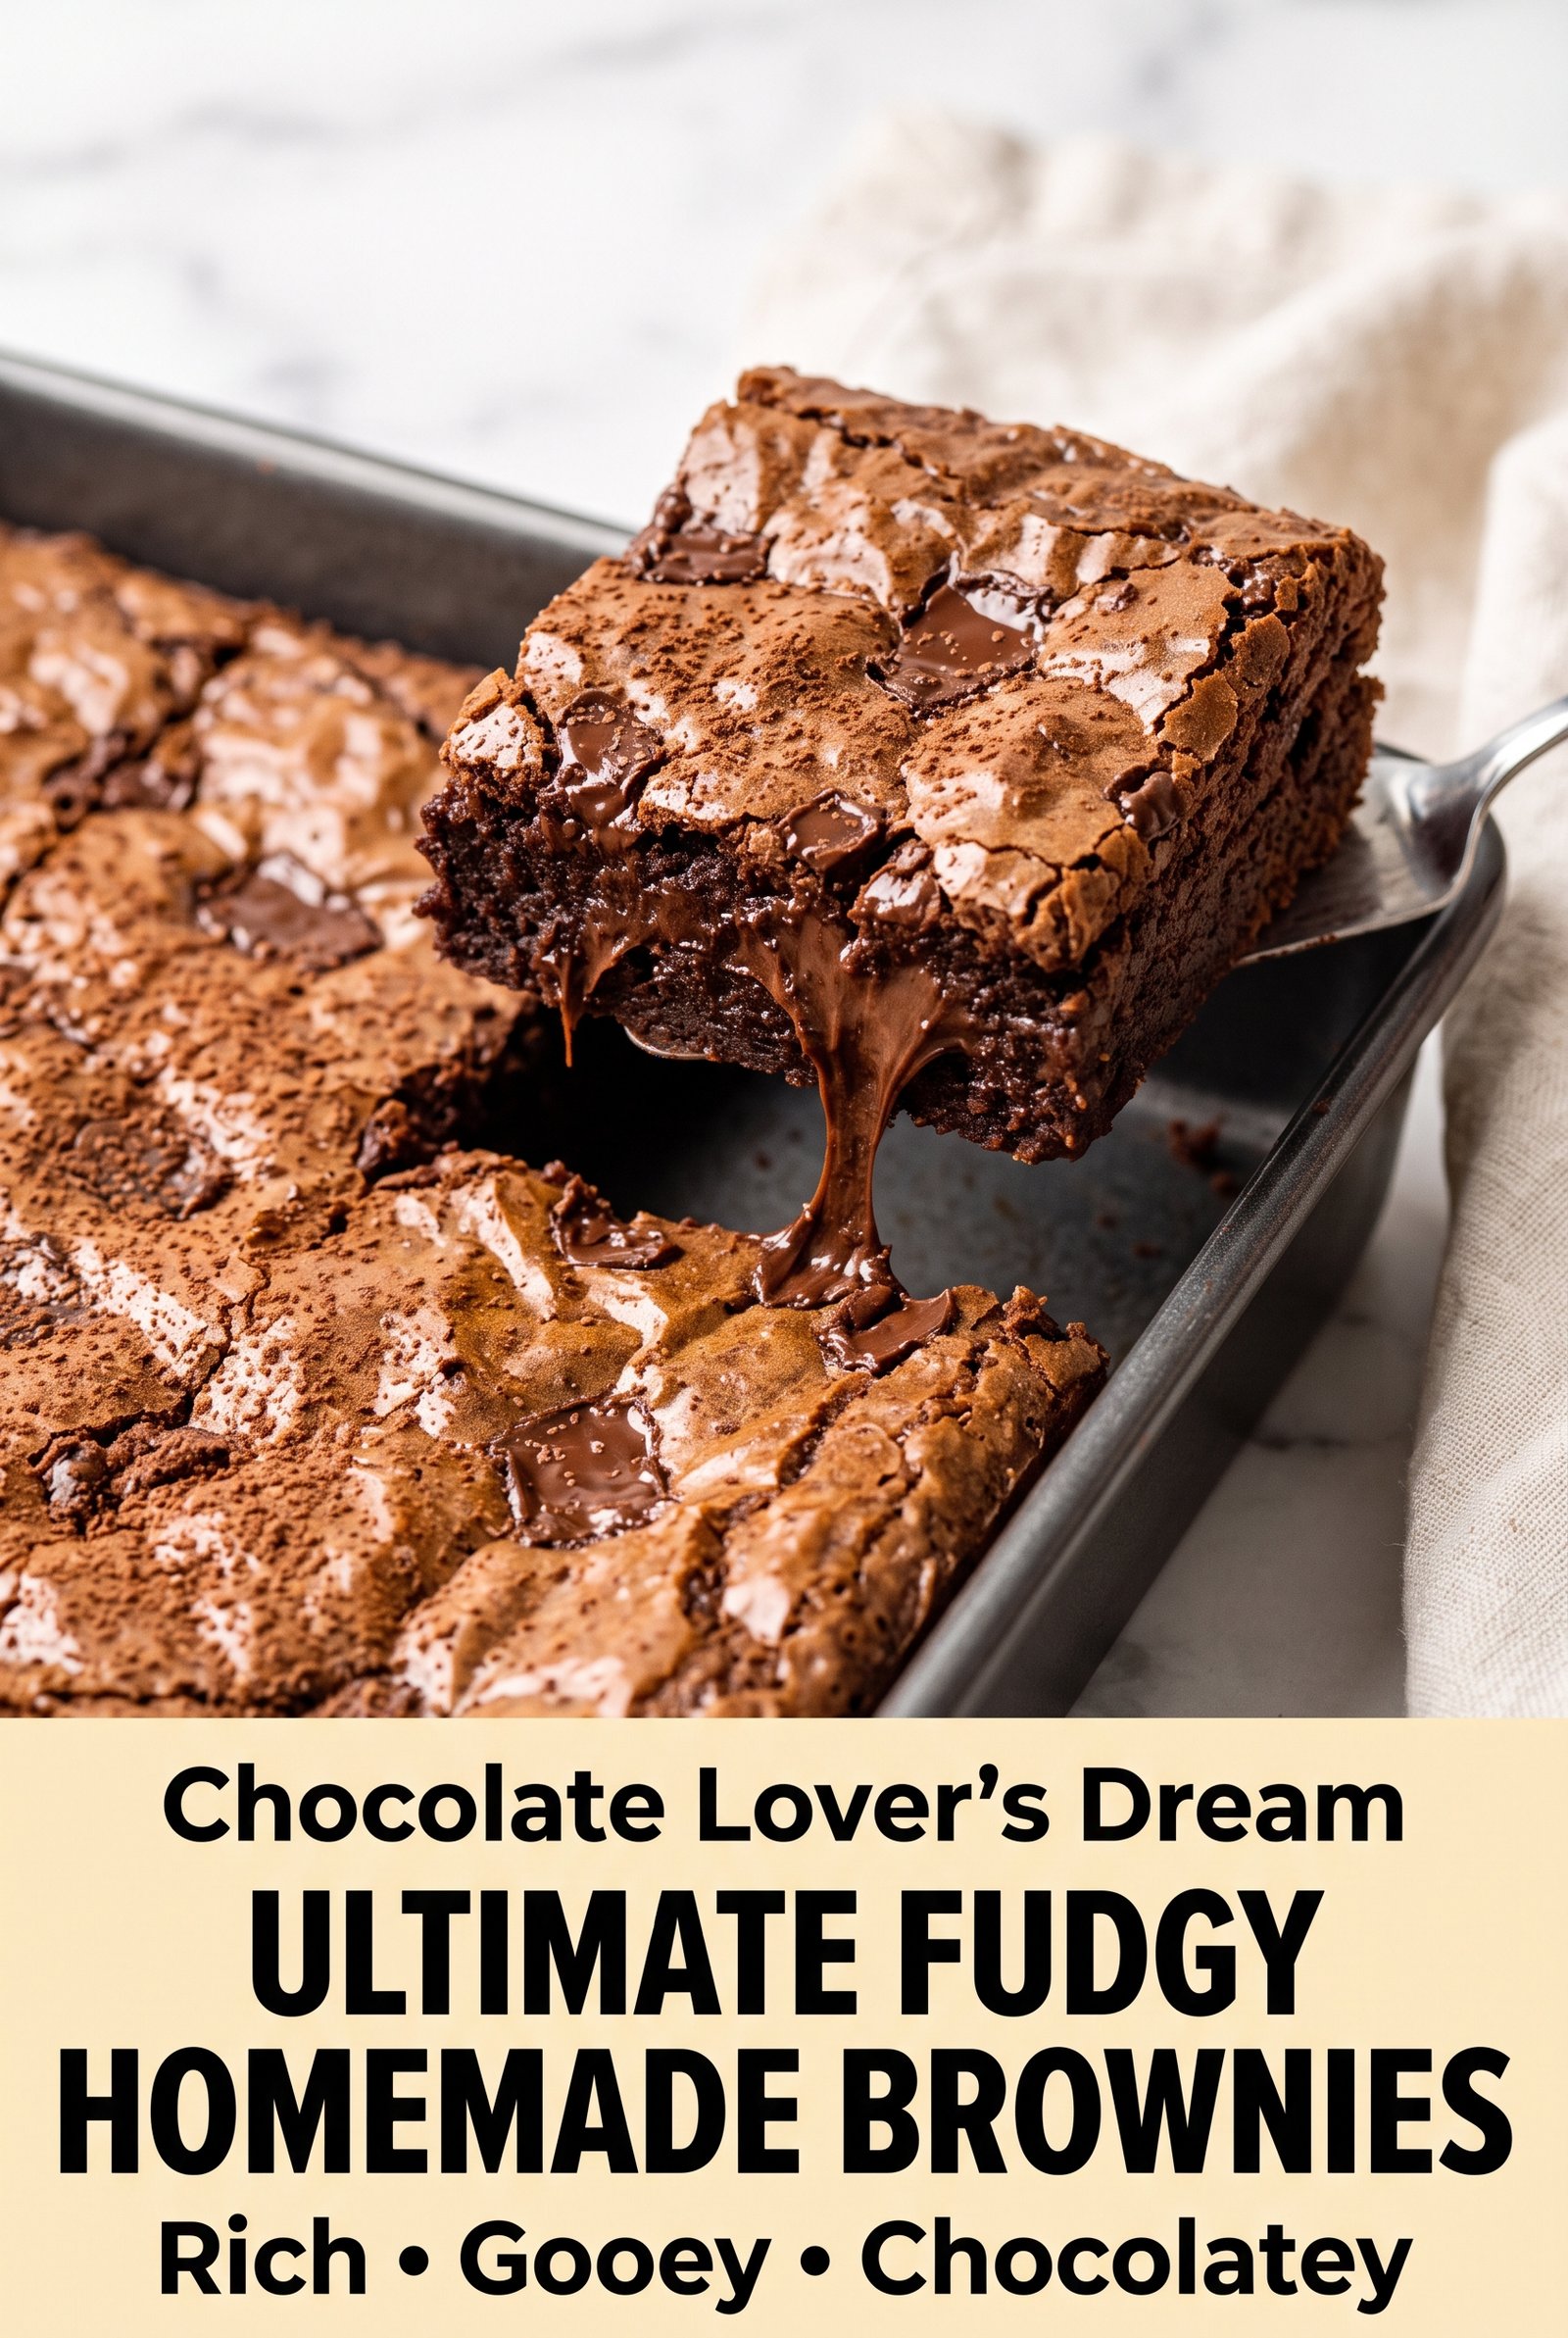
Ultimate Fudgy Homemade Brownies
Ingredients
Equipment
Method
- Preheat the oven to 350°F and line a 9×13-inch baking pan with parchment paper, leaving an overhang for easy removal.
- Melt the unsalted butter in a medium saucepan over low heat, then remove from the heat.
- Whisk in the granulated sugar and light brown sugar until well combined.
- Whisk in the large eggs one at a time, then add the vanilla extract until the mixture becomes glossy.
- Sift together the unsweetened cocoa powder, all-purpose flour, espresso powder, and kosher salt.
- Fold the dry ingredients into the wet ingredients until just combined.
- Fold in the semi-sweet chocolate chips and dark chocolate chunks, reserving a few for the top.
- Spread the batter evenly into the prepared pan and sprinkle the reserved chocolate over the surface.
- Bake for 30–35 minutes at 350°F, until the edges are set and the center remains slightly soft, with a toothpick showing a few moist crumbs.
- Cool the brownies completely in the pan before lifting them out and slicing into squares for clean edges and a fudgy texture.
