
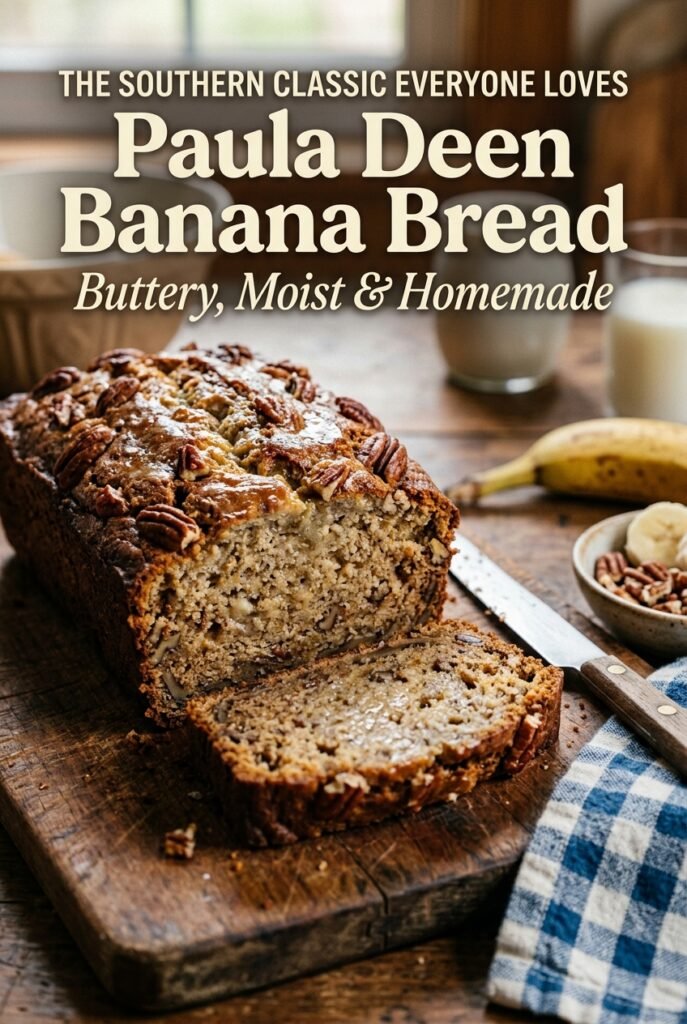
Paula Deen Banana Bread
Banana bread earns its place when the loaf comes out tall, deeply aromatic, and moist all the way through without turning heavy. This version leans into the classic Southern-style comfort…
Tip: save now, read later.
Banana bread earns its place when the loaf comes out tall, deeply aromatic, and moist all the way through without turning heavy. This version leans into the classic Southern-style comfort people expect from Paula Deen banana bread: buttery crumb, strong banana flavor, and a tender slice that holds together instead of crumbling into damp pockets at the center.
The trick is using bananas that are fully ripe, not just speckled. You want the kind that are heavily freckled or almost black, because that soft fruit brings sweetness and moisture without needing extra sugar to force the flavor. Sour cream keeps the crumb plush and gives the loaf a little tang, which keeps all that banana and butter from tasting flat.
Below, I’ll show you how to keep the loaf from baking up dense, how to know when it’s done in the middle, and how to swap the nuts or topping without changing the texture of the bread.
The loaf stayed moist for days and the sour cream made the crumb tender without being gummy. I baked it with walnuts and the top came out beautifully golden with that little sugar crunch.
Save this Paula Deen Banana Bread for the days when you want a buttery loaf with a soft crumb, ripe banana flavor, and a crackly sugar top.
The Banana Overload Problem: Why Some Loaves Turn Dense Instead of Tender
Banana bread falls apart when the batter gets overloaded with moisture and overworked after the flour goes in. Ripe bananas are nonnegotiable here, but too much mashing or heavy stirring can push the loaf from tender to tight. The batter should look thick and slightly lumpy before it goes into the pan. That texture is a good sign, not a problem.
The other thing that matters is the balance between fat and acid. Butter gives the bread its rich, old-fashioned flavor, while sour cream keeps the crumb soft enough to slice cleanly after it cools. If your banana bread has ever baked up gummy in the center, it was probably rushed out of the oven before the middle had time to set. A toothpick should come out clean, but the top should also spring back when lightly pressed.
What Each Ingredient Is Actually Doing in This Loaf
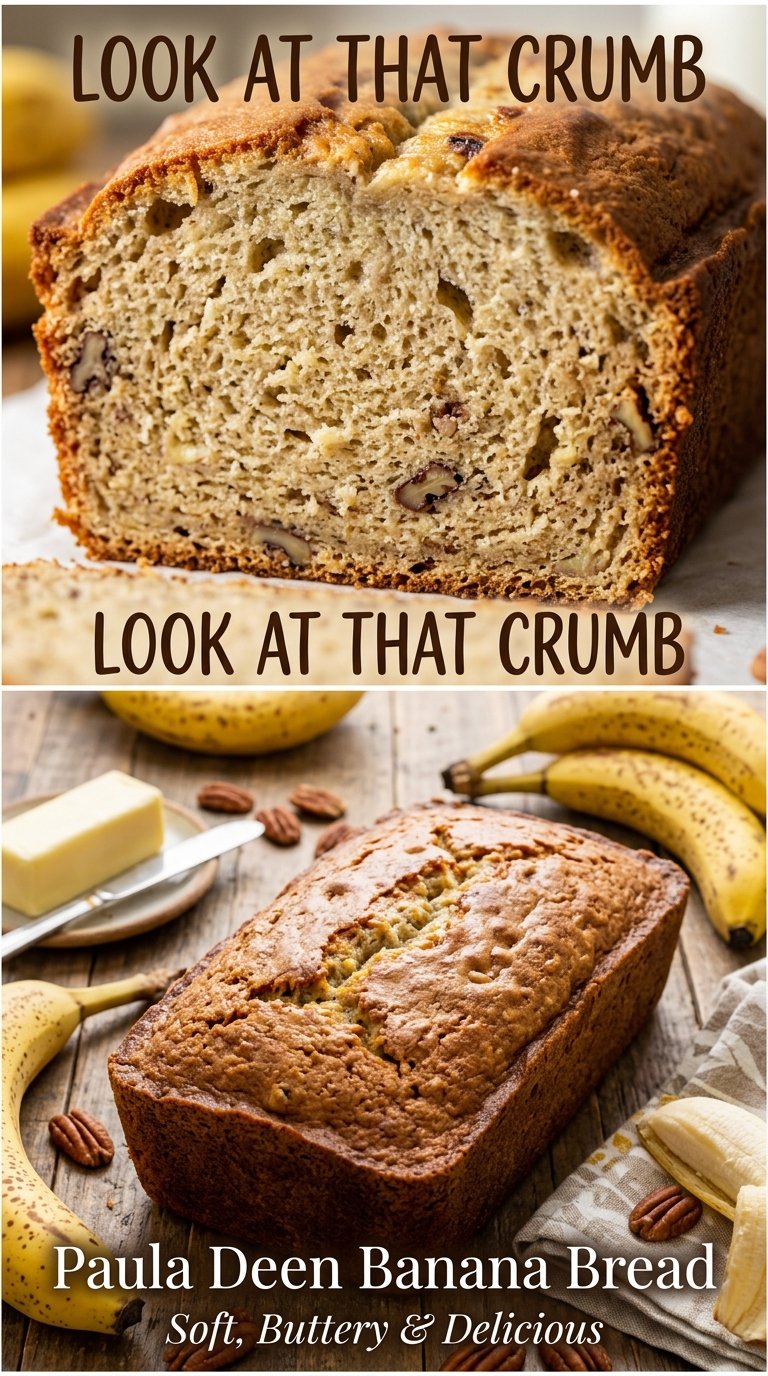
- Bananas — The riper they are, the better the flavor and sweetness. Brown-flecked bananas work, but the nearly black ones bring the deepest banana taste and the softest crumb.
- Sour cream — This is what keeps the loaf plush without making it greasy. Plain Greek yogurt works in a pinch, but it tastes a little sharper and can bake up slightly tighter.
- Butter — Softened butter creams with the sugar to trap air, which gives the loaf its lift and keeps it from feeling heavy. Don’t swap in melted butter if you want that classic tender crumb.
- Cinnamon — Just enough to round out the banana without turning the bread into spice cake. It warms the flavor and helps the loaf taste richer.
- Pecans or walnuts — Optional, but they add welcome crunch and a little bitterness that balances the sweetness. Toast them first if you want a stronger nutty flavor and better texture.
- Coarse sugar — The topping gives the crust a light crackle. It’s not essential, but it makes each slice feel bakery-style.
Building the Batter Without Beating the Banana Bread Flat
Creaming the Butter and Sugar
Beat the softened butter and sugar until the mixture looks pale and fluffy, not greasy and grainy. This step gives the loaf its structure, so don’t rush it, but stop before it gets whipped and oily. If the butter is too cold, it won’t trap air; if it’s melted, the bread loses lift and bakes up compact.
Adding the Bananas and Sour Cream
Stir in the mashed bananas, eggs, vanilla, and sour cream until the batter looks loose and glossy. A few small banana streaks are fine. What you don’t want is an aggressively beaten batter, because that pushes too much air out and can make the loaf cave in after baking. Keep the mixing gentle once the wet ingredients are in.
Bringing in the Dry Ingredients
Fold in the flour mixture just until the streaks disappear. Overmixing develops gluten and gives you a tough slice instead of a tender one. If you’re adding nuts, fold them in at the very end so they stay evenly distributed without breaking down the batter.
Baking Until the Center Sets
Scrape the batter into the prepared loaf pan and smooth the top. Bake until the top is deep golden, the edges pull slightly from the pan, and a toothpick inserted in the center comes out clean or with only a few moist crumbs. If the top browns too fast before the center is done, tent it loosely with foil for the last 15 minutes.
Three Ways to Adjust This Banana Bread Without Losing the Texture
Make It Nut-Free
Leave out the pecans or walnuts and nothing else needs to change. The loaf stays soft and rich, just a little smoother in texture. If you want more contrast without nuts, sprinkle the top with coarse sugar so the crust still has a little crunch.
Dairy-Free Version
Use a plant-based butter that bakes well and swap the sour cream for unsweetened dairy-free yogurt with some body to it. The loaf will still be moist, though the flavor leans a little less rich and a touch more neutral. Choose a yogurt that isn’t runny, or the crumb can turn soft in an underbaked way.
Less Sweet, More Banana
Cut the sugar down to 3/4 cup if your bananas are extremely ripe. You’ll get a bread that tastes more banana-forward and a little less dessert-like, but the crumb stays tender because the fruit and sour cream still carry the moisture. Don’t cut much more than that or the loaf starts losing its soft, balanced texture.
Storage and Reheating
- Refrigerator: Store tightly wrapped for up to 5 days. The crumb firms slightly in the fridge, but the flavor stays good.
- Freezer: Banana bread freezes well. Wrap the cooled loaf or individual slices in plastic, then foil, and freeze for up to 3 months.
- Reheating: Warm slices in a toaster oven or low oven until just heated through. Microwaving too long makes the crumb rubbery and dulls the buttery texture.
Answers to the Questions Worth Asking
Paula Deen Banana Bread
Ingredients
Equipment
Method
- Preheat the oven to 350°F (175°C) with the rack in the center position. Keep an eye on the temperature so the loaf bakes evenly.
- Grease and line a 9×5-inch loaf pan with parchment paper. Make sure the paper overhang is ready to lift the loaf out cleanly after baking.
- Whisk together the all-purpose flour, baking soda, baking powder, salt, and ground cinnamon in a mixing bowl. Whisk until the spices are evenly distributed with no visible clumps.
- In a separate bowl, beat the unsalted butter and granulated sugar until light and fluffy. Stop when the mixture looks paler and airy.
- Beat in the eggs one at a time until each egg is fully incorporated. The batter should look smooth after the last egg.
- Add the vanilla extract, then mix briefly to combine. You should see a uniform color throughout the wet mixture.
- Add the mashed ripe bananas and sour cream, then mix until the mixture is cohesive. It may look thick and creamy with banana flecks.
- Fold the dry ingredients into the wet ingredients until just combined. Mix only until no dry streaks remain to keep the crumb tender.
- Stir in the chopped pecans or walnuts if using. Evenly distribute the nuts without overmixing the batter.
- Pour the batter into the prepared loaf pan and sprinkle with coarse sugar if desired. The topping should form a light, sparkly layer on top.
- Bake for 55–65 minutes at 350°F (175°C), until a toothpick inserted into the center comes out clean. The loaf should be golden and spring back slightly when touched.
- Cool in the pan for 15 minutes before transferring to a wire rack. The loaf should release more easily and be less fragile at this point.
- Slice and serve warm. For the classic finish, slice thick and serve with butter.
