
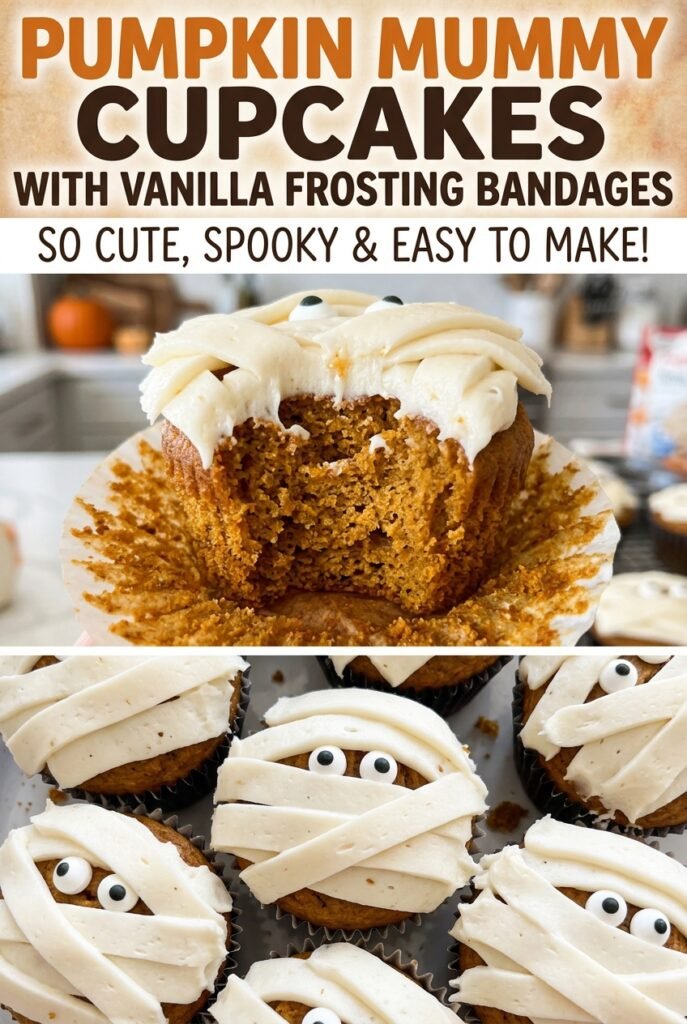
Pumpkin Mummy Cupcakes with Vanilla Frosting Bandages
The first strip of vanilla frosting across an orange cupcake can look like a plain stripe; add a few overlapping bands and two candy eyes, and the little mummy face…
Tip: save now, read later.
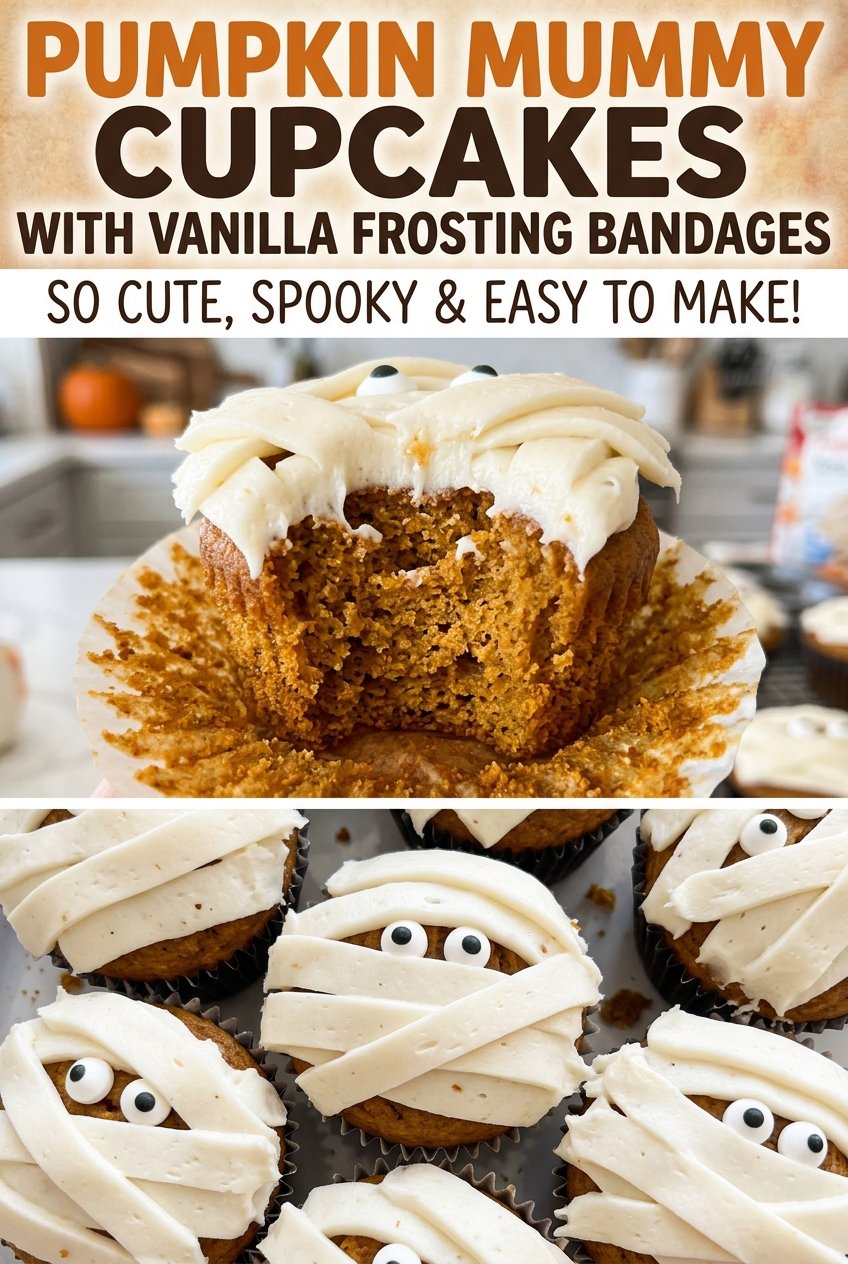
The first strip of vanilla frosting across an orange cupcake can look like a plain stripe; add a few overlapping bands and two candy eyes, and the little mummy face comes together. These pumpkin mummy cupcakes with vanilla frosting bandages start with a tender, warmly spiced cake, so the decoration feels playful without turning the whole bake into a project.
I keep the cake’s spices to cinnamon and ginger, which let the pumpkin taste like pumpkin under the sweet frosting. The bandages are easy to pipe with a flat ribbon tip, and a resealable bag with a small corner snipped off works when that tip isn’t in the drawer. Leave little spaces between the strips, and the orange cake peeks through like the gaps in a wrapped mummy.
Kitchen Note
A flat ribbon tip gives the bandages a neat, even width. If you’re using a resealable bag, keep the snip to a quarter inch so you can steer the strips instead of covering the cupcake in one thick line.
Save these pumpkin mummy cupcakes for a fall bake, with soft pumpkin cake and easy vanilla frosting bandages.
Why a Moist Toothpick Is the Right Cue for Pumpkin Cupcakes
Pumpkin cupcakes don’t bake up like a dry, airy sponge cake. Pumpkin puree and oil keep the crumb moist, so a toothpick that comes out perfectly clean can mean the cupcakes have gone a little too far in the oven. The useful target is a few moist crumbs clinging to the pick, not wet batter.
That small distinction protects the texture you want: tender in the middle, with enough structure to hold the frosting. If you’re unsure, check the center of a cupcake near the end of the baking window rather than waiting for the tops to look completely dry. They’ll continue to settle as they cool in the pan and on the rack. A cupcake that feels soft at the center while warm isn’t automatically underbaked; use the toothpick cue rather than pressing the top or waiting for a firm, dry surface.
What Each Ingredient Brings to the Pumpkin Cake and Mummy Finish
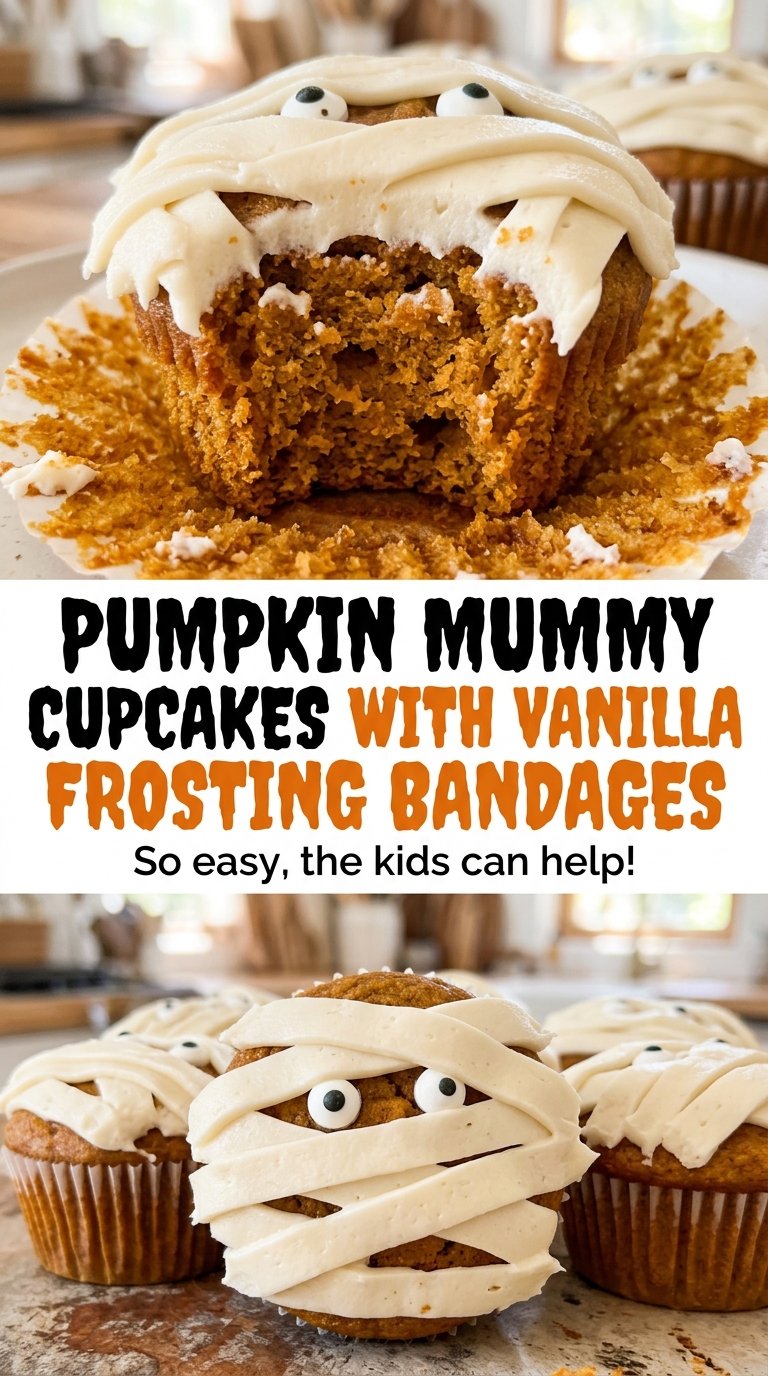
- Canned pumpkin puree — It brings moisture and that unmistakable pumpkin character. Use plain puree rather than a sweetened, spiced pumpkin pie filling; the latter would change both the sweetness and the seasoning.
- Vegetable oil — Oil keeps the crumb supple after cooling. Canola oil works in the same quantity if that’s what you keep on hand; strongly flavored oils can compete with the cinnamon and ginger.
- All-purpose flour and the leaveners — Flour gives the cupcakes enough structure for the frosting, while baking powder and baking soda help them rise. A cup-for-cup gluten-free baking blend is the most practical flour swap; see the adaptation below for what to expect from the texture.
- Cinnamon and ground ginger — These give the pumpkin a warm, gently spiced finish without overwhelming the vanilla frosting. Fresh, well-stored spices make a noticeable difference; if yours smell faint in the jar, the cupcakes will taste less fragrant.
- Eggs — They help bind the pumpkin batter and give the cupcakes a stable crumb. Large eggs are the right size for this balance; changing the size can shift the moisture and structure.
- Unsalted butter and powdered sugar — Softened butter gives the frosting its creamy base, and powdered sugar thickens it into pipeable ribbons. Unsalted butter keeps the frosting’s sweetness from being muddied by an unpredictable amount of salt.
- Heavy cream and vanilla — Cream loosens the frosting to a smooth, pipeable consistency, while vanilla carries through the simple white finish. Use the heavy cream rather than a thinner milk, which can make the frosting softer than you want for defined strips.
- Candy eyes — These are the quick finishing touch that makes the bandages read as a little face. Press them into the frosting while it’s fresh so they stay in place.
From Smooth Pumpkin Batter to Neat Frosting Bandages
Whisk the dry ingredients evenly
Heat the oven to 350°F and line a 12-cup muffin pan with paper liners. In a medium bowl, whisk together the flour, baking powder, baking soda, cinnamon, ginger, and salt so the leaveners and spices are distributed throughout. Unevenly mixed dry ingredients can leave one cupcake with a stronger spice bite or a tighter rise, so give the bowl a thorough whisk before moving on.
Bring the pumpkin batter together gently
In a large bowl, whisk the pumpkin puree, granulated sugar, eggs, vegetable oil, and vanilla until the mixture looks smooth. Stir in the flour mixture just until no dry streaks remain. Don’t keep beating once the flour has disappeared; the batter doesn’t need to be fluffy, and extra mixing can make the cupcakes less tender.
Fill, bake, and cool the cupcakes
Divide the batter evenly among the liners, filling each about two-thirds full so there’s room for the tops to rise. Bake for 18–22 minutes, until a toothpick inserted in the center comes out with a few moist crumbs. Cool the cupcakes in the pan for 5 minutes, then move them to a wire rack and let them cool completely; warm cupcakes will soften the frosting as you pipe.
Beat the frosting and lay down the bandages
Beat the softened butter in a medium bowl with an electric mixer until smooth, about 1 minute. Add the powdered sugar, vanilla, salt, and heavy cream; beat on low until combined, then on medium until smooth and pipeable, about 2 minutes. Transfer the frosting to a piping bag fitted with a flat ribbon tip, or use a resealable bag with a 1/4-inch corner snipped off, and pipe overlapping strips across each cooled cupcake, leaving small gaps. Press 2 candy eyes onto each cupcake between the strips.
Three Easy Ways to Adapt These Pumpkin Mummies
Make the cupcakes gluten-free
Replace the all-purpose flour with a cup-for-cup gluten-free baking blend designed for cakes. The crumb may be a little more delicate, so let the cupcakes cool fully before decorating and handle them gently when moving them to the rack.
Use a dairy-free frosting
For a dairy-free finish, use plant-based butter sticks in place of the butter and a thick plant-based cream alternative in place of the heavy cream. Keep the cupcake batter unchanged; the frosting may taste a little less buttery, but it will still pipe into bands when beaten until smooth and pipeable.
Trade the cinnamon and ginger for pumpkin pie spice
Use 1 1/2 teaspoons of pumpkin pie spice in place of the cinnamon and ginger. The cake will have a more rounded, familiar fall-spice taste, while keeping the same pumpkin base and vanilla frosting.
Storage and Reheating
- Refrigerator: Store the frosted cupcakes in an airtight container for up to 3 days. The frosting firms up when cold, and the cake is a little less tender straight from the fridge.
- Freezer: Freeze the unfrosted cupcakes in an airtight container for up to 2 months. Thaw them completely before adding frosting and candy eyes.
- Reheating: These are best served without reheating. Let refrigerated cupcakes sit briefly before serving, and don’t microwave them—the frosting will soften and the candy eyes can slide.
Questions That Come Up While Making Pumpkin Mummy Cupcakes
Pumpkin Mummy Cupcakes with Vanilla Frosting Bandages
Ingredients
Equipment
Method
- Heat the oven to 350°F and line a 12-cup muffin pan with paper liners.
- Whisk the flour, baking powder, baking soda, cinnamon, ginger, and salt in a medium bowl.
- Whisk the pumpkin, granulated sugar, eggs, vegetable oil, and vanilla in a large bowl until smooth.
- Stir in the flour mixture just until no dry streaks remain.
- Divide the batter evenly among the liners, filling each about two-thirds full.
- Bake for 18–22 minutes, until a toothpick inserted in the center comes out with a few moist crumbs.
- Cool the cupcakes in the pan for 5 minutes.
- Transfer them to a wire rack and cool completely.
- Beat the softened butter in a medium bowl with an electric mixer until smooth, about 1 minute.
- Add the powdered sugar, vanilla, salt, and heavy cream, then beat on low until combined and on medium until smooth and pipeable, about 2 minutes.
- Transfer the frosting to a piping bag fitted with a flat ribbon tip, or to a resealable bag with a 1/4-inch corner snipped off.
- Pipe overlapping strips across each cooled cupcake, leaving small gaps.
- Press 2 candy eyes onto each cupcake between the frosting strips.
