
Roasted Butternut Squash
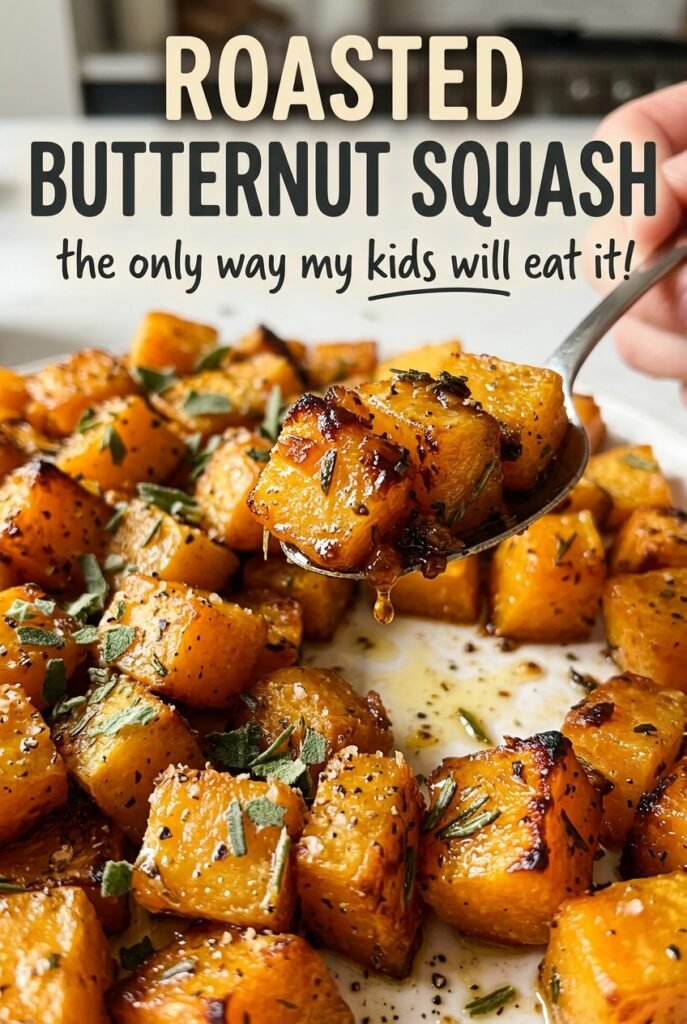
The edges are the first thing I look at when a pan of squash comes out of the oven: they should be browned in spots, while the centers are tender…
Tip: save now, read later.
The edges are the first thing I look at when a pan of squash comes out of the oven: they should be browned in spots, while the centers are tender enough to yield to a fork. Before that happens, the cubes can look pale and a little firm, so pulling them too soon misses the contrast that makes roasted butternut squash worth making. I roast it hot and keep the pieces in a single layer, which gives the surfaces room to brown instead of turning soft all over.
Cutting the squash into even 1-inch cubes helps the pieces finish at about the same time. Olive oil coats the cubes and carries the salt and pepper across their surfaces; a measured coating is enough, so they roast rather than sit in a slick of oil. The result is simple food with tender centers, browned corners, and a mild sweetness that comes forward in the oven.
Kitchen Note
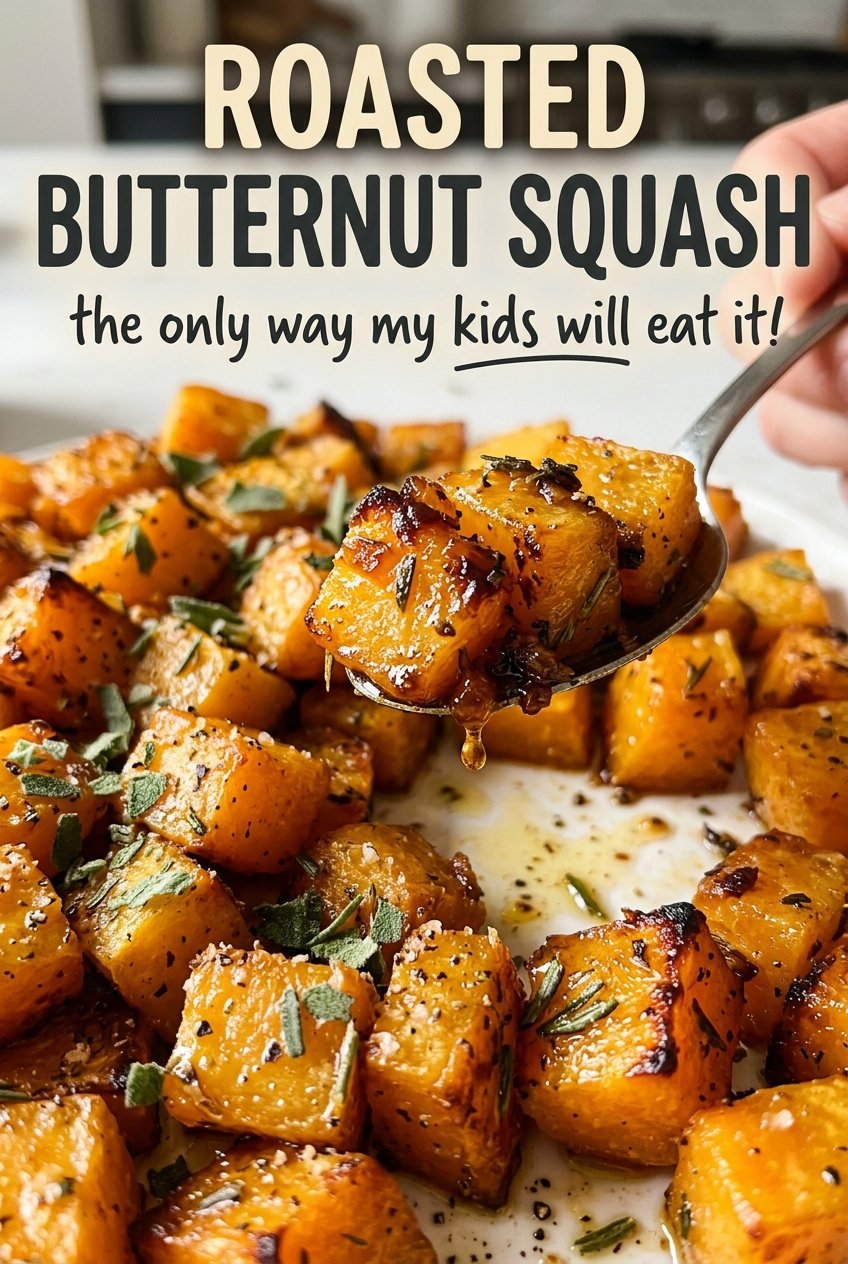
When you turn the squash halfway through, lift the cubes and turn them gently instead of stirring them around. That keeps the corners intact, so you still get distinct browned edges on the finished pieces.
Save this roasted butternut squash for a simple side with tender centers and golden, browned edges.
Why the Space Between Squash Cubes Matters More Than Extra Oil
Butternut squash gives off moisture as it cooks. When the cubes are crowded, that moisture hangs around the pieces instead of escaping, and the squash softens before its edges have a chance to brown. A single layer with a little breathing room lets the hot oven do both jobs: tenderize the inside and color the outside.
That’s also why adding more oil won’t rescue a crowded pan. Oil helps coat the squash, but it can’t replace the open space around each piece. Use a rimmed baking sheet so the cubes stay contained when you turn them, and spread them out rather than piling them in the middle. If you’re working with a small sheet and the cubes only fit in a heap, roast in separate batches instead of accepting steamed, pale squash. The browned edges come from the way the pieces meet the pan and the heat, not from a heavy coating.
What Butternut Squash and Olive Oil Bring to the Pan

- Butternut squash — Choose a firm squash that feels heavy for its size, with intact skin and no soft spots. Its dense, gently sweet flesh holds its shape in 1-inch cubes as it roasts. Peeling and removing the seeds before cutting gives you pieces that cook evenly and are ready to eat without working around the skin. Pre-cut squash is a convenient option when the pieces are close to the same size; skip packages with added seasoning, since the simple olive oil, salt, and pepper coating is what you want here.
- Olive oil — A standard everyday olive oil is well suited to this high-heat roast; an expensive bottle isn’t necessary. It helps the seasoning cling and encourages the cut surfaces to brown. Use enough to coat the cubes lightly, not so much that oil pools across the baking sheet. I’d keep olive oil rather than swapping in a different oil, because it’s the specific, familiar flavor this short ingredient list is built around.
- Kosher salt — Kosher salt seasons the squash without bringing another flavor along. Its larger grains are easy to distribute as you toss the cubes. If you only have fine table salt, it’s more concentrated by volume, so use less rather than measuring it one-for-one.
- Ground black pepper — Pepper adds a little warmth that balances the squash’s natural sweetness. Freshly ground pepper has a sharper aroma, but ordinary pre-ground pepper works well in this straightforward side dish.
Roasting the Cubes Until Tender Without Losing Their Edges
Peel, Seed, and Cut Evenly
Start with peeled, seeded squash and cut it into 1-inch cubes. Keeping the pieces close in size matters more than making every cube look perfectly square: pieces that are much smaller can soften before the larger ones are tender. A stable cutting board and a sharp chef’s knife make the firm squash easier to handle. Set the prepared cubes together so they’re ready to toss and spread on the baking sheet.
Coat the Pieces on the Baking Sheet
Heat the oven to 425°F. Put the squash on a rimmed baking sheet, add the olive oil, kosher salt, and ground black pepper, then toss everything together until the cubes look lightly coated. Spread them into a single layer before the pan goes into the oven. If you see a puddle of oil or a pile of cubes, redistribute the pieces; those are easy signs that the coating or spacing needs attention.
Roast, Turn, and Check for Tenderness
Roast for 25 to 35 minutes, turning the squash halfway through. The timing depends on the exact size of the cubes and how your oven runs, so look for both tenderness and browned edges rather than relying on the clock alone. A fork should slide into a cube without meeting a hard center, and the corners should show some color. If the squash is tender but still pale, give it more time within the roasting window and check again.
Two Ways to Change the Texture Without Changing the Seasoning
Cut Smaller for More Browned Surface
For little bites with more browned edges in each forkful, cut the peeled, seeded squash smaller than the usual 1-inch cubes. Keep the oven at 425°F and leave the pieces in a single layer, but watch them closely because smaller pieces cook and brown sooner. You gain more caramelized surface and give up some of the soft, substantial center of a larger cube.
Mash the Roasted Squash for a Softer Side
Roast the cubes with the same olive oil, salt, and pepper, then mash the tender pieces with a fork after they come out of the oven. The browned edges blend into the softer centers, giving you a rustic mash without adding another ingredient. It won’t have the distinct bite of the cubes, so this is a good format when you’d rather have a soft spoonful than pieces that hold their shape.
Storage and Reheating
- Refrigerator: Refrigerate cooked squash within 2 hours in a covered container and use it within 3 to 4 days. The cubes soften as they sit, and their edges won’t stay as crisp as they were fresh from the oven.
- Freezer: It freezes safely, though the thawed squash will be softer. Freeze the cooled cubes in a single layer until firm, then transfer them to an airtight freezer container and use within 2 to 3 months for the best texture.
- Reheating: Spread the squash on a baking sheet and warm it in a 350°F oven until hot throughout; 165°F is the safe target for reheated leftovers. A microwave works for a quick serving, but it softens the edges further, so avoid heating longer than needed.
Questions That Come Up Before the Squash Goes in the Oven
Roasted Butternut Squash
Ingredients
Equipment
Method
- Heat the oven to 425°F.
- Toss the squash with the olive oil, salt, and pepper on a rimmed baking sheet.
- Spread the squash in a single layer.
- Roast for 25 to 35 minutes, turning the squash halfway through, until tender and browned at the edges.
