
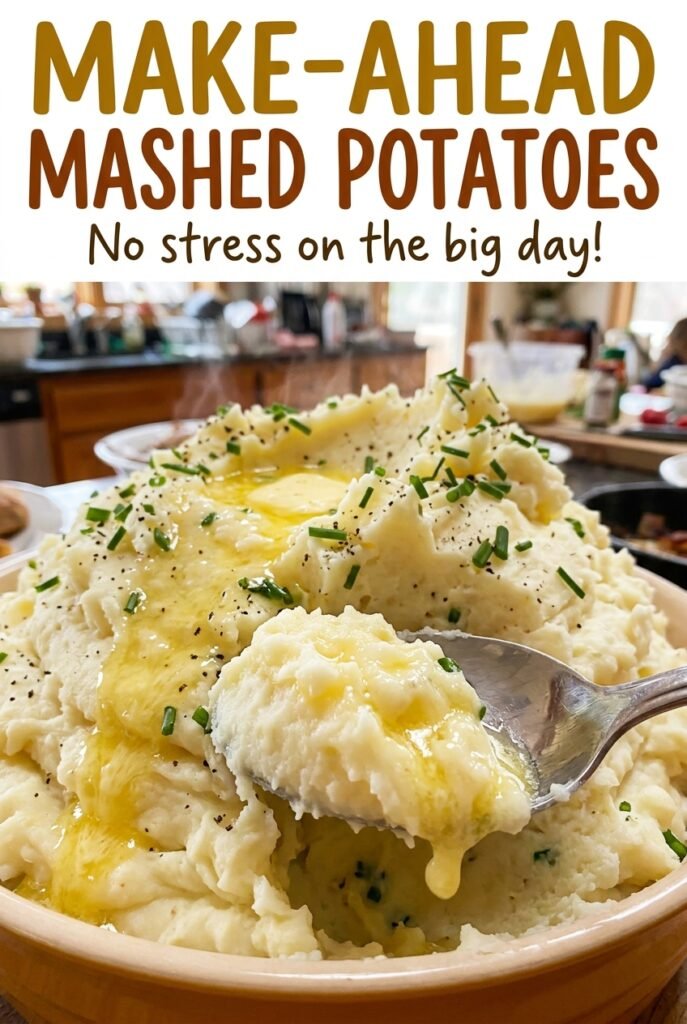
Make-Ahead Mashed Potatoes
The steam that rises when you uncover a casserole of mashed potatoes is a good sign, but it can also mean a wet, loose side dish if the potatoes went…
Tip: save now, read later.
The steam that rises when you uncover a casserole of mashed potatoes is a good sign, but it can also mean a wet, loose side dish if the potatoes went into the pan holding too much water. I dry them in the pot for a minute or two before adding the dairy, then spread the mash into a baking dish so it can be chilled and reheated without a last-minute scramble. These Make-Ahead Mashed Potatoes come out creamy, rich, and ready to go straight from the refrigerator to the oven.
Yukon Golds give the mash a naturally buttery texture, while cream cheese and sour cream help it stay lush after chilling. I warm the milk with some of the butter before mashing so it blends in smoothly instead of cooling the potatoes. A few small details—like using a metal baking dish and keeping the casserole covered as it reheats—make this an especially dependable dish to prepare ahead.
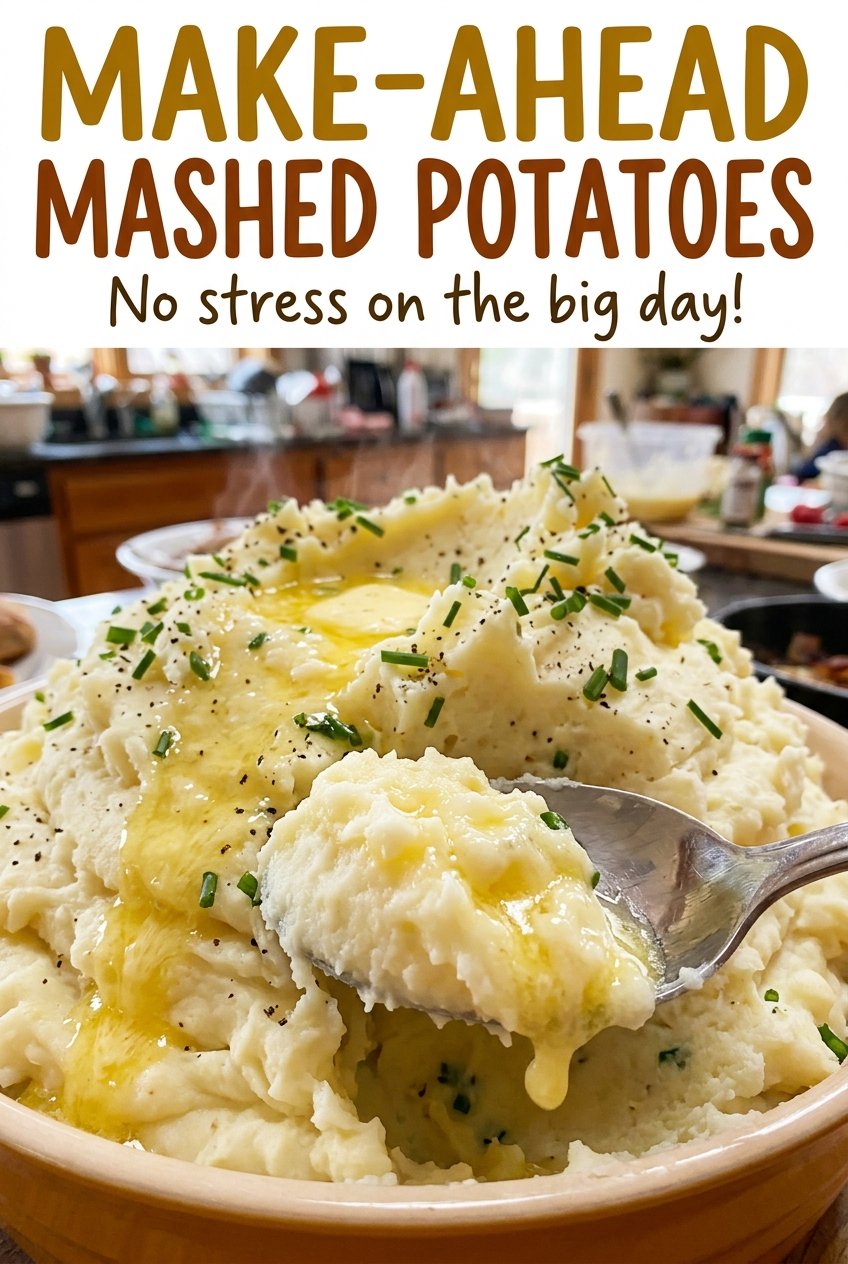
Kitchen Note
Softened cream cheese and room-temperature sour cream blend into the potatoes much more easily than cold dairy. I set them out while the potatoes cook; that way I don’t have to keep mashing to work out little cool lumps.
Save these Make-Ahead Mashed Potatoes for a creamy, buttery side you can prepare before the day gets busy.
Why Even Potato Pieces Make a Better Make-Ahead Mash
Potatoes cut to a similar size cook at a similar pace. That matters here because the finished mash goes into the refrigerator, then gets heated all the way through in the oven. If some pieces are tender well before the others, the soft ones can become waterlogged while you wait for the firm centers to cook. A consistent cut helps you reach fork-tender potatoes together, before any of them start falling apart.
The pieces don’t need to look machine-cut, but aim for roughly the same size as you work. Yukon Golds are a good fit because they make a creamy mash without needing aggressive mixing. Keep an eye on tenderness rather than relying on the clock alone: a fork should slide into a piece easily, with no firm center resisting it. That gives you a smooth base for the dairy without asking you to mash stubborn lumps into submission later.
What the Yukon Golds and Dairy Each Bring to This Casserole
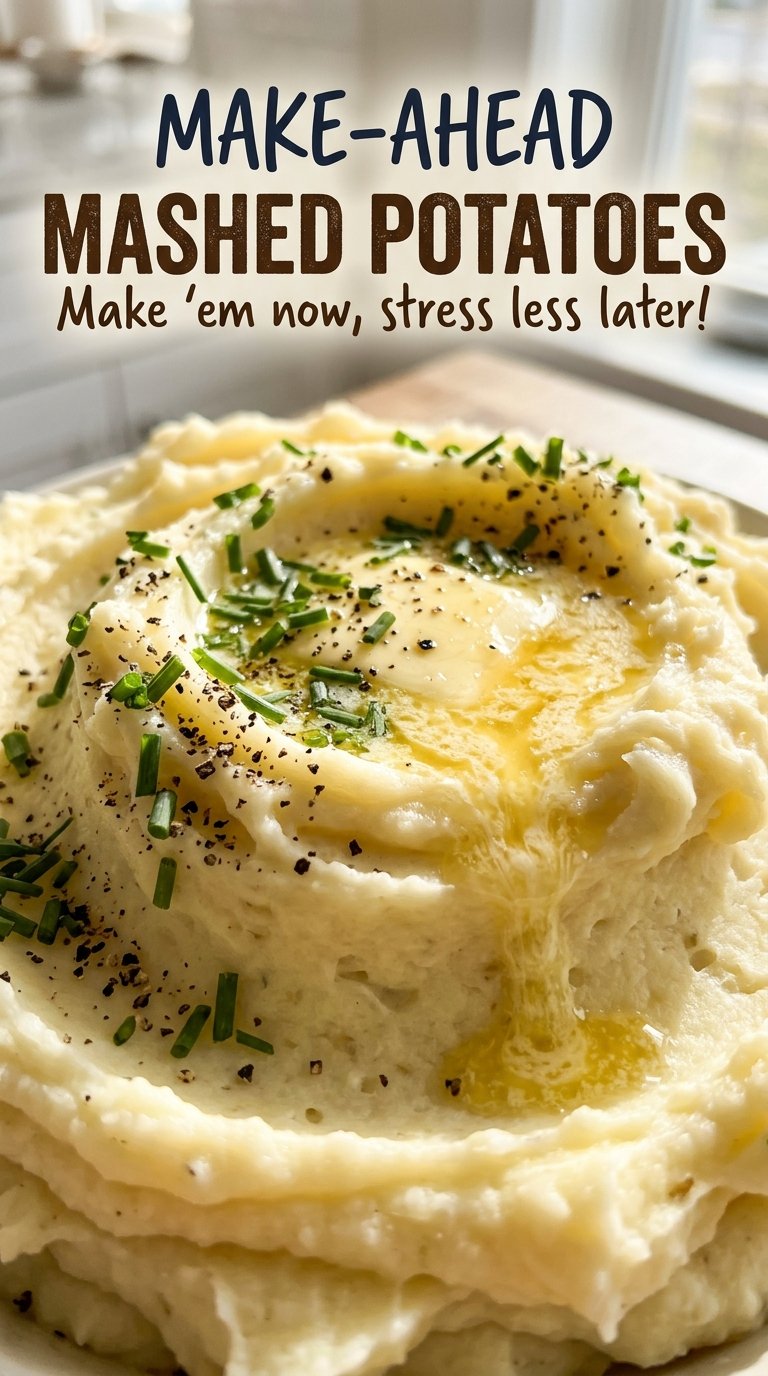
- Yukon Gold potatoes — Their naturally creamy, buttery character suits a mash that will be chilled and baked. Choose firm potatoes without soft spots; there’s no need to seek out a specialty brand. Russets can stand in if needed, but the result will be fluffier and less buttery. Peel and cut them evenly so they cook at the same rate.
- Cream cheese and sour cream — Cream cheese gives the mash body, while sour cream brings tang and keeps the richness from tasting flat. Use block cream cheese and let it soften; whipped cream cheese has a different texture. Full-fat plain Greek yogurt can replace sour cream in the same amount, though it tastes tangier and a little less rich.
- Whole milk — Warm milk loosens the potatoes and joins the butter without cooling the mash. Two-percent milk works in the same amount, with a slightly less rich finish; avoid flavored or sweetened milk. Warm it with the butter rather than pouring it in cold.
- Unsalted butter — Butter adds richness inside the potatoes and on top, where it melts over the casserole as it bakes. Unsalted butter lets you control the seasoning. If you only have salted butter, the potatoes will taste saltier, so reduce the added salt to suit your taste.
From Fork-Tender Potatoes to a Hot, Creamy Center
Simmer the Potatoes Until a Fork Slides In
Add the potatoes, cold water, and one tablespoon of kosher salt to an 8-quart stockpot. Bring everything to a boil over high heat, then lower the heat and simmer for 15 to 20 minutes. Check a few pieces with a fork; they should be easy to pierce all the way through. If the centers still feel firm, give them more time rather than draining early.
Dry the Potatoes Before Adding the Dairy
Drain the potatoes well, return them to the pot, and stir over low heat for 1 to 2 minutes. The surface should look dry rather than glossy with water; don’t let the pieces scorch on the bottom. Take the pot off the heat. In a microwave-safe bowl, warm the milk with seven tablespoons of butter in 30-second bursts, stirring until the butter melts and the milk is warm, about 1 minute.
Mash With the Warm Milk and Creamy Add-Ins
Mash the potatoes with the warm milk mixture, softened cream cheese, room-temperature sour cream, the remaining teaspoon of salt, and black pepper. Stop once the potatoes look creamy and the dairy is evenly incorporated. If you keep working them after the lumps are gone, the texture can turn pasty. Taste for seasoning before moving on.
Chill the Casserole, Then Reheat It Covered
Grease a 9×13-inch metal baking dish with one tablespoon of butter, spread in the potatoes, and dot the top with the remaining two tablespoons. Let the dish cool uncovered until it’s no longer steaming, about 20 to 30 minutes, then cover it tightly and refrigerate. When you’re ready to serve, heat the oven to 350°F and bake the cold casserole tightly covered with foil for 45 to 60 minutes, until the center reaches 165°F. If the top browns or dries out, check that the foil is sealed snugly around the dish.
Easy Ways to Adapt the Make-Ahead Mash
A Lactose-Free Version
Use lactose-free whole milk, cream cheese, and sour cream, plus a lactose-free butter alternative, in the same amounts as the dairy ingredients. The finished potatoes should still be creamy, though the exact tang and richness will depend on the products you choose. This adapts the dish for lactose intolerance, not for a milk allergy.
Make a Half Batch
Halve each ingredient for a smaller amount, and use a pot with enough room for the potatoes to simmer freely. Choose an oven-safe baking dish that holds the mash in a similar-depth layer; the original baking time may not transfer exactly, so rely on the center reaching 165°F. The flavor stays the same, with less casserole to store.
Leave a Little Texture
For a less uniform casserole, stop mashing when the potatoes are creamy but still have a few small pieces. That gives each scoop a more rustic feel without changing the ingredients. Avoid large hard chunks, which won’t soften during the reheating bake.
Storage and Reheating
- Refrigerator: Cover and refrigerate within 2 hours of cooking; use within 2 days. The cold mash will be firm before baking.
- Freezer: I don’t recommend freezing this casserole. Cream cheese and sour cream can become grainy or separate after thawing.
- Reheating: Use the foil-covered oven method in the process section. Keep the foil on while the cold center warms so the surface doesn’t dry out.
Questions That Come Up When Making Mashed Potatoes Ahead
Make-Ahead Mashed Potatoes
Ingredients
Equipment
Method
- Put the potatoes, 3 quarts water, and 1 tablespoon salt in an 8-quart stockpot.
- Bring the mixture to a boil over high heat.
- Simmer for 15 to 20 minutes, until the potatoes are easily pierced with a fork.
- Drain the potatoes well, return them to the pot, and cook over low heat for 1 to 2 minutes, stirring, until the surface moisture evaporates; remove from the heat.
- Warm the milk and 7 tablespoons butter in a microwave-safe bowl in 30-second bursts, stirring, until the butter melts and the milk is warm, about 1 minute.
- Mash the potatoes with the warm milk mixture, cream cheese, sour cream, remaining 1 teaspoon salt, and black pepper until creamy.
- Grease a 9x13-inch metal baking dish with 1 tablespoon butter.
- Spread the potatoes in the dish and dot with the remaining 2 tablespoons butter.
- Cool uncovered until no longer steaming, about 20 to 30 minutes.
- Cover tightly and refrigerate for up to 2 days; refrigerate within 2 hours of cooking.
- When ready to serve, heat the oven to 350°F.
- Cover the cold casserole tightly with foil and bake for 45 to 60 minutes, until the center reaches 165°F.
