
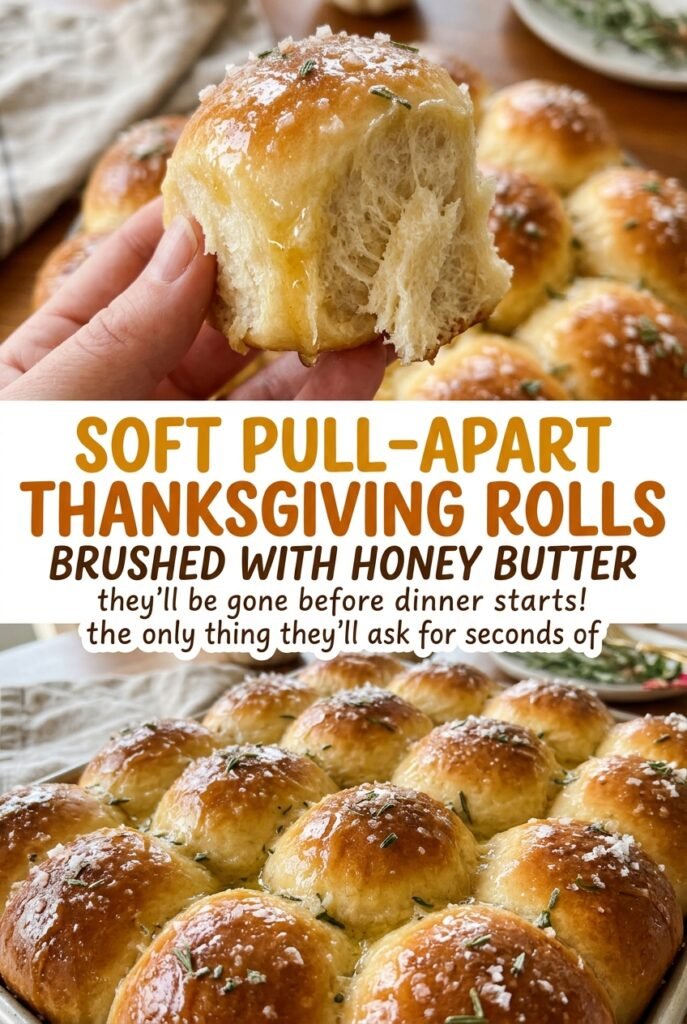
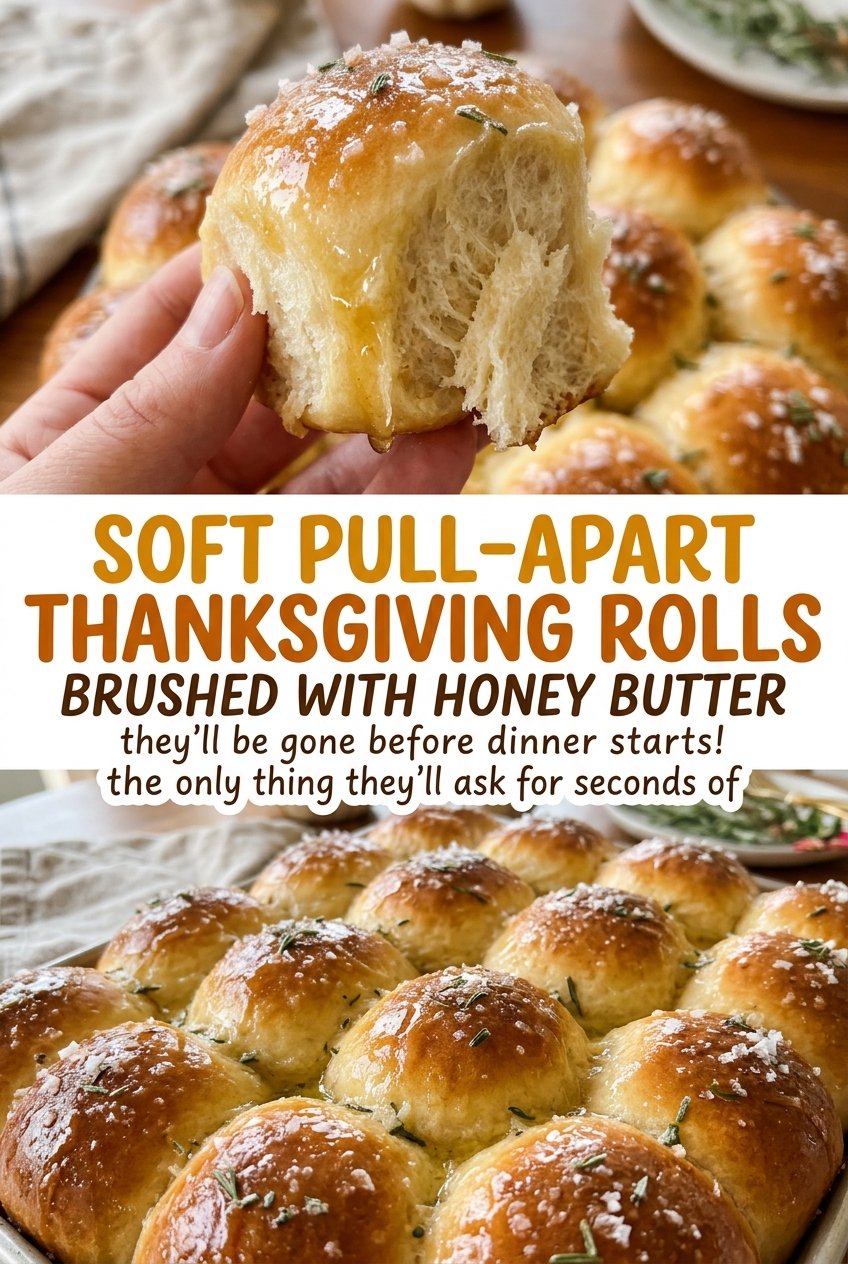
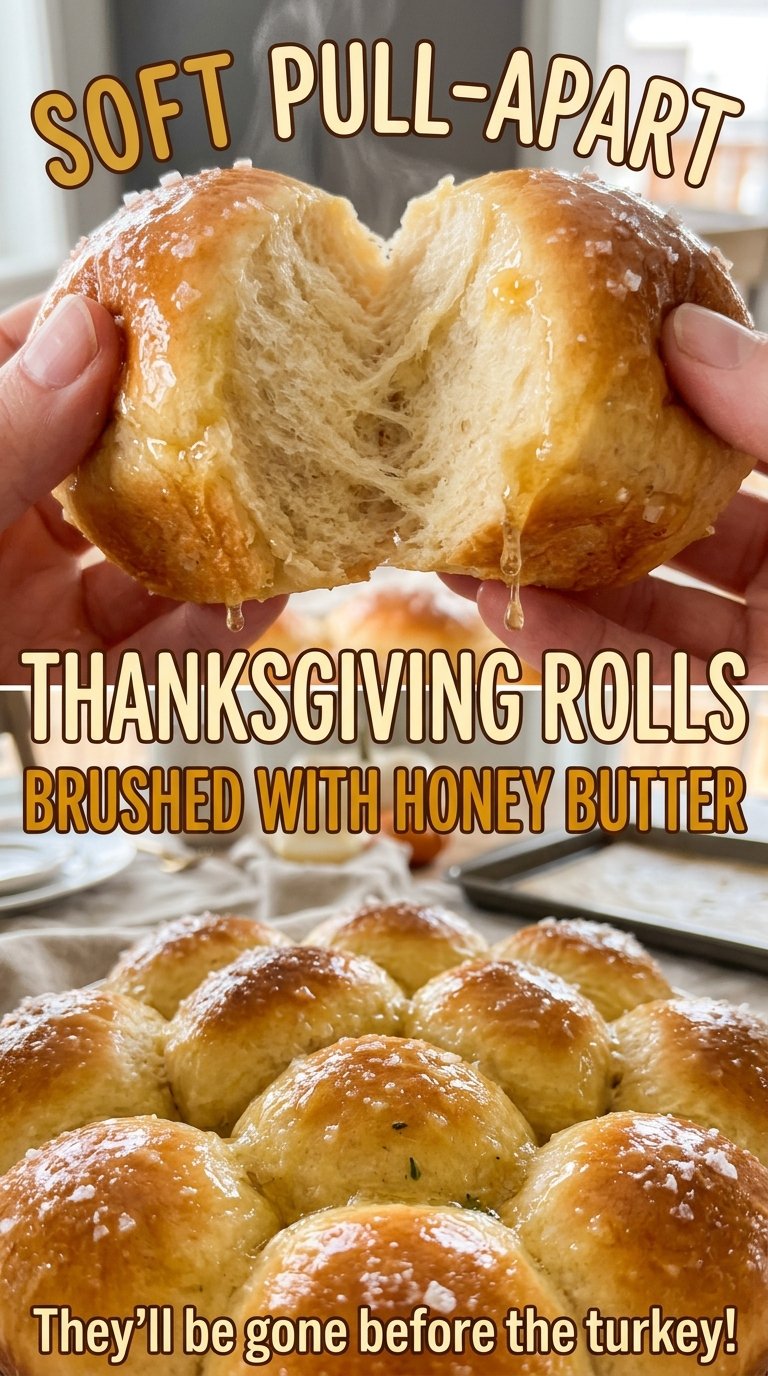
Soft Pull-Apart Thanksgiving Rolls Brushed with Honey Butter
The milk and yeast turn foamy, and the dough soon feels soft and a little tacky under your hands. That’s the start I want for Thanksgiving rolls: enough structure to…
Tip: save now, read later.
The milk and yeast turn foamy, and the dough soon feels soft and a little tacky under your hands. That’s the start I want for Thanksgiving rolls: enough structure to hold their shape, but not so much extra flour that the finished crumb turns heavy. These soft pull-apart rolls bake together in one 9×13-inch dish, so their sides stay tender while the tops turn golden.
I mix the dough until it’s smooth and elastic, then let the rise cues—not just the clock—tell me when it’s ready. The first rise should double the dough; the second should leave the shaped rolls puffy and touching. Those two checkpoints give the rolls room to become light without losing the close-knit pull-apart texture.
A brush of honey butter goes over the rolls straight from the oven. It melts across the warm tops and gives each soft roll a gentle sheen and a little sweetness.
Kitchen Note
Let the melted butter cool before adding it to the egg. If the butter is still hot, it can start to cook the egg in little streaks; cooled butter blends smoothly into the dough.
Save these soft pull-apart Thanksgiving rolls for a holiday table—their golden tops get a warm honey-butter finish.
Why This Enriched Dough Needs a Full First Rise
This dough includes milk, butter, sugar, and egg, so it’s richer than a lean bread dough made mostly from flour, water, yeast, and salt. Rich dough can take a little patience to expand, and judging it by a timer alone can leave you with rolls that are small and tight. The first rise is ready when the dough has doubled in size, not merely when the minimum time has passed.
Temperature affects how quickly yeast works, which is why the warm milk range matters. Milk that’s too cool can slow the start; milk that’s too hot can damage the yeast. I keep it between 105°F and 110°F, then give the yeast and sugar 5–10 minutes to become foamy before building the dough. That visible foam is a useful check that fermentation has started. After shaping, the dough needs a shorter second rise: look for puffy rolls that have expanded until they touch. Those visual markers are more dependable than expecting every kitchen to follow the clock at exactly the same pace.
What Gives These Thanksgiving Rolls Their Soft, Pull-Apart Crumb
- Whole milk — Milk adds richness and helps keep the crumb tender. Whole milk gives the softest, richest result; 2% milk works as a practical swap, though the rolls will be a little less rich. A standard grocery-store carton is fine.
- Active dry yeast — This yeast needs the warm milk and sugar to get started before the flour goes in. Check that it’s fresh; old yeast may not foam well, even when the milk is in the right temperature range.
- All-purpose flour — It gives these rolls a soft, familiar dinner-roll texture without the extra chew of bread flour. Use a bag you already like; a premium brand isn’t necessary for this dough.
- Egg — The egg enriches the dough and helps it hold together. Bringing it to room temperature helps it blend into the butter and milk mixture without cooling the dough.
- Unsalted butter — Butter adds tenderness to the dough, then makes the honey topping glossy. Unsalted butter lets the measured salt stay in control; an everyday store brand works well.
- Honey — Honey gives the finishing butter its mellow sweetness. A mild, inexpensive honey is plenty; maple syrup can replace it in the same amount for a different, more woodsy sweetness.
From Foamy Milk to Honey-Butter Tops
Wake Up the Yeast
Stir the active dry yeast and sugar into the milk warmed to 105–110°F. Leave the bowl for 5–10 minutes, until a foamy layer forms on top. If the mixture stays flat, check the yeast’s freshness before continuing; the foam is the sign that it has started working. A few small bubbles are less convincing than an obvious foamy surface.
Knead Until the Dough Turns Elastic
Stir in the cooled melted butter and room-temperature egg, then add the flour and fine salt. Mix until there are no dry patches and a shaggy dough forms. Knead with a stand mixer fitted with a dough hook for 6–8 minutes, or by hand on a clean counter for 8–10 minutes, until the dough looks smooth and feels elastic. If it clings heavily to your hands, keep kneading before reaching for more flour; the dough should be soft.
Give the Dough Its First Rise
Lightly coat a large bowl with nonstick cooking spray, add the dough, and turn it so the surface is coated. Cover the bowl and leave it in a warm place for 1–1 1/2 hours, until the dough has doubled in size. A dough that hasn’t expanded enough will make denser rolls, so use the doubled size as your cue rather than moving on just because the clock has reached an hour. Keep the bowl covered so the surface doesn’t dry out.
Shape Twelve and Let Them Meet
Coat a 9×13-inch baking dish with nonstick cooking spray. Divide the risen dough into 12 equal pieces, shape each into a ball, and arrange them in the dish. Cover and let them rise for 30–45 minutes, until puffy and touching; start preheating the oven to 350°F during this rise. If the rolls still have visible gaps and look compact, give them time to puff before baking.
Bake Until Golden and Brush While Hot
Bake at 350°F for 20–25 minutes, until the tops are golden brown. While the rolls bake, melt the remaining butter and stir in the honey. Brush that mixture over the rolls while they’re hot, then let them rest in the pan for 5 minutes before serving. The honey butter should coat the tops rather than pool in one spot, so move the brush gently across the whole pan.
Small Changes That Keep the Rolls Tender
A Dairy-Free Batch with Oat Milk and Plant Butter
Replace the whole milk with the same amount of plain, unsweetened oat milk, and use dairy-free butter in place of the butter in both the dough and topping. The rolls will still rise and pull apart, though they may taste a little less rich than the version made with whole milk and dairy butter. The egg remains in the dough, so this is a dairy-free adaptation, not an egg-free one.
A Honey-Free Butter Finish
Leave the honey out of the finishing butter and brush the hot rolls with the melted butter on its own. You’ll keep the buttery sheen but lose the floral sweetness, which is a nice change if you want the rolls to stay firmly on the savory side.
Knotted Pull-Apart Rolls
For a more distinctive shape, roll each of the 12 portions into a short rope and tie it loosely into a knot before arranging the pieces in the same prepared dish. The rolls will look more textured on top, while the dough still bakes together in a pull-apart pan. Keep an eye on the color as they bake, since the contours of the knots brown differently from smooth dough balls.
Storage and Reheating
- Refrigerator: Skip refrigeration if you’ll eat the rolls within 2 days; it can dry the crumb faster than storing them at room temperature. Keep them covered in an airtight container at room temperature.
- Freezer: They freeze well. Cool completely, wrap the rolls tightly, and freeze for up to 2 months for the best texture.
- Reheating: Warm them in a low oven, loosely covered with foil, just until heated through. Long microwave bursts can make the crumb chewy.
Questions That Come Up While Baking Thanksgiving Rolls
Soft Pull-Apart Thanksgiving Rolls Brushed with Honey Butter
Ingredients
Equipment
Method
- Stir the yeast and sugar into the warm milk in a large bowl.
- Let the mixture stand for 5–10 minutes, until foamy.
- Stir in 4 tablespoons melted, cooled butter and the egg.
- Add the flour and salt, and mix until a shaggy dough forms.
- Knead with a stand mixer fitted with a dough hook for 6–8 minutes, or by hand on a clean counter for 8–10 minutes, until smooth and elastic.
- Lightly coat a large bowl with cooking spray, add the dough, and turn it to coat.
- Cover and let the dough rise in a warm place for 1–1 1/2 hours, until doubled in size.
- Coat a 9x13-inch baking dish with cooking spray.
- Divide the dough into 12 equal pieces, shape them into balls, and arrange them in the dish.
- Cover and let the rolls rise for 30–45 minutes, until puffy and touching.
- During the rise, preheat the oven to 350°F.
- Bake for 20–25 minutes, until the rolls are golden brown.
- Melt the remaining 2 tablespoons butter and stir in the honey.
- Brush the honey butter over the hot rolls.
- Let the rolls rest in the pan for 5 minutes before serving.
