
Spatchcock Roast Turkey
A whole turkey has an awkward shape in the oven: the breast sits high while the legs tuck in close, so the parts don’t cook at the same pace. Spatchcocking…
Tip: save now, read later.
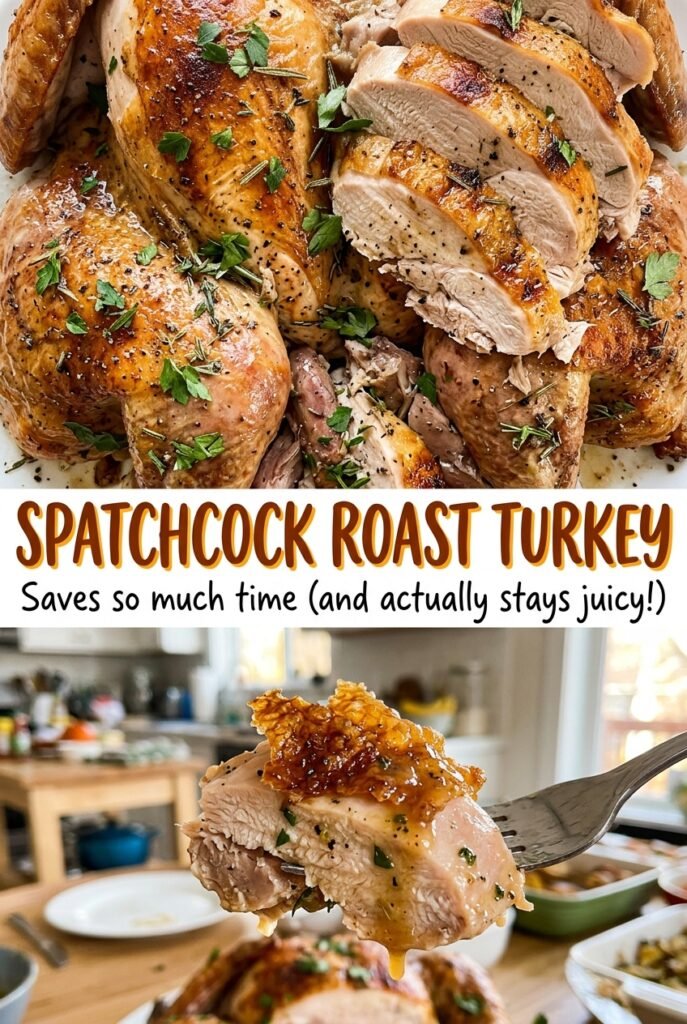
A whole turkey has an awkward shape in the oven: the breast sits high while the legs tuck in close, so the parts don’t cook at the same pace. Spatchcocking solves that by removing the backbone and pressing the bird flat. This spatchcock roast turkey fits on a rimmed baking sheet and gives the heat better access to the legs and thighs.
I season under the loosened skin as well as over it, then let the uncovered turkey rest in the refrigerator before roasting. That stretch of time gives the salt a chance to season the meat and dries the skin, which helps it brown. Softened butter mixed with black pepper goes over the skin just before the turkey goes into the oven.
Once the bird is flat, it’s easier to keep an eye on the skin and check the thickest parts with a thermometer. Give it time to rest before carving, and the result is golden skin with plenty of savory turkey flavor.
Kitchen Note
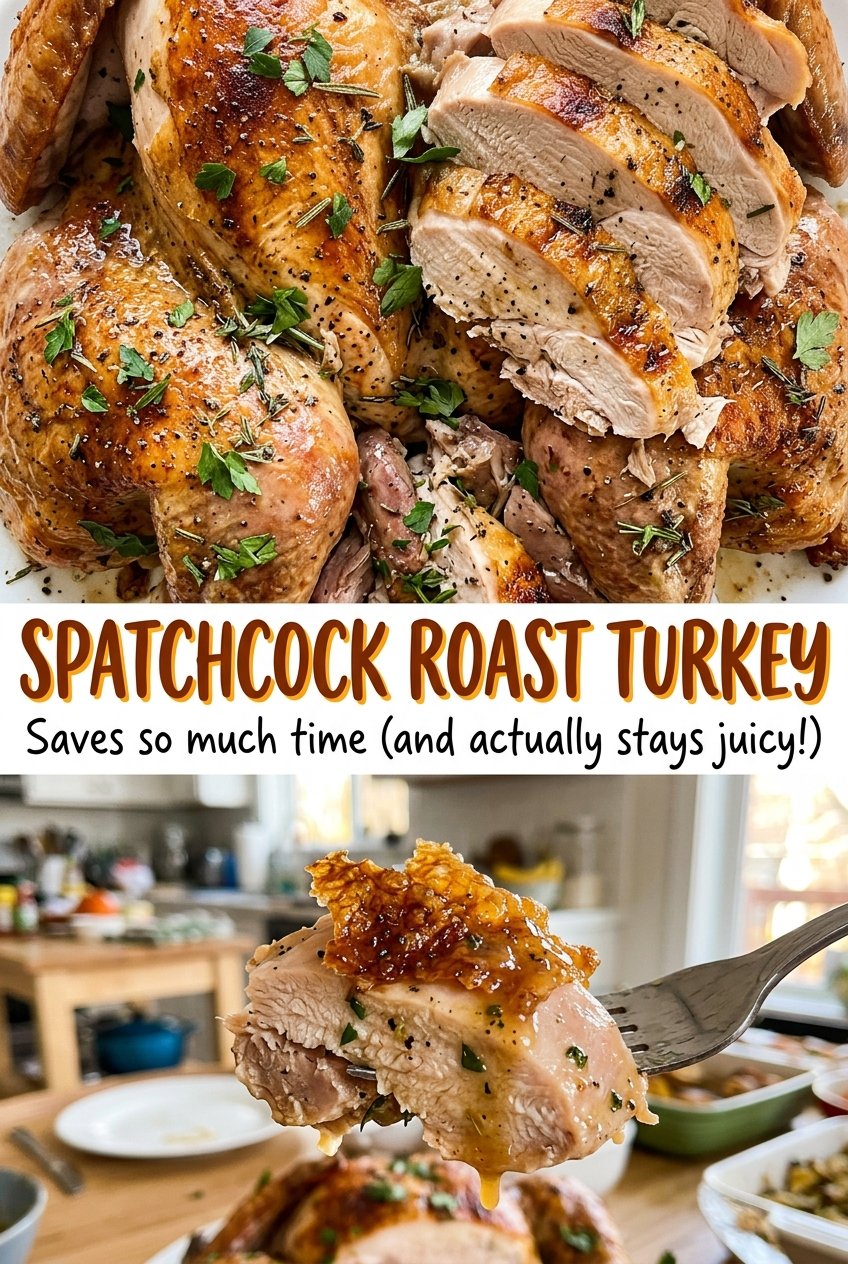
The uncovered rest in the refrigerator is doing more than seasoning the turkey. It dries the skin, so pat the bird thoroughly before salting and leave it uncovered on the rack for the full chilling time.
Save this spatchcock roast turkey for its flat, evenly browned bird and peppered butter skin.
Why Flattening the Turkey Helps the Breast and Thighs Finish Closer Together
Spatchcocking changes the shape of the bird, not the fact that breast meat and dark meat cook differently. A whole turkey’s legs are partly tucked beneath the body, while the breast rises above them. Once the backbone is removed and the breastbone is pressed flat, more of the bird is exposed to the oven’s heat. That makes the turkey easier to arrange and gives the legs and thighs better access to the hot air.
Don’t use browned skin as your only doneness cue. The skin can look ready before the thickest parts of the meat are cooked through, and the breast and thigh need to be checked separately. Use an instant-read thermometer in each area, taking care not to touch bone. That check tells you what the meat is doing beneath the surface, even if the skin color is ahead of or behind what you expected.
Why the Salt, Butter, and Pepper Each Have a Specific Job
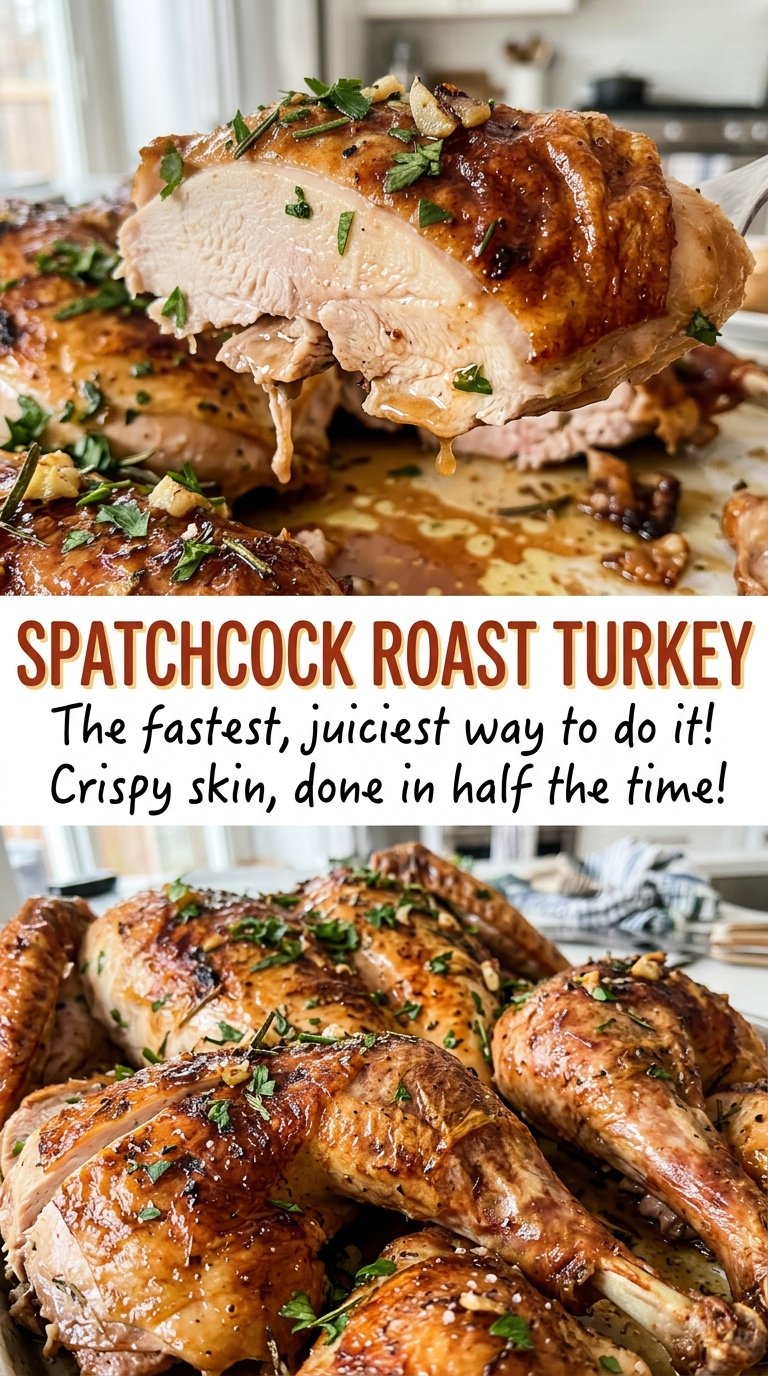
- Whole turkey — A bird in the 12- to 14-pound range is manageable to flatten and fits on the specified rimmed baking sheet with its rack. Starting with the neck and giblets removed also means the cavity is clear before you work on the backbone.
- Diamond Crystal kosher salt — Its large, light crystals are easy to scatter over the broad surface of a flattened bird and beneath loosened skin. Salt brands don’t all measure the same by volume, so use the specified kind rather than making a one-for-one swap with fine table salt.
- Unsalted butter — Softened butter spreads across the skin without needing to melt it first. Using unsalted butter keeps the salt level under control; softened, not cold, butter is much easier to distribute evenly over the broad surface.
- Ground black pepper — Mixing pepper into the butter spreads its sharp, warm bite over the skin instead of leaving it in isolated patches. Freshly ground pepper has a more pronounced aroma, but ordinary ground black pepper works well here.
The Steps That Get This Flat Turkey From Cutting Board to Carving Board
Cut Out the Backbone and Press the Bird Flat
Set the turkey breast-side down on a large cutting board and cut along both sides of the backbone with poultry shears. Remove the backbone, turn the bird breast-side up, and press firmly on the breastbone until the turkey lies flat. If the breastbone resists, use steady pressure rather than trying to roast the bird partly folded. A flatter shape sits more securely on the rack and makes the whole bird easier to handle.
Season Beneath the Skin and Chill Uncovered
Pat the turkey dry, then gently loosen the skin over the breasts and thighs with your fingers. Season the outside and the meat beneath the loosened skin with the salt, taking care not to tear the skin as you work. Set the turkey skin-side up on an oven-safe wire rack fitted in an 18×13-inch rimmed baking sheet. Refrigerate it uncovered for 12 to 24 hours.
Bring the Turkey Out and Spread on the Pepper Butter
Take the turkey out of the refrigerator 30 to 45 minutes before roasting, then heat the oven to 425°F. Stir the ground black pepper into the softened butter until it’s evenly mixed. Spread the butter across the turkey skin in a thin, even layer; cold butter tends to drag against the skin, so use butter that’s soft enough to spread without pulling. Keep the bird skin-side up on its rack.
Roast, Check Both Areas, and Rest Before Carving
Roast the turkey skin-side up for 75 to 100 minutes, checking its temperature after 70 minutes. Insert a thermometer into the thickest part of the breast and the innermost thigh without touching bone; the breast must reach at least 165°F and the thigh 175°F. If the skin browns too quickly, loosely cover it with foil while the meat finishes cooking. Transfer the turkey to a cutting board and let it rest for 20 to 30 minutes before carving.
Two Small Changes That Adapt the Pepper Butter
Make the turkey dairy-free
Replace the unsalted butter with an equal amount of unsalted, stick-style dairy-free butter. Soften it before mixing in the black pepper, then spread it over the skin the same way. The skin may brown a little differently depending on the brand, but the pepper still distributes easily.
Use a coarser pepper texture
For more noticeable pepper flecks on the skin, use coarsely ground black pepper in the butter while keeping the listed quantity the same. The pepper will read more clearly in each bite, with a little more texture than fine ground pepper. Stir it into the softened butter before spreading so it doesn’t fall off in clumps.
Storage and Reheating
- Refrigerator: Refrigerate carved leftovers within 2 hours and keep them in a covered container for 3 to 4 days. The skin softens in storage, even when the meat stays tender.
- Freezer: Freeze carved portions in airtight packaging for 2 to 6 months for best quality. Thaw in the refrigerator before reheating.
- Reheating: Warm portions covered in a 325°F oven until they reach 165°F. Leaving the turkey uncovered or heating it until it’s piping hot throughout can dry the lean breast meat.
Questions That Come Up When Roasting a Spatchcocked Turkey
Spatchcock Roast Turkey
Ingredients
Equipment
Method
- Set the turkey breast-side down on a large cutting board.
- Using poultry shears, cut along both sides of the backbone and remove it.
- Turn the turkey breast-side up and press firmly on the breastbone until it lies flat.
- Pat the turkey dry.
- Carefully loosen the skin over the breasts and thighs with your fingers.
- Season the turkey all over, including under the loosened skin, with the salt.
- Set the turkey skin-side up on an oven-safe wire rack fitted in an 18x13-inch rimmed baking sheet and refrigerate uncovered for 12 to 24 hours.
- Remove the turkey from the refrigerator 30 to 45 minutes before roasting and heat the oven to 425°F.
- Mix the softened butter with the black pepper.
- Spread the butter mixture evenly over the turkey skin.
- Roast the turkey skin-side up for 75 to 100 minutes, checking the temperature after 70 minutes.
- The turkey is done when a thermometer reads at least 165°F in the thickest part of the breast and 175°F in the innermost thigh, without touching bone.
- If the skin browns too quickly, loosely cover it with foil.
- Transfer the turkey to a cutting board and rest for 20 to 30 minutes before carving.
