
Spiced Pear and Walnut Crumble
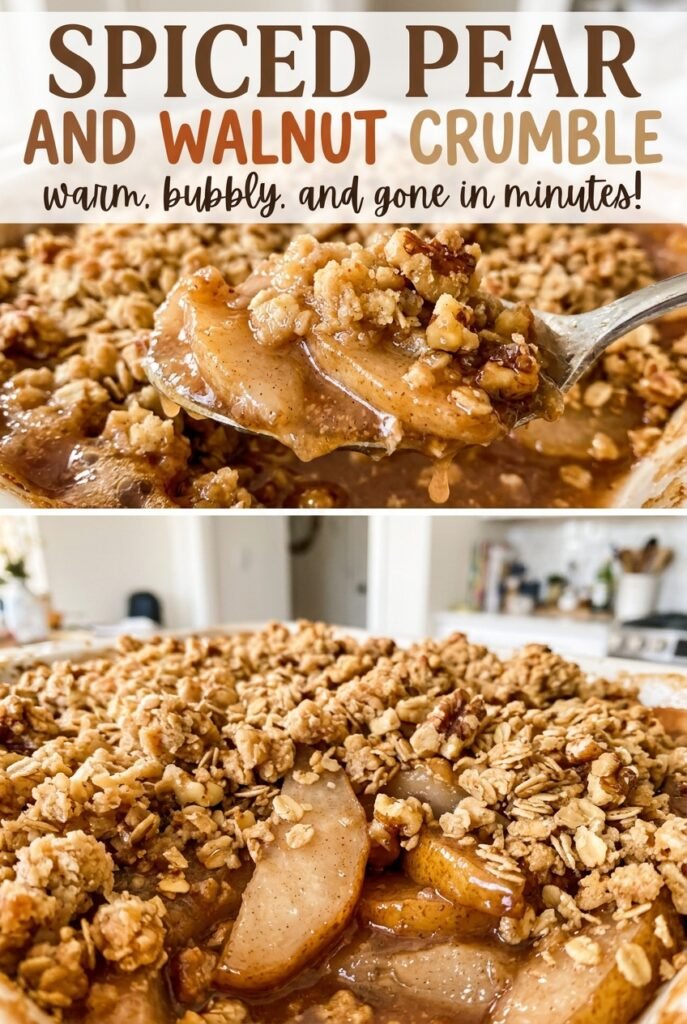
When the pears start bubbling around the edges, the kitchen smells like cinnamon before the crumble top has even finished turning golden. I watch for both cues: a browned, nubby…
Tip: save now, read later.
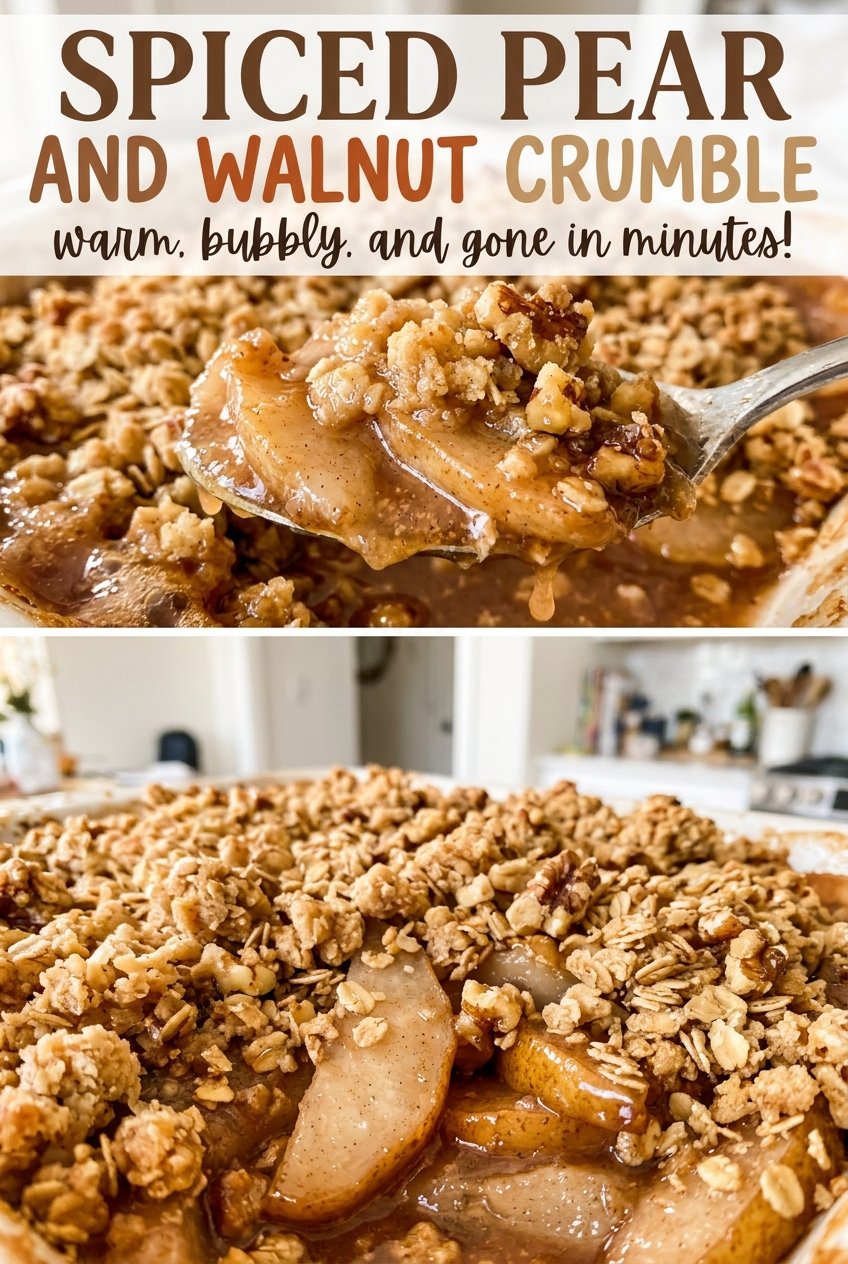
When the pears start bubbling around the edges, the kitchen smells like cinnamon before the crumble top has even finished turning golden. I watch for both cues: a browned, nubby topping and fruit juices bubbling in the dish. That’s when this spiced pear and walnut crumble is ready for its 20-minute rest.
The 9-inch square dish keeps the fruit and topping in balance, and the cold butter makes those oats, walnuts, and flour bake into crisp crumbs instead of a heavy blanket. The pears soften underneath while cinnamon and nutmeg warm the filling without covering up the fruit. It’s a cozy, spoonable dessert for six, with a top that gives way to tender pears and glossy, thickened juices.
Kitchen Note
Give the crumble its full 20-minute rest before serving. The filling is bubbling hot when it leaves the oven, and that pause lets the juices settle into a spoonable consistency instead of running across the plate.
Save this spiced pear and walnut crumble for its cinnamon-scented filling, crisp oat topping, and easy make-ahead options.
Why the 9-Inch Dish Matters More Than It Looks
A crumble isn’t just fruit with a lid of topping; the depth of the fruit layer affects how the pears cook while the topping browns. In a 9-inch square dish, the pears sit in a relatively even layer, with enough surface for the topping to brown and the juices to bubble at the edges. That balance is built into this version’s bake time.
A much smaller dish would stack the fruit deeper, so the center could take longer to soften while the top is already coloring. A wider dish spreads everything thinner and changes how much topping lands over each bite. Stick with the greased 9-inch square dish for the most dependable result, and use the bubbling edges and golden topping together as your doneness cues.
What Gives the Pear Filling Its Warm Spice and the Topping Its Crunch
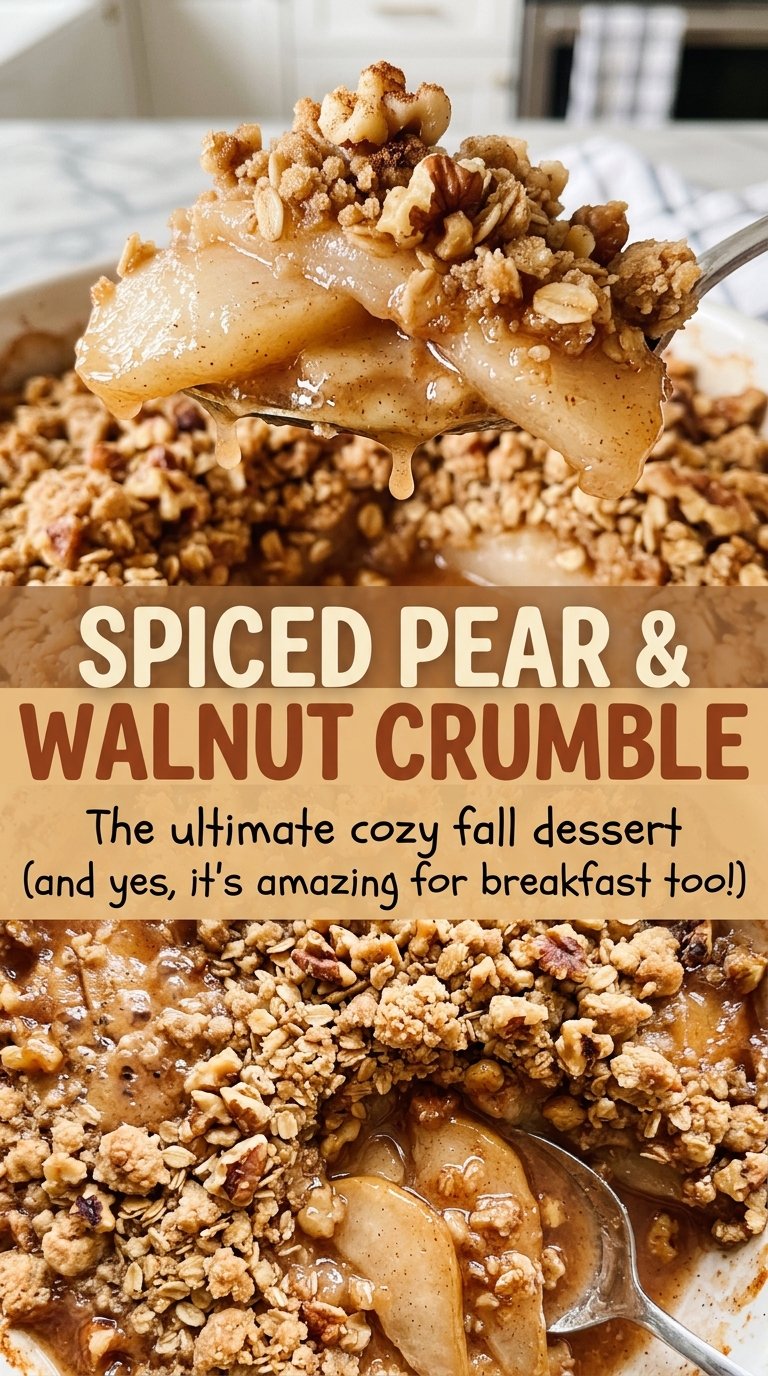
- Pears — They bring the tender, juicy center and a floral sweetness that apples don’t quite replicate. Choose sound fruit without bruised or shriveled spots; peeling and coring them before slicing keeps the filling smooth to eat. Firm-ripe pears hold their shape better than very soft ones.
- Granulated sugar and lemon juice — Sugar sweetens the fruit as it bakes, while lemon keeps the filling from tasting flat. A fresh lemon is useful here, but bottled lemon juice works in a pinch; don’t skip the acidity if the pears taste especially sweet.
- Cornstarch — This thickens the pear juices into a glossy filling rather than leaving a watery puddle. Toss it thoroughly with the fruit and seasonings so it doesn’t collect in little dry pockets. Arrowroot starch can be used in the same amount, though the finished juices may look a little clearer.
- Cinnamon and nutmeg — Together, they give the fruit a warm, rounded spice without making it taste like a spice blend. Freshly grated nutmeg smells stronger, but ordinary ground nutmeg is perfectly good; measure it carefully so it doesn’t dominate the pears.
- Flour and old-fashioned oats — Flour holds the topping together, and rolled oats bring a distinct, chewy-crisp texture. Old-fashioned oats give the crumbs more definition than quick oats, while the inexpensive standard rolled oats work just fine.
- Light brown sugar — Its molasses notes suit the toasted walnuts and buttery topping. Pack it into the measuring cup so the topping has its intended sweetness and crumb texture; dark brown sugar works too, with a deeper molasses taste.
- Walnuts — Chopped walnuts add a toasty bite and a little bitterness that balances the sweet pears. Fresh-tasting pieces matter more than an expensive brand; if the nuts smell stale or paint-like, replace them with pecans as described below.
- Cold unsalted butter — Cold butter creates little pockets in the crumbs that bake into a crisp, uneven topping. Keep it chilled until you cut it in, and use unsalted butter so the salt level stays balanced. Firm dairy-free baking sticks are the most reliable swap; soft tub spreads won’t make the same crumbs.
Build the Filling and Crumble Without Overworking Either
Set Up the Dish and Pears
Heat the oven to 375°F and grease a 9-inch square baking dish. Peel, core, and slice the pears 1/2 inch thick so the pieces sit evenly in the dish. Toss them in a large bowl with the granulated sugar, lemon juice, cornstarch, cinnamon, and nutmeg. Spread the coated pears into the prepared dish, scraping in any seasoning left in the bowl.
Make Coarse, Buttery Crumbs
Stir the flour, rolled oats, brown sugar, chopped walnuts, and salt together in a medium bowl. Add the cold butter cubes and cut them in with a pastry cutter or your fingertips. Stop when the mixture looks like coarse crumbs, rather than working it until it forms a smooth dough. If you use your hands, work briskly so the butter doesn’t soften before it reaches the oven.
Cover the Fruit and Bake Until It Bubbles
Scatter the topping evenly over the pears; leave it loose instead of pressing it into a solid layer. Bake for 45–55 minutes, watching for a golden-brown surface and filling that bubbles around the edges. If the topping is pale and the filling hasn’t begun to bubble, it needs more oven time. The bubbling edges and browned crumbs should appear together before you take the dish out.
Let the Juices Settle
Set the hot dish on a cooling rack or heat-safe surface and leave the crumble to rest for 20 minutes before serving. The fruit juices thicken as the dish cools slightly, making portions easier to lift. A spoonful will still be warm, but it won’t be as loose as it is straight from the oven.
Four Easy Ways to Adapt the Pear and Walnut Crumble
Use apples for an apple-walnut crumble
Replace the pears with an equal weight of peeled, cored apples sliced 1/2 inch thick. The filling will taste tarter and hold a little more bite, so use the same golden topping and bubbling-edge cues rather than expecting the fruit to look exactly like pears.
Trade walnuts for pecans
Use the same amount of chopped pecans in place of the walnuts. Pecans make the topping a little sweeter and richer, while keeping the same nutty crunch.
Make it gluten-free
Replace the all-purpose flour with a cup-for-cup gluten-free baking flour and use certified gluten-free rolled oats. The topping may be a touch more delicate, so scatter it gently over the pears rather than pressing it down.
Make the topping dairy-free
Replace the butter with an equal amount of cold, firm dairy-free baking sticks. Choose sticks rather than a soft tub spread; the topping will still form coarse crumbs, though the flavor may be less rich than with butter.
Storage and Reheating
- Refrigerator: Cool the crumble, cover it, and refrigerate within 2 hours. It keeps for 3–4 days; the topping softens as it sits.
- Freezer: Freeze fully cooled portions in an airtight container for up to 3 months. Thaw overnight in the refrigerator for the most even reheating.
- Reheating: Warm portions uncovered in a 350°F oven until heated through; an uncovered dish helps the topping dry out a bit. Avoid covering it, which traps steam and softens the crumbs further.
Questions That Come Up Before the First Bite
Spiced Pear and Walnut Crumble
Ingredients
Equipment
Method
- Preheat the oven to 375°F.
- Grease a 9-inch square baking dish.
- In a large bowl, toss the pears with the granulated sugar, lemon juice, cornstarch, cinnamon, and nutmeg.
- Spread the pear mixture in the prepared dish.
- In a medium bowl, stir together the flour, oats, brown sugar, walnuts, and salt.
- Cut in the butter with a pastry cutter or your fingertips until the mixture forms coarse crumbs.
- Scatter the topping evenly over the pears.
- Bake for 45–55 minutes, until the topping is golden brown and the filling bubbles around the edges.
- Rest the crumble for 20 minutes before serving.
