
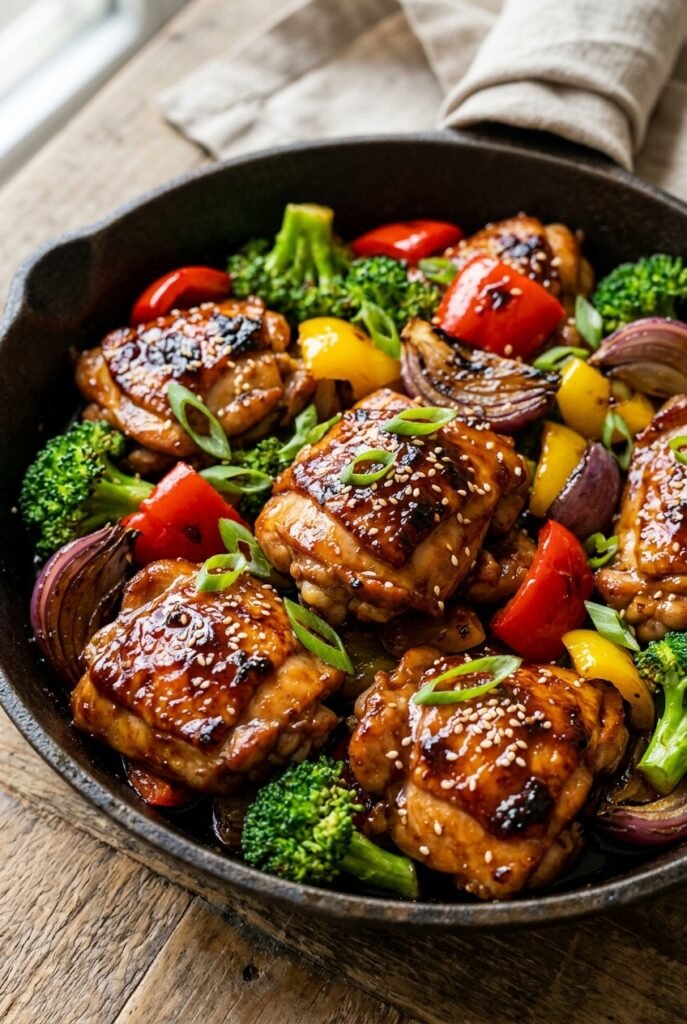
Sticky Teriyaki Chicken Skillet
Sticky teriyaki chicken gets its best texture when the sauce turns glossy and clingy instead of thin and pooled at the bottom of the pan. That’s what makes this skillet…
Tip: save now, read later.
Sticky teriyaki chicken gets its best texture when the sauce turns glossy and clingy instead of thin and pooled at the bottom of the pan. That’s what makes this skillet version worth keeping around: browned chicken, crisp-tender vegetables, and a teriyaki glaze that coats every piece without turning sugary or heavy. It tastes like takeout in the best way, but it cooks in one pan and lands on the table fast.
The key is coating the chicken with a little cornstarch before it hits the skillet. That thin layer helps the chicken brown and gives the sauce something to grab onto later. I also build the sauce separately, then add the cornstarch slurry slowly at the end so it thickens into a sheen instead of a paste.
Below, I’ll walk through the exact order that keeps the vegetables crisp and the glaze balanced, plus a few smart swaps if you want to adjust the dish for what you have on hand.
The chicken stayed tender and the sauce thickened into that glossy teriyaki coating instead of getting watery. I liked that the broccoli and peppers still had some bite, and my kids ate it without picking out the vegetables.
Love that glossy teriyaki coating and crisp-tender veggie combo? Save this Sticky Teriyaki Chicken Skillet for the nights you want a fast one-pan dinner that still tastes like you put in some effort.
The Reason the Sauce Clings Instead of Running Thin
Teriyaki goes wrong in two common ways: it stays watery, or it turns sticky in the pan before the chicken has a chance to get coated. The fix here is timing. The sauce starts with honey, brown sugar, soy sauce, vinegar, sesame oil, garlic, and ginger, but the cornstarch slurry goes in only after the mixture is simmering. That keeps the glaze smooth and lets it thicken in the skillet instead of clumping at the bottom.
The other piece that matters is the chicken coating. A light dusting of cornstarch before searing gives the meat a little crust and helps the sauce hang on later. Skip that, and the glaze slides off the chicken and collects with the vegetables. The goal is glossy pieces, not soup with chicken in it.
What Each Ingredient Is Actually Doing in This Dish
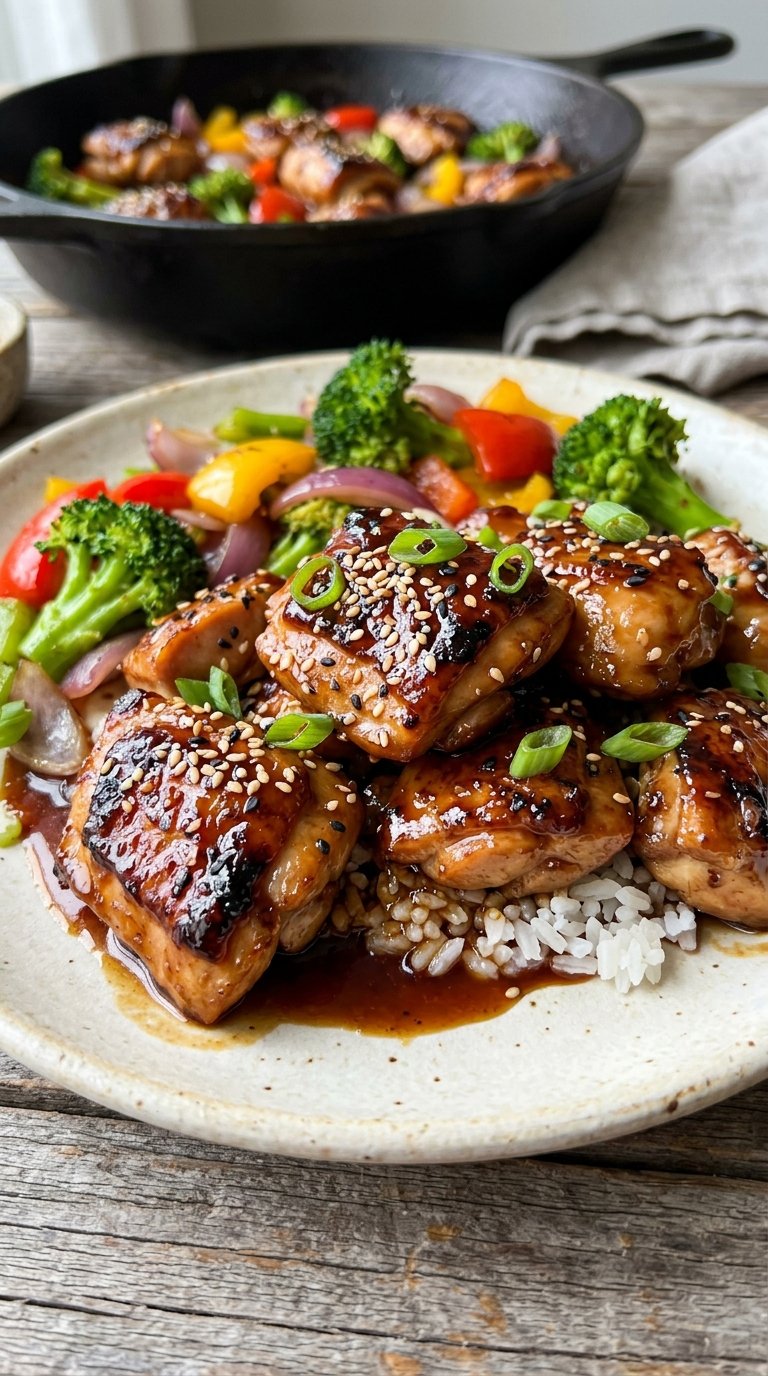
- Chicken breasts — Cutting them into 1-inch pieces keeps the cooking fast and even. Thighs work too if you want a juicier result, but they’ll take a minute or two longer to brown.
- Cornstarch — This does two jobs: it helps the chicken sear with better color, and it thickens the sauce into that sticky finish. There isn’t a direct substitute that behaves the same way, though arrowroot can work in a pinch for the slurry if you don’t mind a slightly softer glaze.
- Low-sodium soy sauce — This keeps the sauce from turning aggressively salty once the honey and brown sugar reduce. Regular soy sauce works, but you may want to reduce or skip the added salt on the chicken.
- Rice vinegar — It keeps the glaze from tasting flat. If you use apple cider vinegar instead, start with a little less because it reads sharper.
- Toasted sesame oil — Use the real toasted kind here. It brings the nutty finish that makes the sauce taste complete, and it’s one of the few ingredients that cheap substitutes don’t replicate well.
- Broccoli, bell peppers, and red onion — These vegetables hold up to the high heat and add enough texture to balance the sticky sauce. Cut them into similar sizes so they cook at the same pace; oversized pieces turn soft before the glaze finishes.
How to Build the Glaze Without Turning the Chicken Mushy
Coating the Chicken First
Pat the chicken dry before you season it. Moisture on the surface blocks browning, and browning is what gives the skillet its depth. Toss the pieces with salt, pepper, and just enough cornstarch to leave a thin, dusty coating. If you see thick white patches, there’s too much starch.
Searing for Color, Not Steaming for Time
Heat the oil until it shimmers, then add the chicken in a single layer. Leave it alone for the first few minutes so the surface can caramelize and release cleanly. If you crowd the pan, the chicken steams and turns pale, and the sauce never tastes as rich. Pull the chicken out once it’s browned on the outside; it finishes later in the glaze.
Cooking the Vegetables in Stages
Broccoli goes in first with a little water and a lid, because it needs steam before it can handle the skillet heat. Once that water evaporates, add the peppers and onion and keep the heat up so the edges pick up a little char. You want bright color and some snap left in the vegetables. If they go soft before the sauce is done, the pan stayed too wet too long.
Finishing With the Sauce
Return the chicken to the skillet, pour in the teriyaki mixture, and bring it to a gentle simmer. Stir the slurry again right before adding it, since cornstarch settles fast. Then watch the texture: the sauce should go from thin to glossy to clingy in a minute or two. Stop there. If you cook it until it looks very dark and jammy, it turns gummy after it sits.
How to Adapt This for Different Diets and Busy Nights
Gluten-Free Version
Use tamari or a certified gluten-free soy sauce in place of standard soy sauce. The rest of the recipe can stay the same, and you’ll still get the same sticky finish because the thickening comes from cornstarch, not flour.
Lower-Sugar Teriyaki
Cut the brown sugar in half and keep the honey. That keeps the sauce balanced without losing the shine and body that make it cling to the chicken. If you remove both sweeteners too far, the glaze tastes sharp instead of teriyaki-like.
Chicken Thigh Swap
Boneless chicken thighs work well if you want a richer, juicier skillet. They need a little more time to brown, but they stay tender even if the pan runs hot for a minute. The sauce ratio doesn’t change.
Storage and Reheating
- Refrigerator: Store leftovers in an airtight container for up to 4 days. The sauce thickens a little more as it chills, and the vegetables soften slightly.
- Freezer: It freezes well for about 2 months, though the peppers and broccoli will be softer after thawing. Freeze in portions for the best texture.
- Reheating: Reheat gently in a skillet over medium-low heat with a splash of water to loosen the glaze. The common mistake is blasting it on high heat, which makes the sauce tighten up and can dry out the chicken.
Answers to the Questions Worth Asking
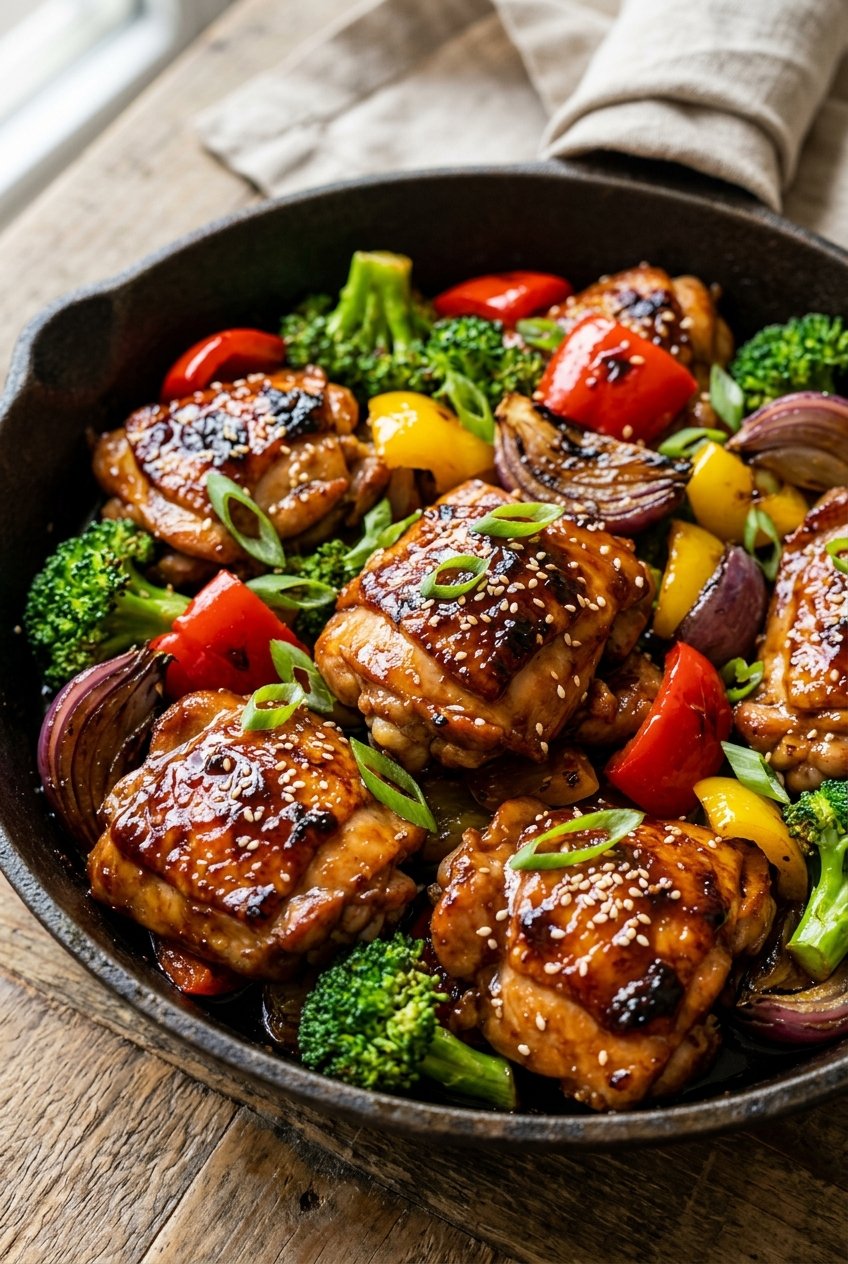
Sticky Teriyaki Chicken Skillet
Ingredients
Equipment
Method
- Pat the chicken breasts dry and cut them into approximately 1-inch pieces. Season lightly with kosher salt and black pepper.
- Sprinkle 1 tablespoon cornstarch over the chicken and toss until the chicken has a very thin, even coating. This helps produce browned edges and allows the teriyaki sauce to cling to the chicken.
- In a bowl, combine low-sodium soy sauce, 1/4 cup water, honey, packed brown sugar, rice vinegar, toasted sesame oil, garlic, and freshly grated ginger.
- In a separate small bowl, mix 1 teaspoon cornstarch with 1 tablespoon cold water to form a slurry. Set both the sauce mixture and slurry aside.
- Heat 1 tablespoon neutral cooking oil in a large skillet over medium-high heat. Add the chicken in a single layer and cook without moving it for approximately 3 minutes.
- Turn the chicken pieces and cook for another 3–4 minutes until browned. Transfer the chicken to a plate.
- Add small broccoli florets and 2 tablespoons water to the skillet, then cover for approximately 2 minutes over medium-high heat. Remove the lid and let any remaining water evaporate.
- Add red bell pepper, yellow bell pepper, and medium red onion to the skillet. Add another teaspoon neutral oil if needed and cook over medium-high heat for 3–4 minutes until lightly charred at the edges.
- Return the browned chicken to the skillet and toss briefly with the vegetables. Keep the skillet over medium-high heat.
- Pour in the prepared teriyaki mixture and bring to a gentle simmer. Stir the cornstarch slurry again and add it gradually.
- Cook for approximately 2–3 minutes, tossing frequently, until the sauce reduces into a thick, glossy glaze. Do not continue cooking until the sauce becomes gummy or excessively dark.
- Remove from the heat and scatter green onions and toasted sesame seeds over the skillet. Serve immediately.
