
Thai Basil Chicken
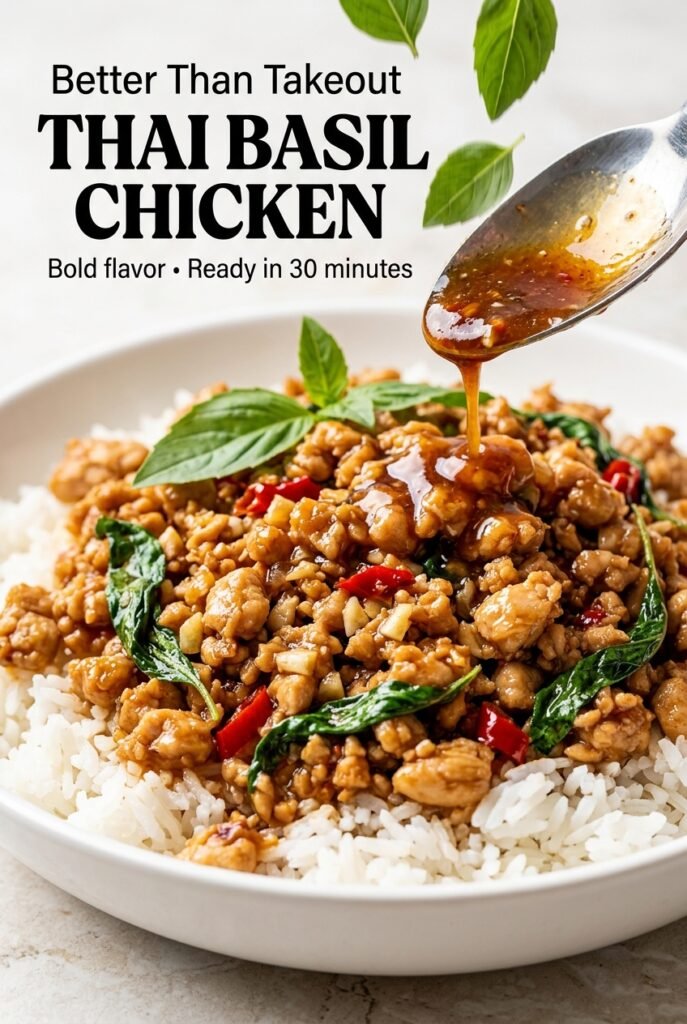
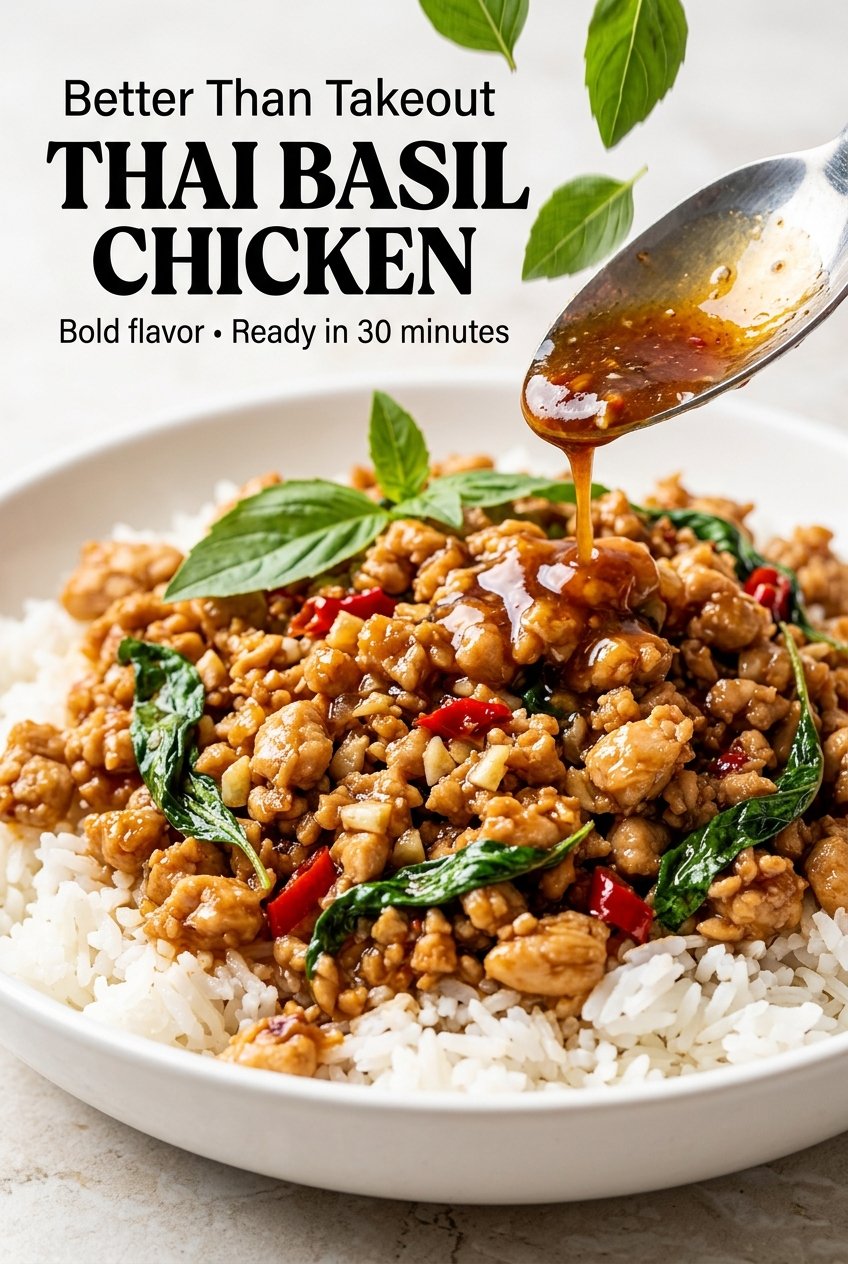
Juicy ground chicken, garlic, chilies, and a tangle of fresh Thai basil come together in a stir-fry that lands fast and hits hard. The sauce clings to every crumb of…
Tip: save now, read later.
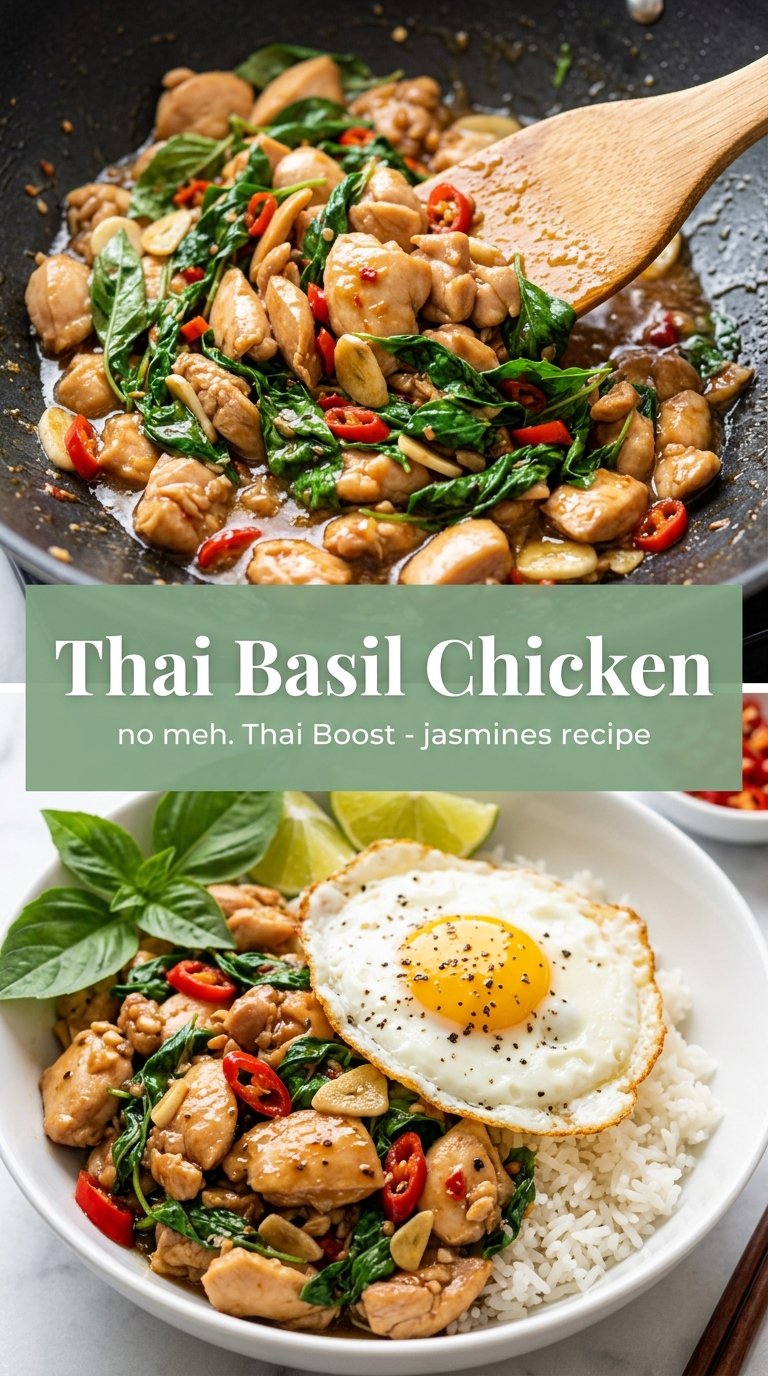
Juicy ground chicken, garlic, chilies, and a tangle of fresh Thai basil come together in a stir-fry that lands fast and hits hard. The sauce clings to every crumb of chicken instead of pooling in the pan, and the basil goes in at the end so it stays fragrant instead of turning muddy. Piled over jasmine rice with a fried egg on top, it’s the kind of dinner that tastes like you worked much harder than you did.
What makes this version work is the order. Ground chicken browns first so it can pick up a little color before the aromatics go in, and the sauce is mixed ahead of time so it hits the pan as one balanced pour instead of a scramble of bottles. Thai basil matters here; regular sweet basil won’t give you the same peppery, almost clove-like finish, though it can still carry the dish if that’s what you have.
Below you’ll find the small details that keep the stir-fry glossy instead of wet, plus a few practical swaps if you need to work with what’s already in the kitchen.
The sauce thickened up in the pan exactly like you described, and the basil stayed bright instead of disappearing. I served it over jasmine rice with the fried egg and my husband went back for seconds before I even sat down.
Save this Thai Basil Chicken for the nights when you want glossy stir-fry, big basil flavor, and dinner on the table in about 30 minutes.
The Reason This Stir-Fry Stays Glossy Instead of Watery
Thai basil chicken falls apart when the pan gets crowded or the sauce goes in too early. Ground chicken releases moisture as it cooks, and if you add the aromatics before that moisture has cooked off, you end up steaming the meat instead of browning it. That gives you pale chicken and a thin sauce that never quite grabs on.
The fix is simple: cook the chicken first until the pan looks mostly dry and the meat has a little color at the edges, then add the garlic, chilies, and shallot just long enough to perfume the oil. The sauce should hit a hot pan and bubble immediately. If it just sits there, your heat is too low and the sauce will stay loose.
- Ground chicken — Ground thigh meat gives the best juiciness, but ground breast works if that’s what you can find. The leaner the meat, the more important it is not to overcook it after the sauce goes in.
- Thai basil — This is the flavor that makes the dish taste right. Sweet basil can stand in, but it’s softer and less peppery, so add it at the very end and use a little more than you think you need.
- Oyster sauce and fish sauce — These two carry the savory backbone. There isn’t a true one-to-one substitute, but in a pinch you can use hoisin plus a splash of soy sauce for oyster sauce, and soy sauce plus a tiny pinch of salt for fish sauce.
- Dark soy sauce — This is mostly for color and a deeper, slightly caramel note. If you don’t have it, use more regular soy sauce and accept a lighter finish; the dish will still taste right.
- Thai chilies — Their heat cuts through the savory sauce. If you’re sensitive to spice, slice them thick or use fewer peppers rather than removing them entirely, because a little heat is part of the balance.
Building the Wok Flavor Without Overcooking the Basil
Browning the Chicken First
Heat the oil in a wok or large skillet until it shimmers, then add the ground chicken in an even layer. Let it sit long enough to pick up some color before breaking it up; if you stir constantly, it turns gray and soft. Cook until the pink is gone and you can see little browned bits around the edges.
Waking Up the Garlic and Chilies
Stir in the garlic, Thai chilies, and shallot after the chicken has cooked through. The pan should smell sharp and savory within seconds. If the garlic starts turning dark too fast, pull the pan off the heat for a moment; burned garlic will take over the whole dish and there’s no fixing it once that happens.
Letting the Sauce Reduce Just Enough
Pour in the mixed sauce and keep the chicken moving for 2 to 3 minutes. You want bubbling at the edges and a glossy coating that clings to the meat, not a puddle at the bottom of the pan. If the sauce is still thin, leave it alone for another minute so the heat can concentrate it instead of adding more thickener.
Adding the Basil at the Very End
Fold in the Thai basil and stop cooking as soon as the leaves wilt and turn bright green. That short finish keeps the basil aromatic and keeps the whole dish from tasting cooked down. If you leave it on the heat too long, the leaves darken and lose the lift that makes Thai basil chicken taste like itself.
How to Adapt This for Different Pantries and Diets
Dairy-Free, Naturally
This dish is already dairy-free as written, which is one reason it works so well for a fast weeknight meal. Keep the egg optional if you want the meal lighter, or add it if you want extra richness without changing the sauce.
Lower-Carb Serving
Serve the chicken over cauliflower rice or shredded cabbage instead of jasmine rice. You’ll still get the full savory, basil-heavy flavor, and the extra vegetable base catches the sauce without making the dish feel heavy.
No Thai Basil on Hand
Use sweet basil if that’s what’s available, but add it off the heat and expect a softer, less peppery finish. A few extra Thai chilies or a small pinch of crushed red pepper can bring back some of the sharpness that Thai basil normally adds.
Ground Turkey Swap
Ground turkey works well, especially if you use dark meat or add a little extra oil. Lean turkey dries out faster than chicken, so shorten the final simmer by a minute and pull it off the heat as soon as the sauce coats the meat.
Storage and Reheating
- Refrigerator: Store in an airtight container for up to 4 days. The basil will darken a little, but the flavor stays solid.
- Freezer: Freezes well for up to 2 months if you leave the rice and fried eggs off until serving. The basil loses some freshness, but the sauce and chicken hold up better than most stir-fries.
- Reheating: Reheat in a skillet over medium-low heat with a splash of water or broth to loosen the sauce. The biggest mistake is blasting it in the microwave until the chicken turns dry and the sauce separates.
Questions I Get Asked About This Recipe
Thai Basil Chicken
Ingredients
Equipment
Method
- Heat the vegetable oil in a large wok or skillet over medium-high heat. Add the ground chicken and cook for 5–6 minutes, breaking it into small pieces until no pink remains.
- Stir in the garlic, Thai red chilies, and shallot. Cook for 1 minute until fragrant.
- Whisk together the oyster sauce, soy sauce, fish sauce, dark soy sauce, brown sugar, and chicken broth in a small bowl. Pour the sauce into the skillet and stir for 2–3 minutes until it thickens slightly and coats the chicken with a glossy finish.
- Fold in the fresh Thai basil leaves and cook for 30–60 seconds until just wilted but still vibrant green. Spoon the chicken over warm jasmine rice.
- Top with fried eggs if desired and serve immediately with lime wedges. Finish with lime wedges for a bright, citrusy squeeze.
