
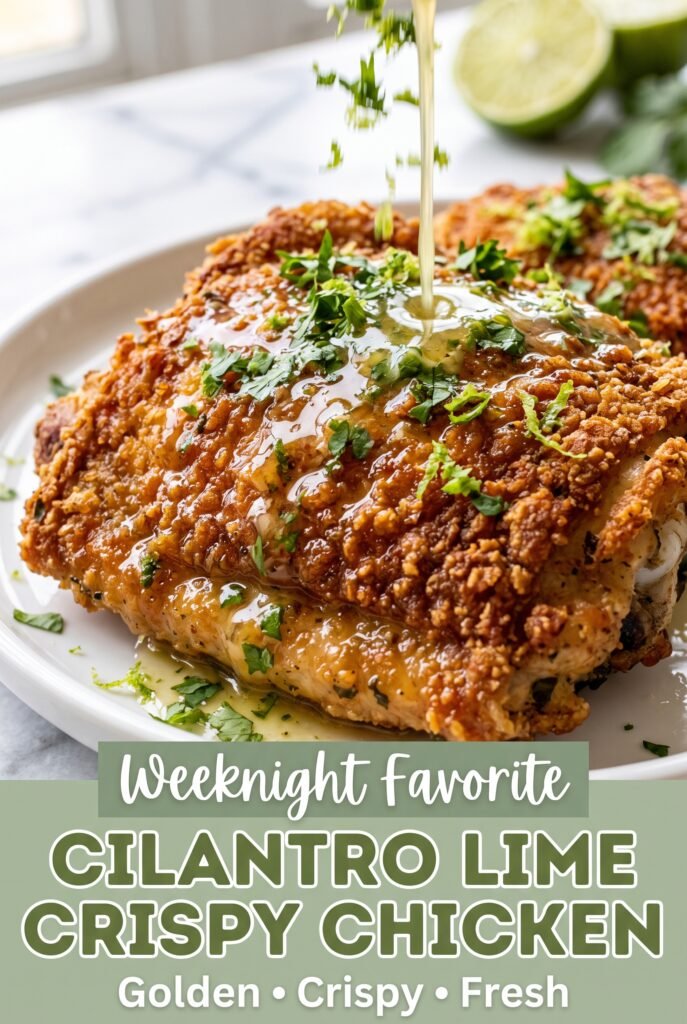
Cilantro Lime Crispy Chicken
Golden chicken thighs with a crunchy coating and a bright cilantro-lime finish hit that sweet spot between comfort food and fresh dinner. The crust stays crisp, the chicken stays juicy,…
Tip: save now, read later.
Golden chicken thighs with a crunchy coating and a bright cilantro-lime finish hit that sweet spot between comfort food and fresh dinner. The crust stays crisp, the chicken stays juicy, and the butter sauce clings just enough to add richness without turning the whole thing soggy. It’s the kind of dinner that disappears fast because every bite has contrast: salty Parmesan, toasty crumbs, garlicky butter, and a sharp burst of lime.
The trick here is building flavor in layers. Season the chicken before it ever sees the coating, then use both panko and Parmesan for a crust that browns well and tastes like something you planned ahead, even though it comes together quickly. Frying over medium heat gives the breading time to turn deeply golden before the chicken overcooks, and moving it to a wire rack keeps the bottom from steaming soft while you finish the sauce.
Below you’ll find the exact timing that keeps the crust crisp, plus a few smart swaps if you need to adjust the method for what you have on hand. The lime butter is simple, but there’s a right way to add it so it stays bright instead of muddy.
The coating came out super crisp and stayed crunchy even after I spooned the lime butter over it. I used thighs like you suggested and they were juicy all the way through with no dry spots.
Crispy cilantro lime chicken with a golden Parmesan crust belongs in your dinner rotation.
The Reason the Crust Stays Crisp Instead of Turning Soft
The biggest mistake with breaded chicken is rushing the pan. If the oil isn’t hot enough, the coating drinks it up before it sets, which gives you a greasy crust instead of a crisp one. Medium heat is the sweet spot here: hot enough to brown the crumbs and cheese, gentle enough to cook the thighs through without scorching the outside.
Dry chicken matters more than people think. Patting the thighs dry gives the seasoning a better grip and helps the flour layer cling before the egg wash goes on. Parmesan also does a lot of work in this recipe. It adds salt and browning power, so the crust tastes deeper and looks more evenly golden than plain breadcrumbs alone.
What Each Ingredient Is Actually Doing in This Dish
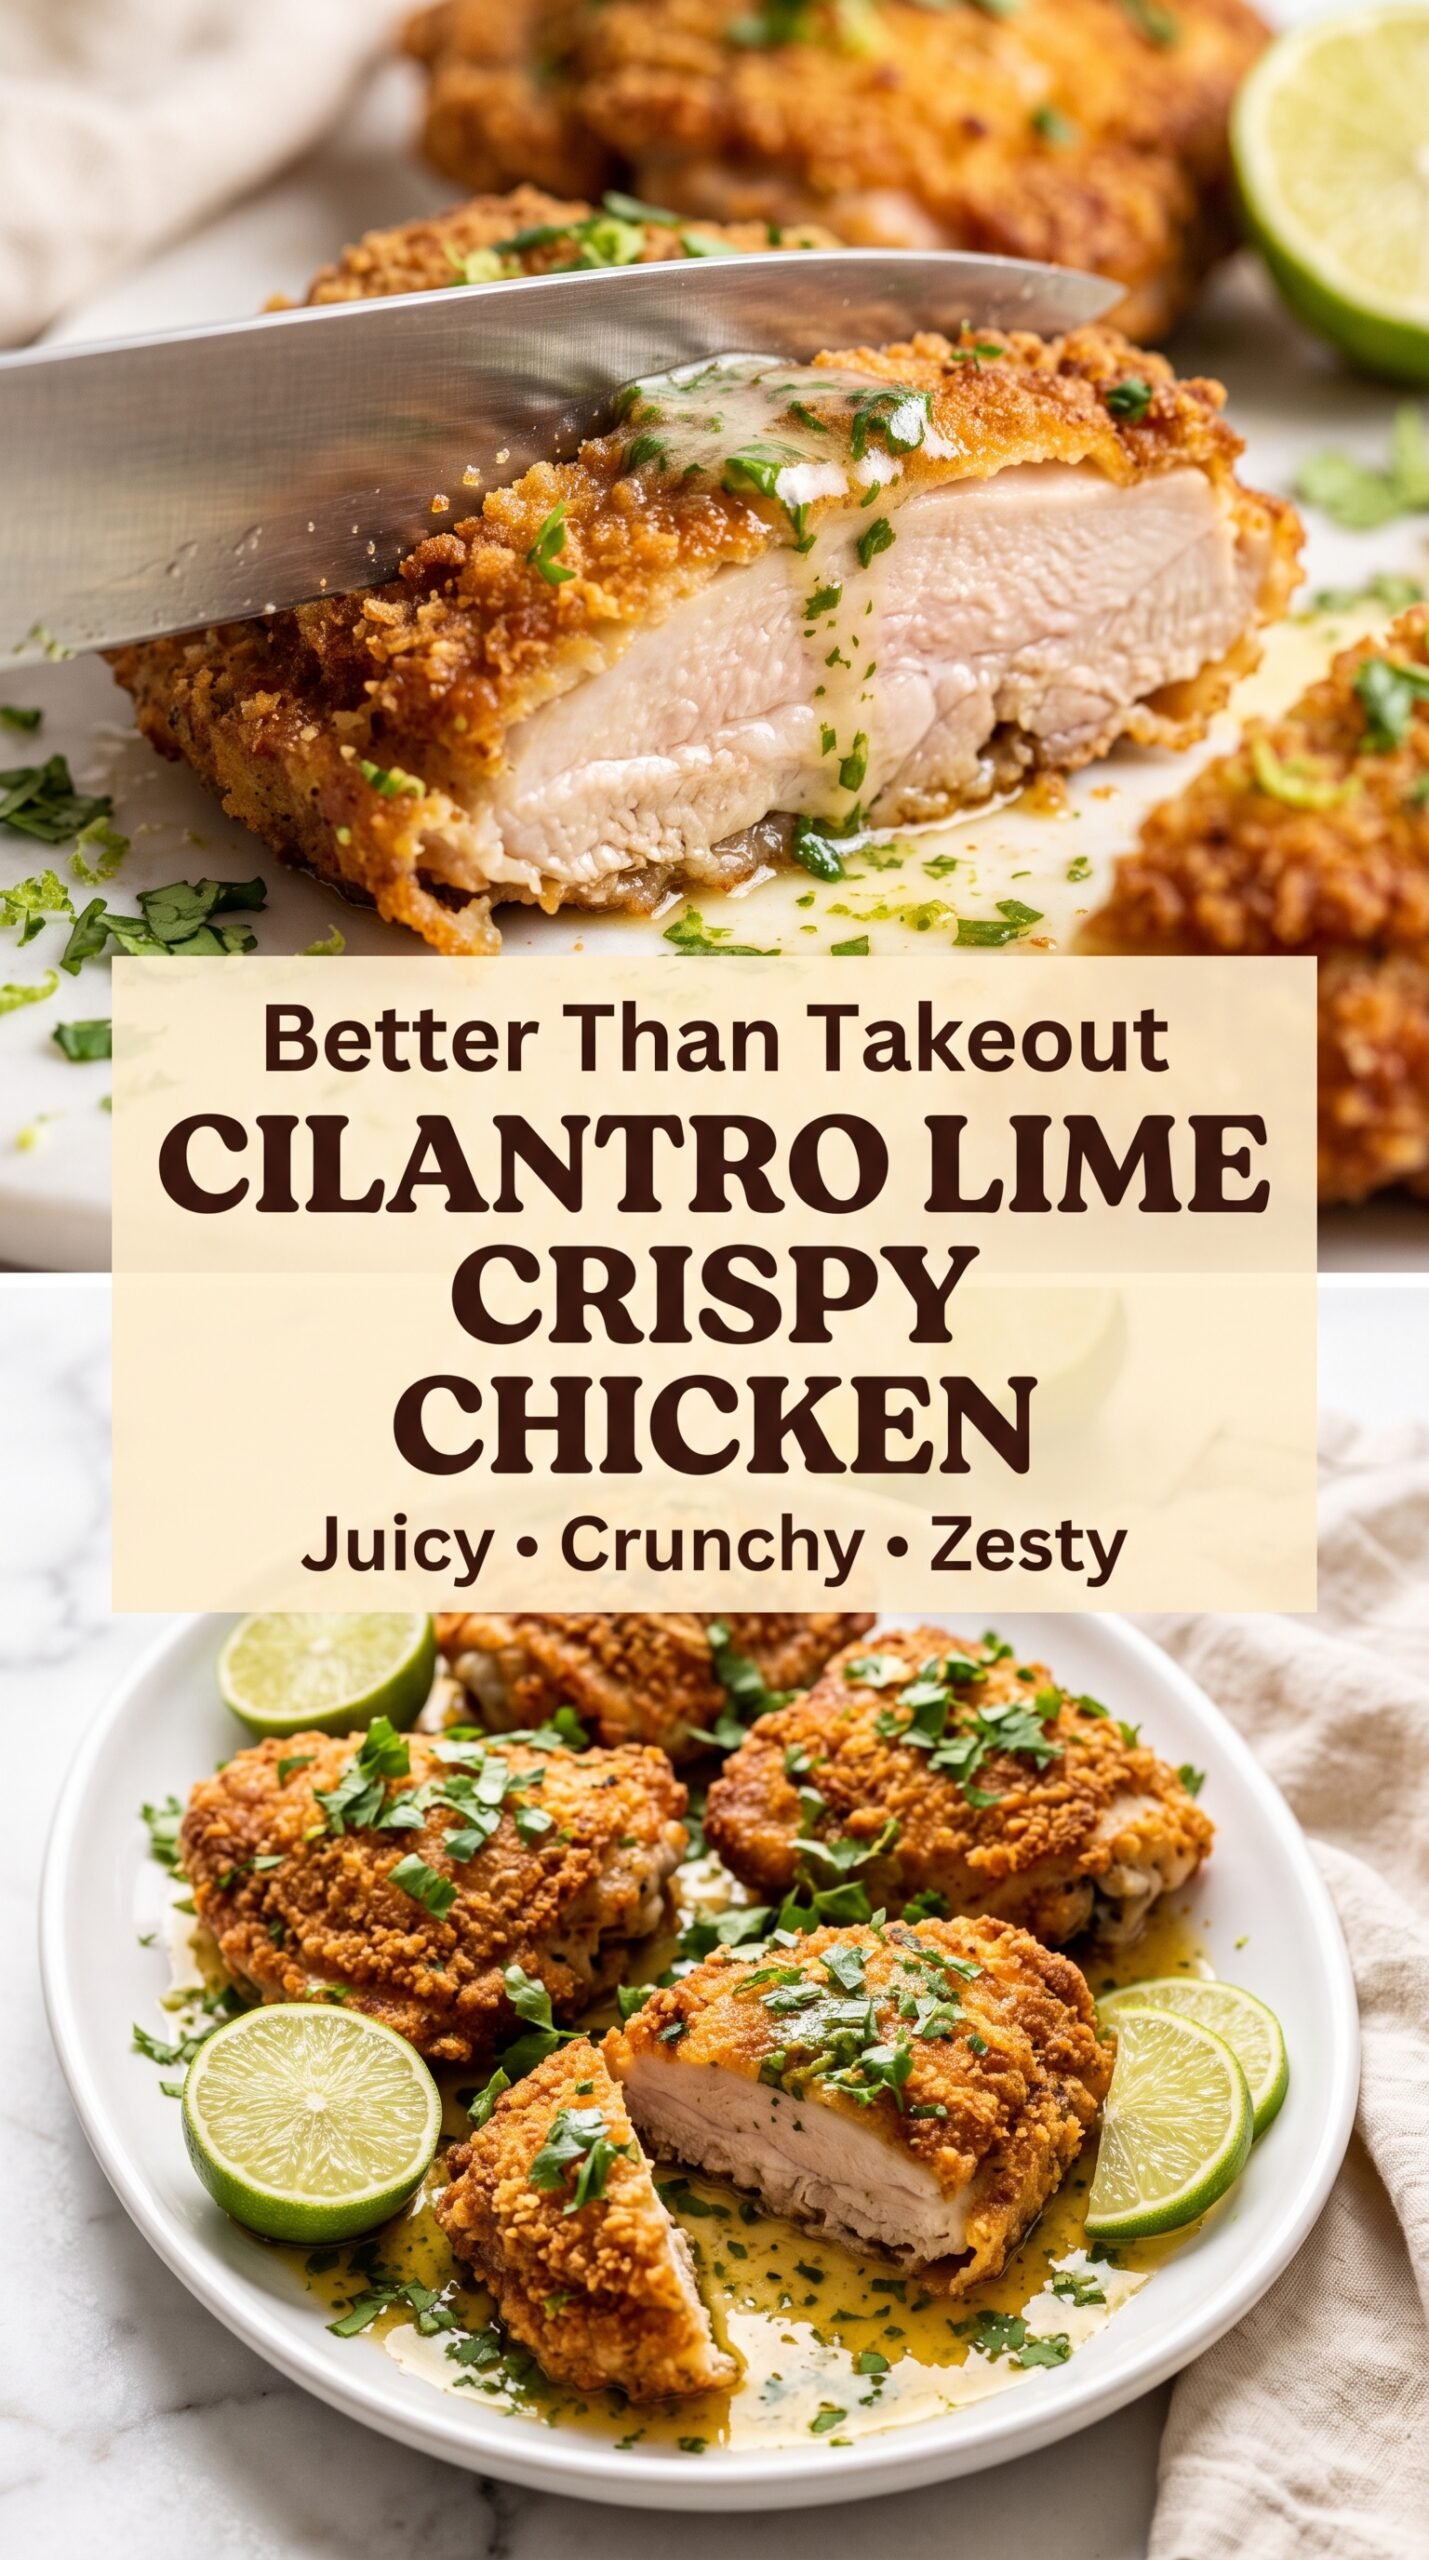
- Chicken thighs — Thighs stay juicy through the time it takes to get the coating deeply crisp. Breasts can work, but they dry out faster, so pound them to an even thickness and cut the frying time down a bit.
- Panko breadcrumbs — Panko gives you the light, jagged crunch that regular fine breadcrumbs can’t match. If you only have standard breadcrumbs, the crust will be denser and less shattery, though still good.
- Parmesan cheese — This adds savory depth and helps the coating brown. Freshly grated Parmesan melts into the crumbs better than the shelf-stable kind, but the pre-grated version works in a pinch if that’s what you keep on hand.
- Lime zest and juice — Zest carries the bright citrus oil that keeps the sauce tasting fresh, while juice cuts through the butter. Don’t skip the zest; juice alone tastes flatter and sharper.
- Fresh cilantro — Add it at the end so it stays green and fragrant. If cilantro tastes soapy to you, use flat-leaf parsley instead; you’ll lose the signature flavor, but the sauce will still have an herby finish.
Building the Chicken and Sauce in the Right Order
Seasoning the Chicken First
Lay the thighs on a board and season both sides before you set up the breading station. That first layer carries the smoked paprika, cumin, garlic, and onion flavor all the way through the crust, instead of leaving everything on the surface. If the chicken is wet, the seasoning will slide off, so press it dry with paper towels first. You want the surface tacky, not slick.
Coating for Maximum Crunch
Dip each thigh in the egg mixture, then press it into the flour-panko-Parmesan mix until every bit is covered. The pressing matters. It gives the crumbs something to grab, which keeps the coating from flaking off in the pan. Let the breaded chicken sit for a few minutes while the oil heats so the crust can hydrate and cling instead of shedding.
Frying to Deep Gold
Set the chicken into shimmering oil and leave it alone long enough to form a crust before you flip it. If you move it too early, the breading tears and sticks. Fry until the coating is deeply golden and the thickest part of the thigh hits 165°F. If the outside is browning too fast, lower the heat a touch; the goal is steady color, not fast color.
Finishing with Cilantro Lime Butter
Melt the butter over medium-low heat and add the garlic just until fragrant. Then stir in the lime zest, lime juice, cilantro, and pepper flakes. The sauce should smell bright and buttery, not cooked down or bitter. Spoon it over the chicken right before serving so the crust stays crisp underneath the sauce instead of sitting in it.
Three Ways to Make This Work for Your Kitchen
Gluten-Free Version
Swap the all-purpose flour for a gluten-free flour blend and use certified gluten-free panko. The crust still gets crisp, though the texture will be a little lighter and less bread-like than the original. Don’t skip the Parmesan, since it helps replace some of the browning you lose when you change the flour.
Dairy-Free Adjustment
Use unsweetened plant milk in the egg wash, then replace the butter with olive oil or a dairy-free butter substitute for the sauce. Skip the Parmesan or use a dairy-free hard cheese if you have one that melts well into crumbs. The result is still bright and crunchy, just a little less rich.
Baked Instead of Fried
Arrange the breaded chicken on a wire rack set over a sheet pan, spray the tops lightly with oil, and bake at 425°F until crisp and cooked through. You won’t get the same shattering crust as frying, but you will get a clean, lighter finish with less mess. The rack is what keeps the bottoms from going soft.
Storage and Reheating
- Refrigerator: Store leftovers in an airtight container for up to 3 days. The crust softens a bit, but the flavor stays strong.
- Freezer: Freeze the cooked chicken on a sheet pan first, then move it to a freezer bag for up to 2 months. The sauce is best made fresh, because citrus and butter don’t reheat as gracefully.
- Reheating: Reheat in a 375°F oven or air fryer until the coating crisps back up and the center is hot. Skip the microwave unless you don’t care about the crust, because steam is what turns breading limp.
Answers to the Questions Worth Asking
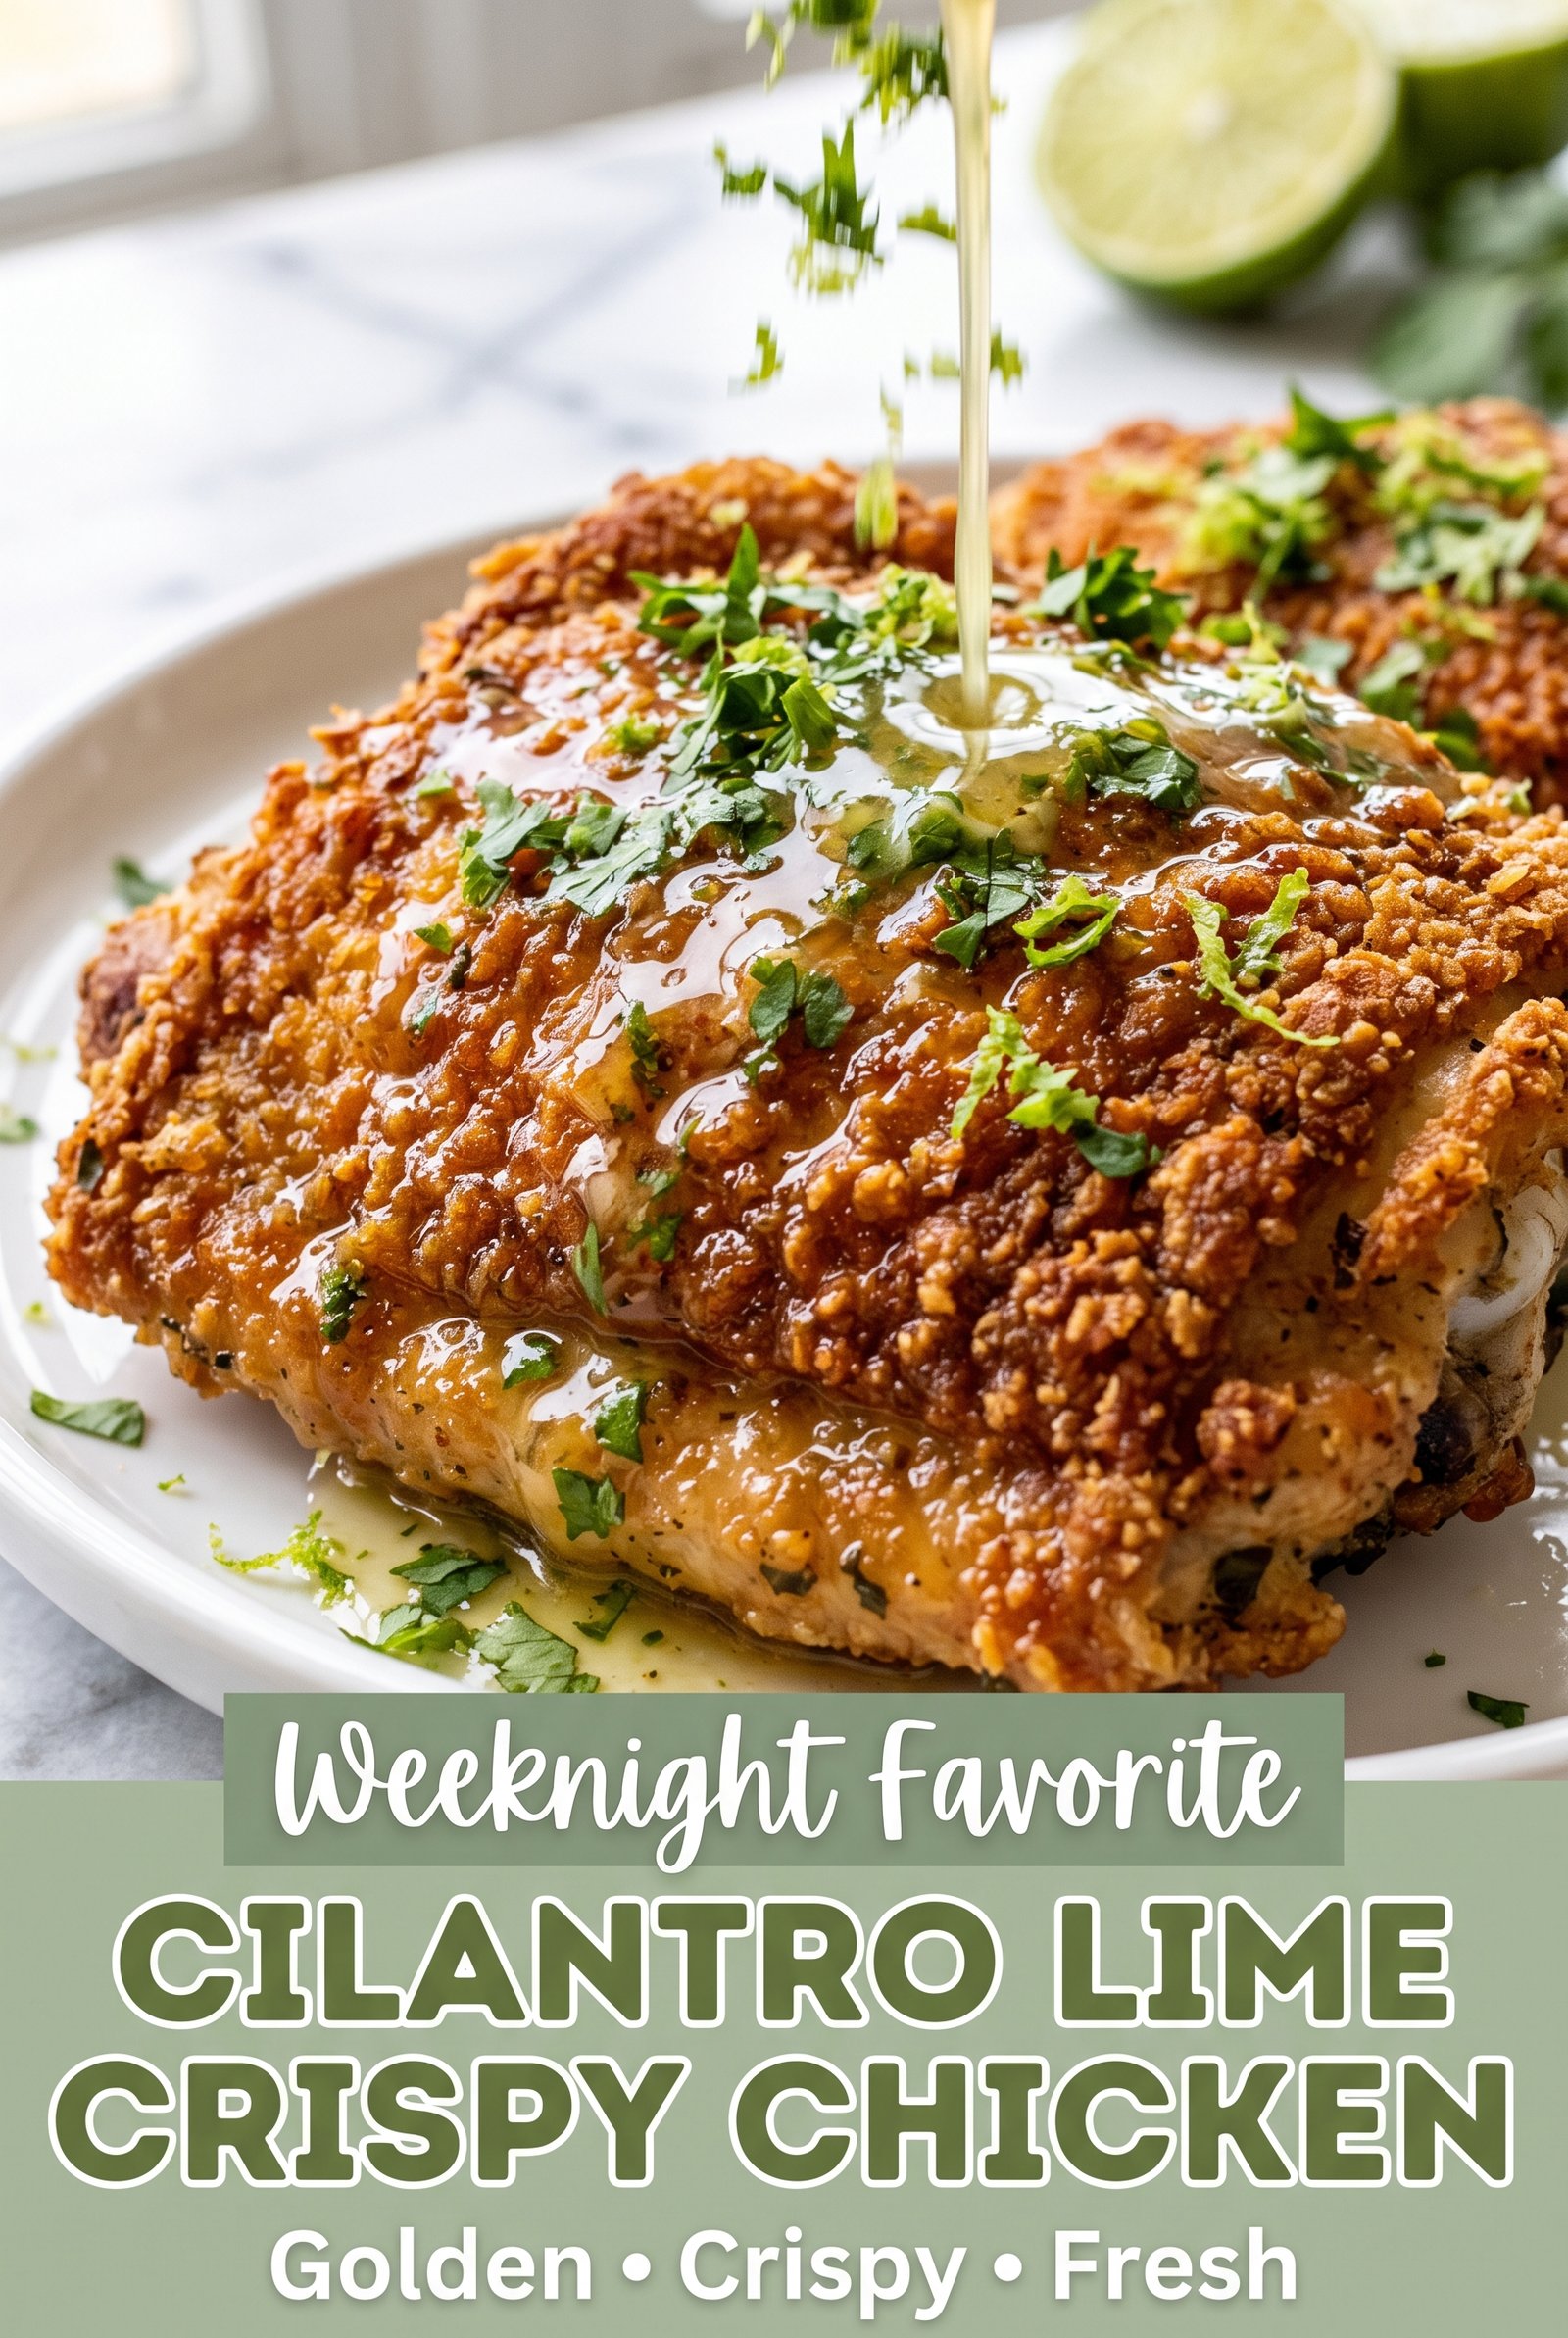
Cilantro Lime Crispy Chicken
Ingredients
Equipment
Method
- Pat the chicken thighs dry with paper towels, then season both sides with salt, black pepper, garlic powder, onion powder, smoked paprika, and cumin.
- Whisk together the eggs and milk in a shallow bowl.
- Combine the all-purpose flour, panko breadcrumbs, and grated Parmesan cheese in a second shallow bowl.
- Dip each chicken thigh into the egg mixture, then coat thoroughly in the breadcrumb mixture, pressing gently so the coating adheres well.
- Heat the vegetable oil in a large skillet over medium heat until shimmering.
- Fry the chicken for 5–6 minutes per side, or until deeply golden, crispy, and the internal temperature reaches 165°F, flipping once when browned.
- Transfer the cooked chicken to a wire rack while preparing the butter sauce, keeping it crisp.
- Melt the unsalted butter in a small skillet over medium-low heat, then add the minced garlic and cook for about 1 minute until fragrant.
- Stir in the lime zest, fresh lime juice, chopped fresh cilantro, and crushed red pepper flakes if using, cooking for 30 seconds so it looks glossy.
- Spoon the warm cilantro lime butter over the crispy chicken.
- Garnish with additional fresh cilantro leaves and serve with lime wedges.
